
#sponsored post
About 4 years ago…
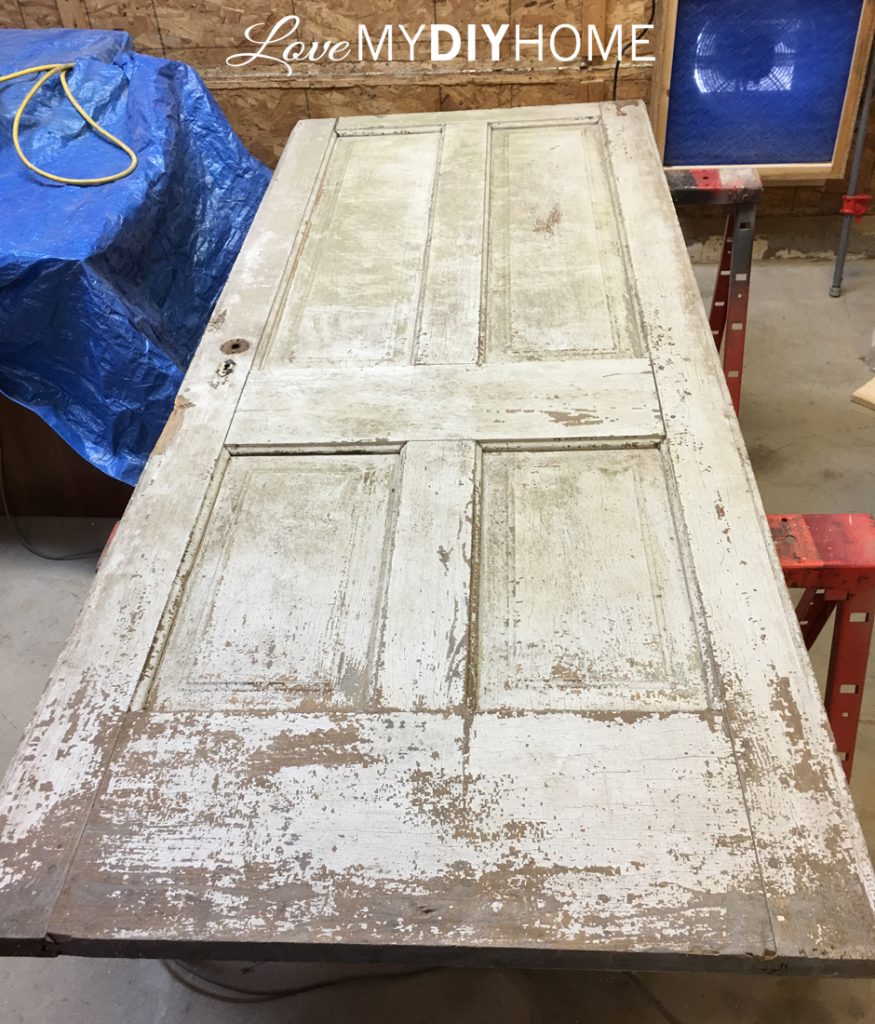
We bought several doors at an auction house that had been stripped off a house that was being torn down. The house was over 100 years old and falling apart.
Here is one, How to Upcycle an Antique Door Part One and How to Upcycle an Antique Door Part Two that I upcycled a while ago with spray paint and regular paint, making it into a hall tree that now sits in my entry way. It’s one of my favorite project to date.
Today I show you another project with another door from that house, but upcycled differently – different paint, different techniques, different colors.
THE BEFORE
MATERIALS
(RED indicates affiliate links for your convenience)
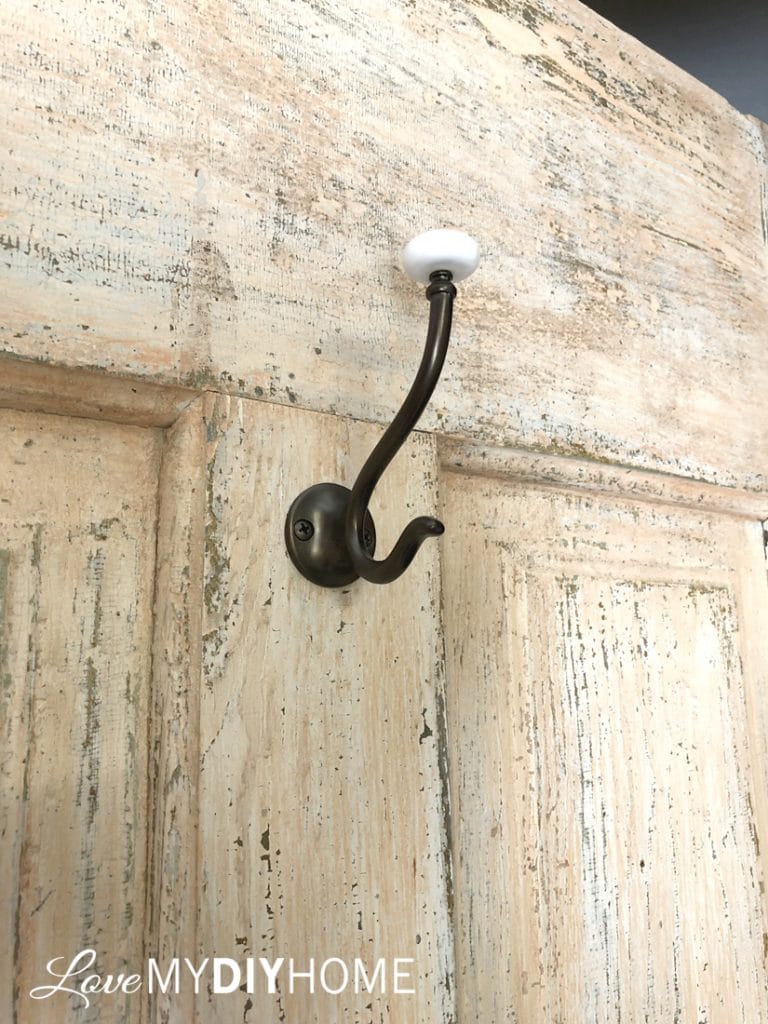
Robe Hooks
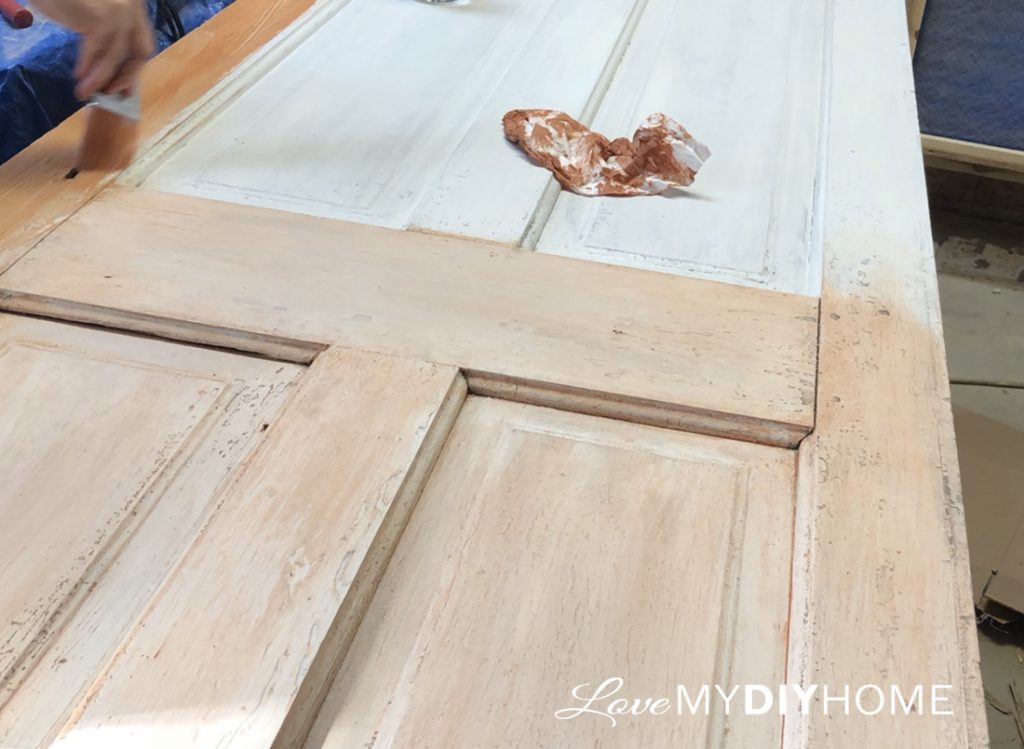
After cleaning and sanding off the loose paint that was chipping, I white washed it with Old Fashioned Milk Paint Snow White before painting the coral that I mixed up using Marigold Yellow, Salem Red and Snow White Old Fashioned Milk Paint.
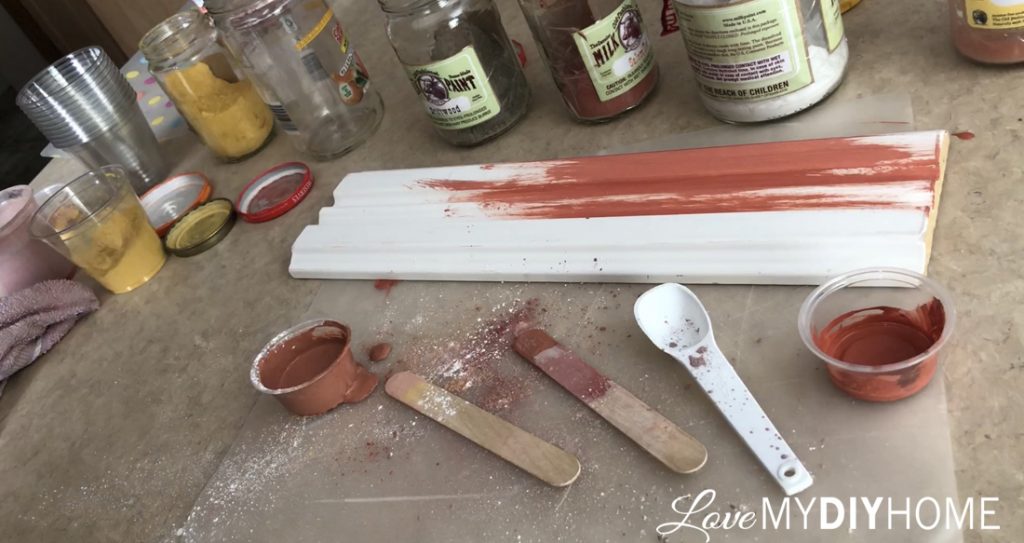
The coral color I mixed up was a choice made by my Facebook group, Furniture Flipping Forum. Coral won the poll, so coral it was. I watered it down more than normal, painted it on and then used a Scotts Rag to wipe some of it off to give it a more transparent look and bring out the chippiness that was already there.
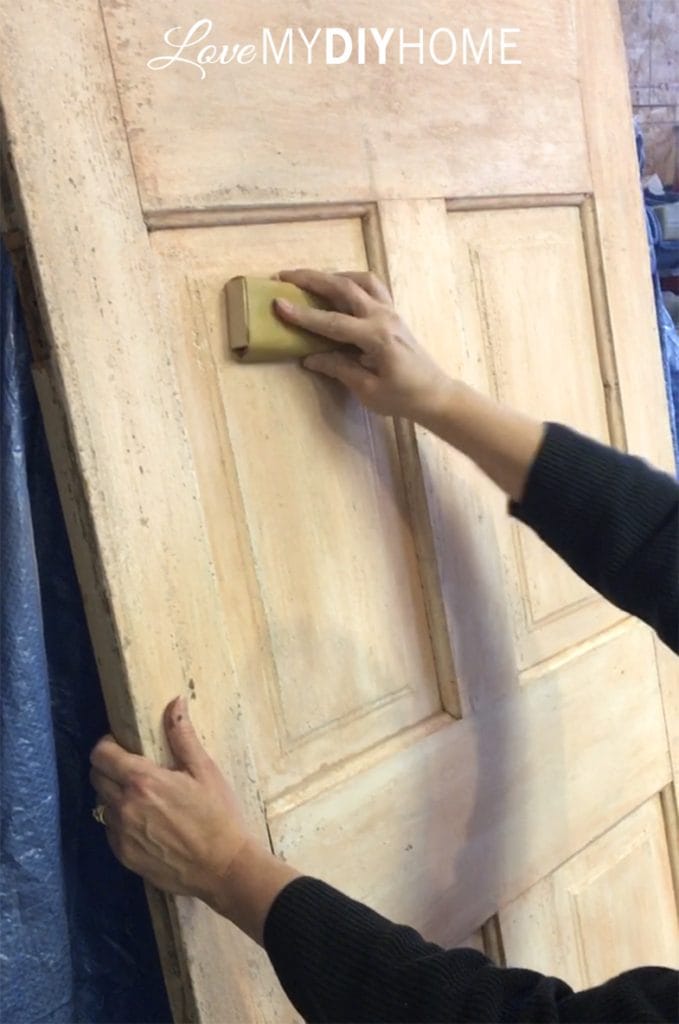
The next step, hand sanding with a sanding block further accented the chippiness and made the look complete, preserving the antique look with a little color. My DH cut me a special sized wood block that I could wrap my sand paper around that would fit right in all the indented parts of the door.

Polyvine wax finish flat varnish sealed the deal, protecting the OFMP and exposed wood parts. I want this to last another 100 years! We then added back in the original door knob and key hole cleaned up along with three hooks.

Next, you will see the radio base that I’ll attach to the bottom to make a seat to complete the hall tree. I found it at an estate auction – nearly hidden, sitting among dozens of other pieces. I knew immediately I needed that piece. It was kinda unusual…
This project has taken some time, but the outcome is totally worth all the wait. I’m not typically for the chippy look, but this one just seems different – maybe because it is genuine, a piece that became chippy over time rather than by the artist.
I am going to leave you with just close up snap shots of the project because I want the “Wow Factor” to happen when it’s finished, after adding the seat.
OPPORTUNITIES
Furniture Flipping Blueprint – Your 24/7 online manual, teaching furniture flipping from start to finish. Enrollment will open again soon, so if you’d like to learn how to re-design furniture, come get on the waiting list and also receive an occasional newsletter.
Furniture Flipping Forum on Facebook – We are 37,000+ members strong from over 100 countries. Come join us!
Furniture Flipping NEWSLETTER – Receive tips, offers, freebies and tutorials on DIY projects along with a PDF of the 4 most used homemade chalky paint recipes compared and with directions.
Talk soon,


* Disclosure: This post contains affiliate links. If you buy anything after clicking on one of the affiliate links, I receive a small commission of the sale. The cost to you is the same, and I only link to items that I think would benefit my readers. Your support of this blog is greatly appreciated! This post was sponsored by Old Fashioned Milk Paint by supplying some of the materials for this project – Thank you!
2 thoughts on “Antique Door Hall Tree Part 1 – THE DOOR”