“Clarissa”
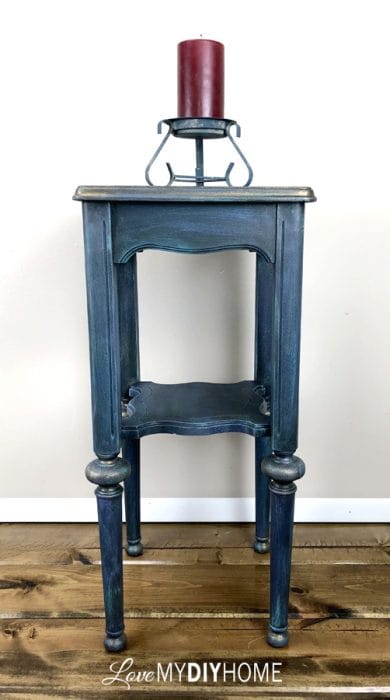
Just before I opened up my new membership site, Furniture Flipping Forum, I put together a three day course showing how to take an all wood accent table “From messed Up to Dressed Up.” It was a big challenge because it was in very rough shape to begin with and took longer to prep this piece than anticipated.
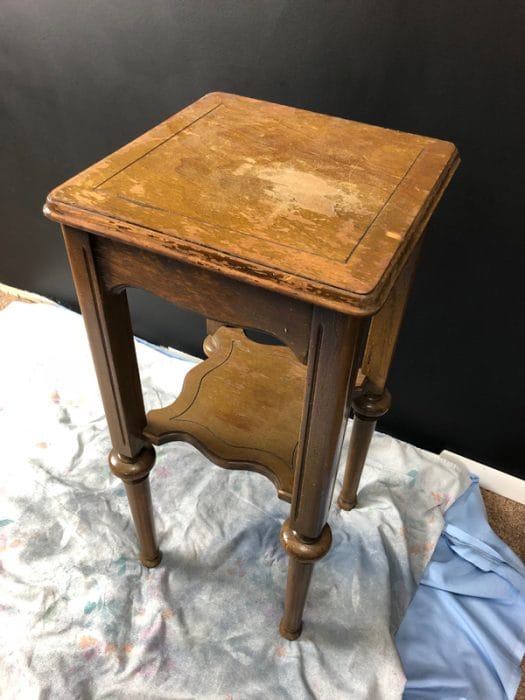
The old varnish was thick and all crackled with parts falling off because it was so old and dried out. Pieces were falling off and there were gouges and loose veneer.
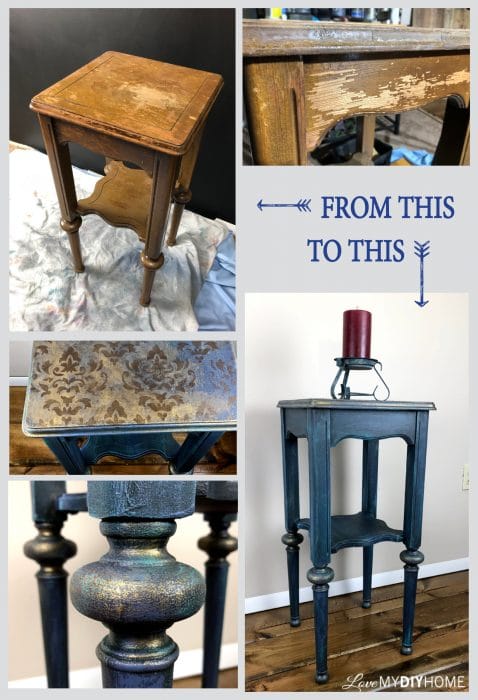
Every time I look at it I stare in wonder how something so unattractive can be turned into a masterpiece. But when you learn the steps, it can be done with a bit of elbow grease and know how…with lots of patience.
If I hadn’t planned on providing this three day course to those interested in Furniture Flipping Blueprint, my furniture artist membership site, I’d probably have chucked the whole thing. The varnish was so bad that I had to strip it rather than scrape, sand and paint. The garage was cold, so stripping was quite the task and didn’t quite get all the varnish off.
So I spent hours sanding the rest until I had all bare wood. I had splinters in my fingers and very sore joints from the tedious task. But once you are finished with the project and stand back and look – IT’S ALL WORTH IT.
Here are the step-by-step photos of the process:
The “Before”
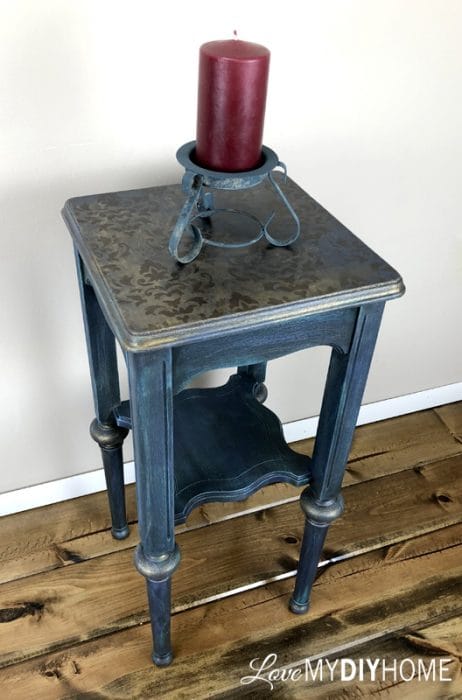
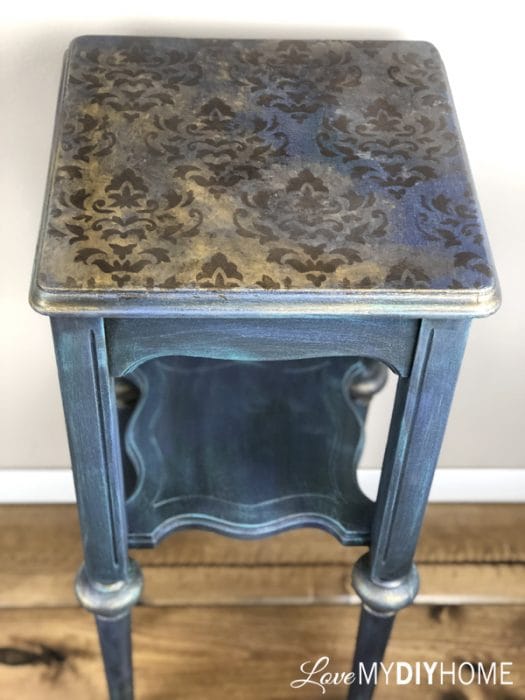
The “After”
Here’s all the “In-between”
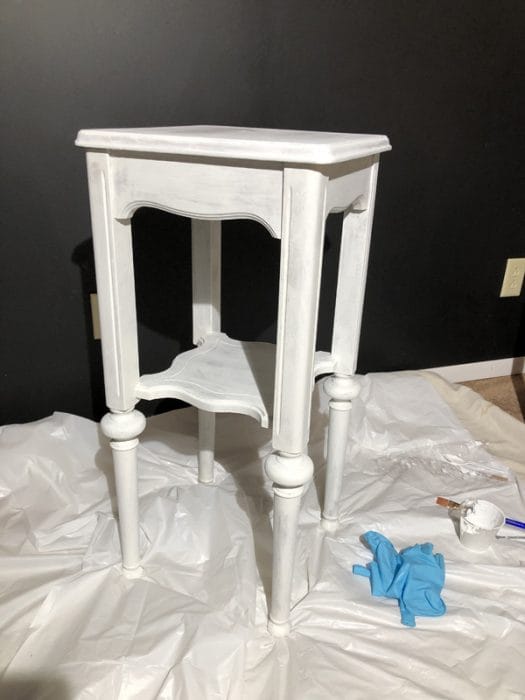
Priming
Layering Pure & Original Classico
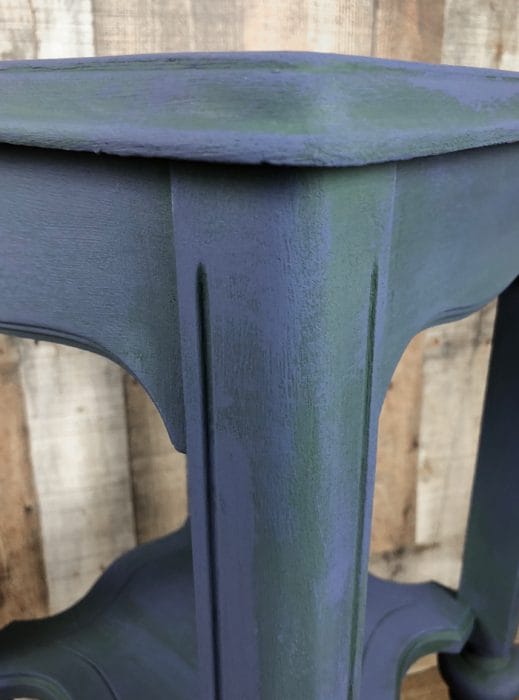
Dry Brushing General Finishes Chalk and Milk Paint along with Pure & Original Classico
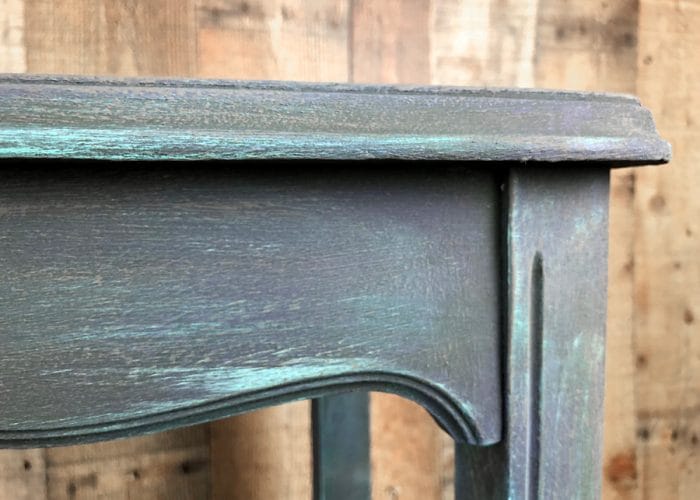
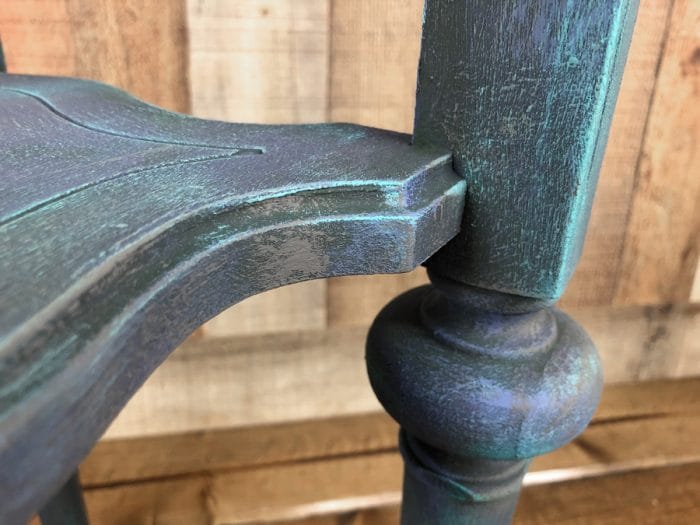
Dry Brushing General Finishes Pearl Effects
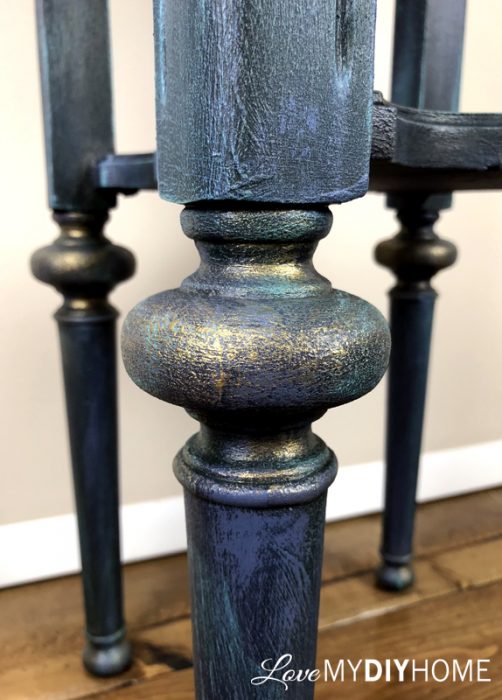
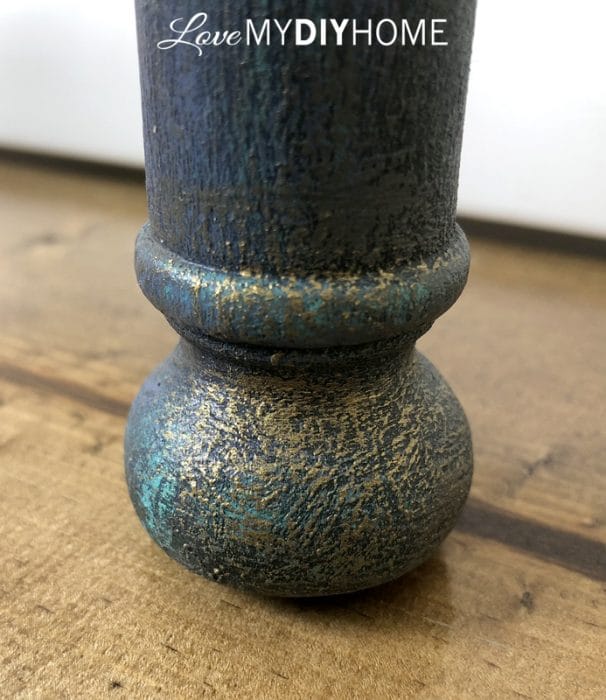
Even the feet got the royal treatment…
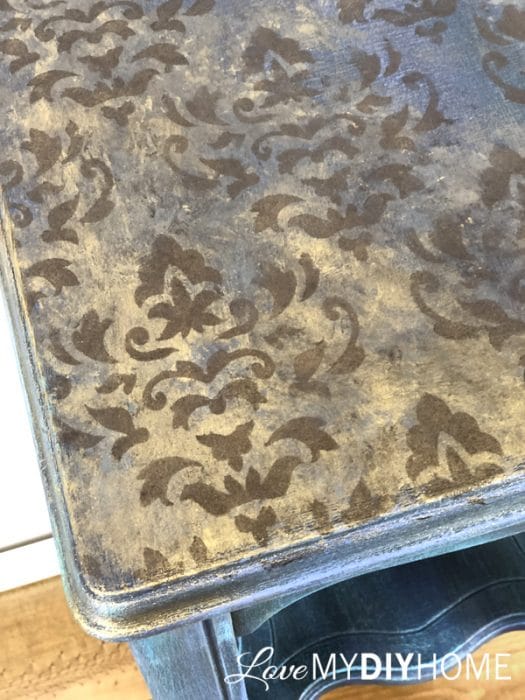
Blending GF Pearl Effects and Stenciling
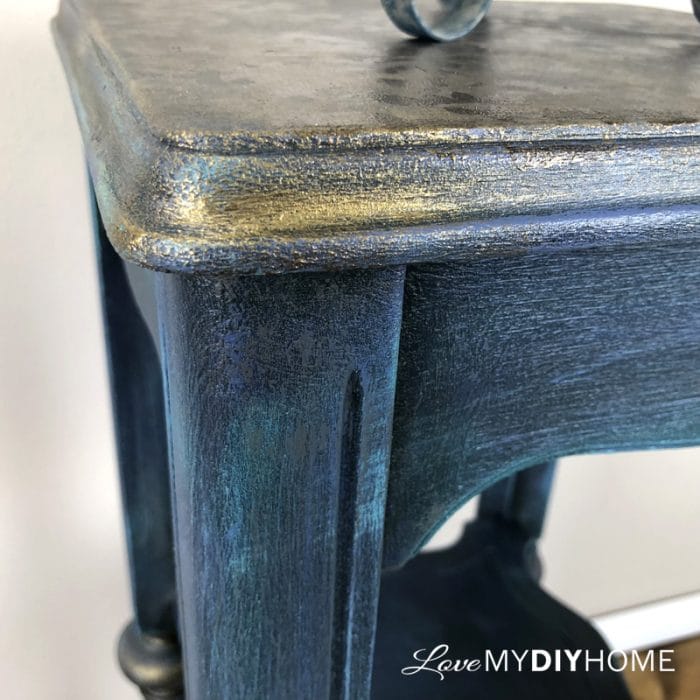
If you’d like to learn more about furniture flipping or re-designing, you can subscribe to our Furniture Flipping Newsletter. I send out a newsletter occasionally with tips on furniture flipping and redesign, along with information on our next enrollment opportunity for my online manual for artisans, Furniture Flipping Blueprint.
Thanks for visiting!
XOXO

