Stop Making Furniture Redesign Harder Than It Needs to Be
Somewhere along the way, furniture artists can get the idea that the harder way must be the better way.
I don’t buy that.
I like fast and easy—as long as fast and easy doesn’t mean skipping necessary prep or sacrificing the quality of the finished piece. If a product can give me the result I want in less time, I’m perfectly happy to let it do its job.
That’s exactly what happened with the antique dresser I redesigned for our RV.
Instead of opening a can of traditional furniture paint and brushing or spraying on a conventional base coat, I reached for spray paint. Actually, I reached for three cans of spray paint. Then came stencil paint, several different metallic paints and a glossy topcoat.
Did I break a few of the unofficial “rules” of furniture redesign? Probably.
But knowing why I could make those choices is what matters.
The more you understand your furniture painting products—their strengths, limitations and the results they can create—the less dependent you become on somebody else telling you there is only one “right” way to redesign a piece.
That’s one of the things we’re talking about in Episode 58 of the Flipping Furniture for Profit Podcast.
Hit play below to listen.
BEFORE the renovation - our RV bunkhouse
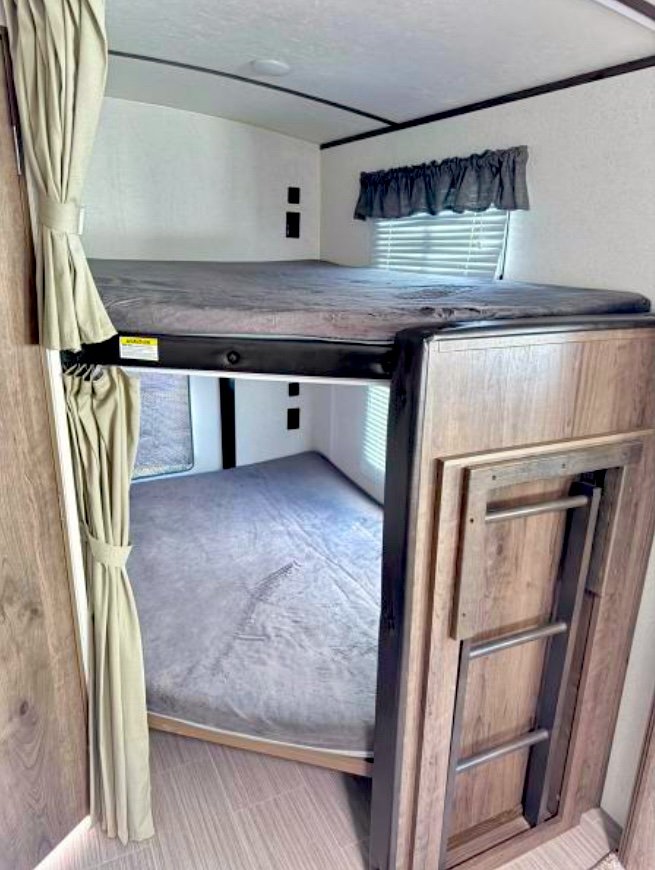
We never used the bunks so I devised a plan...remove the bunks and make ourselves a storage area. As we ripped out the bunks and thought about the next step, our (and I mean "my") plans for that area morphed into a walk-in closet, dressing room, and kitty resort. It was a fun project and so glad we did it. A week later we had to close up the RV for the season, but are looking forward to next year when we can enjoy our new RV interior. We also replaced the pull out couch and dinette with a boneless couch and antique drop leaf table with two of my hand painted chairs.
Please forgive my not so perfect photos - I was in a rush to get this piece done. I didn't stage it because I was keeping it. I had had 5 days to get this painted so it could go up to our RV to continue with our renovation. We picked it up on the way home from the RV, DH took the first week to prep it and I took the second one to paint it then up it went to the RV. Go to my FB profile if you'd like a play by play. I posted ever day or so during the reno.
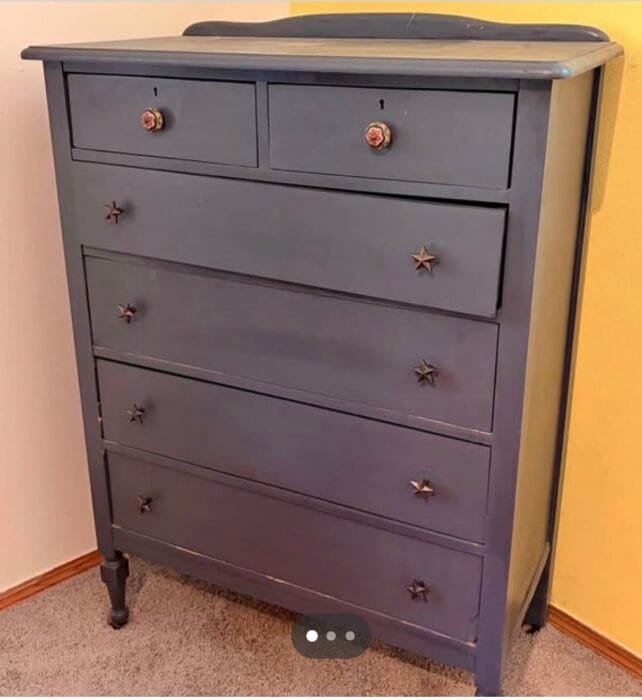
Marketplace Pic of the antique BEFORE the redesign.
Contact Paper Removed in the Drawers & Fixed Joints
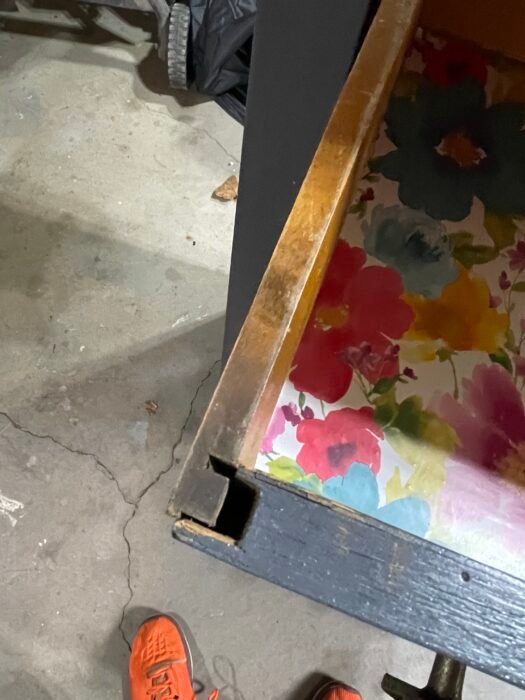
Some ships needed repair before sanding and priming - Not all of the blemishes needed to be repaired or hidden. This antique had history worth preserving.
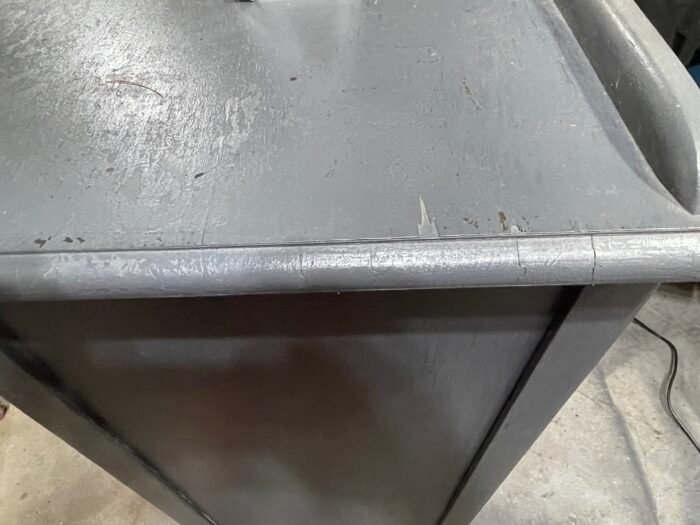
Sanded to Be Ready for Primer
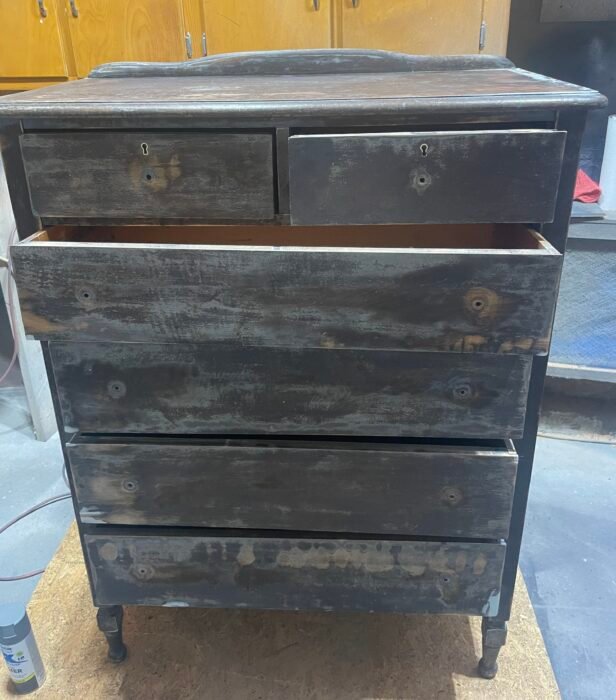
When DH cleaned with Krud Kutter, most of the paint came off!
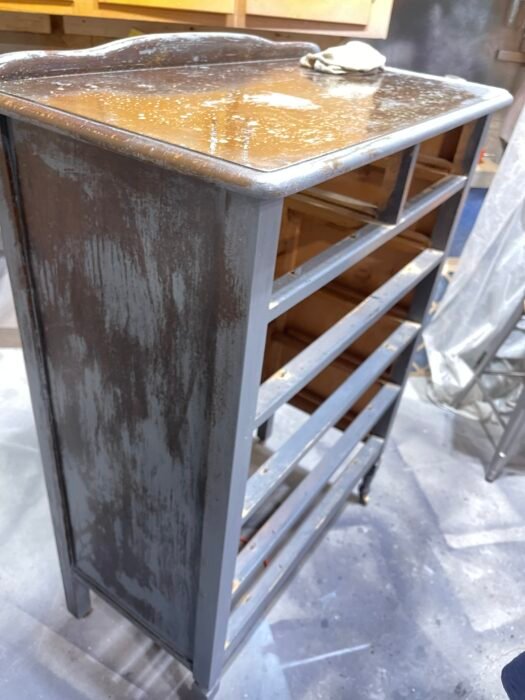
Gray Spray Paint Primer - Find out why I used this primer when you listen to this episode.
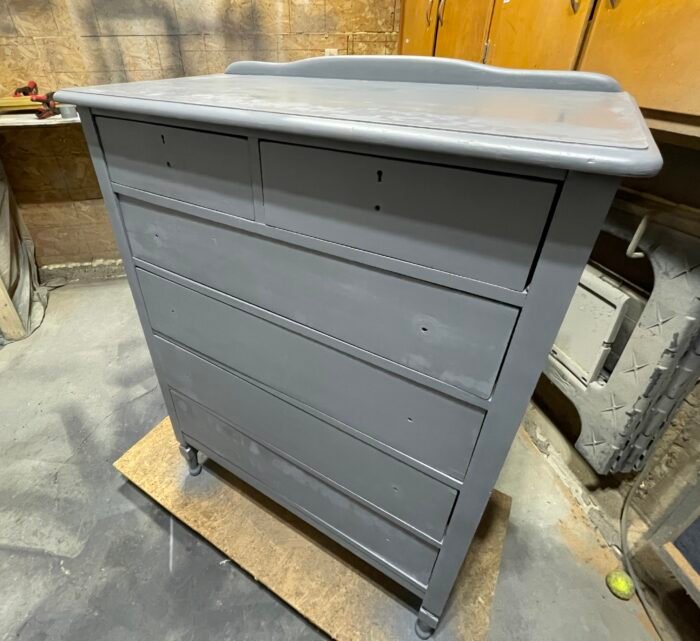
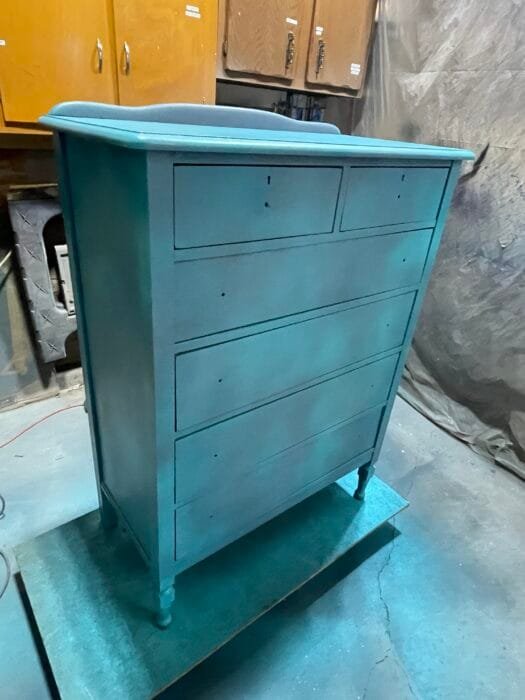
Randomly Sprayed Painted Background
AFTER (AI staging)
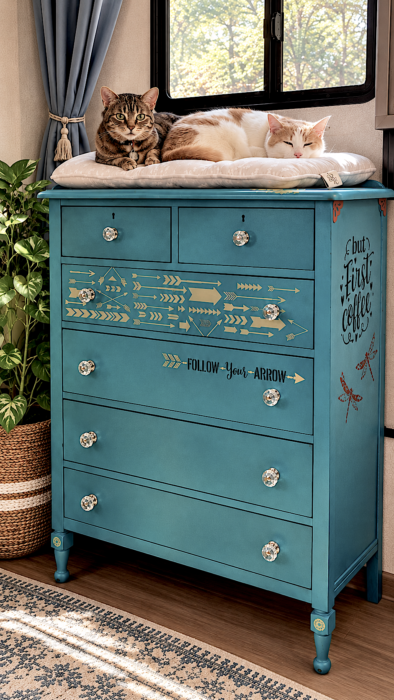
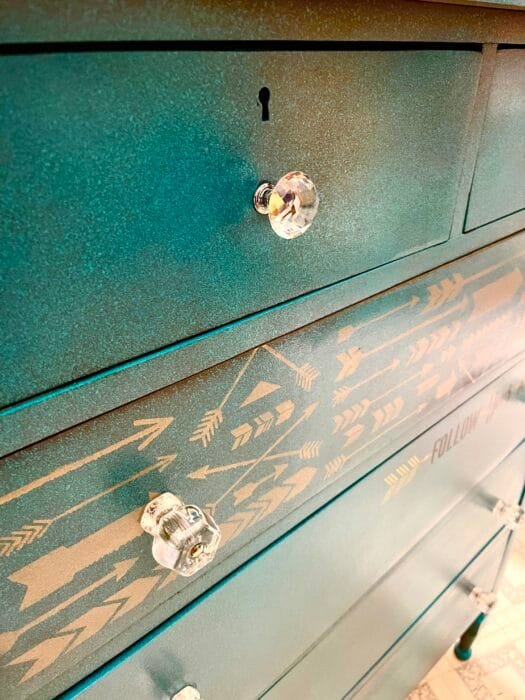
Crystal Knobs Complete the Look
Small Crystal Knobs on Top Drawers - Large Crystal Knobs on Bottom Drawers
Stenciled Right Side - But First Coffee

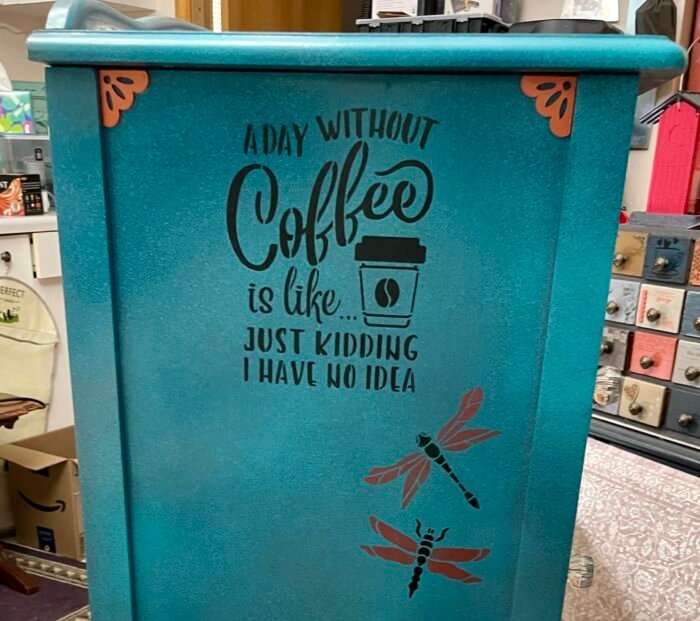
Stenciled Left Side - A Day Without Coffee
The Top We'll Never See - It's Now Max and Mia's Lookout Post
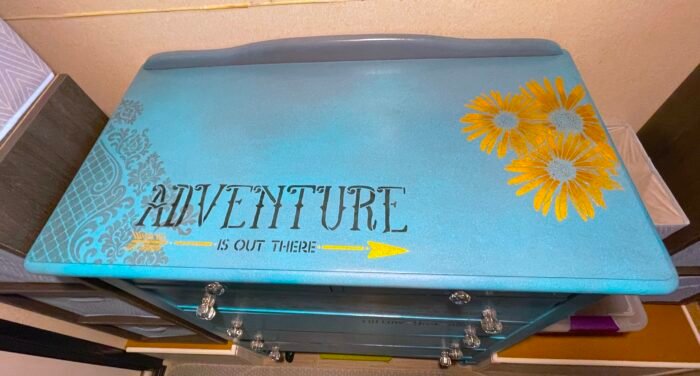
As I'm sure you've noticed, the color of the dresser is different in many photos. That's the beauty of it! Depending on the lighting at the moment, this dresser takes on different looks due to the different colors of spray paint I used. I love it!
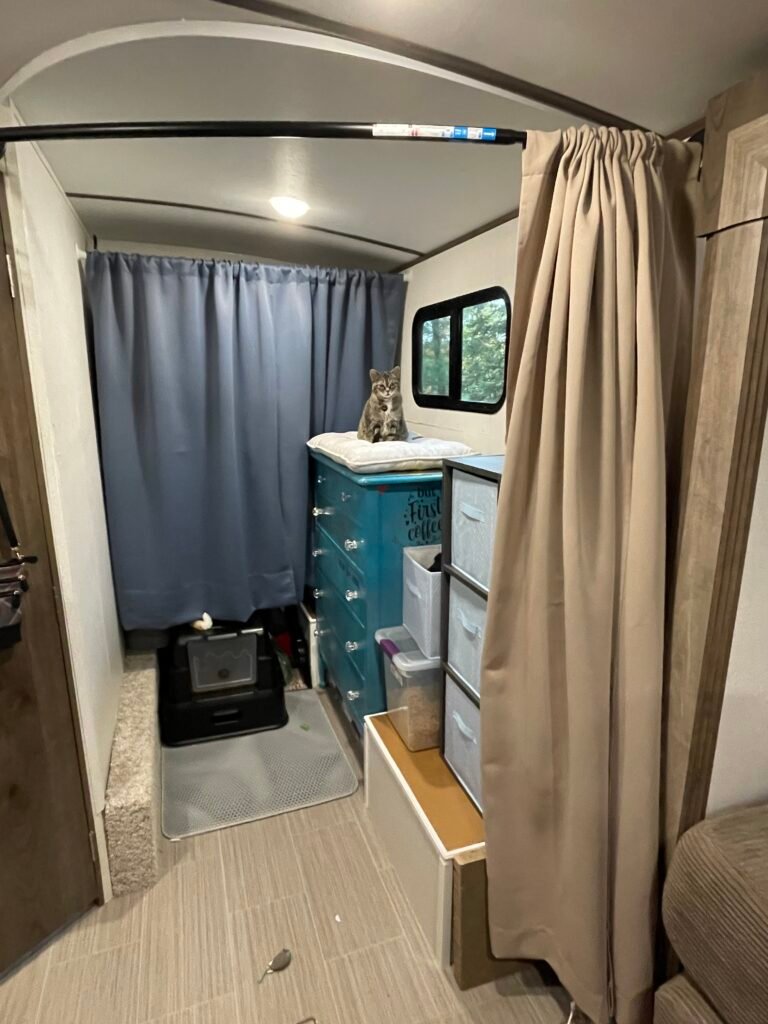
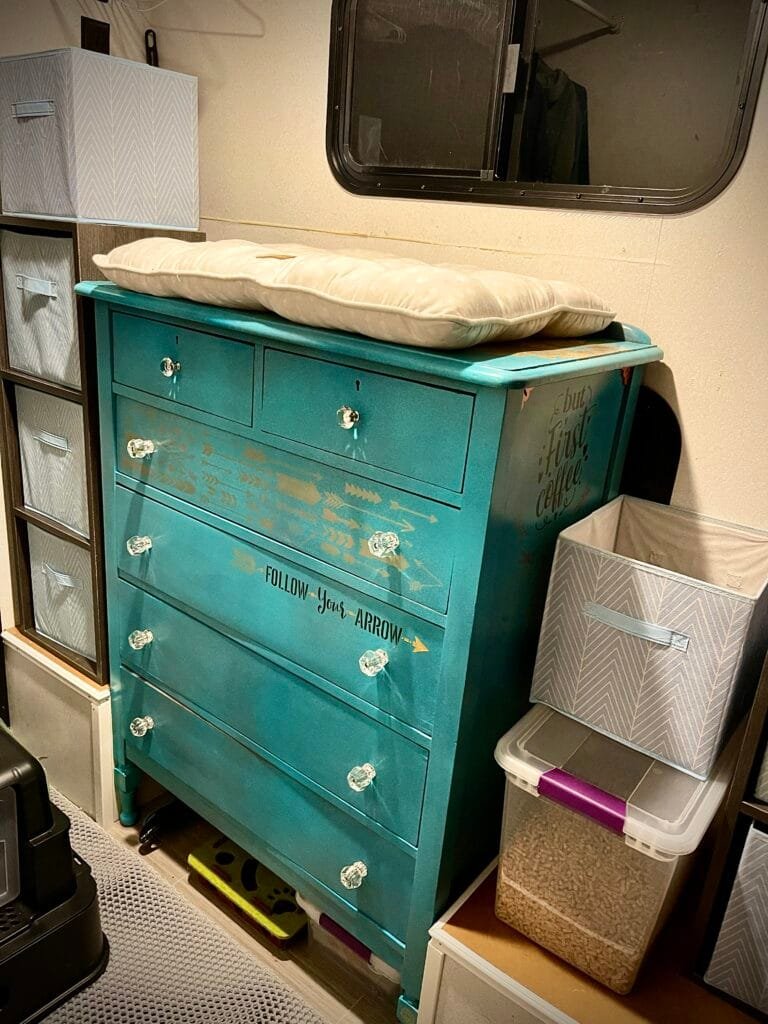
It takes time to develop your style and know what you truly enjoy when it comes to redesigning a piece.
You have so many decisions - what project piece to buy, how to prep it, what tools and products to buy and what design to try to create - if it's in your head, you need to know how to get that idea onto the actual piece. No worries! You can learn it all and become comfortable with each step by doing and learning as you go.
And if you’d like step-by-step guidance as you build those furniture redesign skills for yourself, come join us inside the Furniture Flipping Blueprint. → ValFrania.com/Blueprint
Reach out any time if you need help and if you need me, I'll be in my workshop.