
Here she is in her original home before she became mine. She was one of many at an estate sale:
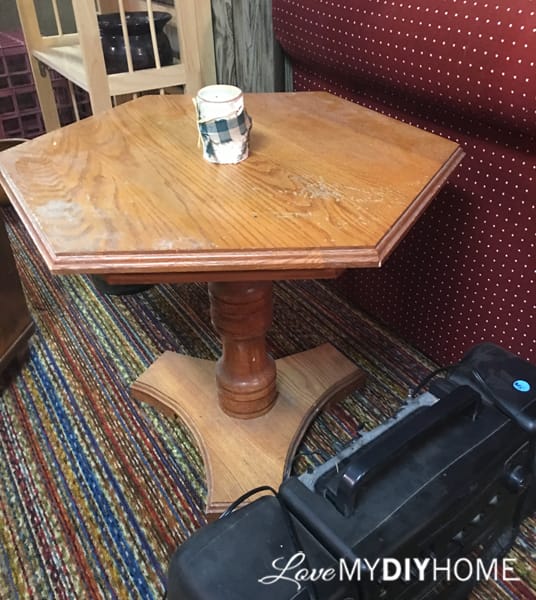
Paige was pretty scratched up and worn out, but she had good bones. We snatched her up and packed her in with all the other pieces we found that day and took her home. She was an after thought. Why not? She had potential.

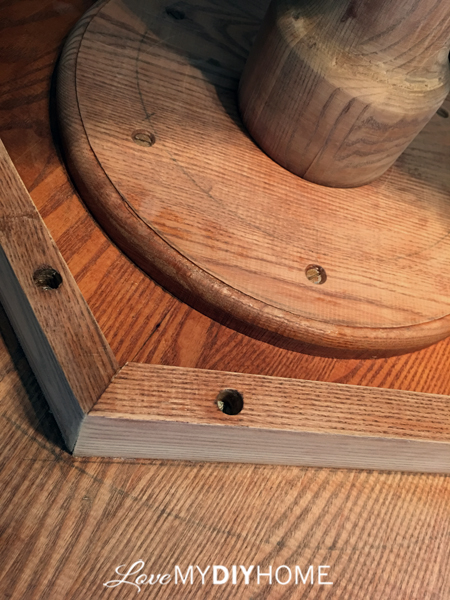
After flipping her over, we could tell she had been handcrafted by the pencil marks that were still visible.
Since we had just started using (afflink) Soy Gel to strip some pieces, my DH threw her in the mix.

It's pretty easy, actually. You just spread (afflinks) the stripper on, wait a few minutes and scrape it off with a metal putty knife.

Paige is a test case for my other Pure and Original project, a serving cart from my living room. I shared that a little bit ago.
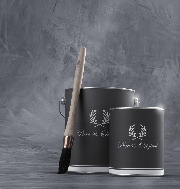
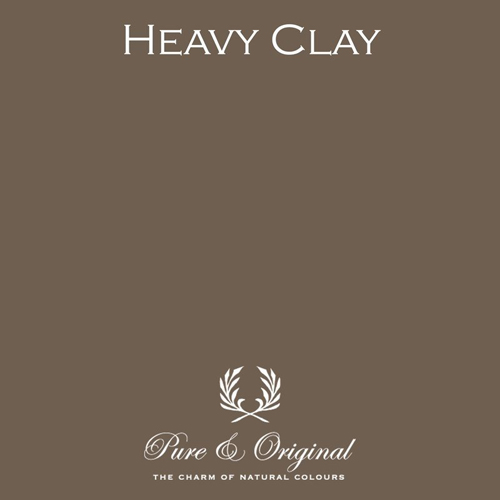
Pure and Original sent me a quart of (afflink) Wallprim and Fresco Lime Paint in the color of Heavy Clay with a brush for my serving cart, but I wanted to try it on Paige, a smaller project, before committing to the larger one.
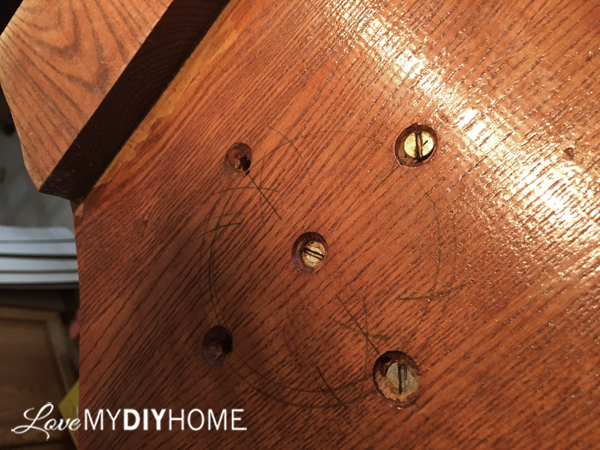
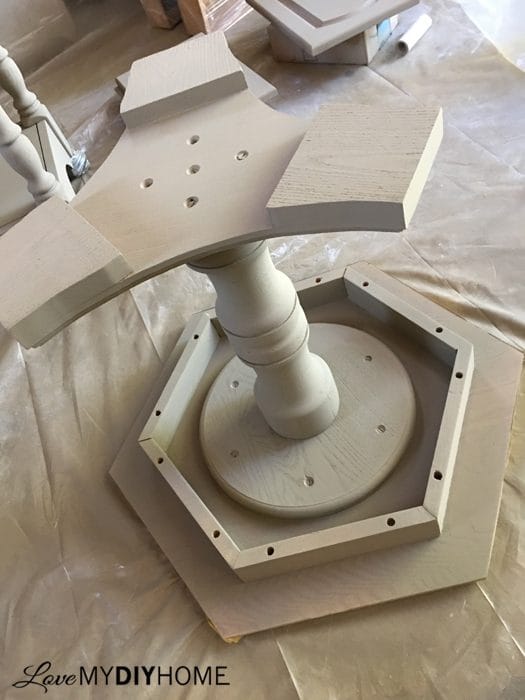
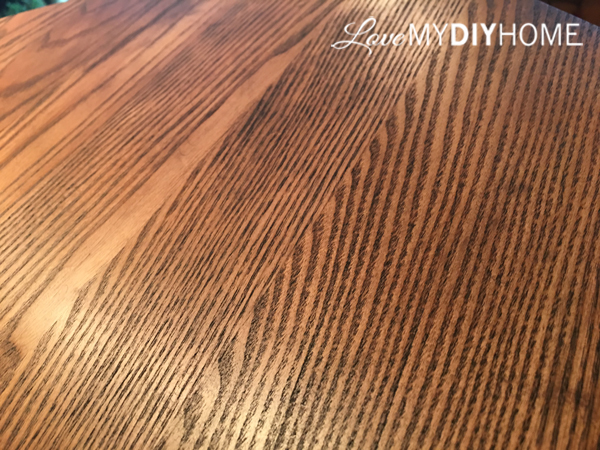
The top had a bunch of deep scratches. That took a bit of effort using my hand sander to get a nice surface for staining. I hand sanded the rest to make sure it had tooth.
tooth
definition #5 : a roughness of surface produced by mechanical or artificial means
![]()
The (afflinks) Wallprim was tinted the same color as the Fresco.
I taped off the top to save it for later. I sprayed on the Wallprim using my (afflink) HomeRight Finish Max. The (afflinks) Frog Tape worked well. As you can see, the Frog Tape is along the edge of the table - the green tape you see criss crossed on the top isn't frog tape, it's just the cheapo paint tape you can get anywhere for pennies.
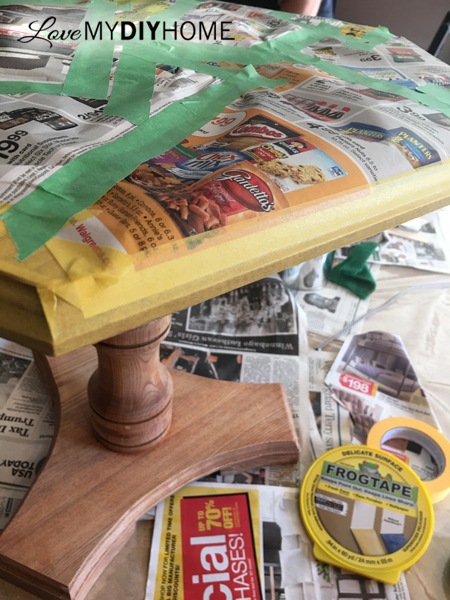
To spray, I started out with it upright and then flipped it over to make sure the sprayer got to every inch, including the underneath.
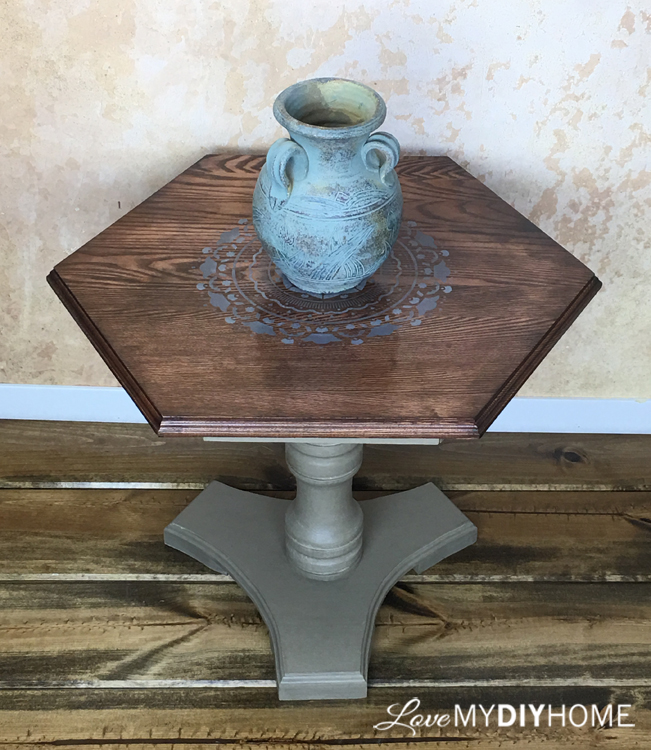
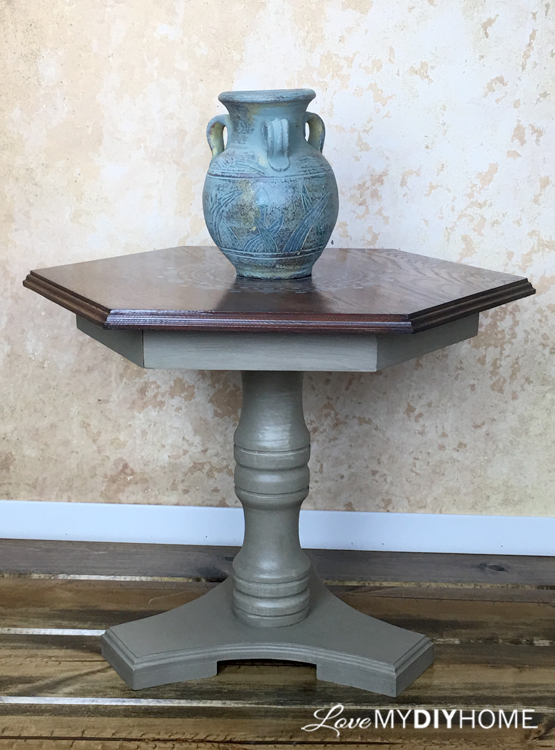
After the primer dried, I painted it with the (afflink) Fresco Lime Paint, in the color of Heavy Clay, using the specialty brush. It is actually a bit more gray than you see online in swatches. The color variations made by the lime make for a nice one-of-a-kind look - which is one of the best parts of being a furniture flipper. You can turn out some great, artistic type pieces that no one else has.
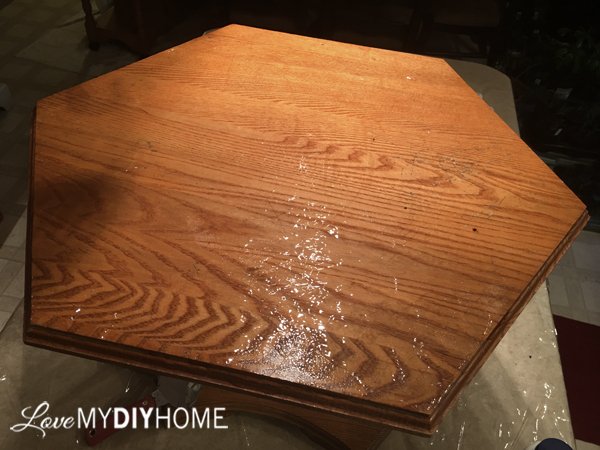
To seal it, I used P & O's Dead Flat Eco Sealer for a topcoat. After doing so, I read I was supposed to wait 7 days. Oops. BUT... eventhough I didn't follow directions, fortunately it turned out beautifully! The variance of color adds dimension.

I topcoated it with (afflink) General Finishes Wipe On Poly, which is oil base. I've finally found an oil base finish that is easy to apply and looks great! One thin coat is all that is needed at this point.
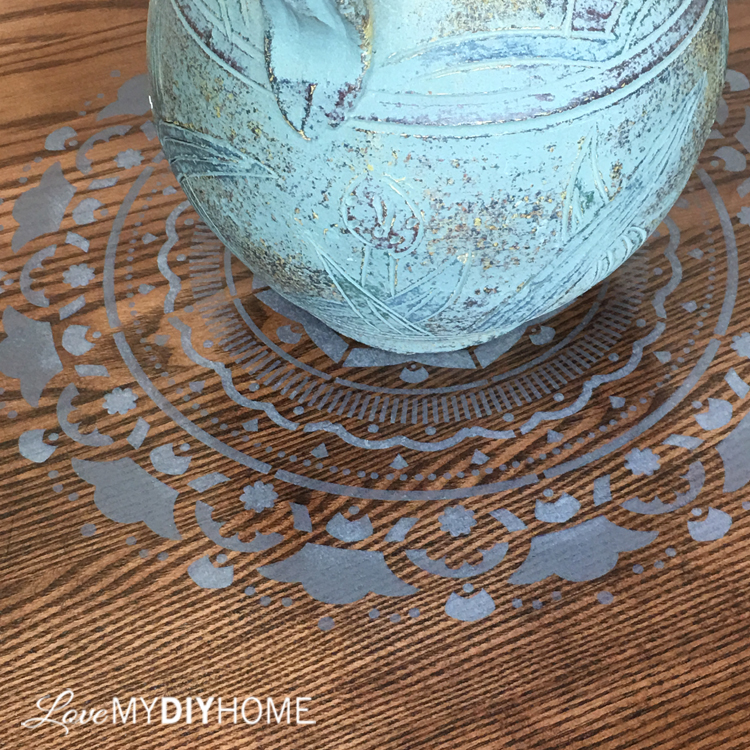
It didn't seem finished, so I stenciled a FolkArt Mandalla on the top and added a couple more layers of poly. I started out with a grayish brown acrylic paint and accented with a lighter color.


I added another three coats of the wipe on poly using a folded up strip of an old t'shirt - that way I could just throw away the t'shirt piece when I was done. Easy Peasey.


The wipe on poly gave a nice sheen - here you can see the reflection of the vase on the table top. There is something about a bit of sheen that makes the whole piece look valuable. I was pleasantly surprised at the outcome.

Opportunities:
- Join our furniture flipping group on Facebook - we will have well over 37.000 members.
- Visit our FB store, The Red Shed.
- If you'd like a PDF with 4 Homemade Chalky Recipes compared with directions, just click and subscribe to my furniture flipping newsletter.

* Disclosure: This post contains affiliate links. If you buy anything after clicking on one of the affiliate links, I receive a small commission of the sale. The cost to you is the same, and I only link to items that I think would benefit my readers. Your support of this blog is greatly appreciated! This post was sponsored by Pure and Original by supplying some of the materials for this project – Thanks, Pure and Original!

![]()
The table turned out lovely. I love discovering handcrafted pieces. What workmanship. Pinned.
Thanks!
Val, What a beautiful new look on Paige, which is a name I adore! Love the stencil on top too
Thanks, it was a fun project.
Certainly an improvement over the old look. You did great. That paint is awesome. Love the clay color.
Thanks!
The table came out beautiful. Reminds me of something Isaw in Santa Barbara.
Thanks. Fortunately I’m keeping this one!