Have you seen the newest DIY project for displaying family photos or signs and graphics like subway art and quotes?

I'm in the process of setting up a store that will feature such things, but I ought not get ahead of myself....
When my daughter showed me how to create these canvases I was amazed at how easy it was. I probably shouldn't share this. The mystery of such a nice piece of art is what sells it. I suppose there will be some of you out there that just don't want to do it yourself, so I will offer to sell them in the future once I get a good selection.
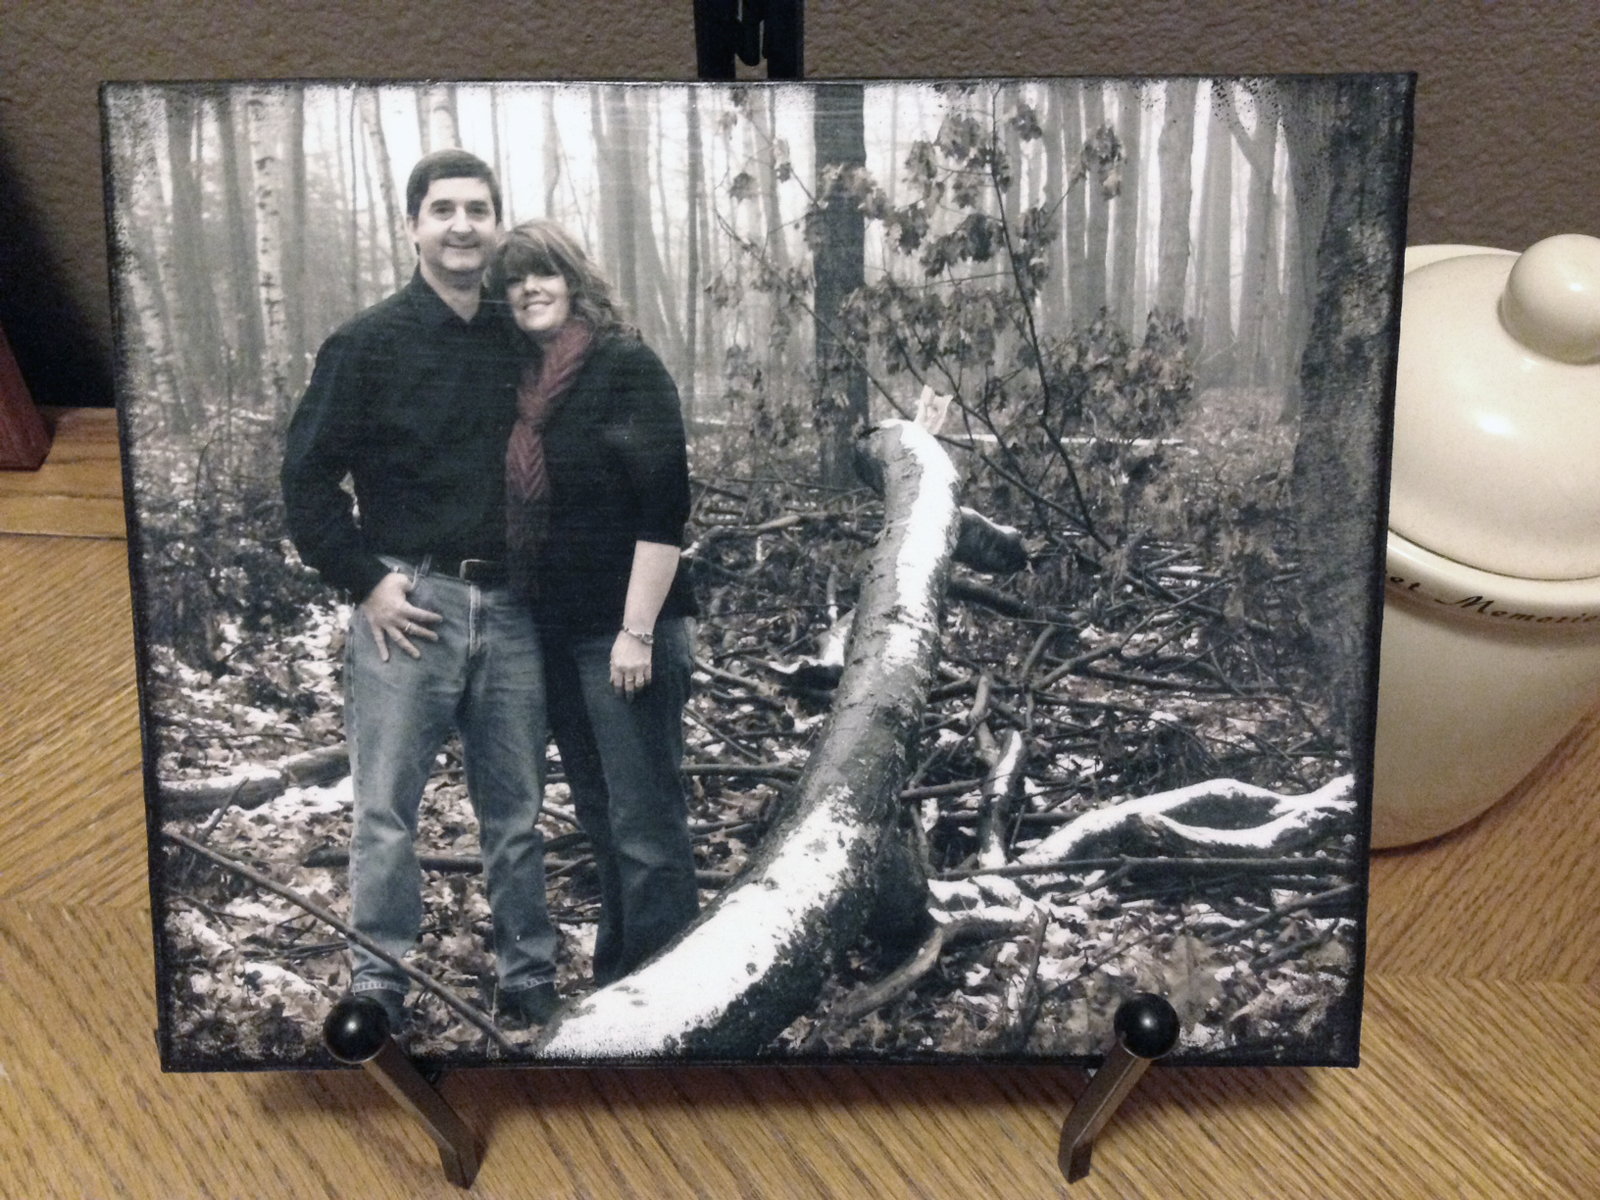
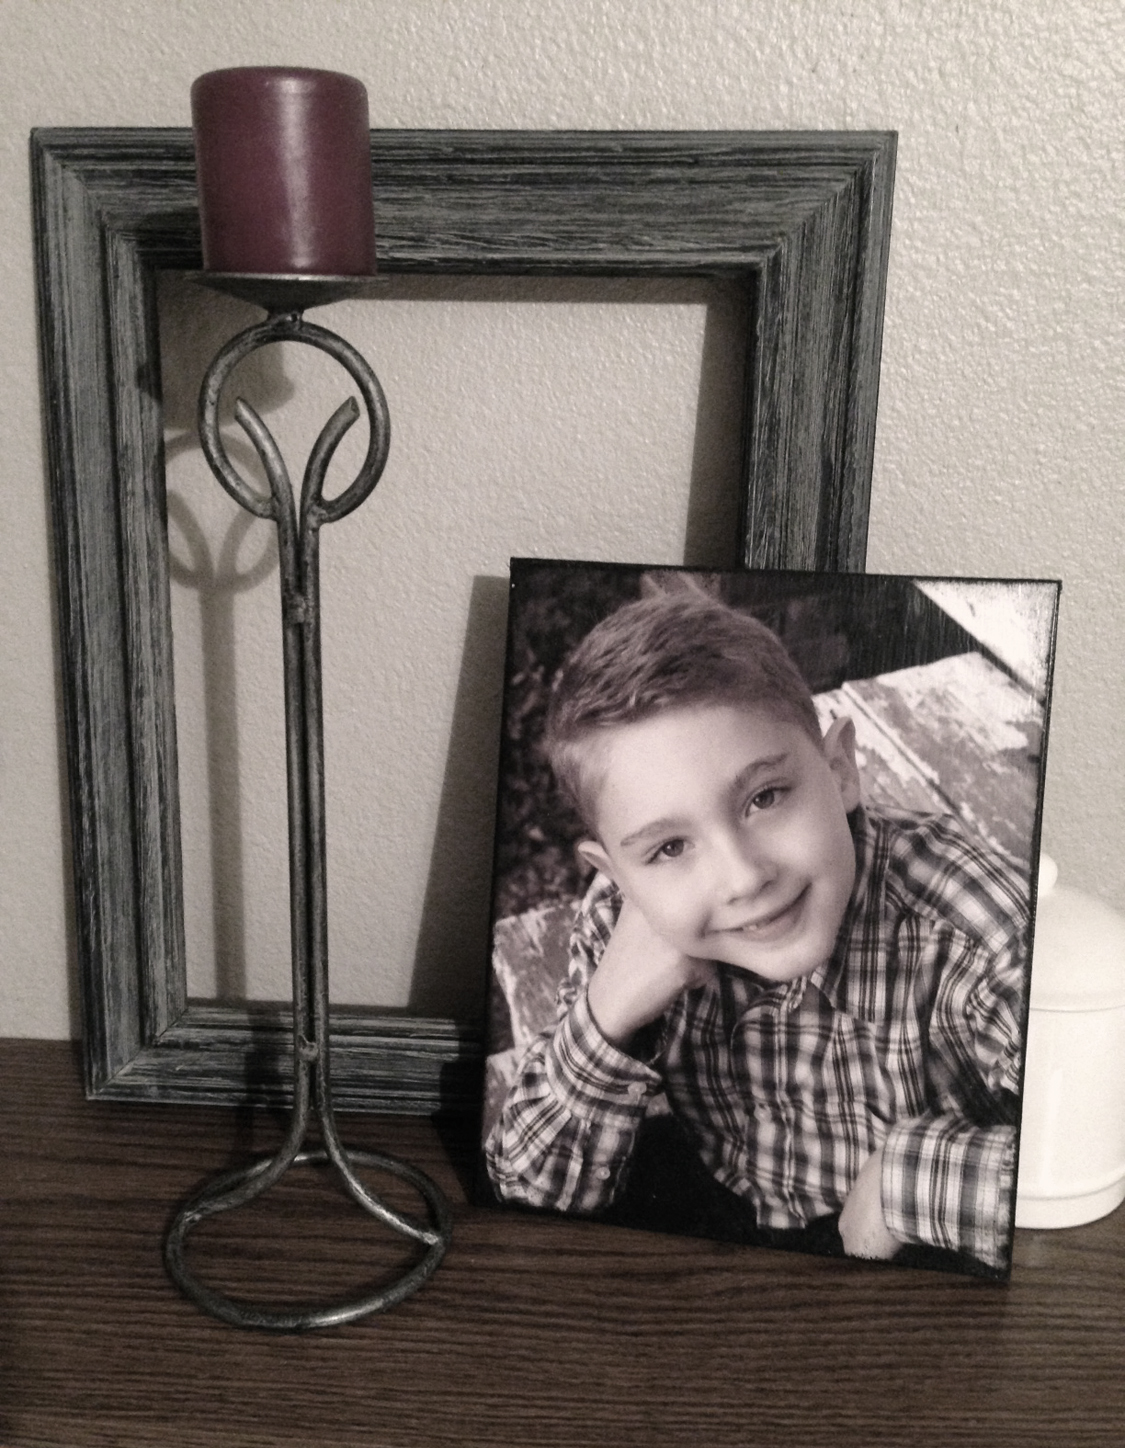
Here are a couple of canvases I have in my home. These are not on the stretched canvas, but on a flat canvas panel.
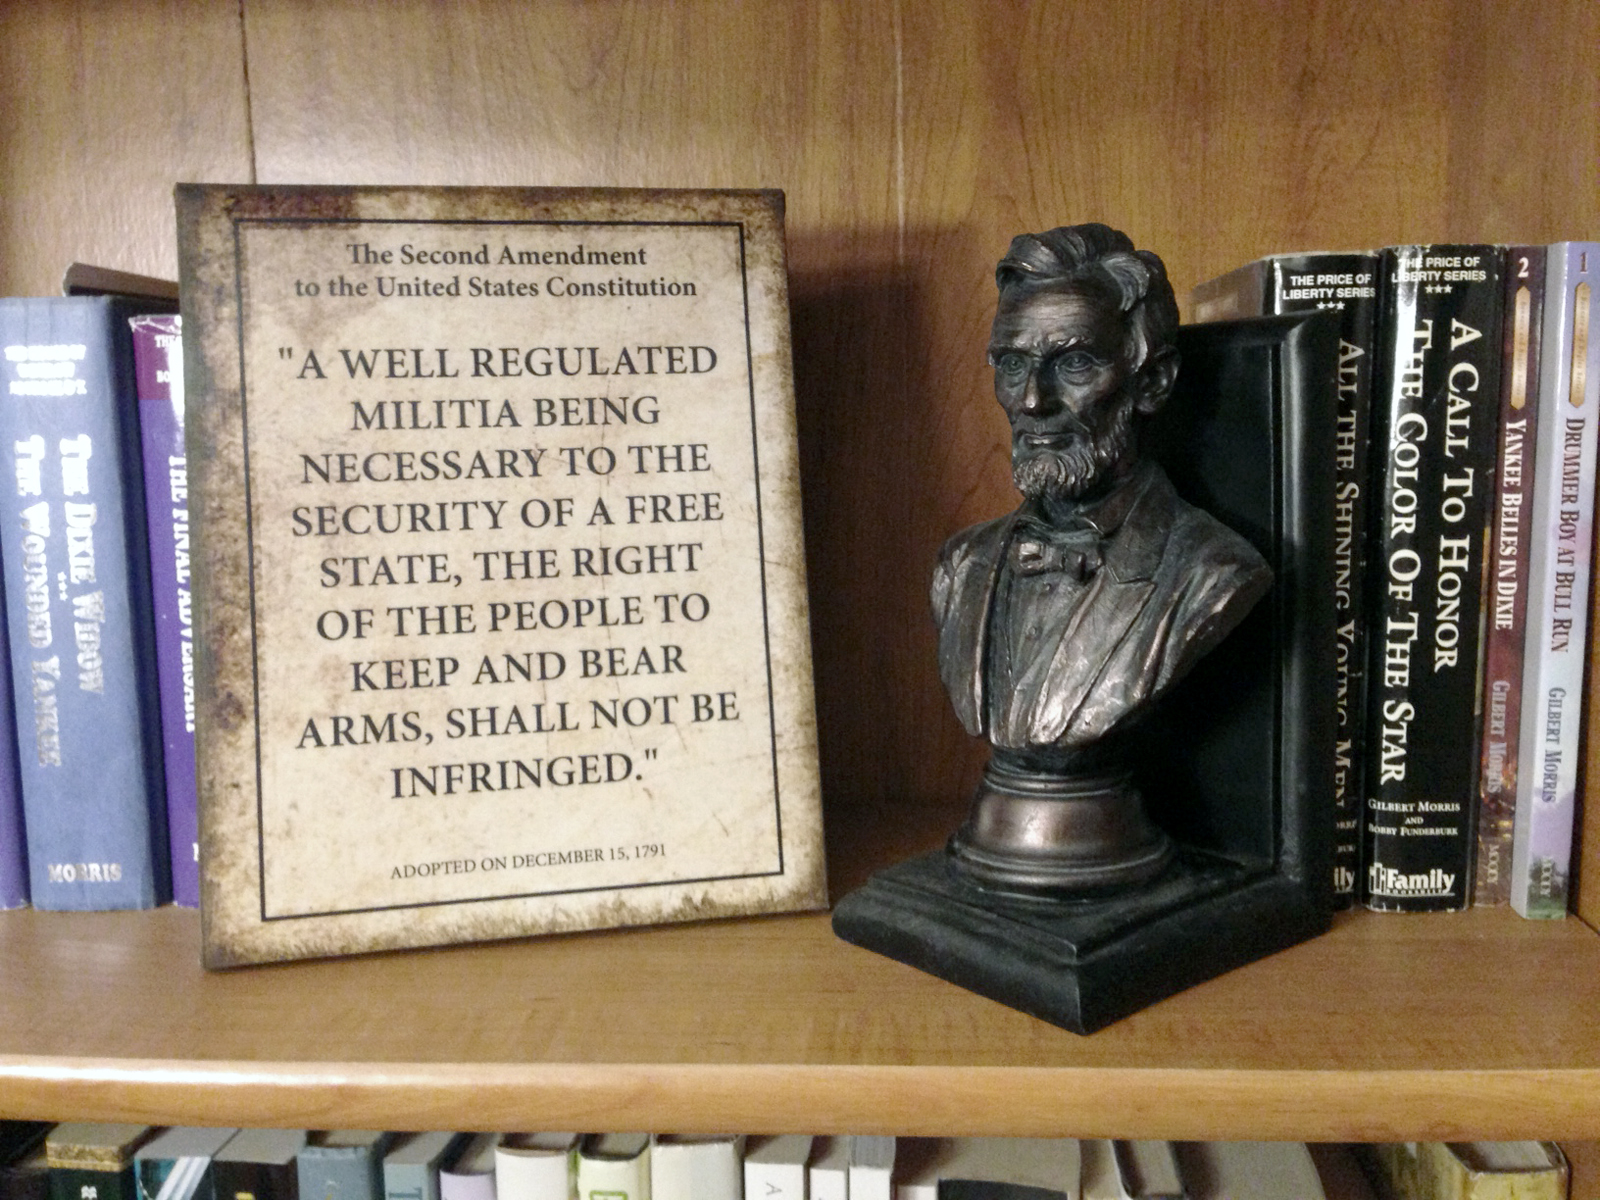
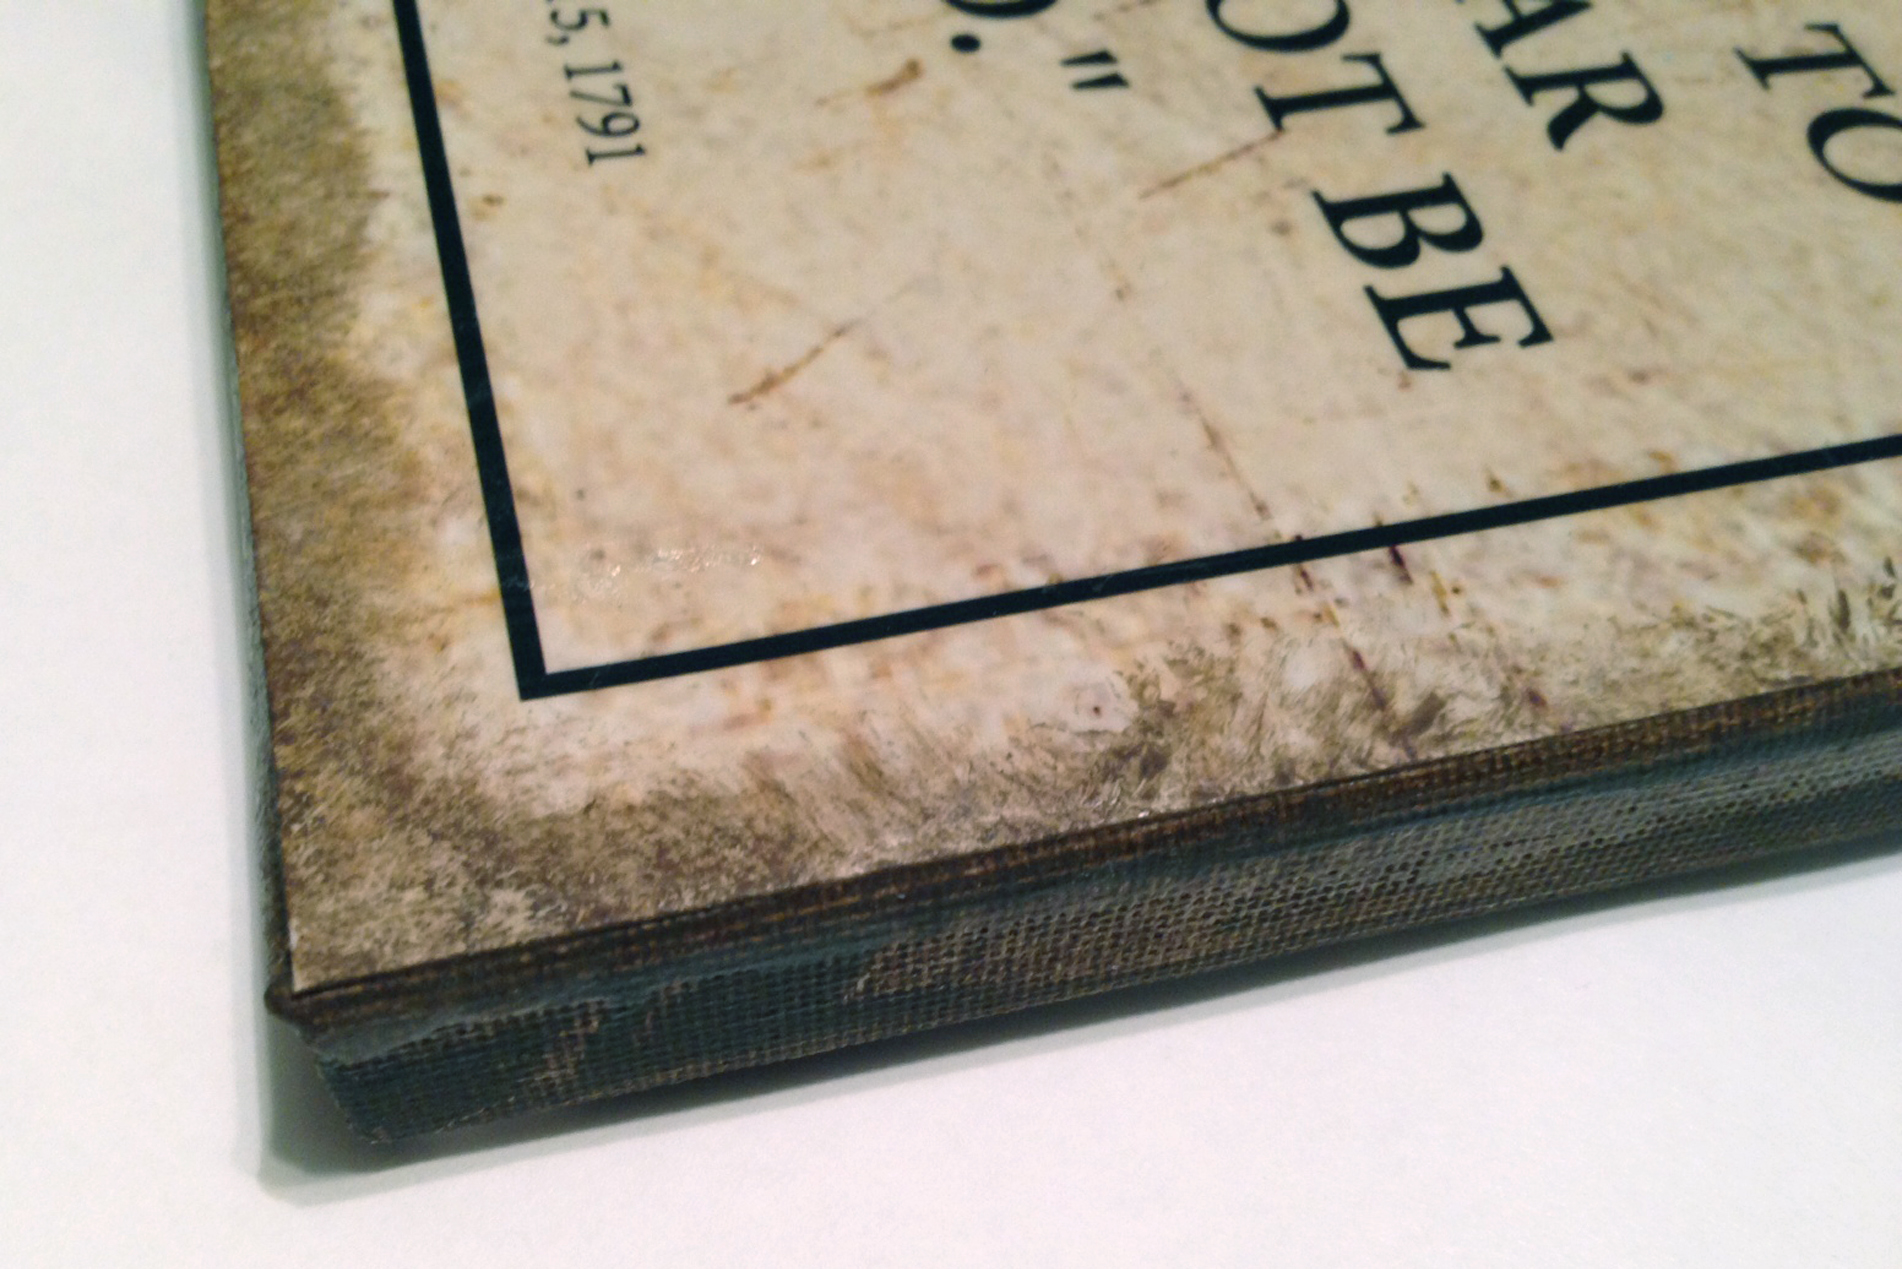
For this project you will need an 8x10 photograph or poster. For this tutorial, I used a poster of the Second Amendment that I designed in Photoshop. I had it printed as a JPG at Sams Photo Club.
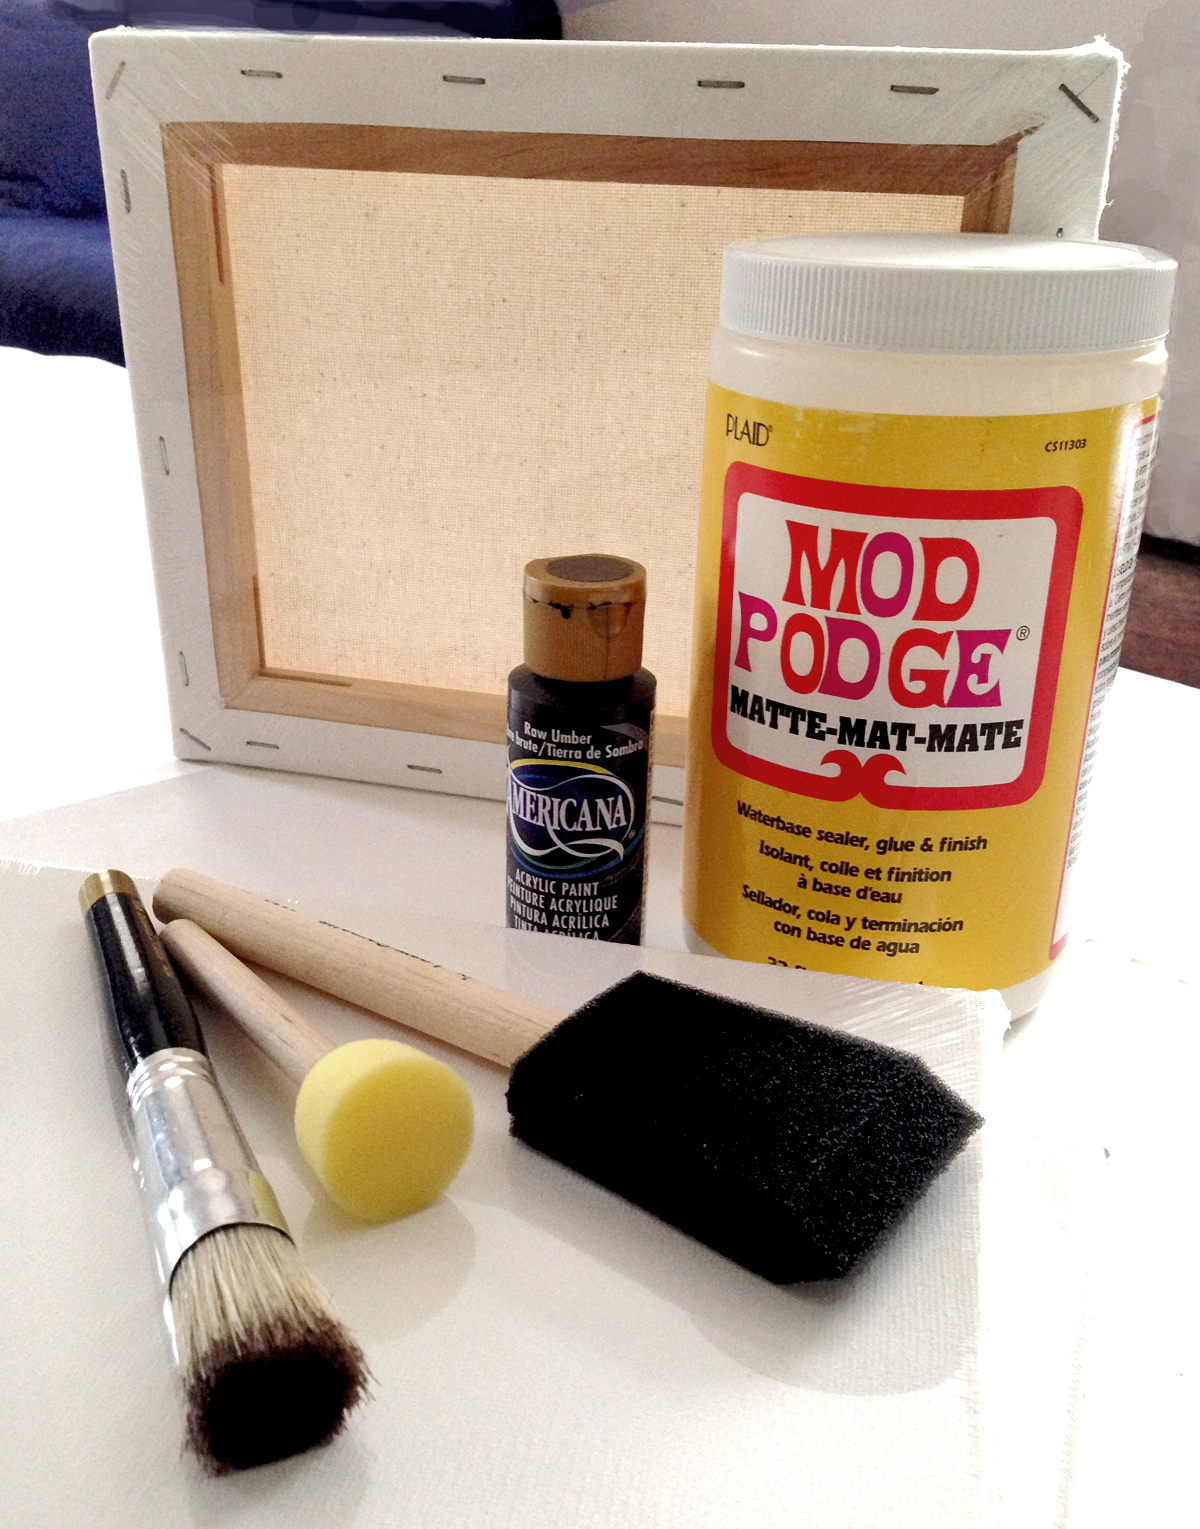
Here is a list of what you will need - I have linked each item to a page on Amazon so you can see a picture of a similar item to what I used. You should be able to find each of these items at Walmart, Hobby Lobby or Michaels. I've used a couple of different brands of some of these items, so don't feel you have to stick to one particular brand. I do recommend using the brand Mod Podge since I really like the quality. All over Pinterest are recipes to make your own, but I'm just a bit afraid to attempt that.
- 8x10 Photo
- 8 x 10 inch Pre-Stretched Canvas
- Mod Podge, Matte Finish
- Foam brush
- Stipple Brush
- Acrylic Paint
I created the poster art in Photoshop and then used Mod Podge to affix it to the canvas. I gave one of these canvases to our CCL (Concealed Carry License) instructor as a thank you gift. He in turn ordered two for fellow ACNOW members. This piece has generated quite a lot of interest - considering the times it's not much of a surprise. But that's not the subject of this post, so let's move on.
Here is a tutorial so you in turn can create your own DIY canvases for your home.
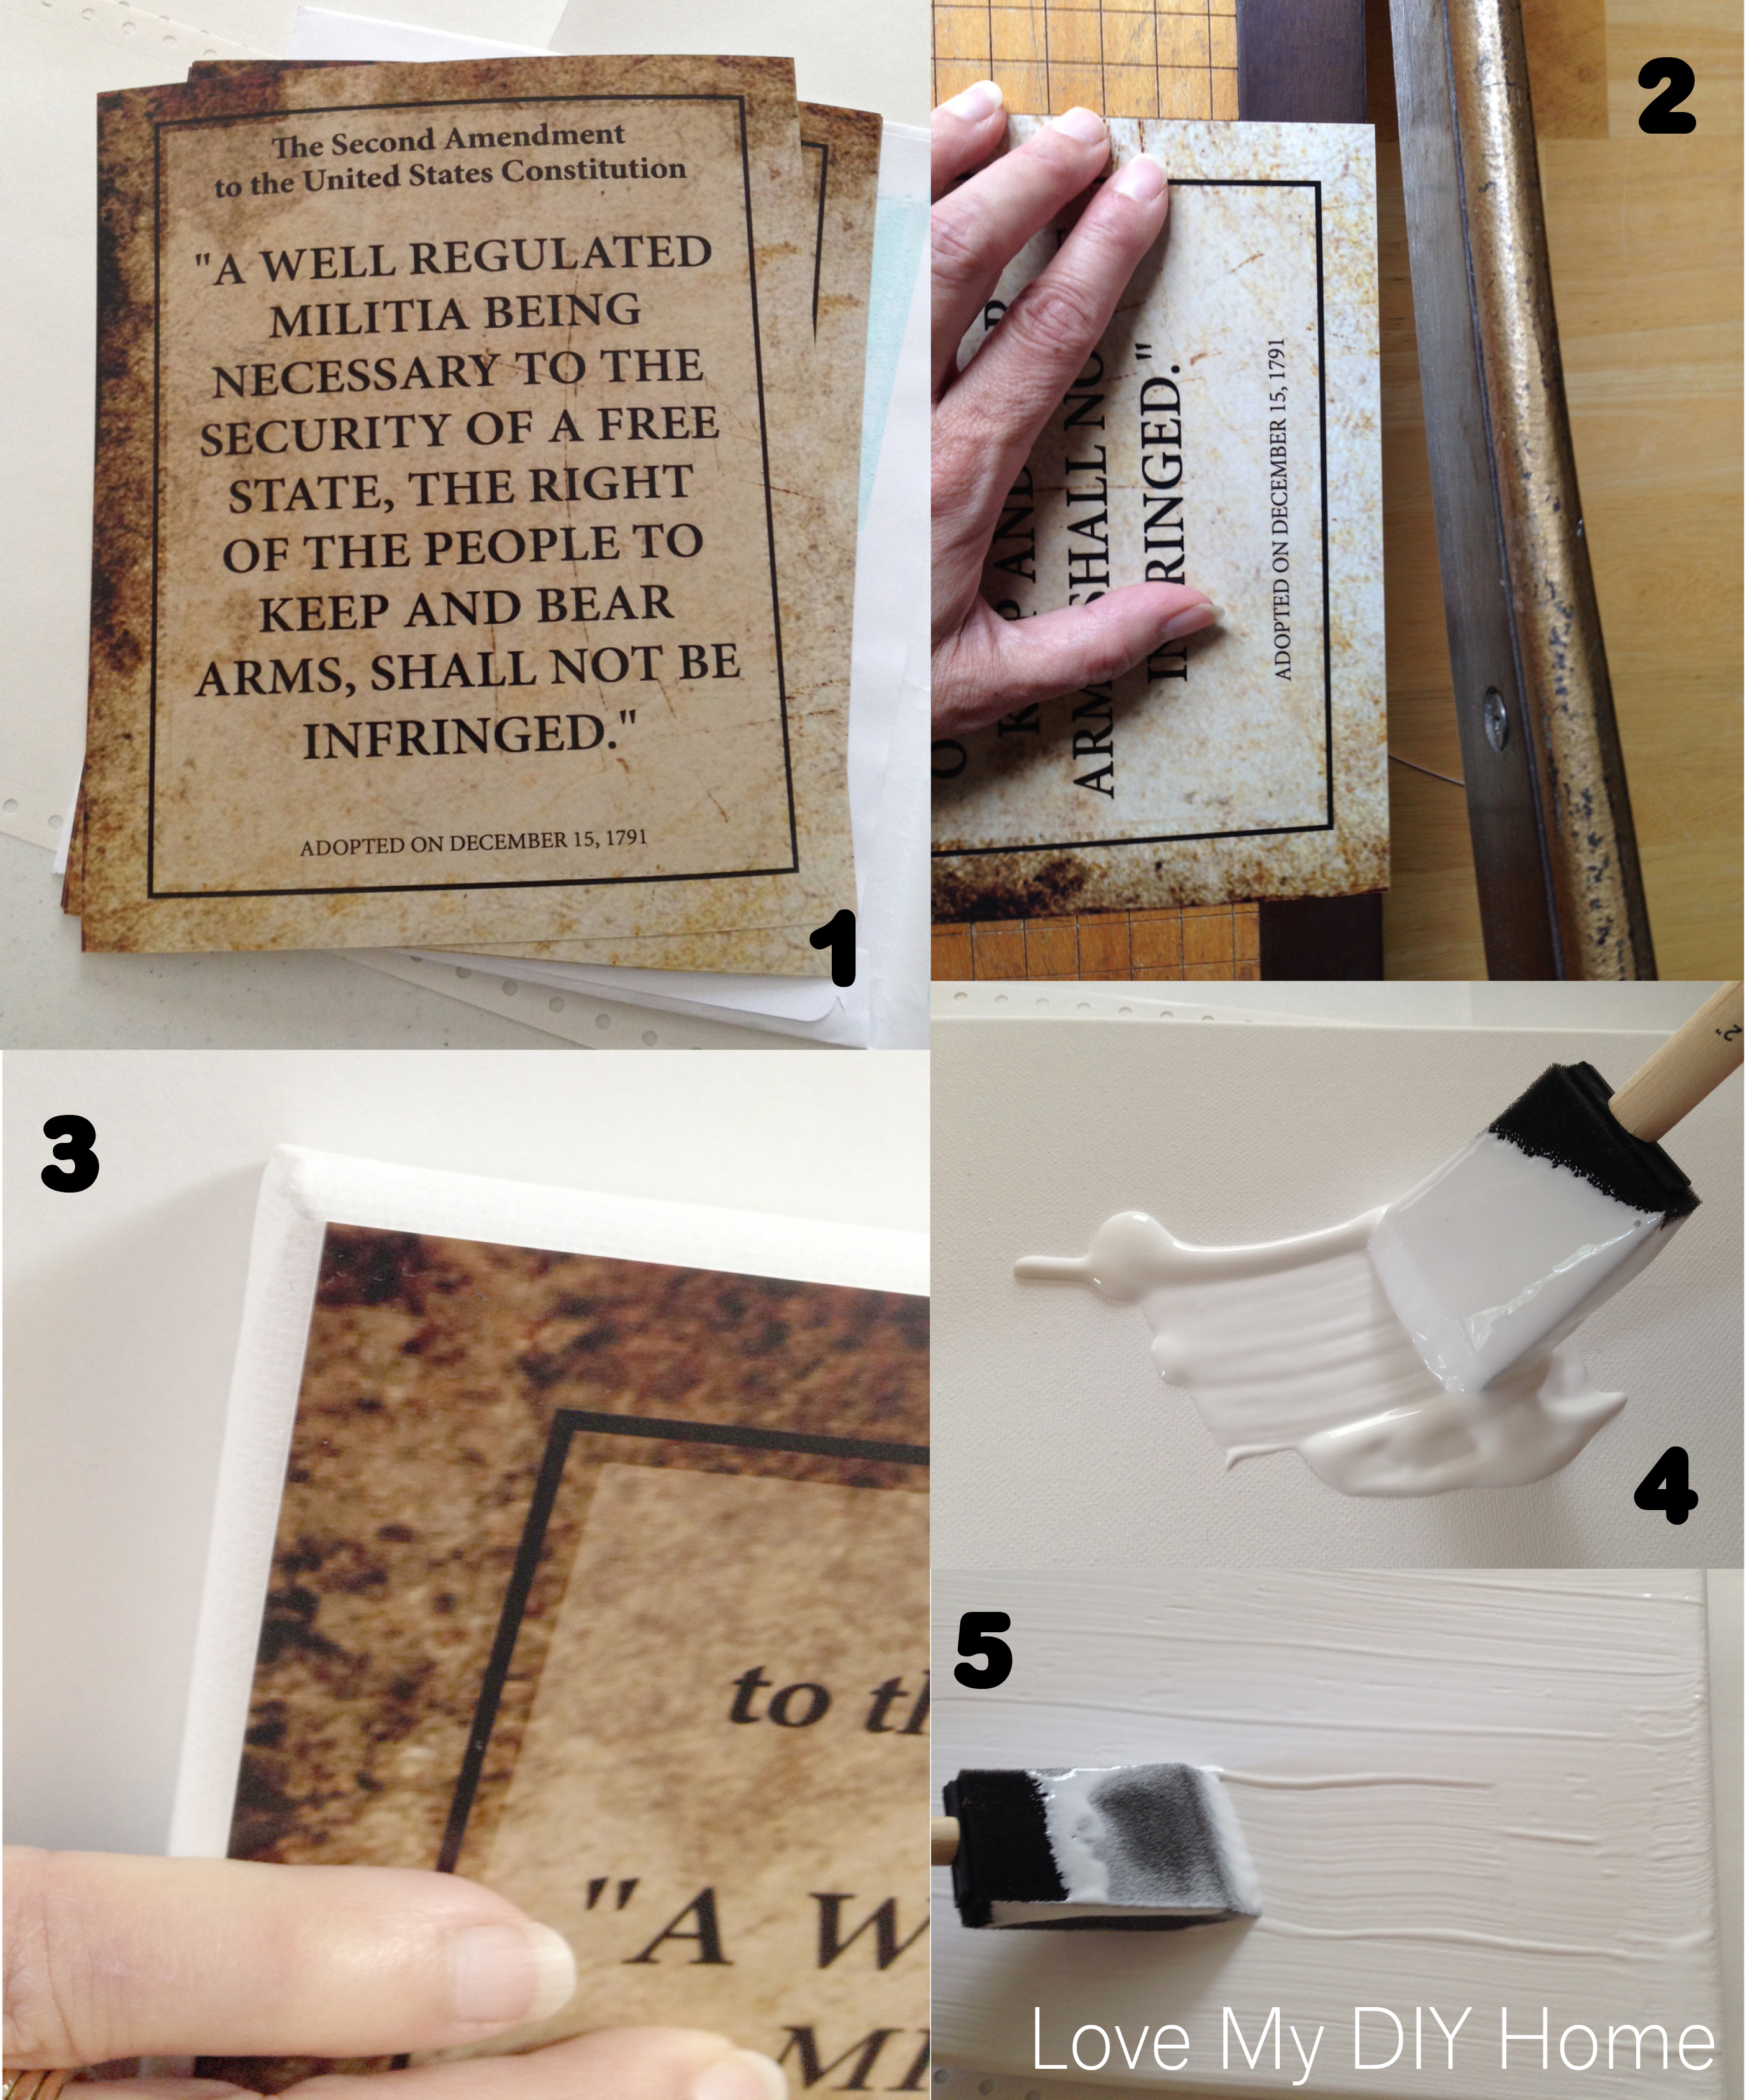
- Get your poster printed as an 8x10 Photo - matte works best
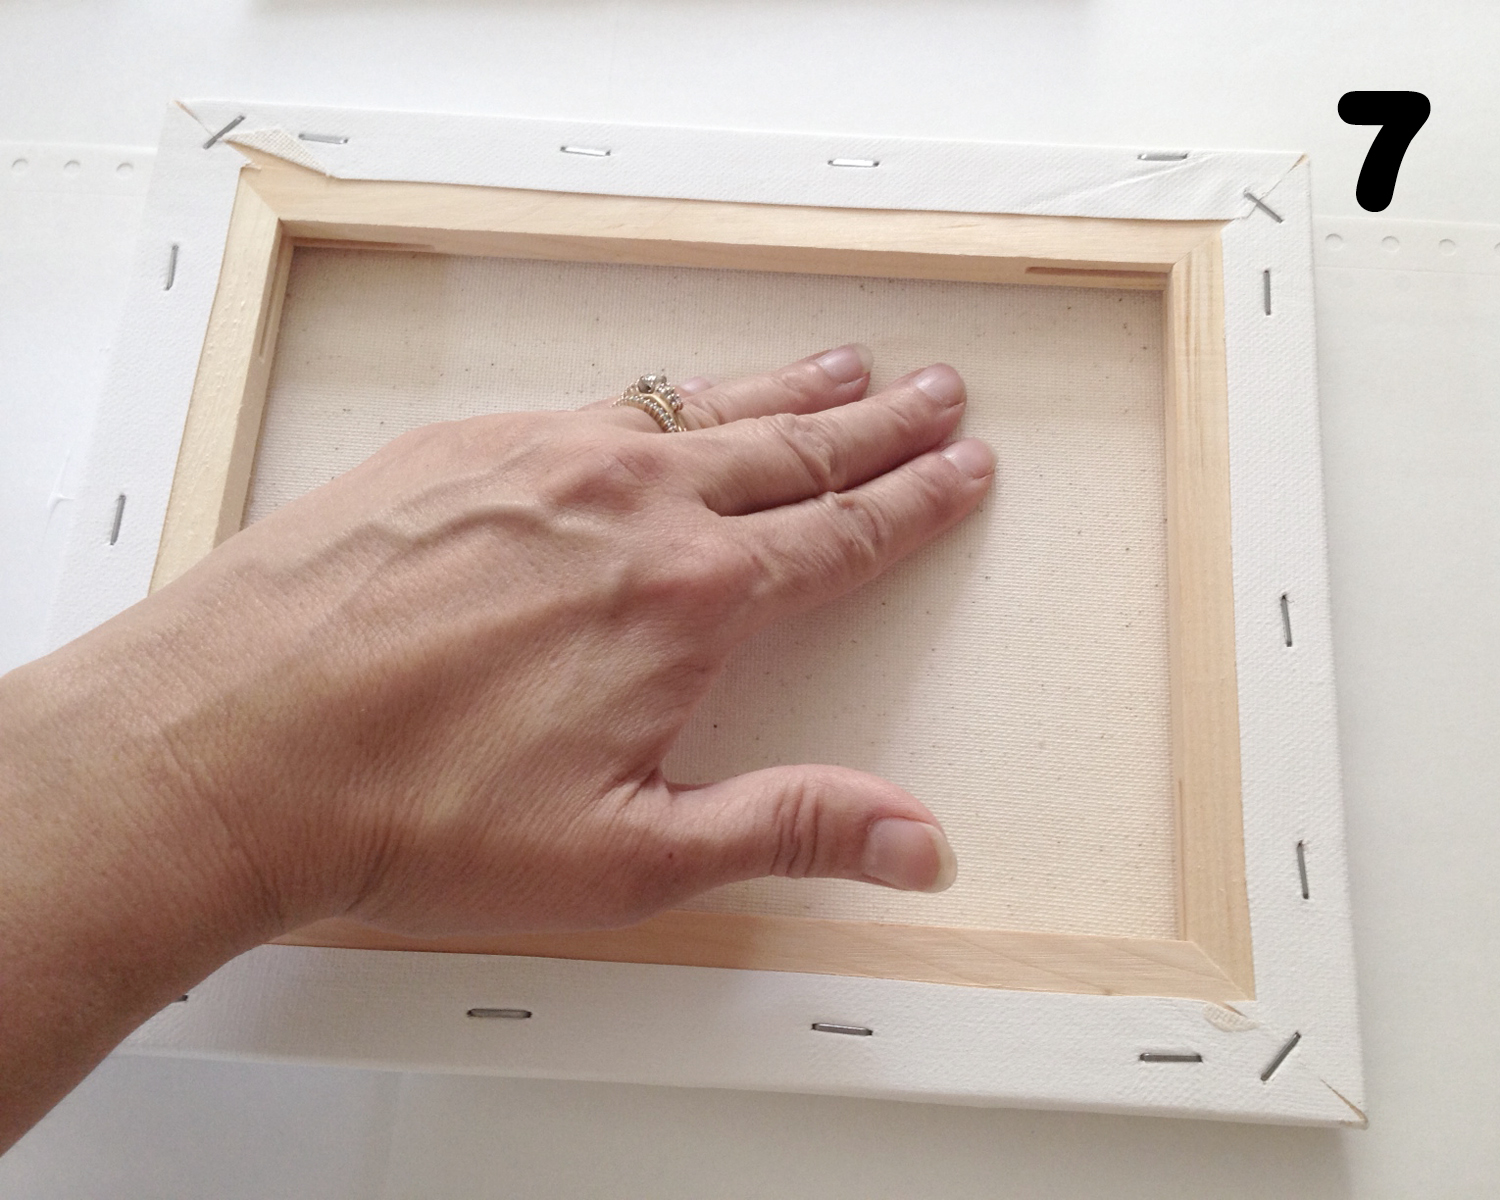
- Trim the edges of your picture so it's just a tad smaller than your canvas.
- Lay it on the canvas to make sure it's the right size.
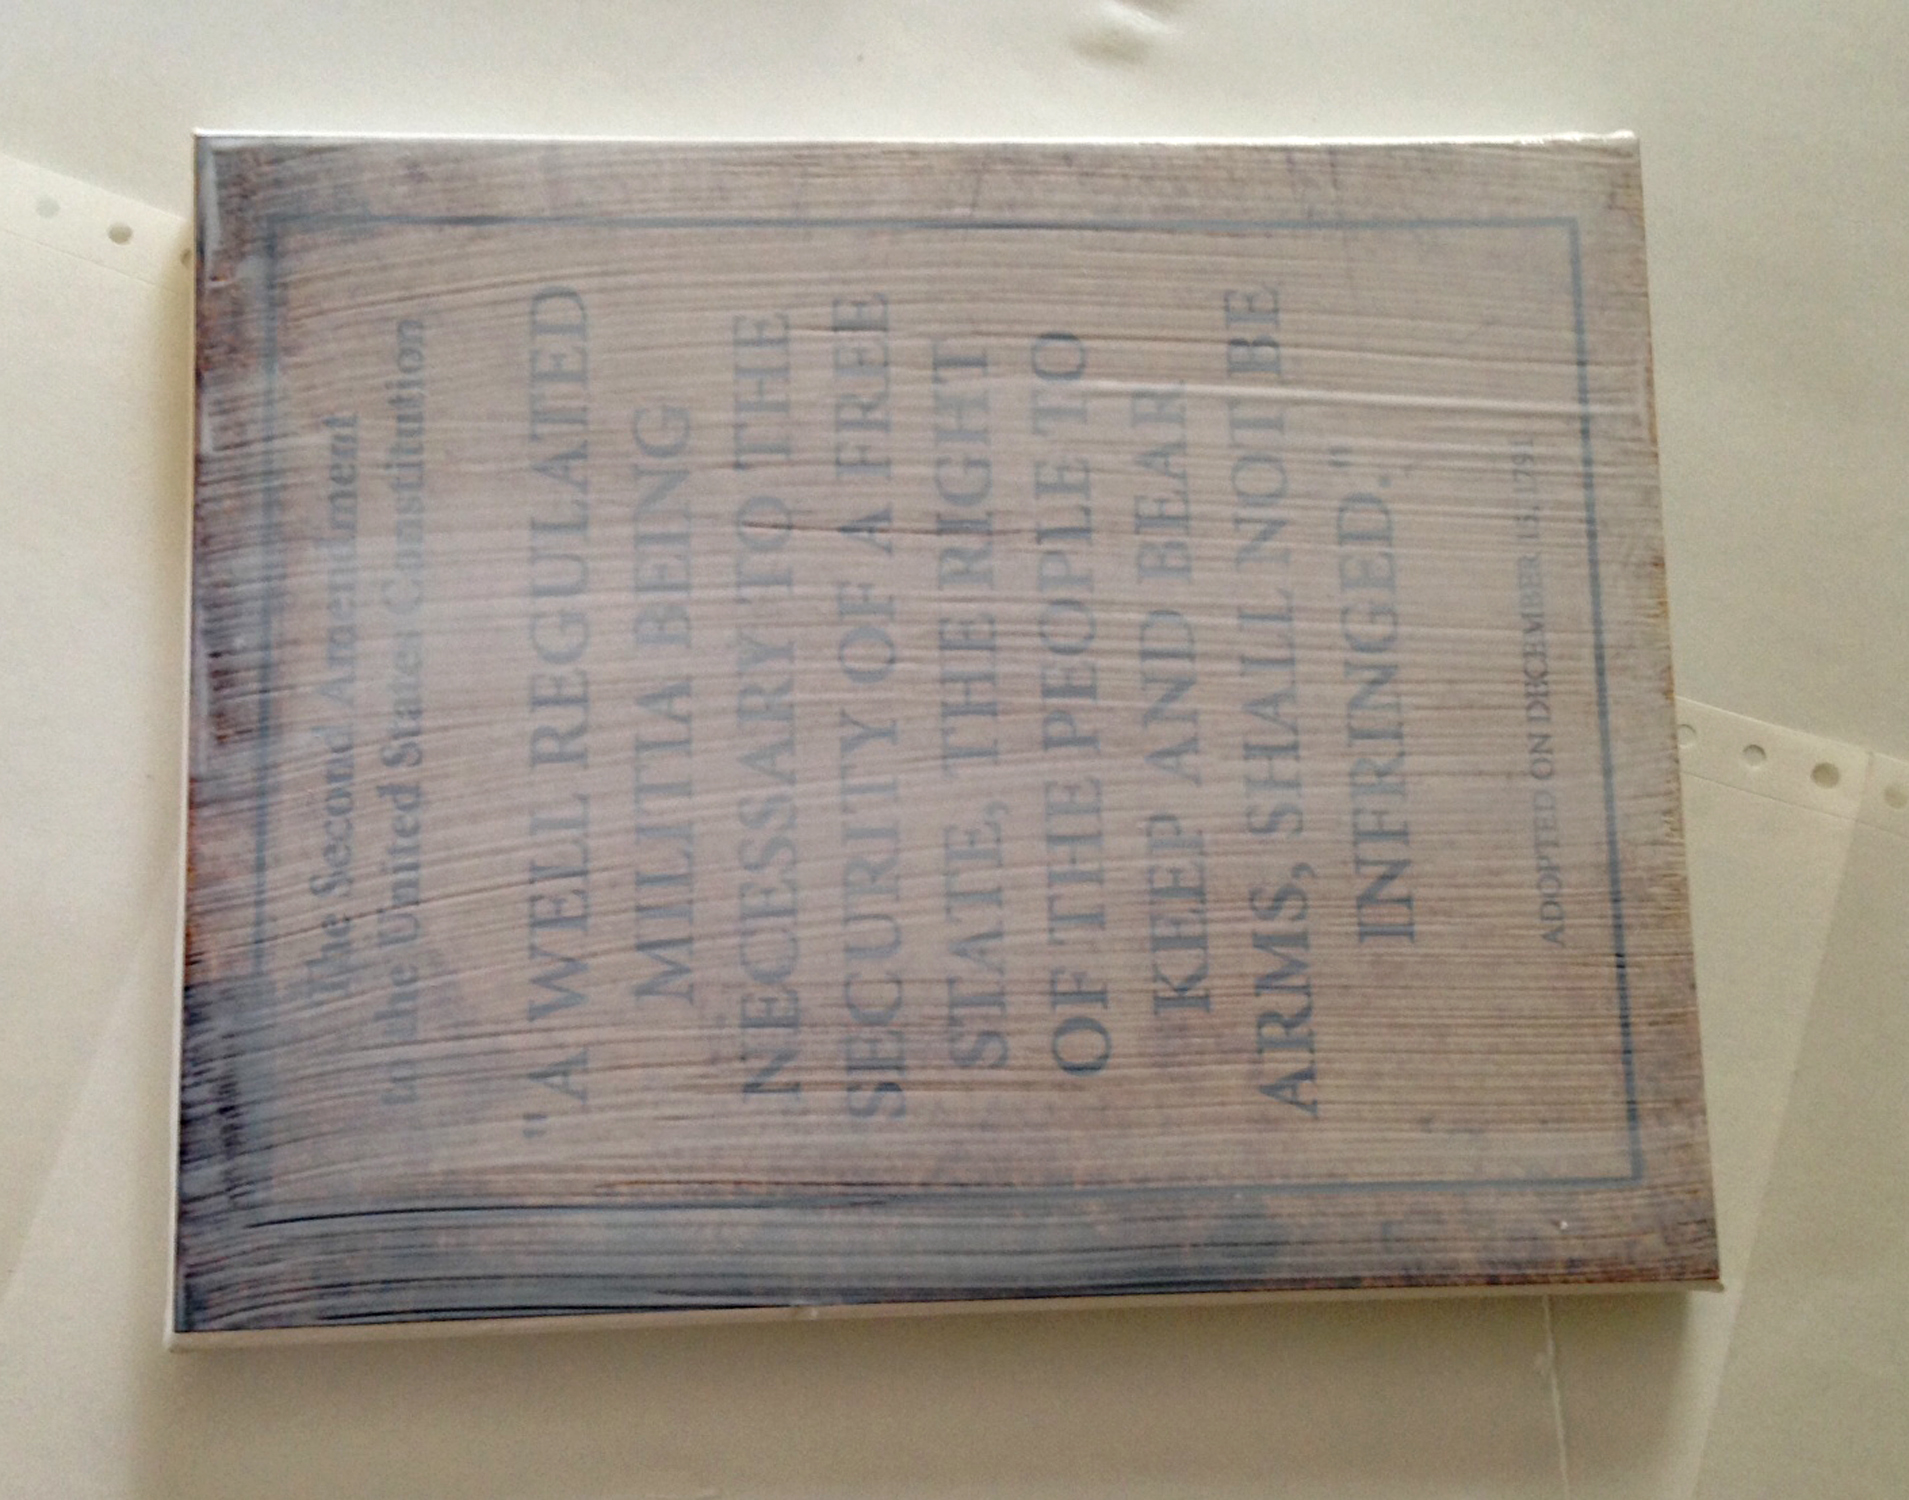
- Paint a fairly liberal layer of Mod Podge on your canvas.
- Evenly distribute the Mod Podge so there are no puddles or dry spots.
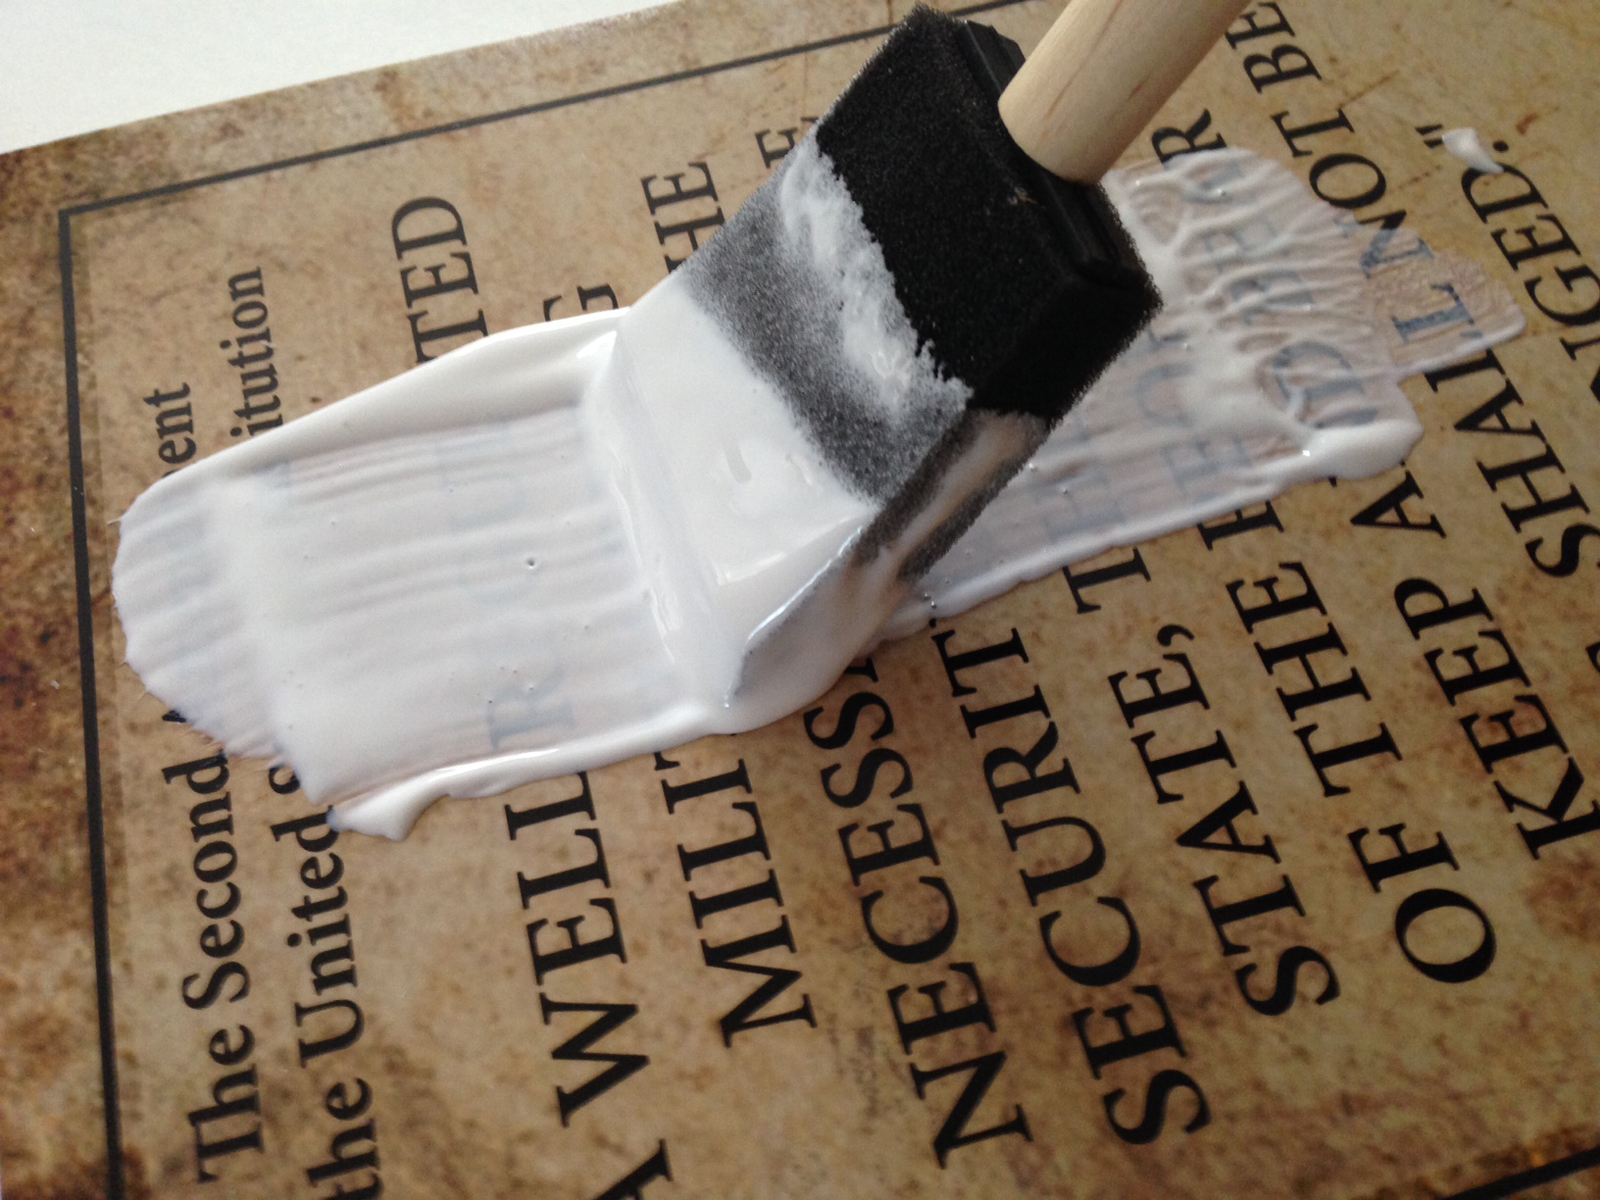
- Place your picture on the canvas and smooth it with your hands.
- Then flip it over and smooth it out as it's laid flat on the table to make sure all air bubble are worked out.
- Let it dry for an hour or two. If in a hurry, use a hair dryer to dry it quicker.
- Paint a coat of Mod Podge on top of the picture. Let dry completely.
- Paint another coat of the Mod Podge on the picture. Let dry completely. It will dry clear.
- Paint the edge of your canvas so the sides are a color complimenting your picture.
- Use your stipple brush to dab the same color of paint onto the edge of the picture to give it an artsy look.
Blessings,


This is so cool! We just recently bought a bottle of modge podge for another project and there's lots left. I must try this!
Thanks, Theresa. You will love Mod Podge! I’ve used it on several projects and it hasn’t failed me yet!
This is an awesome idea. I love it!. I'm thinking of making a collage version with some of my prints now. You have inspired me!
Thanks, Teowai. I would love to see your collage when you are finished!
Very inspirational! Thanks for posting.
May I ask what a flat canvas panel is? Is it something like canvas on a hard cardboard substrate?
What wonderful gifts these would make.
Vee, a flat panel is canvas on a flat board, not on wood strips stretched and stapled on the back. You should give it a try – E.A.S.Y.
Have you tried making your own DIY Modge Podge?
I know there are recipes for it but I wondered how well they actually worked in a long term way such as modge podge does and also if it would actually draw bugs over time due to the ingredients used in making it. Kind of like wall paper glue attracts silver fish after awhile.
Patty, I have thought the same thing. All over Pinterest is the recipe for making ModPodge, but I’m leary. I am thrifty, but not so thrifty that I’m willing to save a little using a method I’m afraid won’t stand up to time. I’m happy with ModPodge and will use that. I too saw the ingredients on the DIY stuff – not sure I would want to chance it. Thanks for visiting.