Bad Advice Alert #1: What New Flippers Shouldn’t Believe on Facebook
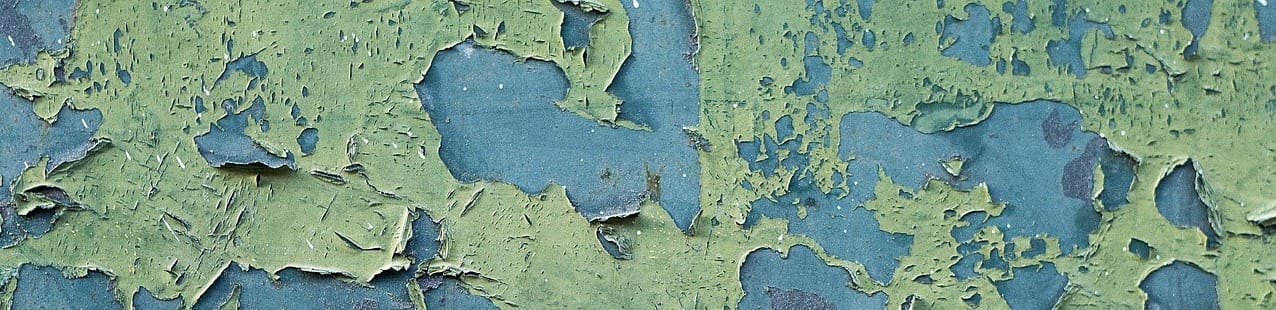
Bad Advice Alert: What New Flippers Shouldn’t Believe on Facebook When you’re new to furniture flipping, it’s easy to get sucked into the advice whirlpool—especially in Facebook groups where everyone seems to have an opinion. Some of it is gold… but a lot of it? Not so much. If you’ve ever been told to skip prep, the brand you are using is why “this or that” is happening, or that “anyone can do it” with zero experience, you’ve probably run into a few of the common myths that make flipping harder—not easier. In this post, I’m breaking down one popular (but very wrong) tip floating around online, so you can avoid frustration and flip with confidence right from the start. PEELING PAINT I recently read a post in a Facebook group from someone that was very distraught because she bought a buffet from a local flipper for $400 and … Read more