
They Are Everywhere
You’ve seen them. Junky pieces of furniture that no one wants. They are priced for pennies compared to the new pieces you find in retail stores. Do you pass them by?
“Jillian” The Nightstand
She was ugly. She was dirty. She was smelly and sitting in a garage stuffed with junk. All she needed was someone to take her home.
For those of you who know our DD, Jillian, this piece was named after her because we were together when we found her, and we painted this one together…not because they looked or smelled similar. VBG
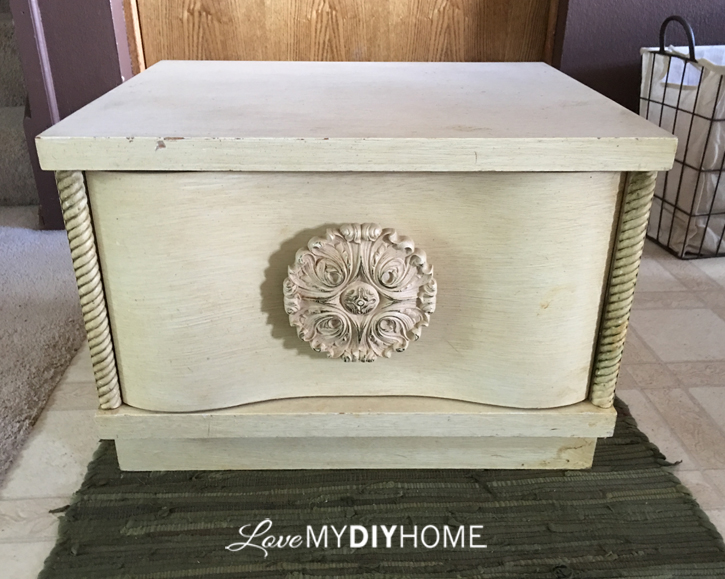
Supplies
(Affiliate Links for Your Convenience)
Chalk Paint® by Annie Sloan
Her Steps Toward Beauty
1. Clean her up – she needed a good scrubbing. We sat her outside to air out and let the sun do its job. We used (affiliate link) Krud Kutter to take off the years of dust and grime.
2. Lightly Sand – to give her tooth. We want the paint to stick!
3. Prime – (affiliate link) Zinsser’s spray primer was easy and provided a good cover up. We weren’t sure if any icky stuff would bleed through, so we primed. It also helped to bind the paint to the laminated surface.
4. Paint Edges and Flower Motif – We used (afflink) Rustoleum 2x Painter’s Touch spray paint.
The spray paint only needed to be put in places where you plan to distress so it would show through after removing the layer of chalk paint – and of course on the big flower motif we are using as a knob.
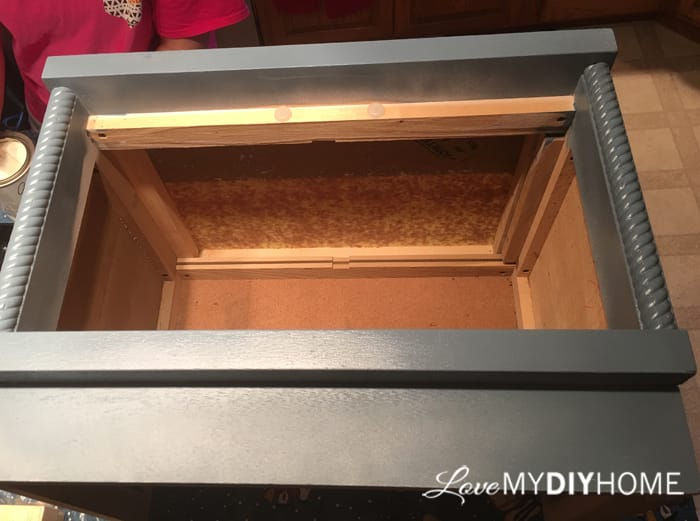
5. Paint a couple of coats of Chalk Paint® by Annie Sloan old white chalk paint. It went on very smoothly!
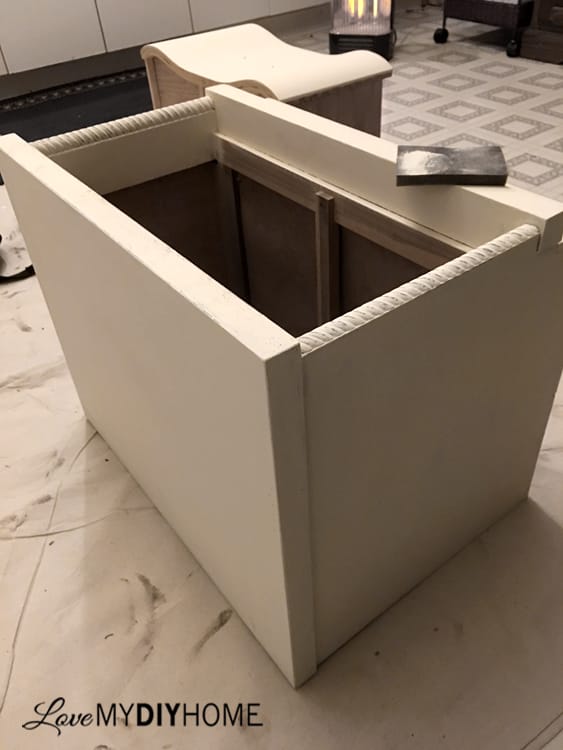
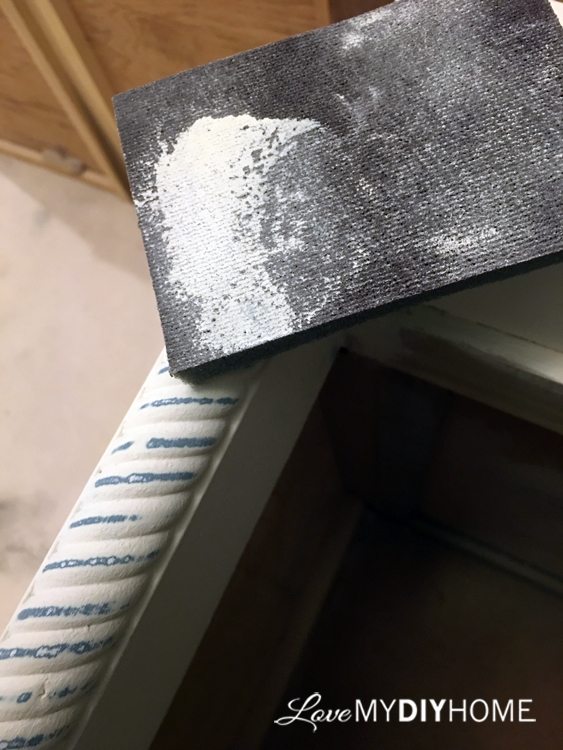
6. Distress edges by sanding to let the blue show through. Be careful not to sand through the blue. The chalk paint is made to distress easily.
I recently bought a box of 54 3M sanding sponges (pictured above) that are so handy I use them for just about everything. They are meant to be disposable but I have been able to clean them off and reuse them several times before the main grit wears off. After they are worn down, they make great sanding pads for taking off the dust in between layers of topcoat.

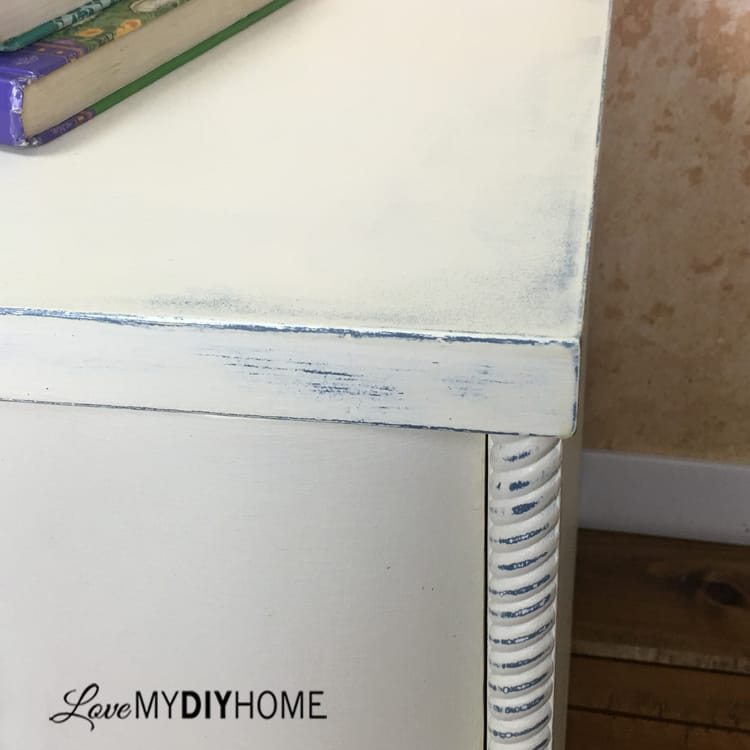
7. Reattach the hardware – In this case the flower was the “knob”. We painted the flower to match the blue spray paint we added to the edges of the nightstand and distressed it just a bit to give it dimension.

8. Topcoat the cabinet to protect it. Many use wax, but since we plan to market the piece, we wanted something more permanent. We used (affliliate link) Polyvine’s Dead Flat Wax Varnish.
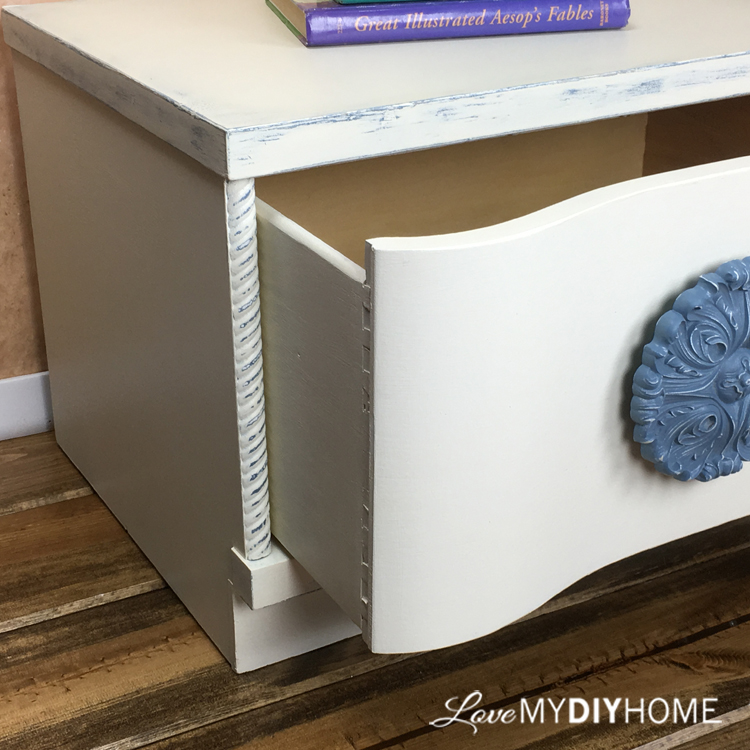
One of the things you look for when choosing furniture to flip is how it is put together. Above you can see the dove tail joints in the drawer. If we’d only focused on the ugly without looking past all the distractions, we’d have missed the quality of the piece. She was solid and now she’s beautiful.

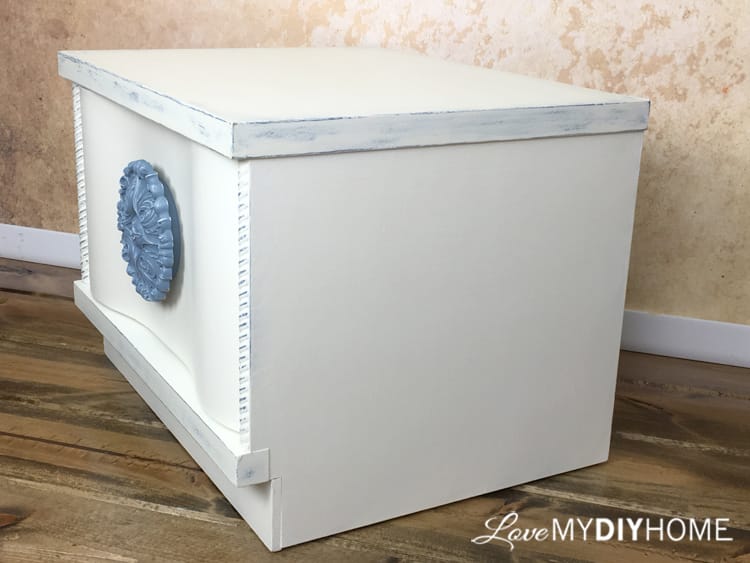

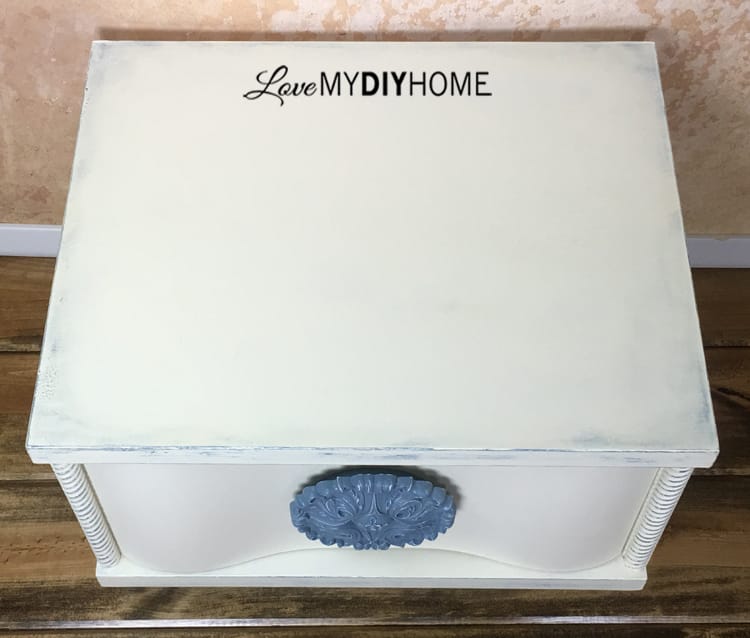
If you take too much off while distressing, just repaint and try again. You want a controlled randomness. You should only see wear in the areas that it would naturally occur, but don’t be too perfect in your distressing either.
I’m thinking “Jillian” would be great as a little girl’s nightstand. I picture her books sitting stop with a picture of her puppy.
It’s amazing how a bit of simple but creative redesign can change a piece of old forgotten furniture. For more tutorials, poke around a bit here and look for more ideas and tips.
Opportunities:
- Join our group on Facebook – we have well over 37,000 members. The group is made up of fellow flippers: visit Furniture Flipping Forum to see more projects and interract with furniture flippers.
- Visit our FB store, The Red Shed.

Thanks for visiting,
XXOO

* Disclosure: This post contains affiliate links. If you buy anything after clicking on one of the affiliate links, I receive a small commission of the sale. The cost to you is the same, and I only link to items that I think would benefit my readers. Your support of this blog is greatly appreciated!


Thank you again. You're a very wise lady.
Francoise, you are very kind.