Do you have an eye?
Do you have an eye for upcycling? The craziest Goodwill finds can be combined to make useful and trendy home decor. Ya just gotta see it – imagine possibilities and be willing to experiment.
That’s the case with these two candle holders – 1+1=1
For this tutorial, I’m going to be very specific and detailed – not because it’s a difficult or very detailed project, but because I want you to see the process for how a project comes together. Simple or complex, each project requires planning and contemplation for it to come together.

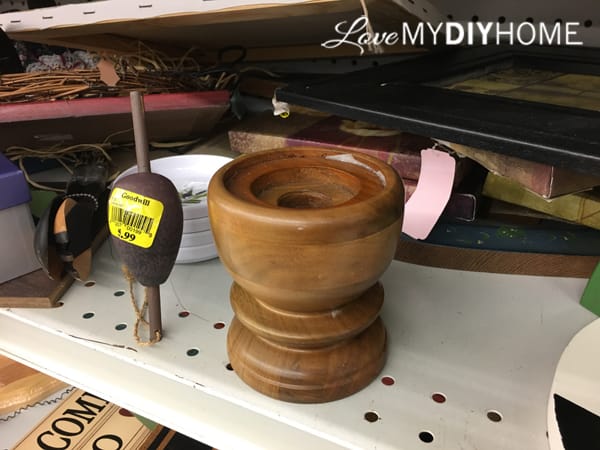
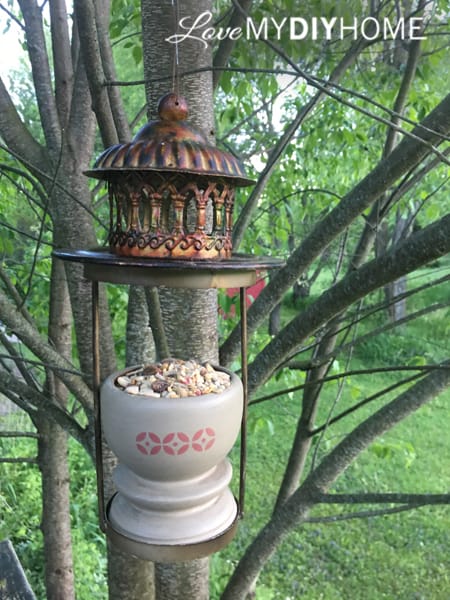
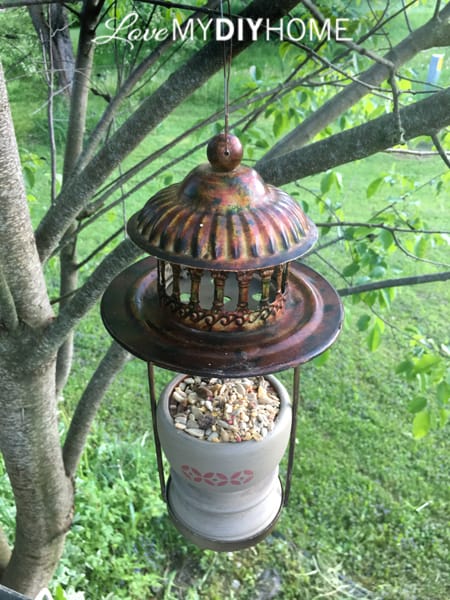
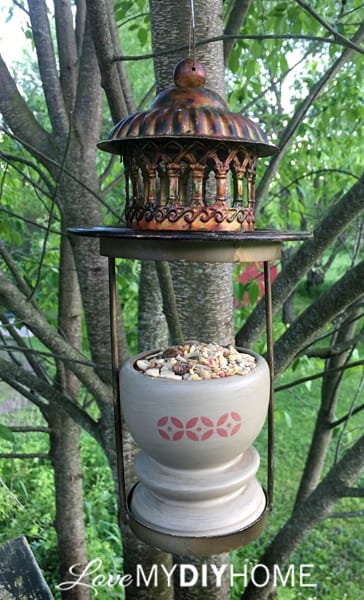
Do you see how they can combine to make a one-of-a-kind bird feeder?
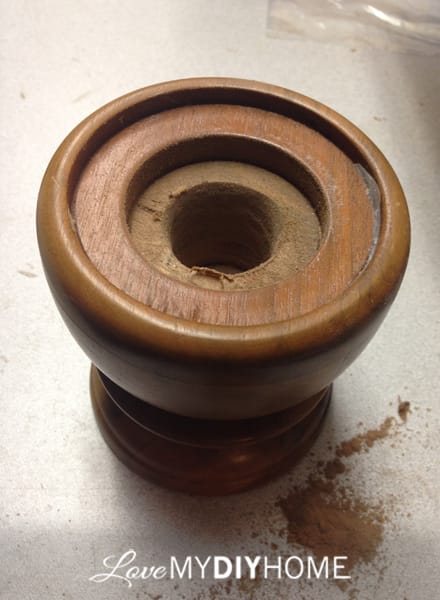
1. Turn the candle holder into a cup by creating a larger area to hold the bird seed.
This is what it looked like “before.”
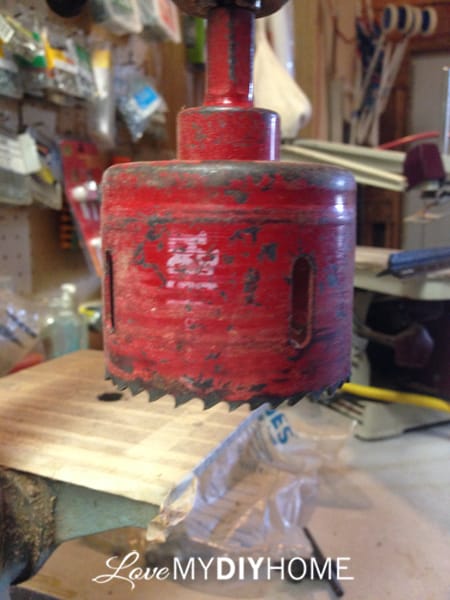
DH called in the big guns for this job – it’s called a (afflink) hole saw. Not a very creative name but it’s practical!

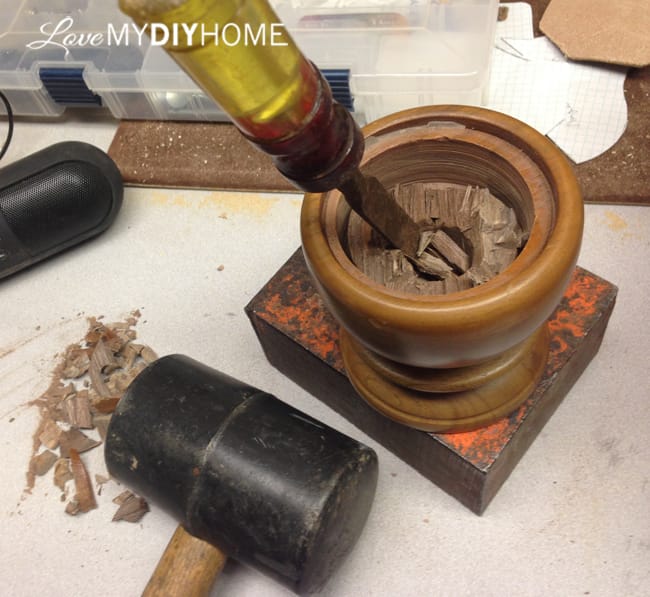
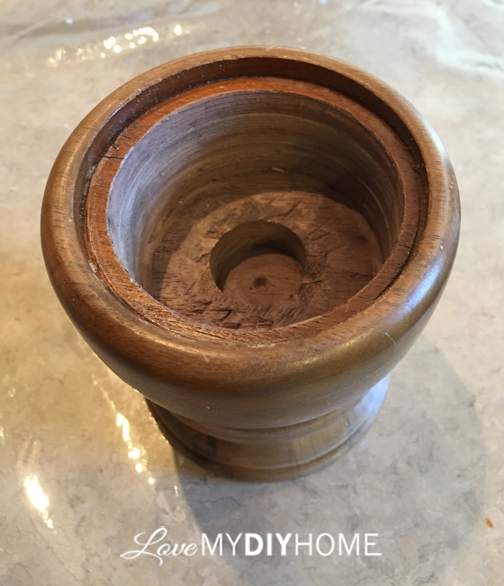
2. Paint the wood part that will hold the seed.
I was trying out (afflink) Pure and Original paint on my serving cart, so I just grabbed this and painted it alongside. (afflink) P&O supplied the paint for my serving cart review – love love love the stuff!
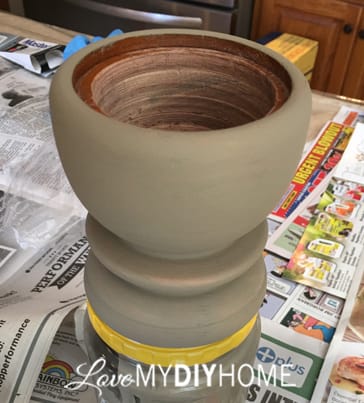
3. Apply one coat of a sealer and then stencil a cute little design.
This makes it easier to stencil. If you make a mistake, which I did, you can just wipe it off and start over. I hate to measure, so I just winged it and it was way crooked. Wipe off, start over.
Otherwise, if you don’t seal first, the paint would soak right into the base color and you’d have to repaint. This way, the stencil will be sealed between layers of topcoat.

Since I needed to tie in the coloring
of the bottom candle holder with the coloring of the frame candle holder, I chose a dark red for the stencil paint.
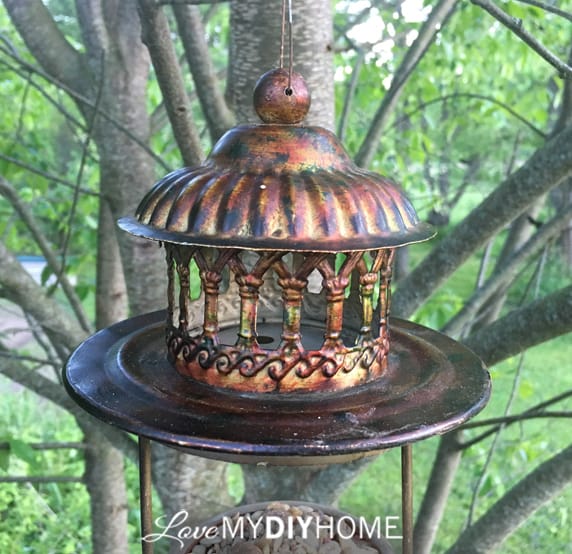
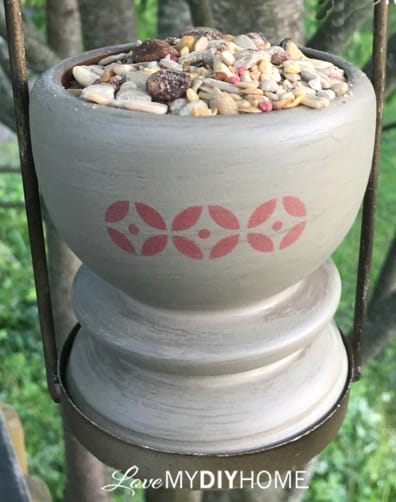
4. Seal and protect the wood bowl with 2 or 3 more coats of an exterior topcoat.
I found (afflinks) Modern Masters Exterior Dead Flat Varnish in Amazon’s warehouse deals for a third of the retail cost – it had been opened (used), so I got it cheap! Modern Masters is a very popular brand among furniture flippers.
5. Drill a little hole up top and add a hanger.
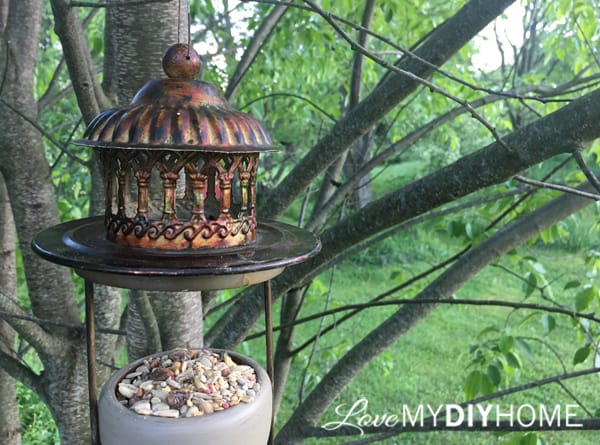
6. Combine both parts to make a really cool birdfeeder.
What projects are you working on or planning for this summer? Do you repurpose and upcycle?
Garage sales, consignment shops, estate sales…this is the time to stock up on “before” items for our DIY projects.
Have a great DIY summer!
XXOO

* Disclosure: This post contains affiliate links. If you buy anything after clicking on one of the affiliate links, I receive a small commission of the sale. The cost to you is the same, and I only link to items that I think would benefit my readers. Your support of this blog is greatly appreciated! This post was also sponsored by Pure and Original by supplying the paint for a couple of my projects – thanks P&O!

What a vision Val, very cute and original idea!
Very nice idea!
Thanks, Theresa!