I was offered a chance to try out L’Essentiel Botanics furniture paint by Michelle at Serendipity House in New Hampshire. Since I’ve been doing a series on chalk paint products, I was anxious to give it a try in my cedar chest flip.
If you are looking to remove the chemicals from your home, look into L’Essentiels Botanics. My family is working on it as well and I was pleasantly surprised to hear of L’Essentiel. I’m no vegan, but I am concerned about the chemicals in EVERYTHING we use and eat!
Their furniture paint line is vegan (other than beeswax), all natural, and in biodegradable containers with no masking agents. The chalks, clays, minerals, pigments are made by a small company in Australia in small batches. The wax has no solvents (i.e. drying agents) and is smooth with great coverage. The clear wax, which has no solvents, can be used on hands, feet, face, and is often used by farmers.
Michelle was kind enough to give me two bottles of paint and glaze. Read on to see what I did with it…

I did find the consistency to be silky smooth giving me a professional finish. I was so impressed with how well it went on and coverd that I took a video of part of my process.
This stuff is smoooooth!
Botanics paint doesn’t require waxing, but I decided to try the glaze since I’ve never used glazed on a piece of furniture before.
BEFORE
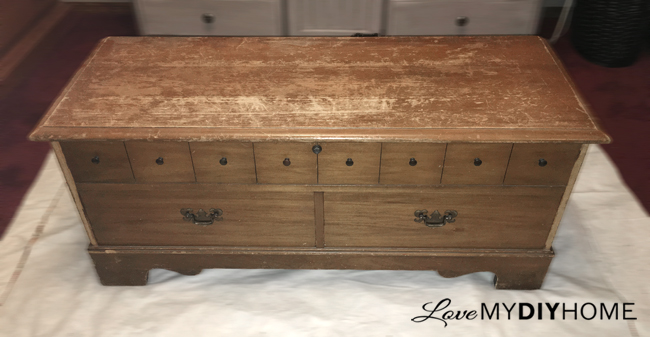
Step 1 – Clean and disassemble – knobs and hinges.

Step 2 – Sand the top to smooth out years of scratches and gouges.
How to Use an Electric Hand Sander to Prep Wood Furniture {Love My DIY Home} from Val Frania on Vimeo.
Tutorial – A cedar chest painted with L’Essentiels Botanics furniture paint from Val Frania on Vimeo.
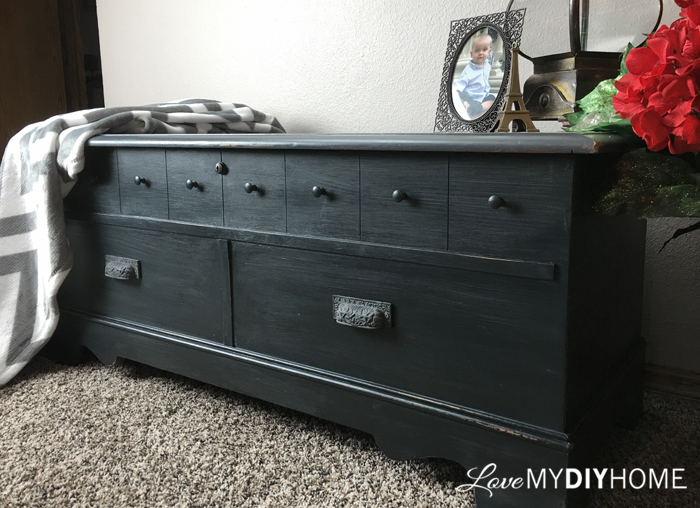
Step 4 – Paint the new and old hardware – the new drawer pulls were black, so I painted them with the L’Essentiels steel and lightly distressed them to add character.

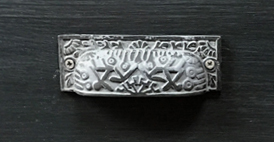

The new pulls are from Hobby Lobby (half off, of course). I dabbed a bit of paint on the tiny pulls that are original with the cedar chest too so they would match. I also dabbed a bit of paint on the lock to tie all three types of hardware together.
Step 5 – Distress the lid and base after they have dried for a bit. I used my blow dryer to hurry along the drying process just a bit.
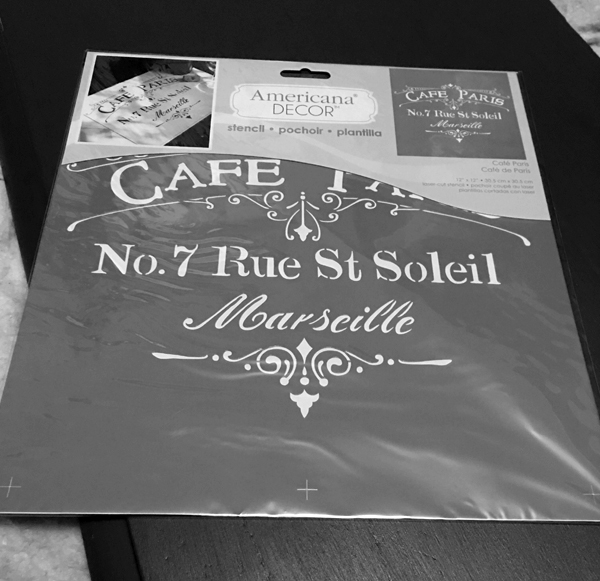
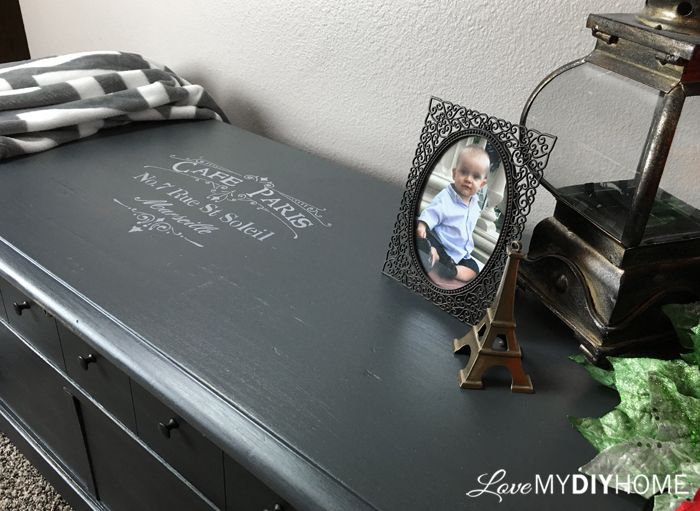
Step 6 – Do a little fancy stenciling on the lid to add character. I ordered the Cafe Paris by Americana Decor* reusable stencil from Amazon. It was only $5.45 – what a deal!
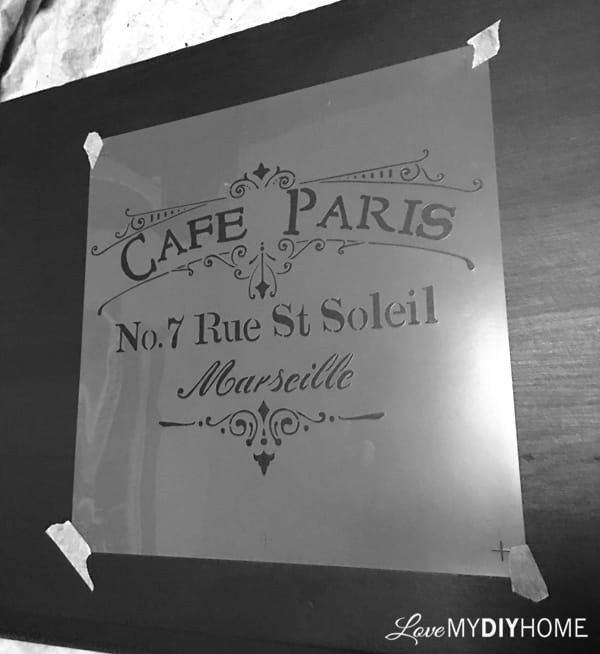

Step 7 – Mix the L’Essentiels (Ash) paint with the L’Essentiels glaze and use it to highlight the chest – paint it on, wipe off just enough to leave it streaked to give it dimension, leaving it in the nooks and crannies. I used 1/2 tbsp. of paint to 4 tbsp. of glaze. If I had to to do again, I’d use less paint to tint the glaze.
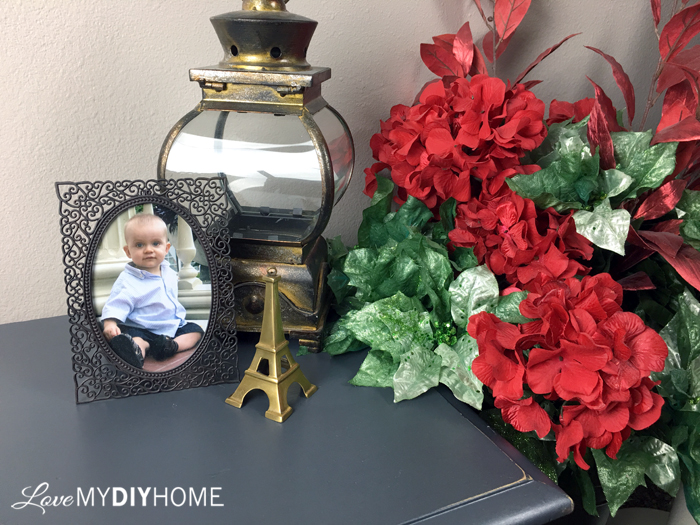
The variations you see in the paint in the picture below are not brush strokes – it is from the (Ash) tinted glaze layer I applied atop the darker (Steel) layer.


 <
<
Step 8 – Wait for it…wait for it… (to dry) and then stand back and admire your work!
BEFORE

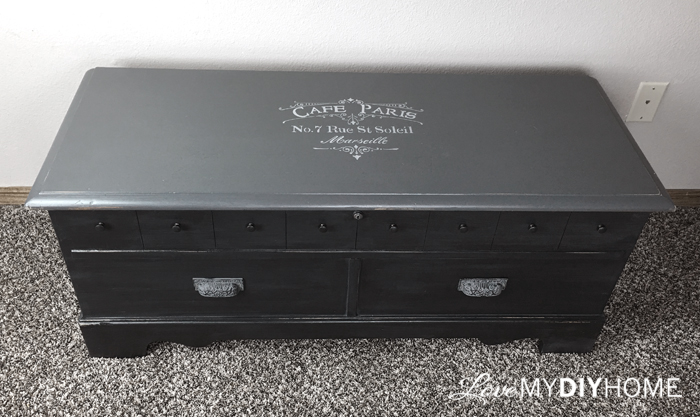
You can turn a piece of junk into a treasure. Really. You can. Then you will ask yourself why you waited so long.
This blanket chest was dropped off to our church years ago by a man in or church who was disposing of a bunch of junk from his friend’s house. We used it for many years, forgiving its pitiful ugliness by focusing on its usefulness.




Do ingredients matter to you?
Leave a comment and let me know what you look for in a paint. Is it price? quality? coverage? durability?
Thanks for visiting!=



Love it, Val!
Thanks, Linda!
LOVELY!
Thanks!
Now that's a MAKEOVER, Val! LOVE the video of how well the paint covered!! That is one of the most important things I look for in a paint. I'm willing to spend a few extra $$ as long as I don't have to paint three coats to get the look I want!
Agreed. It was amazing to see how well it covered!
Wow, i really love the result! By the way, you did a great video too <3. Greetings!
Thanks!
Love it! I'm working on an almost identical chest in the same colors. To be revealed soon. Very nice work Val!
Thanks, Vicki! Send me a pic when you are done.
Love the make over . The step by Step tutorial is fantastic.
It's so pretty, I'd like to find a plain one to work on . Mine is all oriental carved and I would never do anything to change it, Love just the way it is. I work on tables and chairs and that's what I'm working on now as a Christmas gift and I think I started it to late and may not be able to get it all done in time. And after I finish that I have a small dresser I'm going to change into a Kitchen Island for my self. The Lord knowes I need it.. But I love the job you did it's really done well with love and it showes.
Thanks, Toni! I hope you get your project done in time…
I have an identical Lane cedar chest that’s really starting to show it’s age. I was researching ways to restore or enhance it and was delighted to find this post! I love what you accomplished with this piece. Question about your sanding process: you indicated you sanded the top, but did you sand the rest of the chest prior to painting?
I always clean, repair, sand, clean and then paint.