
Fab Flippin’ Furniture Contest
“Pure Colors, Original Elegance”
Preserving Family Memories is a Comfort to the Soul

Do you have reminders of your parents around the house?
Have you considered the FACT that one day your loved ones will move on? Are you preparing to have a piece of them close by for memory sake? My dad passed away when I was 26 (30 years ago) and my mom a year ago.

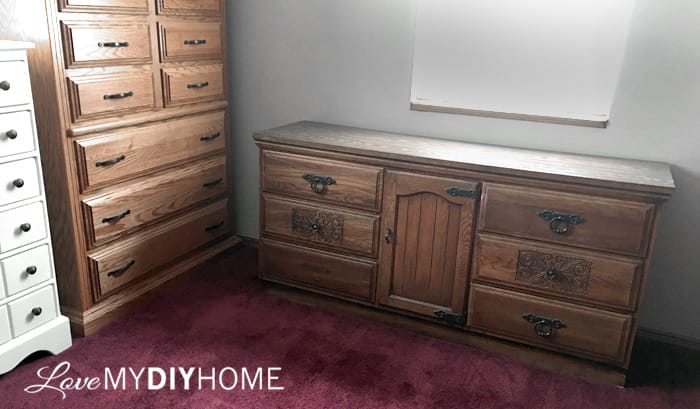
This is the piece I chose to paint using Pure & Original paint in April’s Fab Furniture Flippin’ Contest.

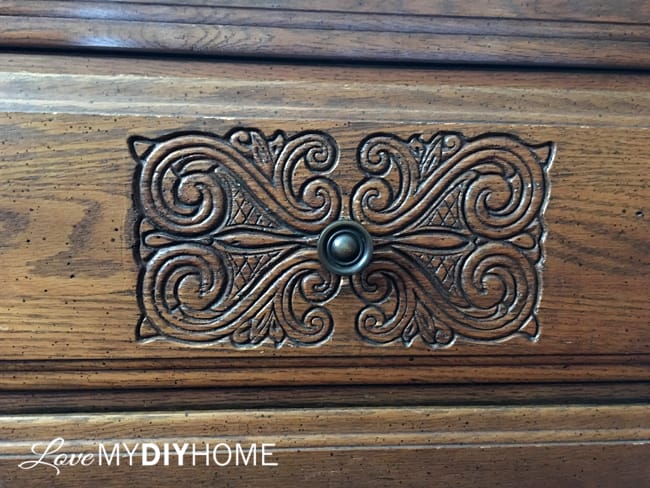
Because of the great details on the drawers, I was confident I would love the outcome. This is an important piece of furniture and I want need to preserve it, not in it’s original state – but in a state that reminds me of my parents, AND fits into my decor.
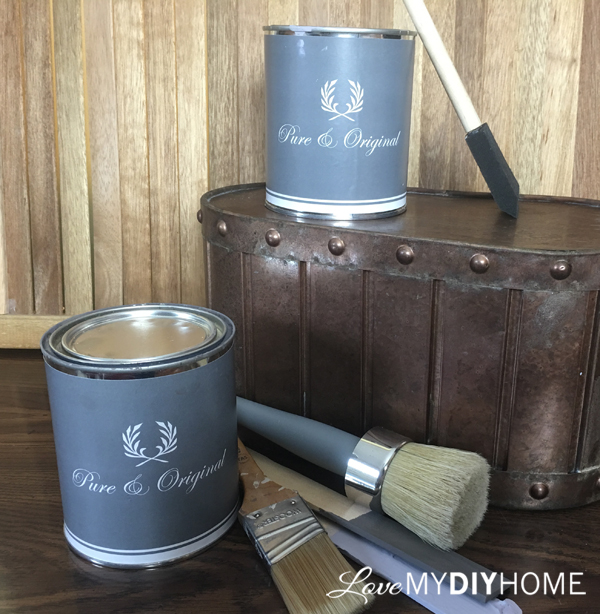
Pure and Original provided two quarts for the contest to every participant. They also invited us to become affiliates, which means we can advertise for them and receive a commission from purchases initiated from our website (no additional cost to the purchaser!).
I used the Classico, a chalk based paint made with 100% natural pigments. It’s super smooth and very easy to work with. Since it’s a water dilutable chalk based paint, it’s environmentally friendly. We are trying to get the chemicals out of our home, so this fits the bill.
Do you have a strong opinion about painting wood furniture?
It’s OK to change things to suit you.
Honestly, it is. A coat of paint doesn’t change the memory – it just fits it into your style.
I’ve been on a quest to try out all the major brands of chalk type paint. Pure and Original doesn’t need any type of special finish to top it off. If you like chalk type paint, then you’d like this.
The Steps are Easy
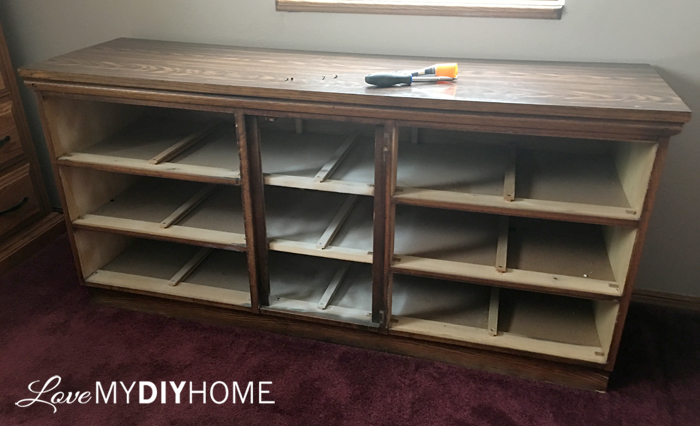
1. Disassemble & Clean – Take off all hardware and clean the piece well. This chalk paint doesn’t require sanding or priming prior to use. I decided to leave the top of the dresser as is and not paint it since we keep our ironing board on top of it. It has a very shiny laminate finish that will look fab with the chalky painted finish I’ll be adding to the body of the dresser.
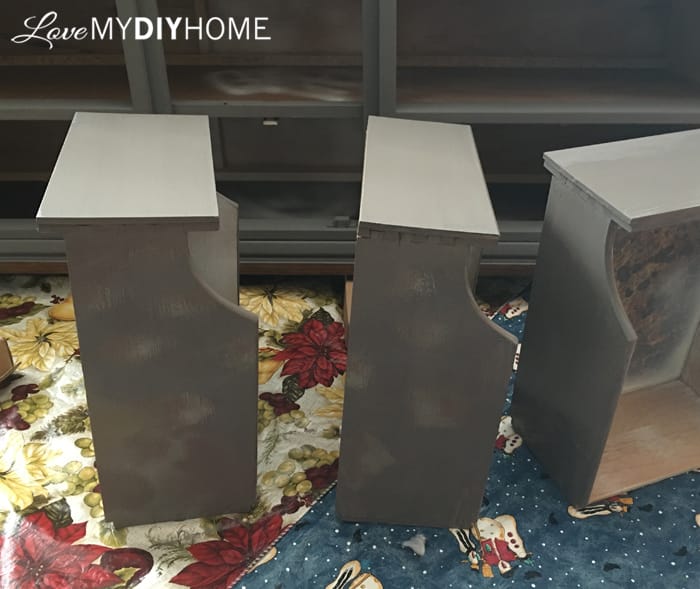
2. Fix Any Damaged Parts – There was water damage to the bottom piece, so my DH added a new piece of wood to stabalize and refresh it. I used wood filler to fix a few dents and holes.
3. Paint the first and second coat – I started with the dark gray, “Storm” Pure and Original Chalk type paint on the frame and middle drawers. It was so smooth and covered very well.
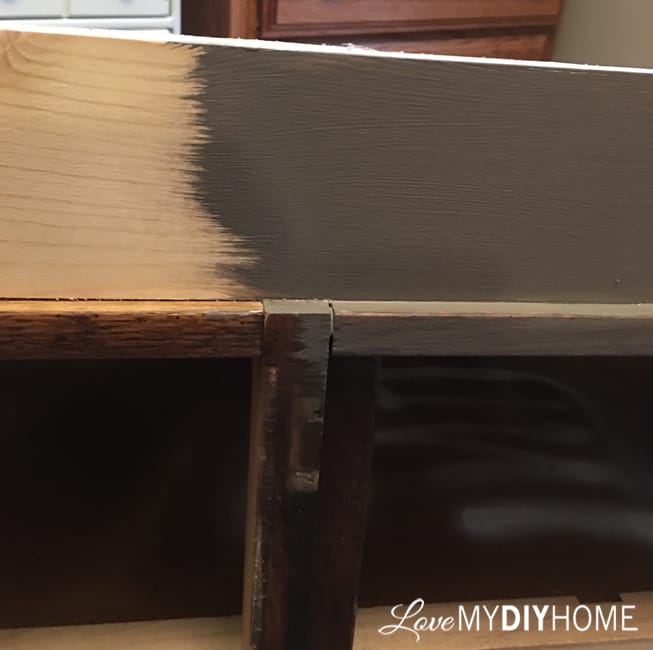
4. Sand between coats if needed – I had brush strokes on the side of the dresser because I used a regular nylon angled brush and the paint was thick. So after the second coat dried for a day or two, I sanded it a bit to smooth it out and repainted it. It is such nice paint that the sanding sponge only removed a bit of the top layer of the paint, giving me a very smooth surface. Such quality…
I used a round natural bristle brush for the drawer fronts – it has become my favorite brush! For some of the trim I used a sponge brush and the angled brush was my go to for the rest of the dresser shell.
For contrast, the drawers required a softer gray, “Soft Taupe”. The paint was lighter in color and came more gray than anticipated, but that was fixable. After two coats of the soft taupe dried…

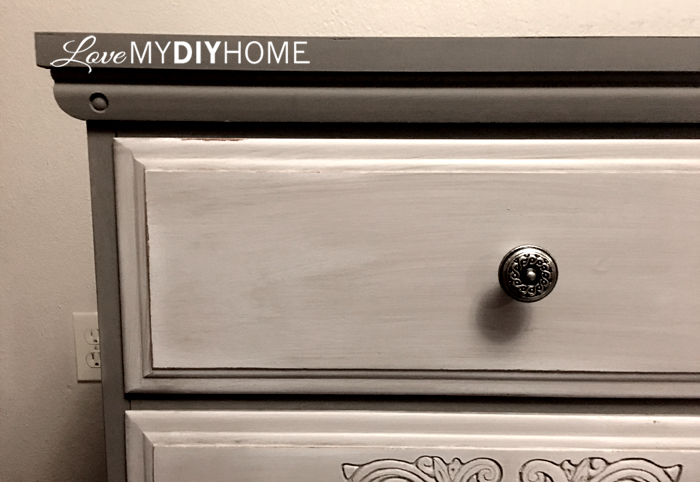
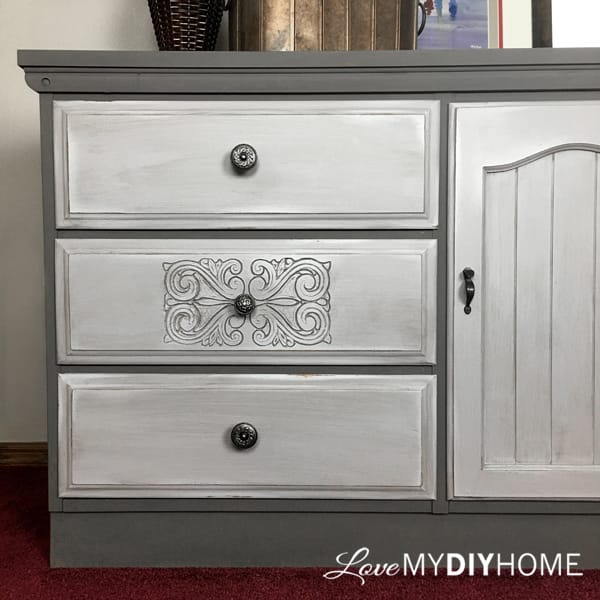
5. Tint wax with the darker gray and paint just the drawer face – I took some creme wax and mixed a bit of the “Storm” with it and painted it over the two coats of soft taupe, allowing a streaky look. It gave it a bit of dimension.
In the picture above, the lower drawer was just the light gray and the upper one is the drawer with the tinted wax. The design jumps off the drawer.
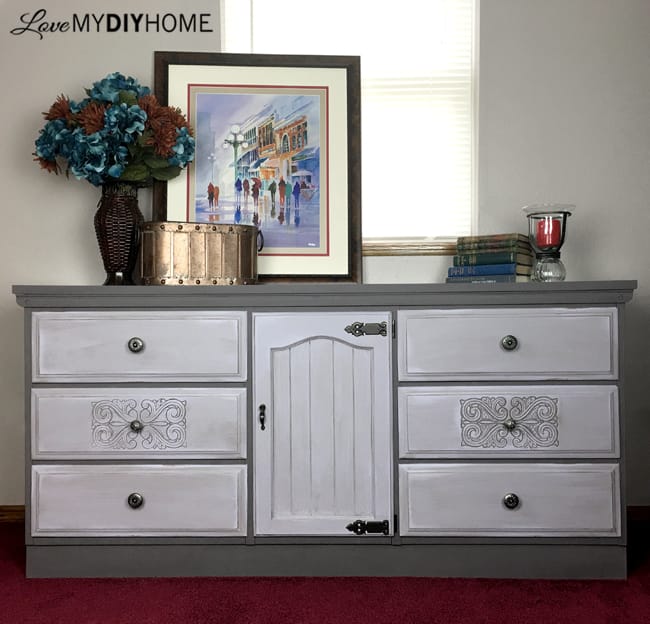
It was at this point that I put the drawers in the dresser to get a look at how they went with the dark gray shell.
Oh.My.Goodness! I was shocked – it’s not often that a project exceeds your expectations, but this one does! I waited so long to repaint this dresser because it was such a big project and I’m glad I did. Pure and Original paint did the trick!
6. Antique with diluted dark gray paint – This part scared me a bit. I loved how well everything turned out up to this point and was afraid to add anything more, but I knew I wanted MORE dimension. It was risky, but I did it…
After adding water, I painted it on the drawers and immediately wiped it off to leave just a hint in the crevices.
7. Distress the edges – This was another heart pounding moment. After all, why add to perfection? But, it’s not done till it’s done. Sometimes you just gotta experiment even if it means you have to repaint and start all over. Fortunately all went well and with each step the project became even better. Whew. Mission accomplished.
Not only can you update furniture, but you can put your personal touch on it as well. It’s not all about style or trend. It’s about being comfortable in your own home and being able to call it your own because YOU put your personal stamp on the items that make up your home.
Anybody can go to a furniture showroom and pick out furniture. A vast majority of homeowners do. But to get a truly unique home that reflects who you are, one must put their personal touch on the furnishings. DIY allows your home to be uniquely representative of YOU. Let me introduce you to ME in furniture form:
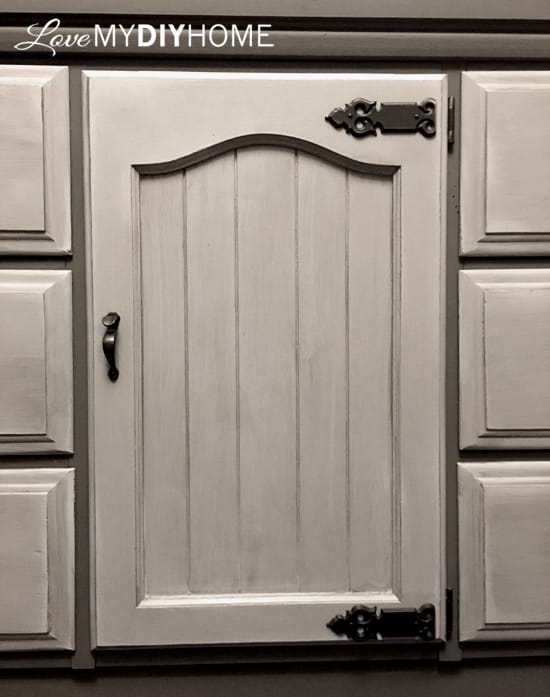
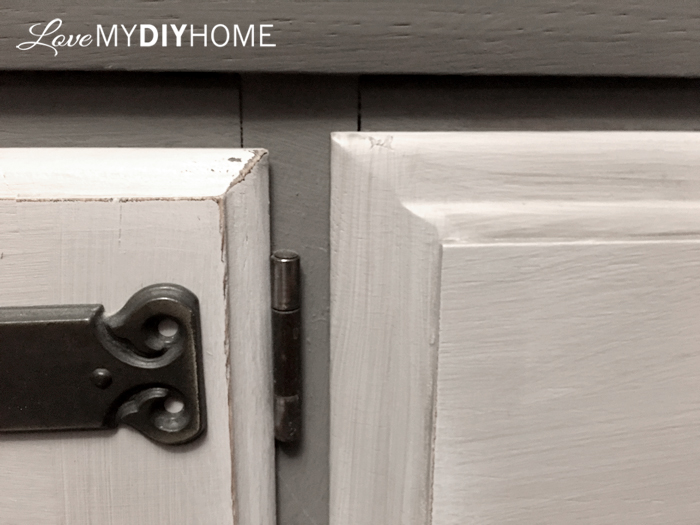
8. Add Finishing Touches – The knobs are new from Hobby Lobby’s 50% off sale. The old ones were too dated so to spiff it up, a new set of knobs was in order. I kept the old hinges and door handle – they went well with the new hardware.

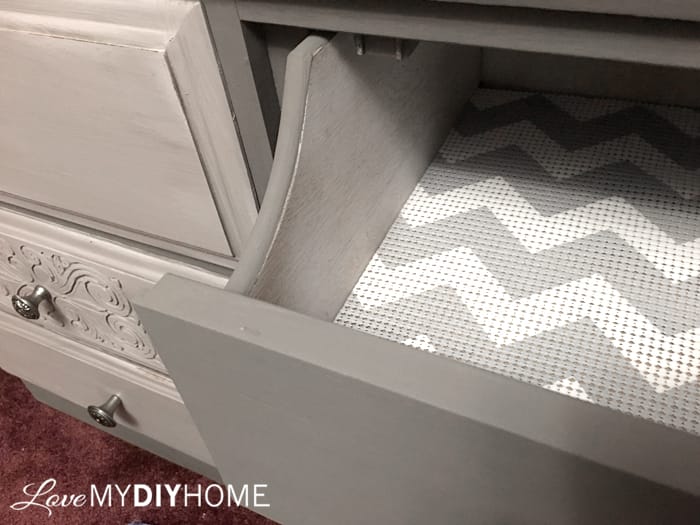
My DD had some gray chevron drawer liner, so it only seemed right to add it to the inside of the drawers. I so love it when a plan comes together:


Let’s review:
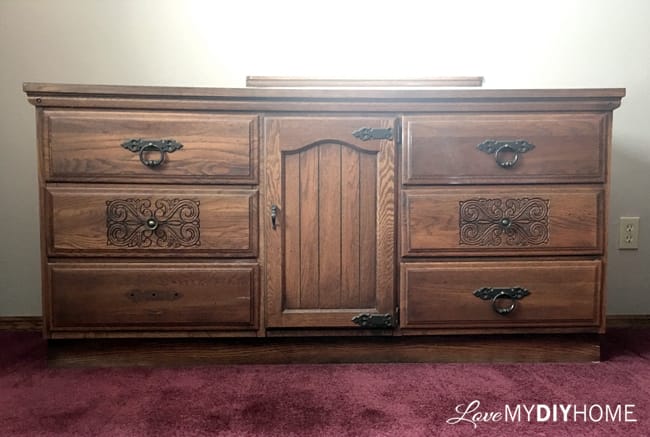
BEFORE
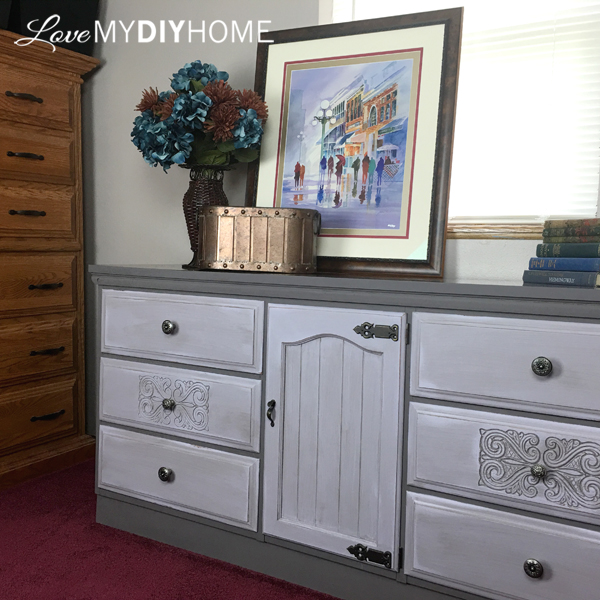
AFTER
What do you think?
Thanks for stopping by and showing your support. Please let me know in the comments what you think (pro or con). I’ve gotten a ton of great emails from you all – thank you.
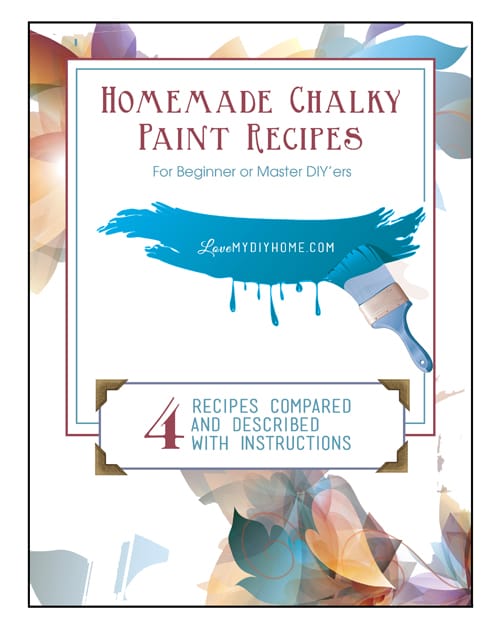
If you’re interested in trying a recipe for homemade chalk paint, click below and I’ll send you a PDF with 4 recipes with directions and comparisons. It will also put you on my email list, but feel free to unsubscribe after you get your PDF if you wish. It’s all about DIY!
Now go out and be amazing.


This is amazing!
Thanks!
What an amazing transformation! Well done!
Thanks, Susan!
Love your piece, Val. You did an awesome work with it!
I would love to invite you to share it with us at our Sweet Inspiration party which is live every Friday 3pm UTC.
Enjoy the rest of the week!
Schedule
Thanks!
So nice that you were able to refab a family piece and make it yours, I love pieces with a story behind them. Wonderful job.
Thanks. Family heirlooms are harder to do, I think, because you don’t want to mess it up!
I love this too! Great color combos that really updated this piece really nicely!! Great job ?
Thanks. It was easy with Pure and Original – such nice paint!
Val! This came out beautiful! I love the gray wash over the bas coat! Your step by step instructions were wonderful. What a transformation!!
Thanks!
What a stunning transformation! I love it restored. What a difference! The colors are perfect! Great work!
Thanks! I do love grays and browns. They are a great backdrop to more vibrant colors.
Love the two tone greys on this piece!
Thanks!
What a great project! It is so elegant. Mom would have loved what you transformed this into–you should feel really good about this project–lots of work and worth every minute.
Thanks, Carol. It has brought back so many memories of both Mom and Dad. I so miss them. I miss you guys too! Thanks for the encouragement.
Your dresser is so very pleasing aesthetically – a fantastic piece of work filled with happy memories of your parents too. I love the chosen colours and admire the way you systematically prepared and painted with such care. Thanks for motivating us to try something that may seem daunting and for sharing the process and making it seem easy!
Aw, thanks so much. It did seem daunting but it was more fun than scary! As you progress through such a project, you find it’s not as hard as you imagined it to be. I’m so glad I did it!
Great transformation Voted Good Luck
Thanks!
This turned out beautifully! I have painted a couple of hand me down pieces to keep them in the family but make them fit into my style. I am currently working on my moms 1970’s China hutch.
I would love to see pictures!
This transformation is just awesome. I am relatively new to redoing furniture & enjoyed reading your process. Thanks for sharing!
Thanks, Terry!
You are so right — the details just pop now. Beautiful transformation. Thanks so much for sharing, Cynthia
Thanks for stopping by, Cynthia!
I LOVE the transformation! It looks very expensive.
Thanks, Sandra. The best thing about DIY is that it only looks expensive! Paint is so amazing…
Absolutely georgeous. It has my vote. Good luck for the competition
Thanks so much, Jo!
Val this is absolutely gorgeous! You are such an inspiration.
Thanks, Cindy!
This turned out lovely and I voted for you. They should have a 2nd place, I really like the french hutch as well. Hope you win, your work is always of good quality.
Thanks, Tonia. I always enjoy seeing the projects in this contest. Thanks for voting!
Val, I really love how it turned out! Pepper would be proud!
Thanks – she was my number one fan. She saw all my work before anyone else. 🙂
This is awesome ❤!
Thanks!