How To Install Tile Around A Shower or Tub
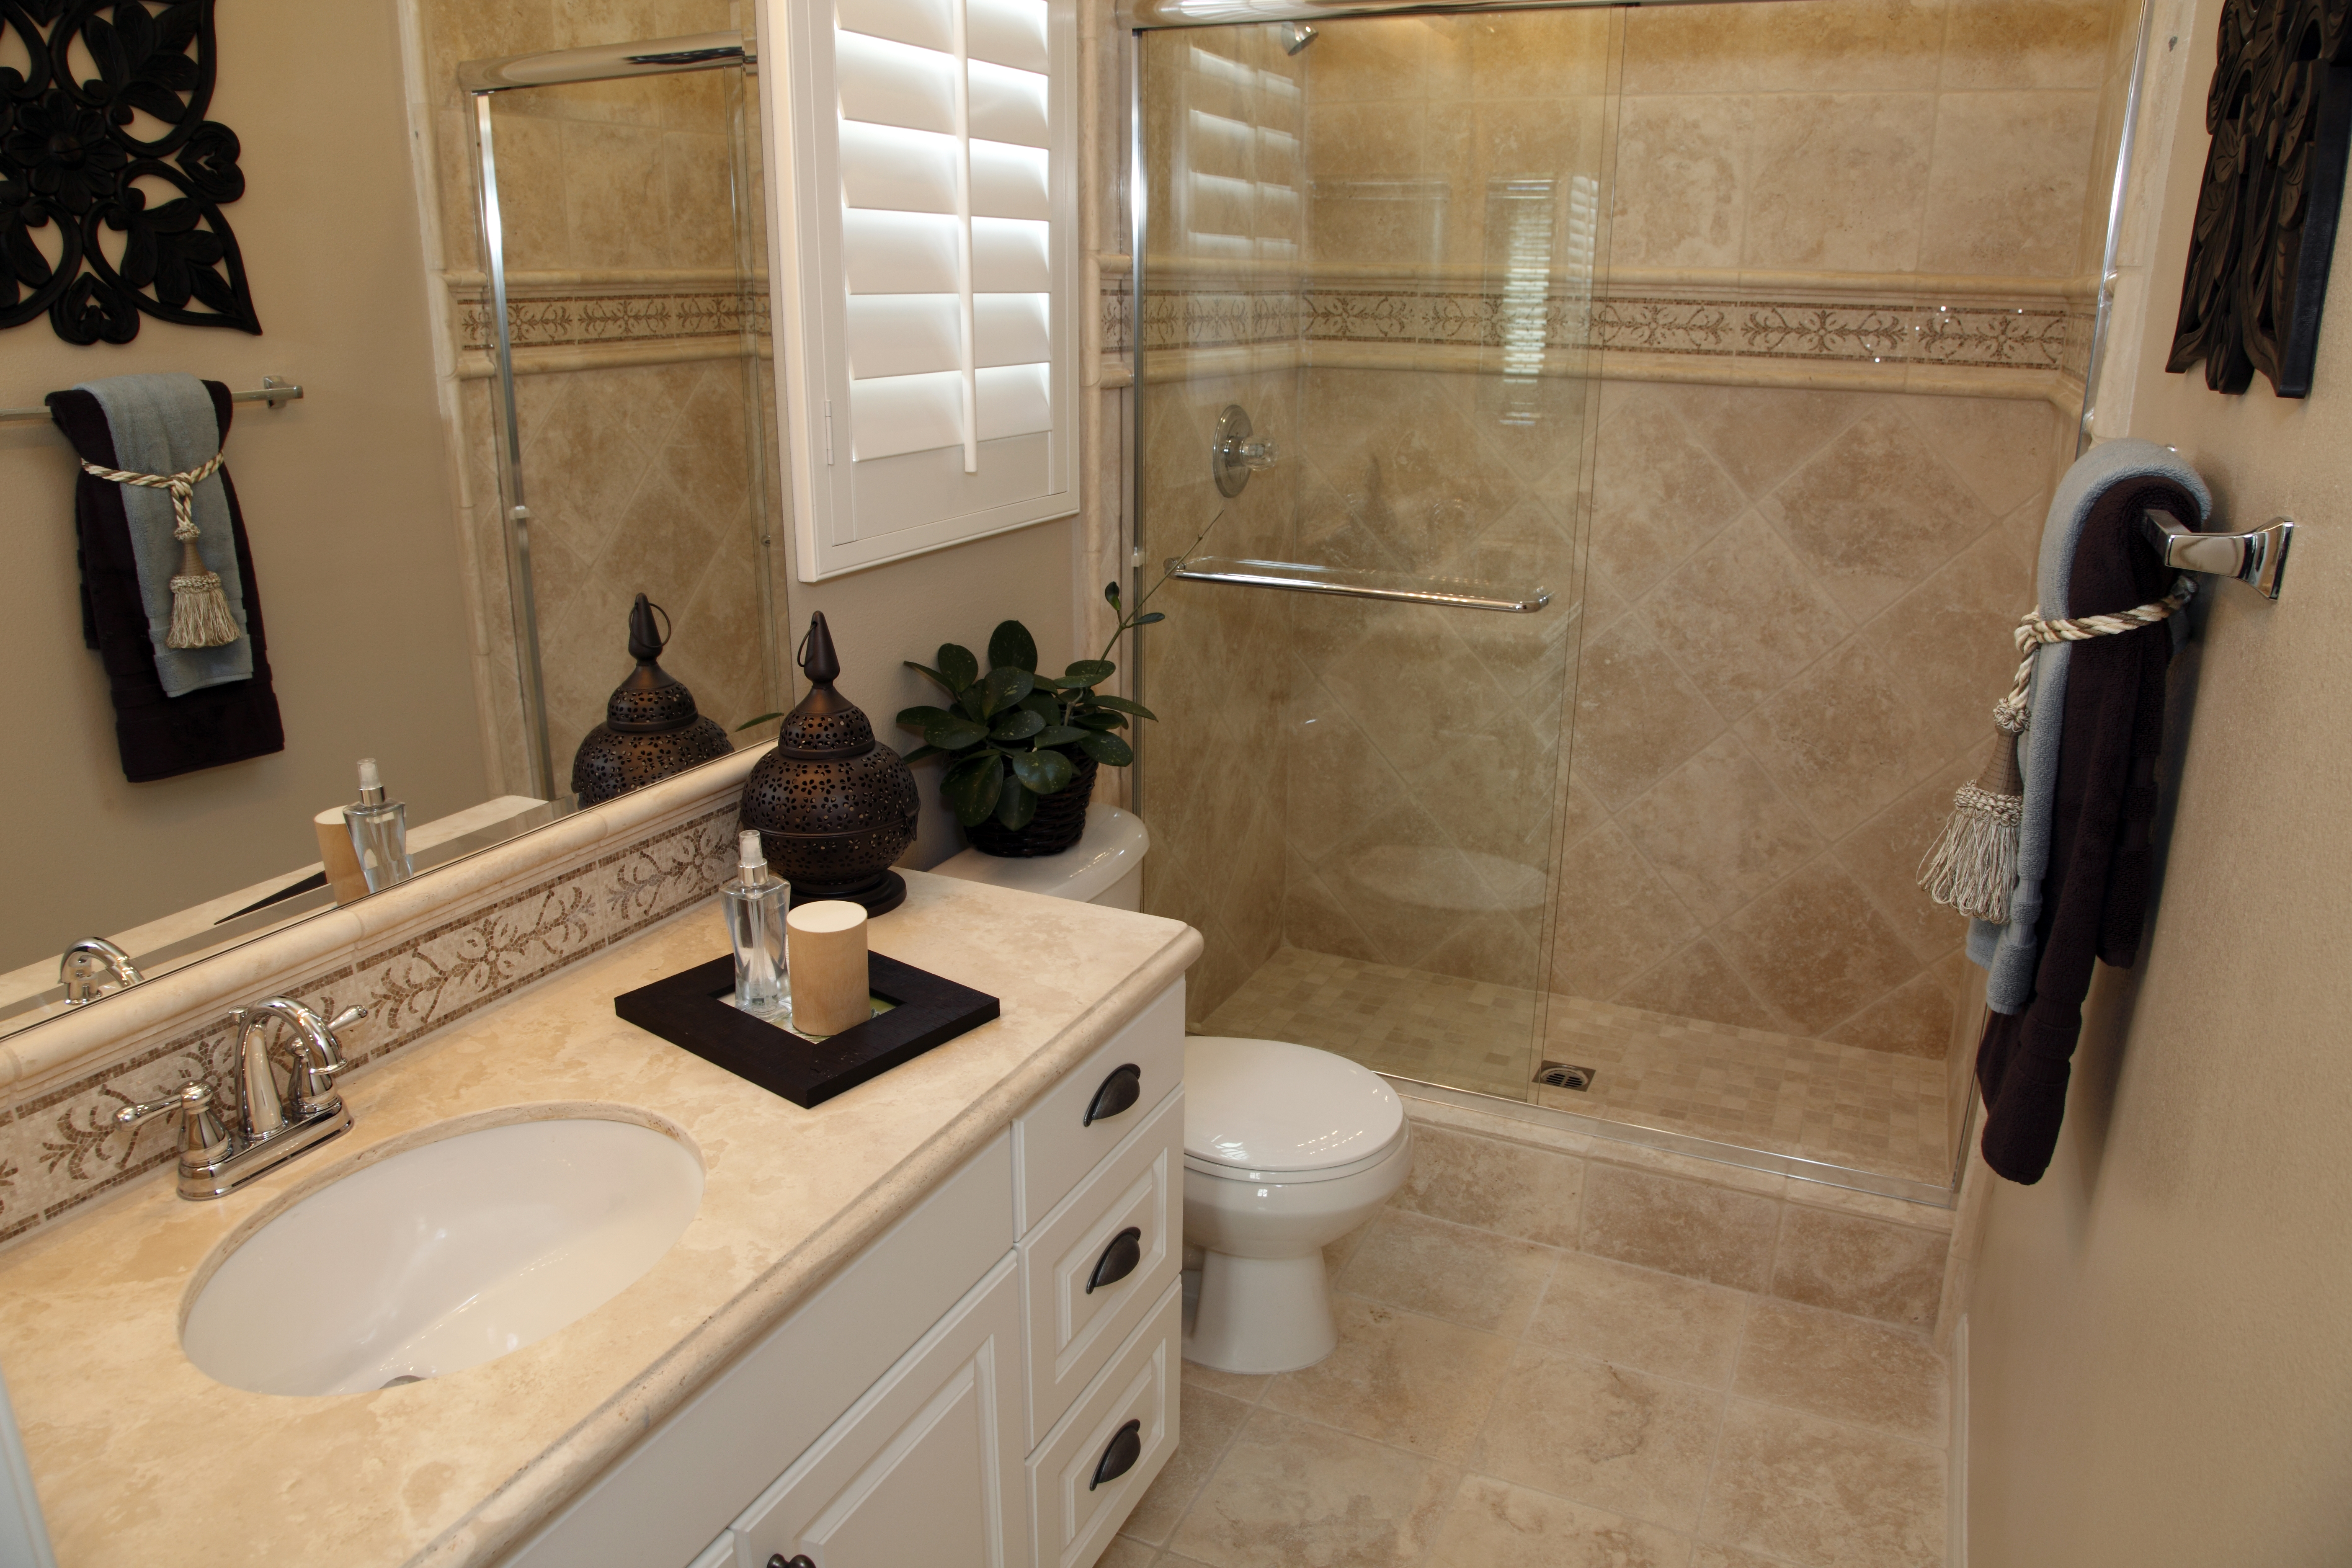
Does your shower or tub surround look tired or out-of-date? A new
marble tile surround adds an instant update and increases the value of your home. Fortunately, this is a project that you can do yourself if you know the method and have the right tools. I decided to ‘try this at home’ and the results were impressive – if I may say so myself! Consider incorporating elegant
marble wall tiles for a luxurious touch that enhances both style and functionality.
Here’s a step-by-step guide of how I tackled the project:
Step 1: We Planned the Project
Before we began, we needed to decide what tiles we wanted and how many we needed. Traditional 4-inch square tiles and larger subway tiles in neutral shades of white or gray never go out of style, so that was one option. We also looked at some more trendy stuff, like geometric shapes, including hexagonal tiles, which were certainly a cool option! Sticking to neutral tones for the bulk of the project, and then adding pops of color or texture in the accents, was another way to approach our project. Ceramic and glass, we decided, were the best choices for the tub area, because they are durable and they clean up well. Once we made our “life-altering” selection, we measured the area we were tiling to get an estimate of the amount of tiles we needed. We ordered a few extra tiles, because we figured there would likely be some breakage during installation.
Step 2: We Prepped the Tub Area
Once we had our tiles picked out, we stripped out the old tub surround down to the wallboard. We verified that there was no damage to the board, and replaced the boards when we found no damage. We taped protective plastic over the tub sides to protect the tub from grout and tile mastic as we worked. If the tub needs to be fixed, however, perhaps new Hot Tub Parts may also be necessary. Elevate the standard of excellence in your new construction project—partner with new construction plumbing companies in hawaii for unparalleled expertise. Step 3: We Set the Surround Height
We measured from the edge of the tub to the top of the area we wanted tiled. We subtract the width of our accent strip, and then divided the remaining distance by the width of our tiles. We adjusted the top line so that we didn’t need to cut tiles to fit. That made life easier for us. (If your project requires cutting tiles, set the height so no tile is cut in less than half). Step 4: We Marked the Layout Lines
We used a level and a carpenter’s ruler to keep our lines straight and marked the top line for the surround. Then, we divided the wall in half, horizontally and vertically, and marked these lines. Finally, we measured up from the bottom and marked a horizontal line at the height of the first row of tiles. These lines helped us keep our tiles straight during installation.
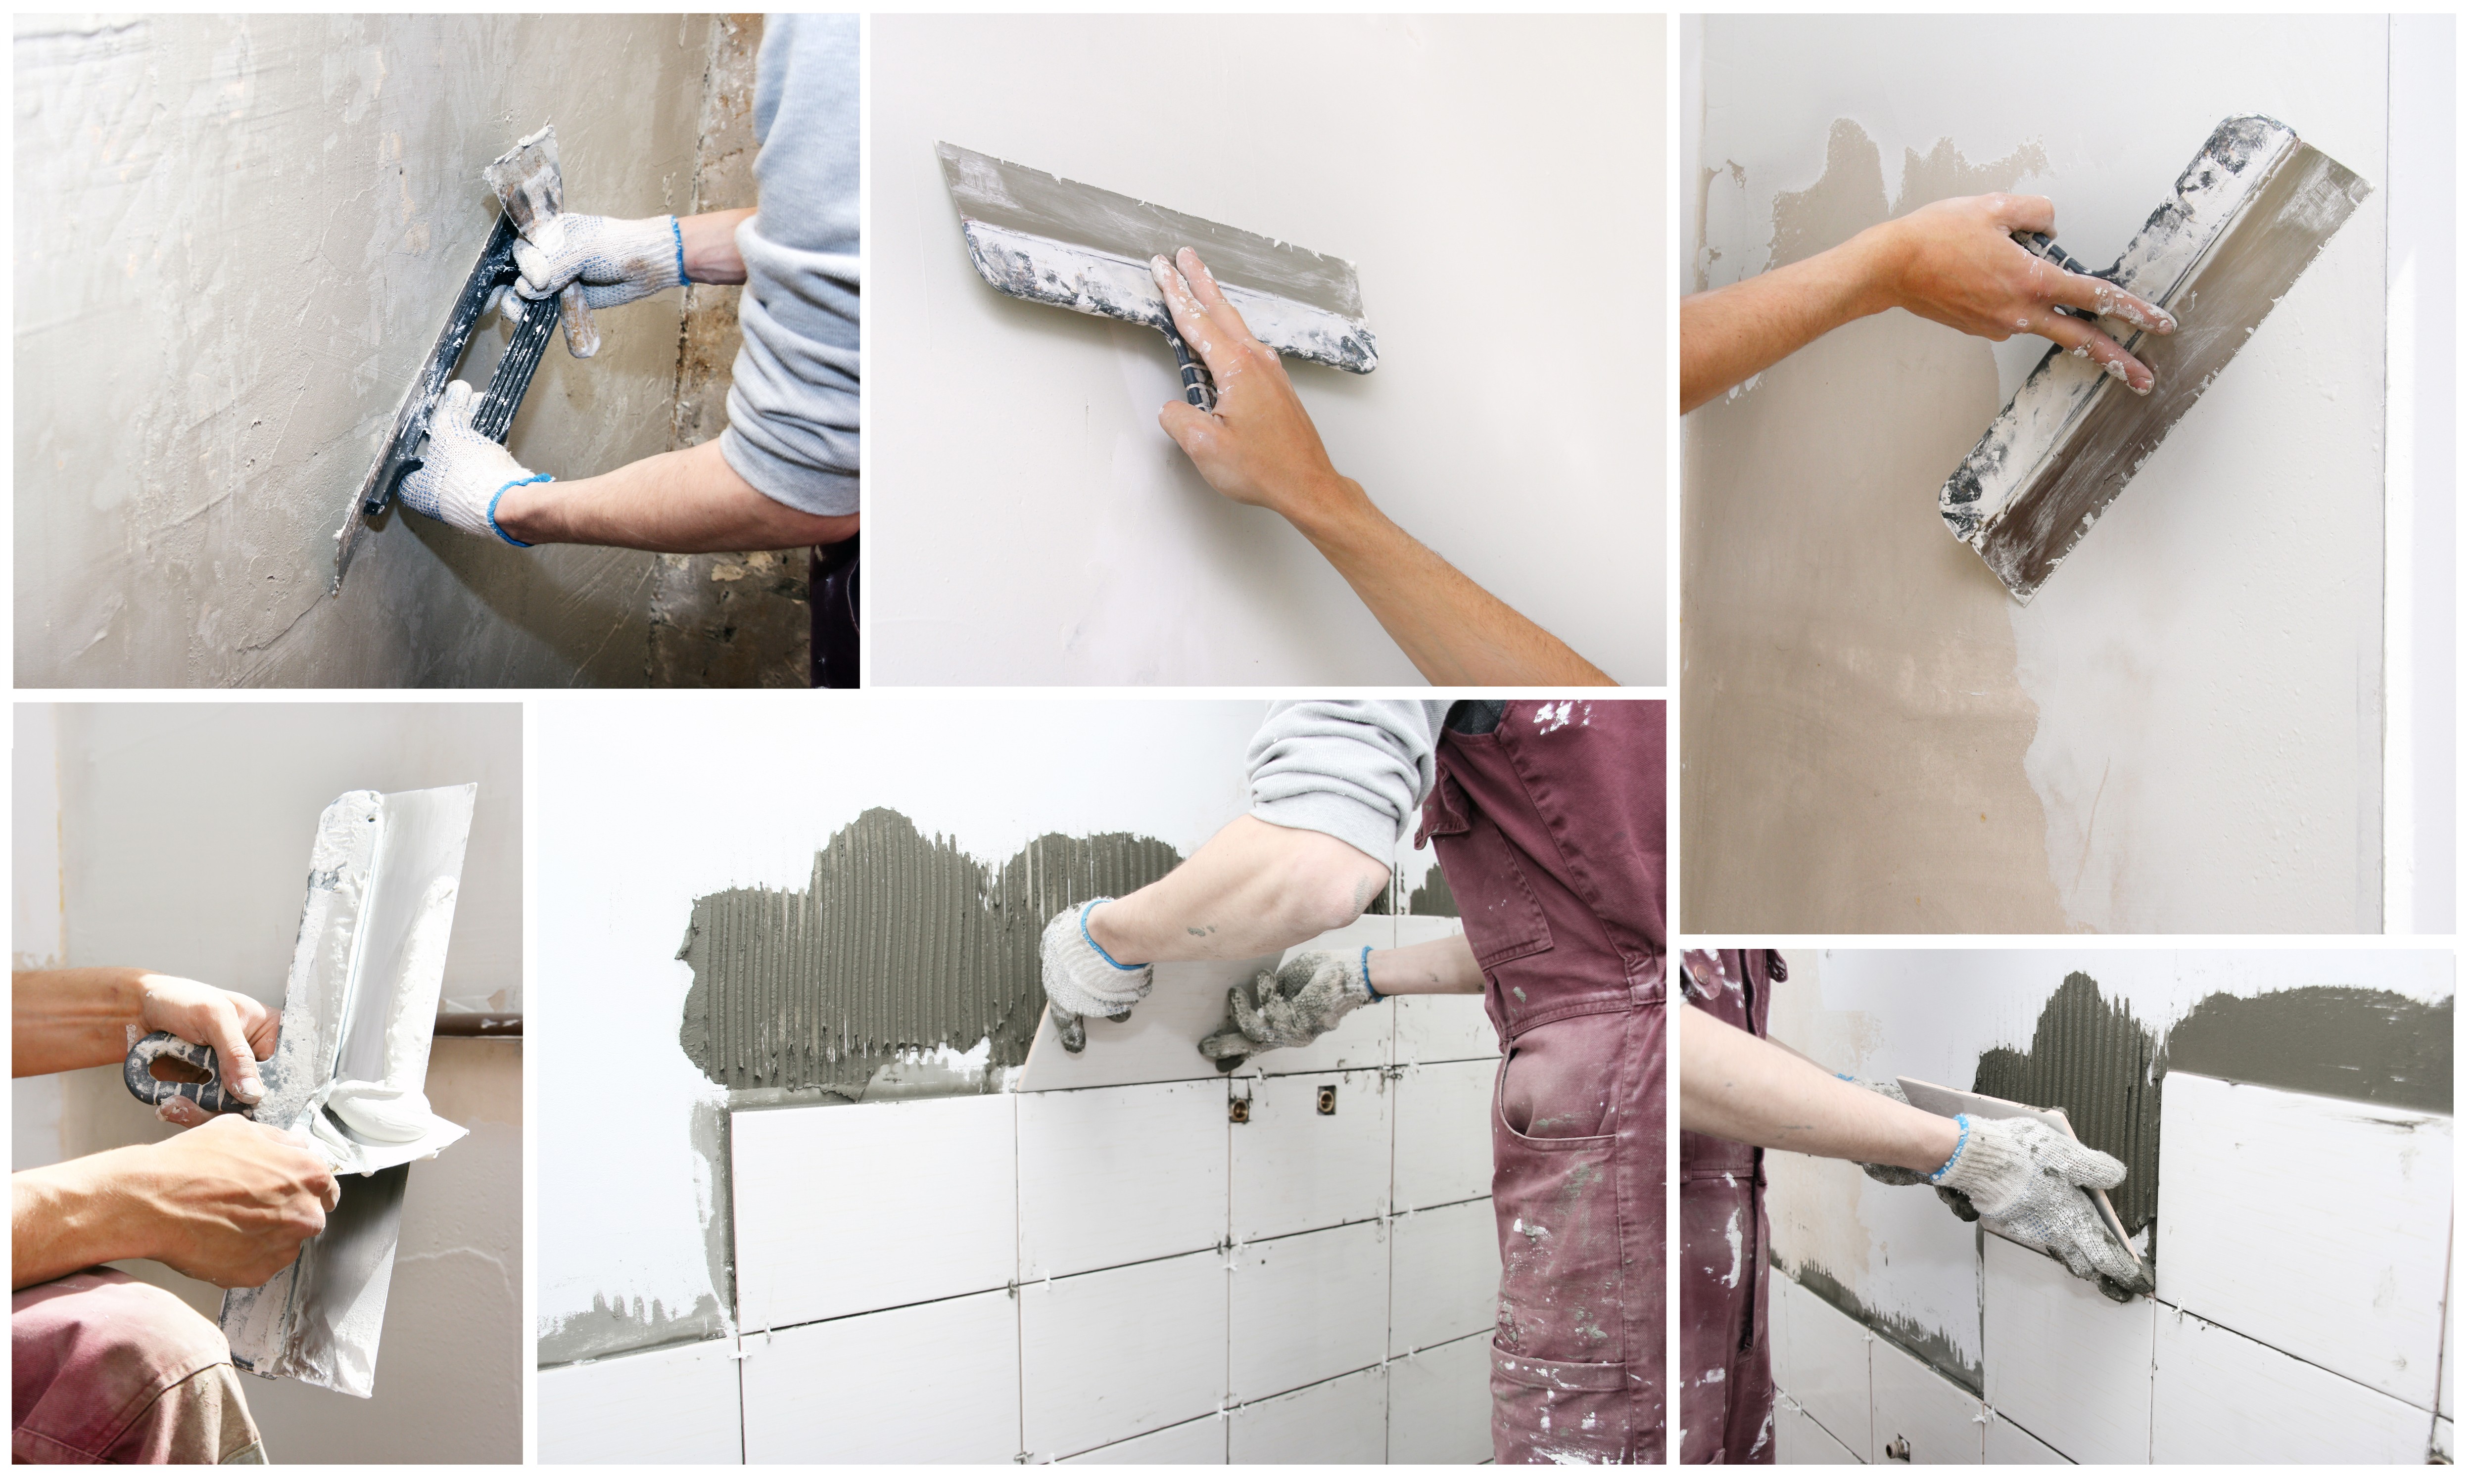
Step 5: We Applied the Mastic
We applied the mastic to a single section of the wall, as marked by the layout lines we just made. We applied the mastic in a thick layer with the smooth side of the tiling trowel, then flipped to the notched edge of the trowel and leveled the mastic while making ridges in it.
 Next, we pressed the tiles firmly into the mastic, beginning at the intersecting lines of our layout lines. Since our tiles didn’t have self-spacing nubs on the edge, we used plastic spacers between the tiles.
We used a tile cutter to cut those tiles that needed to be sized to fit.
Step 6: We Drilled for Water
We left the tiles for around the plumbing fixtures and faucets for last. For this area, we needed to carefully measure and cut the tiles so they fit around the fixtures. We also needed to drill through the tiles to allow the water supply lines through. Once we had the tiles cut, we installed them just as we did the other parts of the surround.
Step 7: We Added Some Accents
Now it was time to add our personal touch. We added a strip of mosaic tile in reflective glass to add a brilliant splash of color. Then we went ahead and finished the tile edges. We installed bullnose tiles around the surround, then allowed the mastic to cure overnight before proceeding. 
Step 8: We Applied the Grout
We mixed up an unsanded grout, following the package instructions and smoothed the grout over the tiles using a rubber grouting trowel. Once it had cured for 15 minutes, we wiped the grout haze off the tiles with a large, damp sponge. It took 24 hours for the grout to fully dry, then we buffed off the remaining grout residue from the tiles. Conclusion:
We had the right tools and didn’t cut any corners, and I must say, we were quite pleased with the results! The bath is an important part of our home and enjoying our bathtub each time we used it made the effort we invested in the renovations well worth it!
Ben Lamm – is a writer, musician, father and husband (not in that order!)
 Next, we pressed the tiles firmly into the mastic, beginning at the intersecting lines of our layout lines. Since our tiles didn’t have self-spacing nubs on the edge, we used plastic spacers between the tiles.