We've had these two pieces for a long time sitting in our garage. I was never really sure what I wanted to do with them. It's no secret that coffee tables are hard to sell, so I was wanting to do something special with them to grab the attention of possible buyers.
It's a balance. You want to redesign your furniture pieces in a way that will appeal to a large audience, but if you stick with a simple, one color design, people might just scroll on by. But if you get too creative, your customer group will seriously narrow.
BALANCE is the key.
We do tend to redesign according to our own individual tastes, our own style, which isn't a bad thing if our vision isn't too wild or on the other end of the spectrum, boring.
It's no fun painting a piece in a way that we dislike.
Before I touch a piece, it needs to speak to me and this set was silent for a long time.
Below is a video of my process. If you prefer, below that is a written step-by-step. Enjoy.
Please let me know what you think in a comment and subscribe to my YouTube channel so you are notified when I post my videos.
Here's a before and a step-by-step written tutorial:
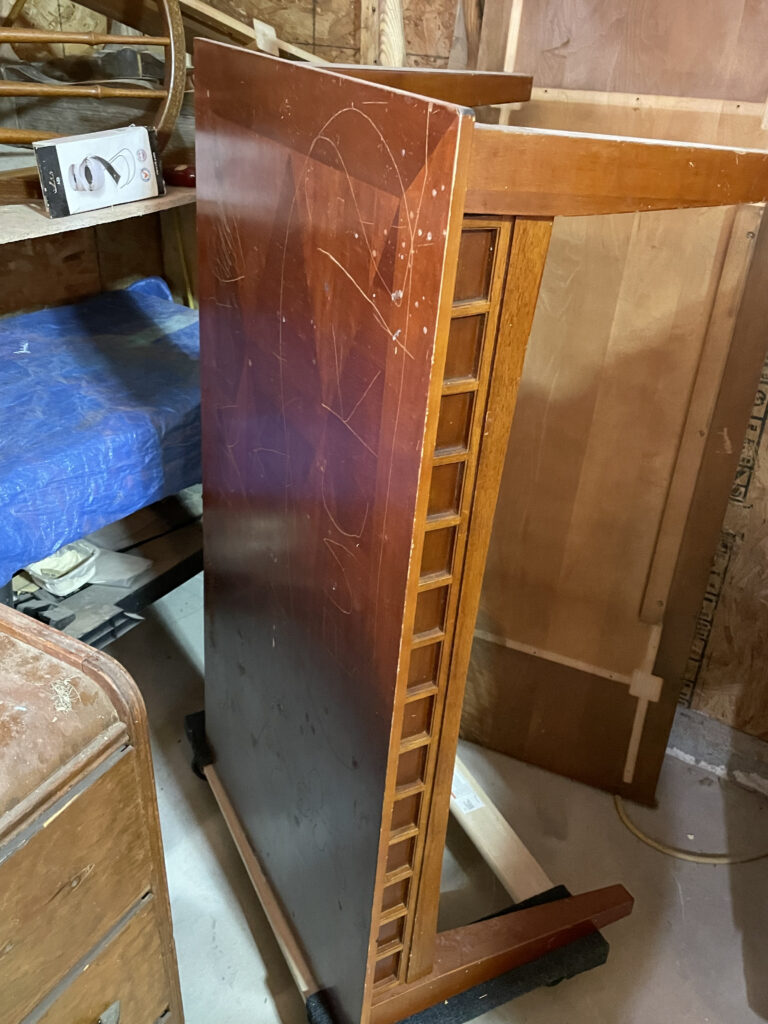
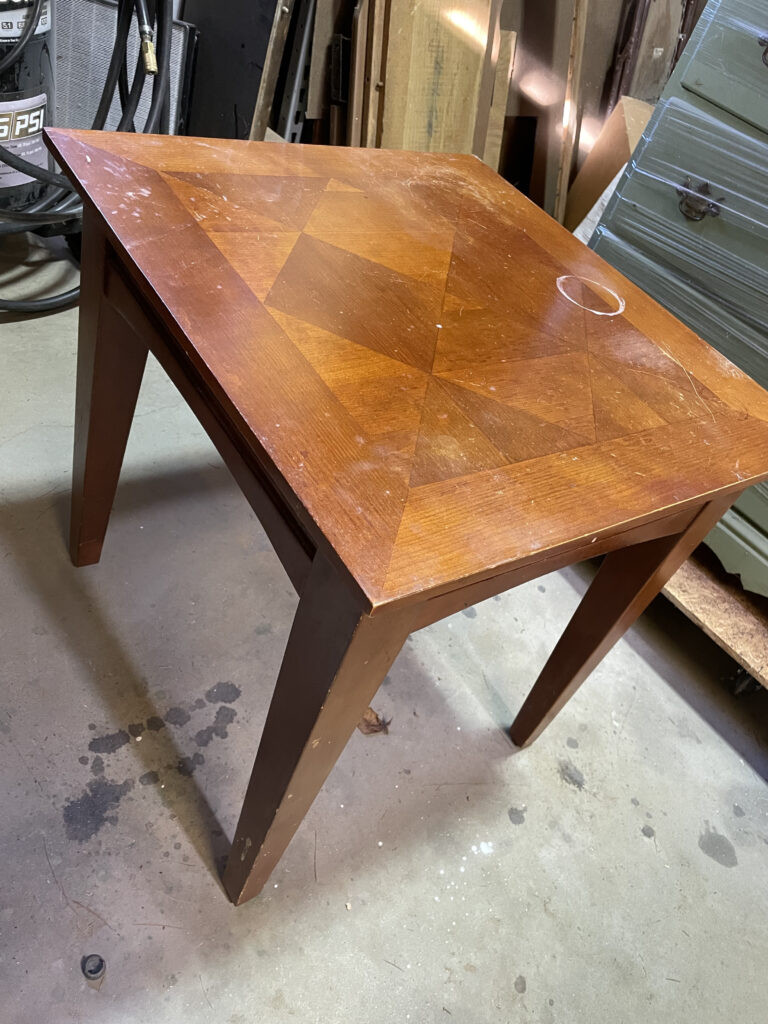
Step #1 - Clean and Sand. Clean again.
Step #2 - Prime. When DH primes, he usually uses a metal spray gun with his compressor with gray, oil-based Zinsser primer. We try to prime several pieces in one day. I don't always prime. If there is a piece I want to do and DH isn't available, I'll either use a rattle can primer, brush it on, or not prime if appropriate.
But I really do prefer the pieces to be primed. Pictured below is my son who came to help with prep for the day.
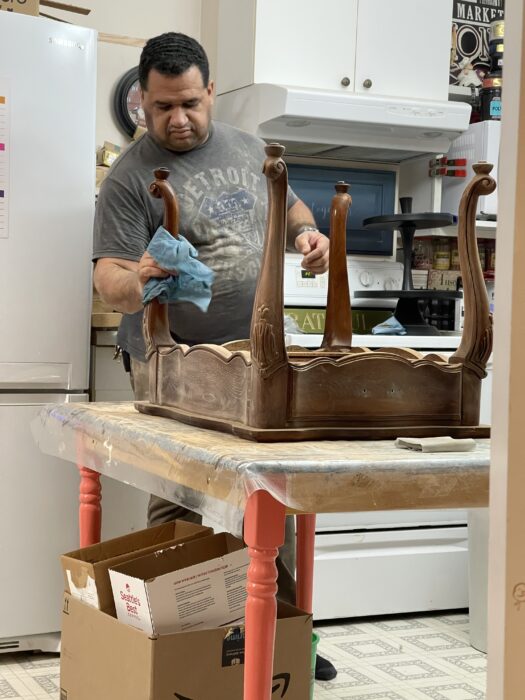
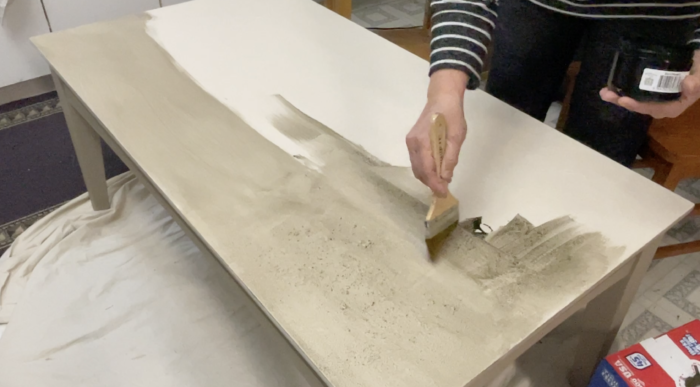
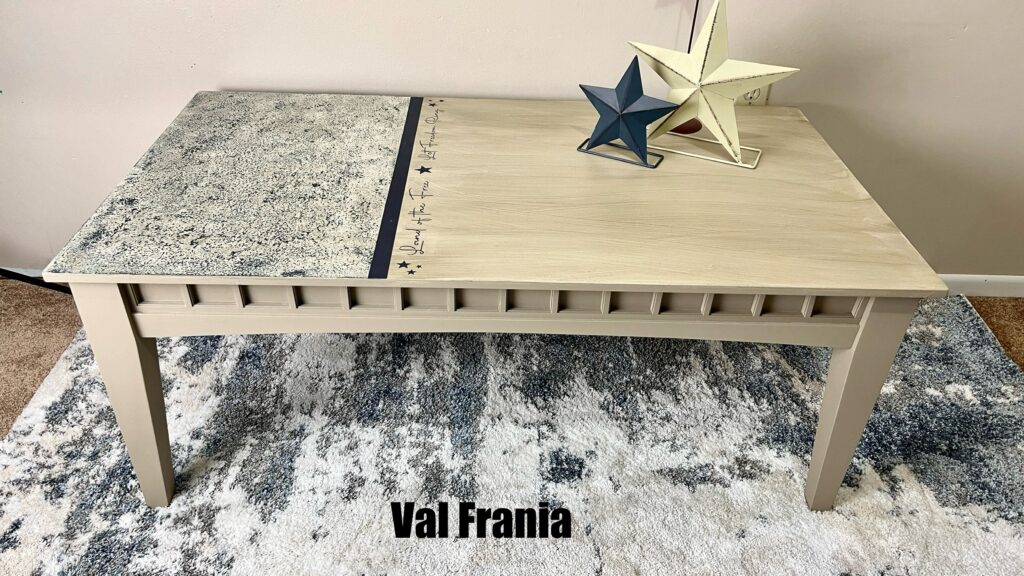
Step 3 - Paint the body. I used Ultratique French Beige.
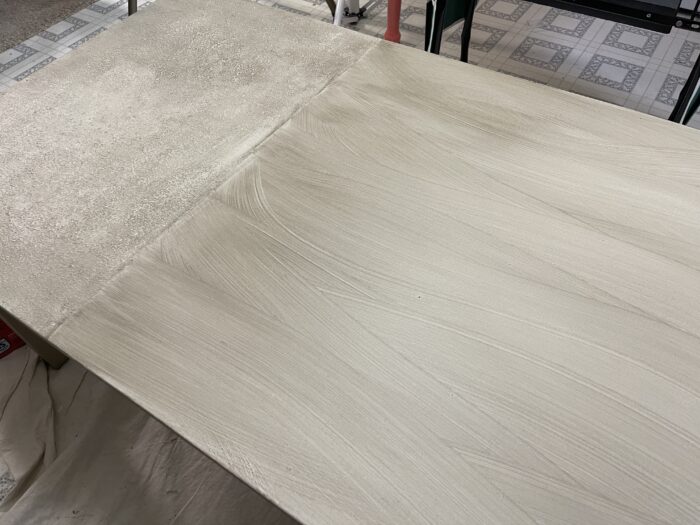
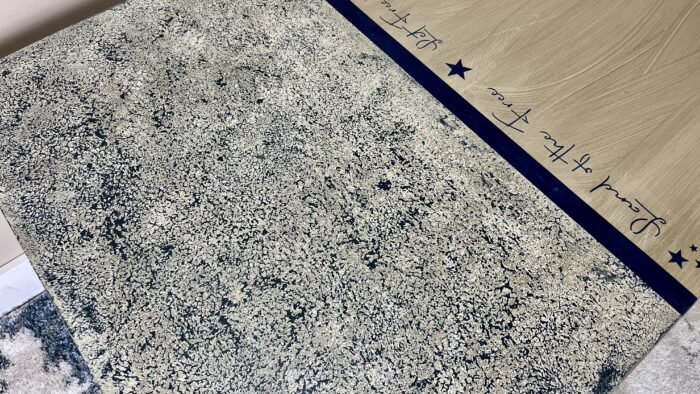
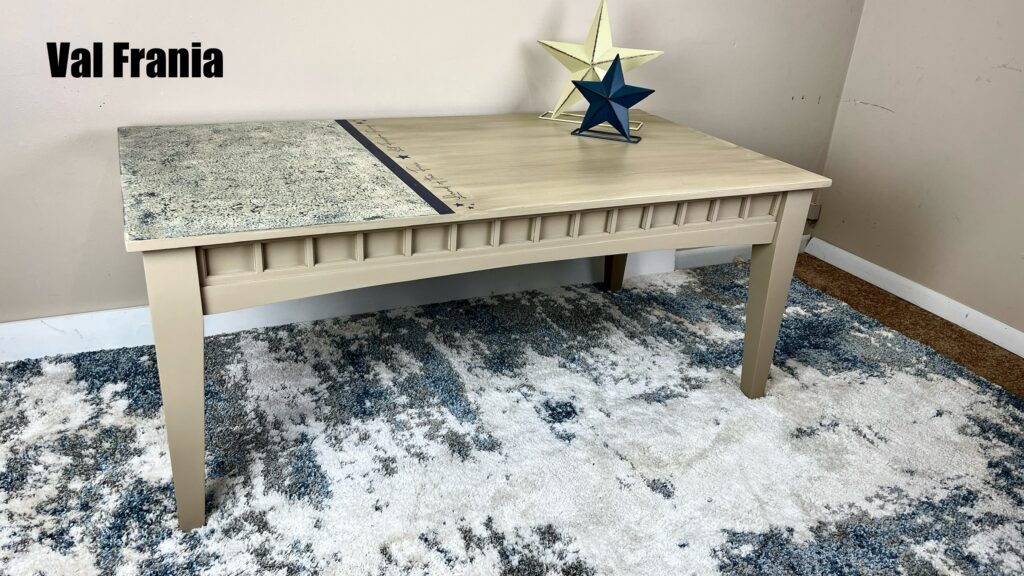
Step 4 - Tape and mix Saltwash with Ultratique Black Indigo for texture and apply to the left side of the table by dabbing your brush randomly.
Step 5 - Let the Saltwash dry for about a half hour or so and knock down the peeks with a brush, lightly.
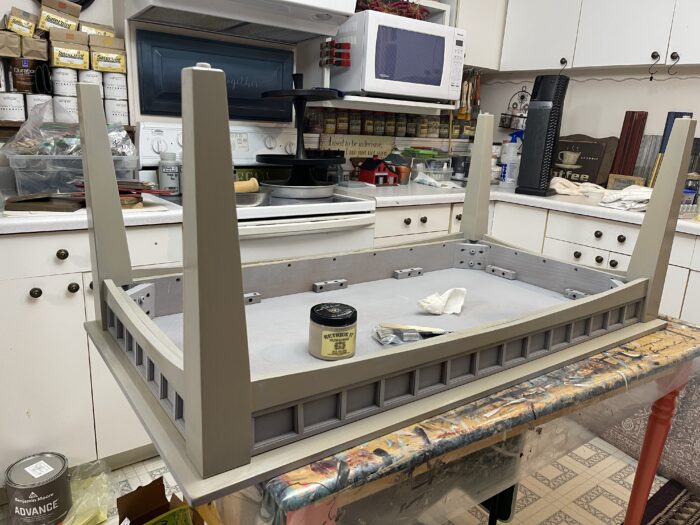
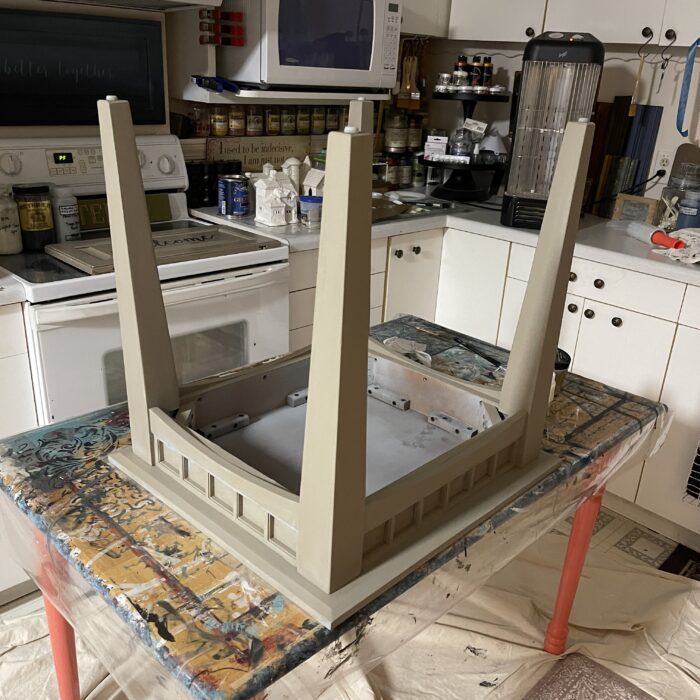
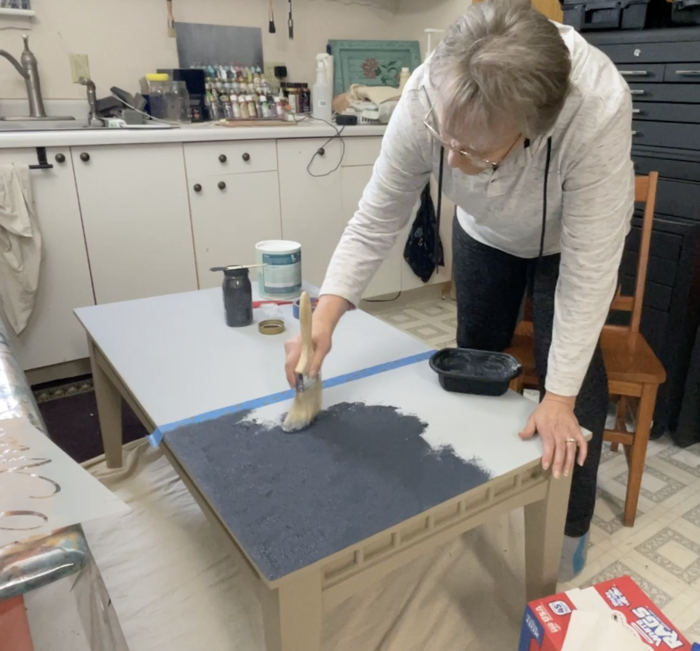
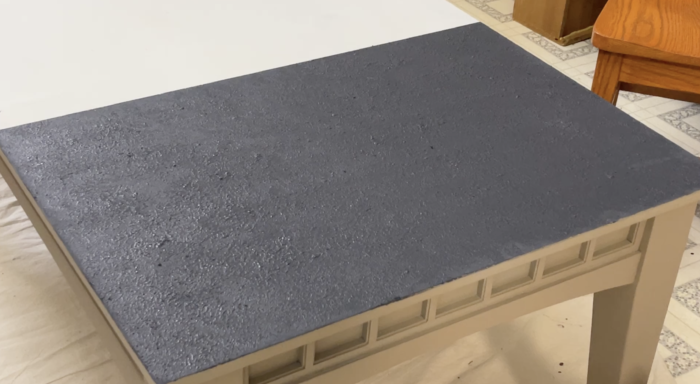
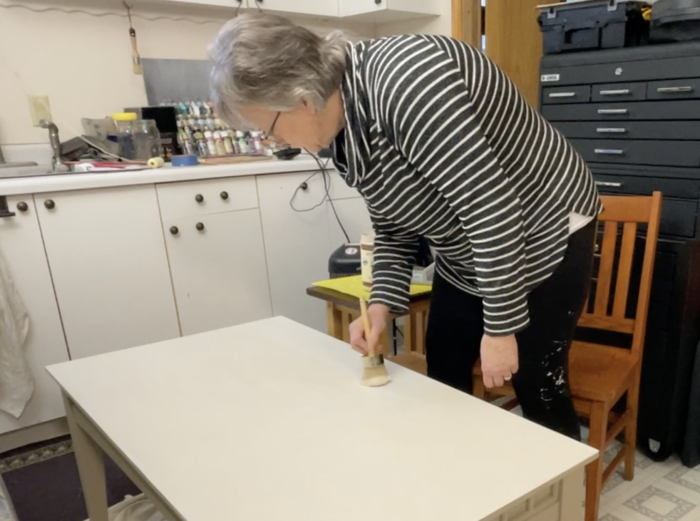
This is where it got tricky because I wanted the table to be weathered looking, so I had to be strategic so it matched on both sides.
Step 6 - Paint on Retique It Wood'n Primer and then Liquid Wood.
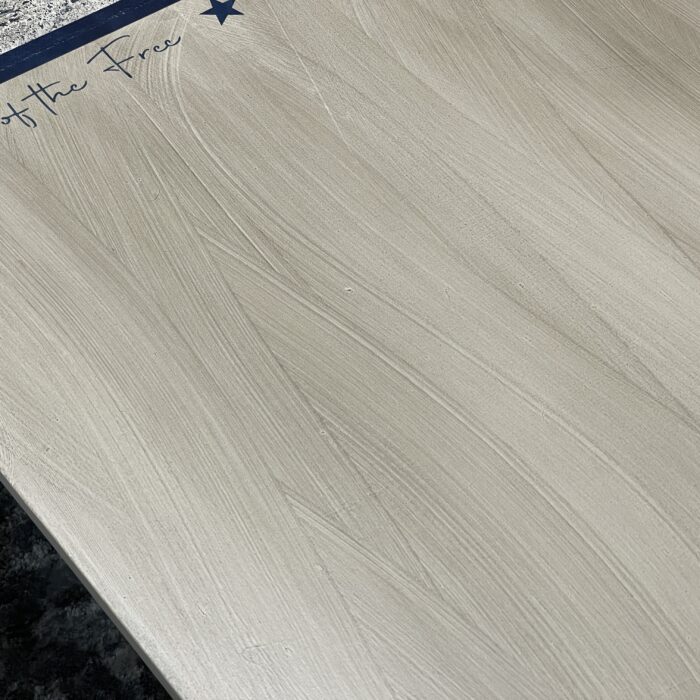
Step 7 - Stain. While staining with gel stain on the right side that didn't have the texture, I stained in swirls to represent the flag when it was flying in the breeze.
Step 8 - Tape off to protect the right side. I sanded the side with the texture to bring out the blue. I started out hand sanding but moved to use my random orbital sander because the 3 layers of the primer and Liquid Wood was hard to sand through.
Step 9 - Add another tape placed the width needed for a blue stripe. Paint the stripe using the stencil method for a crisp line.
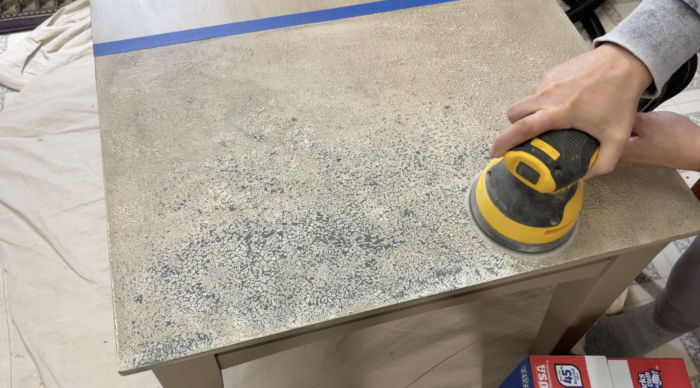
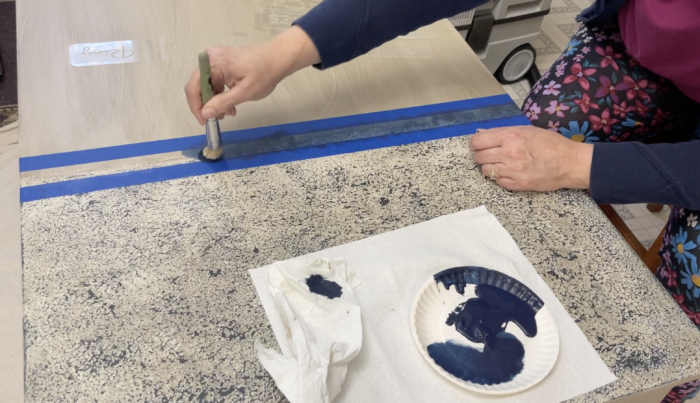
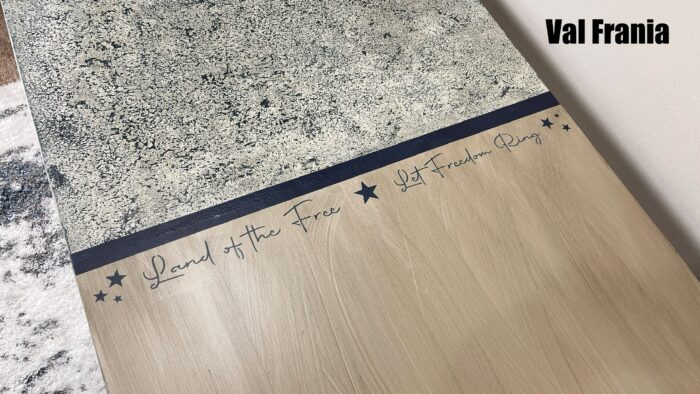
Step 10 - Lay down a thin layer of poly to protect the stained area to the right and stencil wording, "Land of the Free and Let Freedom Ring."
Step 11 - Seal and protect the top with Polyacrylic, a water-based polyurethane. The body doesn't need poly because I used Ultratique from Retique It.
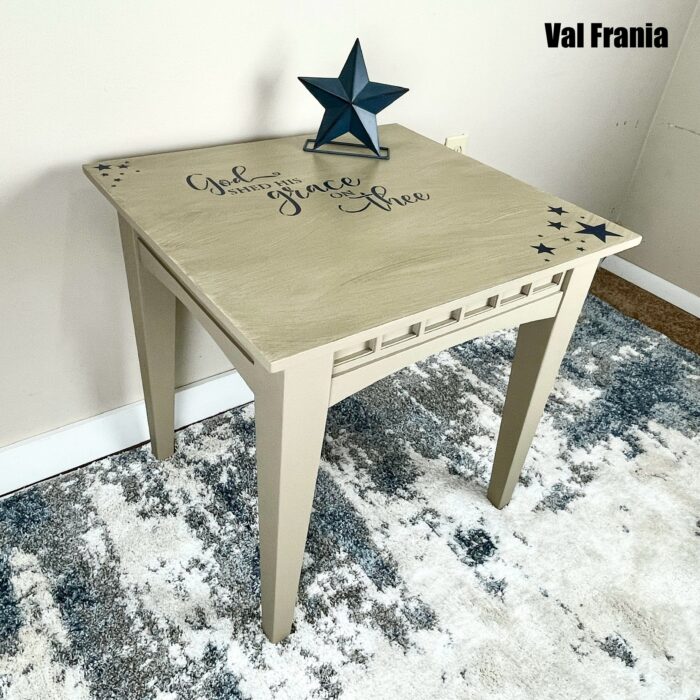
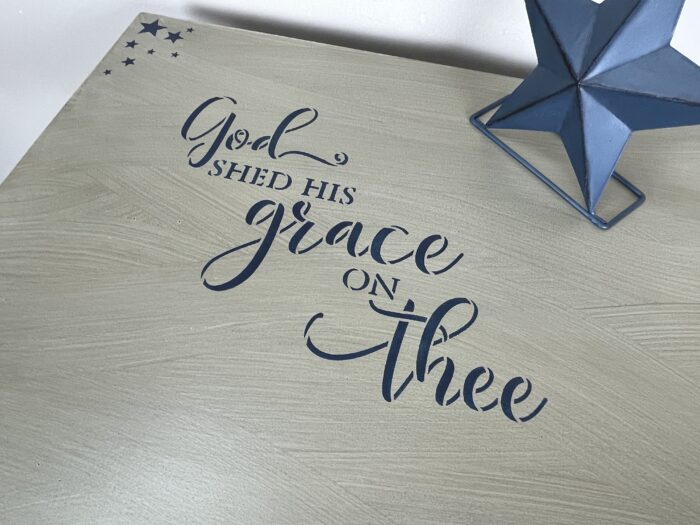
Step 12 - Design an end table to coordinate in the same patriotic theme and style.
Step 13 - STAGE and LIST on Marketplace.
Do you want to learn how to flip furniture like a PRO?
Furniture Flipping Blueprint PRO is open for enrollment through August. Come join us and learn AtoZ furniture reesign and marketing.
Thanks for visiting,
