
I’ve been tooting the
“flip it don’t toss it”
horn for quite a while now – have you heard it?
Look around your house. Do you own any furniture that is the same ol’ same ol’ from the 80s? Are you tired of hum drum? Let’s look at a bookshelf re-designed out of the 80s and into the present.
This old thing has been sitting in my hallways for a dozen years. It was time for a change and I’m not willing to go out and spend $100, but I will pick up a brush. Since (aff link) The Old Fashioned Milk Paint Company provided products for this project, I was able to experiment a bit and come up with an original piece of art.
Yep. I said “art.” Art isn’t always a framed picture on a wall. Art can be anything that an artist creates. What makes an artist? They are the people who create art!
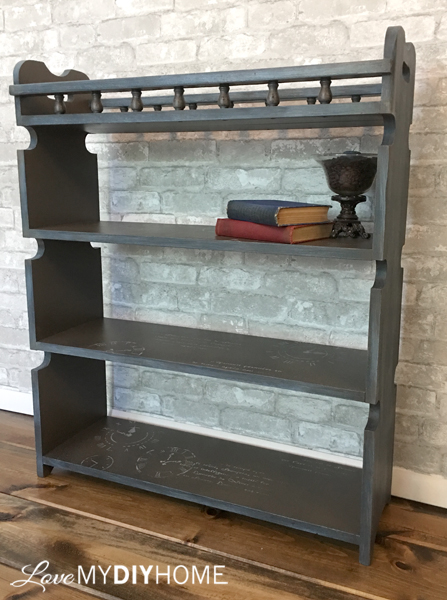
Just like the Skinny Side Table, this piece of art took on a little bit of a french flair with old time clocks and a bit of faded out French script. Let’s look at the before:
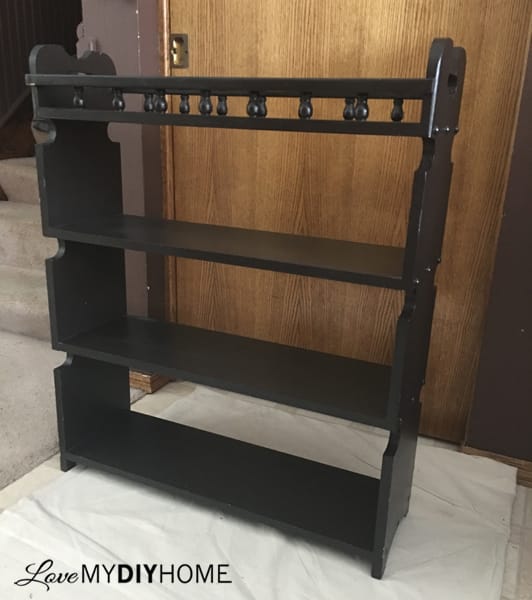
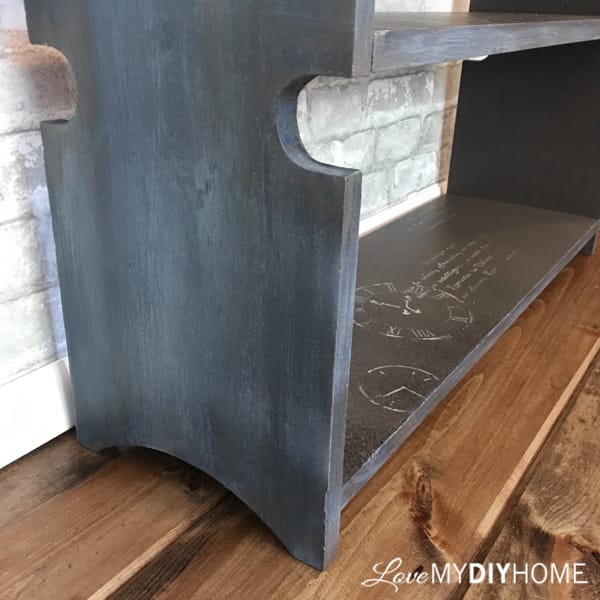
See what I mean? Buttons on the side, cut out curvy chunks on the side, colonial side rail…80s all the way.
Here’s a simple step by step. Mistakes and all.
1. Sand down the previous layer of paint to give it tooth.
2. Pop out the buttons and drill out the glue still in the holes.
The removal of the buttons got rid of the 80s look. How can it be that such a little thing makes such a difference?
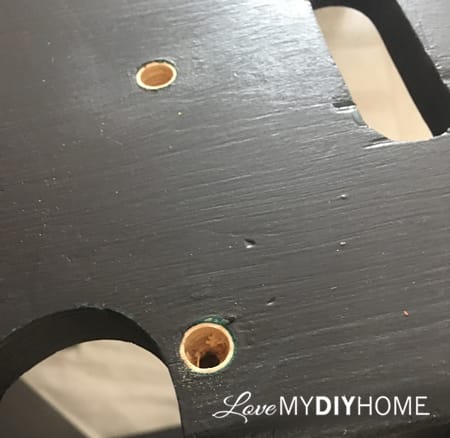
3. Glue in wood plugs and sand them down level with the wood.
You can see the original green after sanding. For a minute I was tempted to work with the green that popped up, but the plan was the plan. Stick with the plan.


4. Spray (aff links) Old Fashioned Milk Paint with Extra Bond.
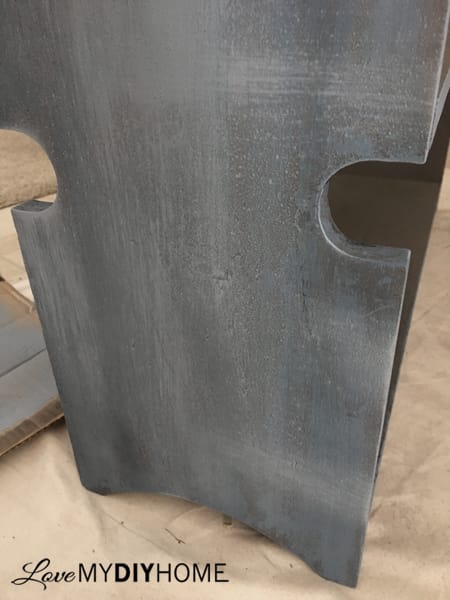
This is where I perpetuate the self-proclaimed title of “Accidental Artist.” When I sprayed the lighter brown, Driftwood, over the original dark brown, I had a bit of trouble. At first it was too thin and a bit drippy. I had thinned it out to a 30 second drip and strained it. Thickening it a bit for a more solid spray made it too thick even though it was just a 35 second drip. It spit the paint out and caused a spotted look. I had strained it, so who knows why.
At first I wasn’t happy with the look because it didn’t give smooth, even coverage. BUT, then I noticed that when it dried it had a great texture and looked quite interesting. After a light sanding, I was left with an old-world look. Ummm. Thank you.

All I can figure is that with the added Extra-Bond, the consistency was such that the sprayer wasn’t a good choice for application. unless of course you are the Accidental Artist like me and get results you never planned on but love.
Going for the weathered look, you can’t just paint straight. You need some of the base coat to show through here and there. There is no rhyme or reason. Just don’t have any start and stop spots, try to feather it out and be more haphazard than exact.
I used Safe Paint for the extra durability. It is self-priming and provides a flat, consistent finish and is water resistant once cured.
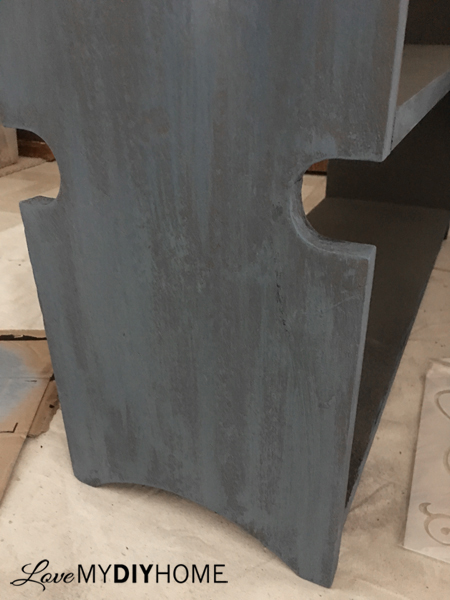
6. Dry brush (aff link) OFMP Slate Safe Paint for accents.
The lighter gray blue with a bit of cross-hatching brought some depth, giving a nice weathered look.
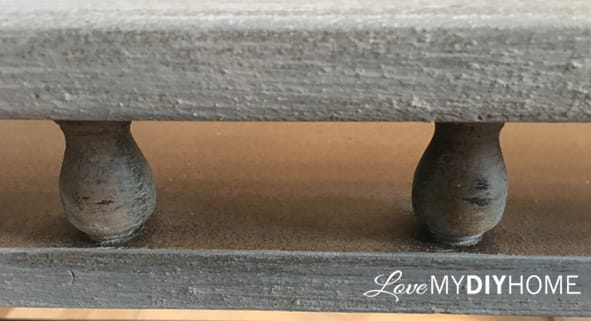
The last layer of driftwood brings it into reality. The added brown hints of dirt, age, and a general natural wood appearance.

8. Top coat.
I used (aff link) Acriglaze Safecoat and for some reason I got white streaks when it dried. I’m guessing that both my house temp (We keep it about 64 degrees during the winter) and humidity were too low, causing the topcoat to dry inconsistently. At first I was very disappointed and wasn’t sure what to do because if I sanded it too much to get the streaks off, I’d lose the old-worldy look of the sprayed on first coat of Driftwood by default.

I did sand a bit on the top shelf because I had special plans that needed a good solid layer. Streaks would have been too distracting. The script needed to stand alone for effect.
After much contemplation, I decided to keep the streaks on the lower shelves. Here’s why.

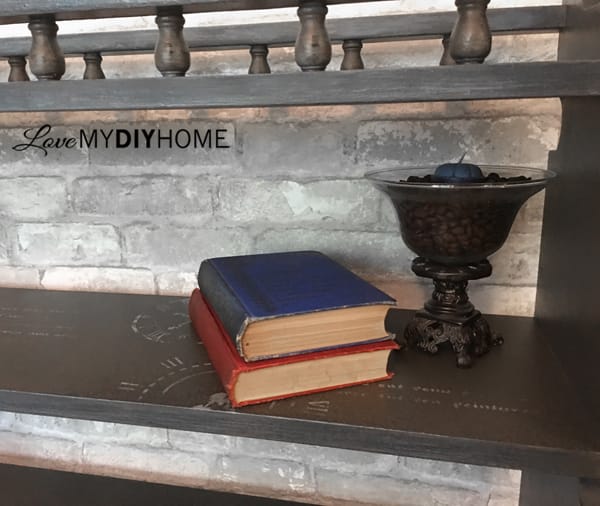
As you can see, the streaky look “played right into the hands of the clocks”. Of course I could say that I planned it all, but really, it was quite an accident that just turned the tide in my favor.
9. Stencil clocks and French script over top the streaky topcoat.

10. Topcoat. Again. But this time use wax.
(aff link) Daddy Van’s Wax is all natural, smells great, is easy to apply and is a good sealant. The funny thing is, the wax did away with the white streaks. I stressed over the streaks. They grew on me. I decide I like them. Then they went away with the wax. Go figure.
Through all the mishaps and unexpected turns, it’s always gratifying when a piece turns out well – especially when it was originally garage sale fodder. Chalk one up for DIY redesign.

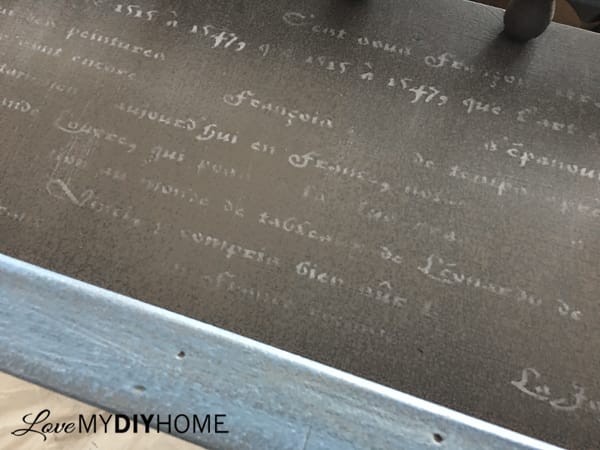
Though the stenciled clocks and script look random, there is method to the madness. As you are looking down from top to bottom, you can see a left to right to left and then back to the right movement.

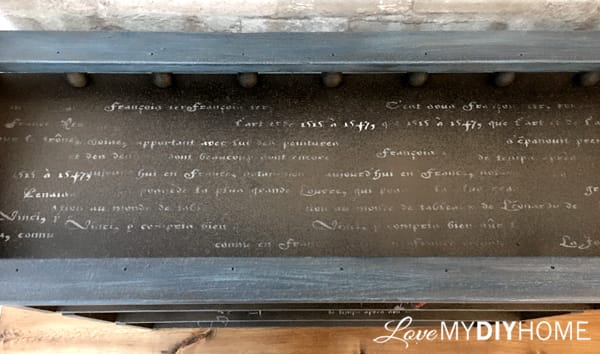
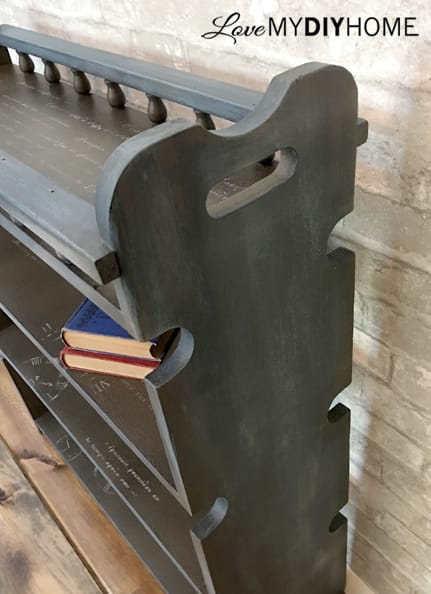
The French script stencil comes as a 12″ x 12″ but you are not limited to that exact design. As you can see on the close-ups, you can pick and choose how you use it. On the top you can see how I varied not only the intensity of the painted script, but also the fading in and out on the edges to give the look of “floating” script. This is to give the appearance of age and just a bit of romance.

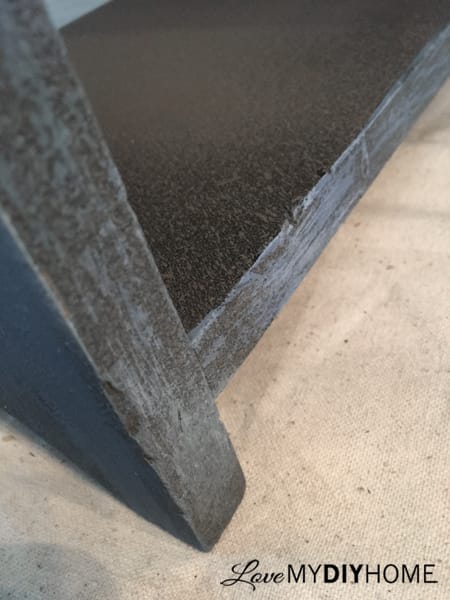
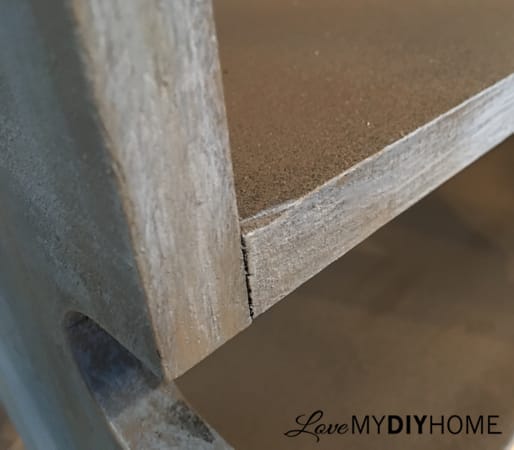
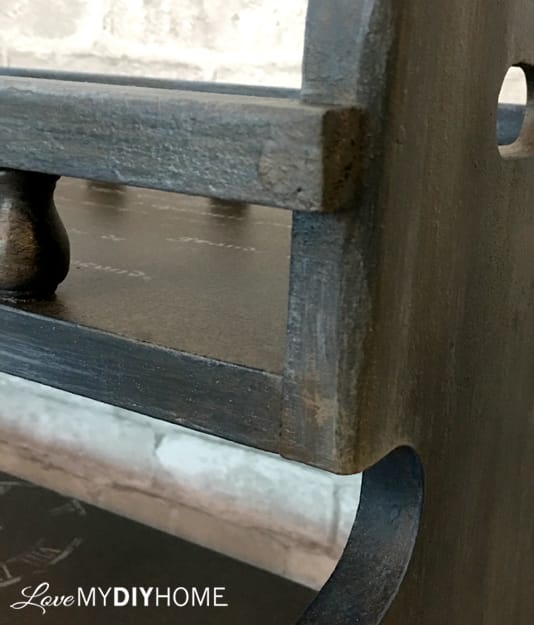
Here you can see the texture and color variation up close. The (aff link) Daddy Van’s wax brought out detail and depth.
It always helps when you can continue the look throughout with different techniques. Here on the top of the bookcase you see the texture, faded stenciling and a bit of a distressed look through multi layered dry brushing.
If when you look at a piece and your eyes travel from one element to the next, you know you have a winner. Art is to capture the eye. This is why I call furniture refinishing art – it carries the same intrest and intrigue as a wall mounted painting.


A huge “thank you” to (aff link) The Old Fashioned Milk Paint Company for supplying the materials for this project. If you’ve not tried their paint and other products, go take a look at what they have to offer HERE. OFMP comes in 20 colors and as a base with no pigment (you add your own). It’s best for porous surfaces such as bare wood and raw masonry. (Adding Extra-Bond into first coat will help adhesion to most clean, sound non-porous surfaces.) It’s packaged as a powder and you add water to make a pint, quart, or gallon. It’s great if you want to mix your own colors as well – as a mater of fact, it’s fun to do!
Until next time…
XXOO


*Disclosure: The Old Fashioned Milk Paint Company supplied products for this project. All opinions are my own. This post also contains affiliate links. If you buy anything after clicking on one of the affiliate links, I receive a small commission of the sale. The cost to you is the same, and I only link to items that I think would benefit my readers. All links are in red for your convenience. Your support of this blog is greatly appreciated!
I really love all the texture and layering you did on this piece Val, and the way you brought them together with the stencil, Wonderful project!
Thanks, Brenda!
The depth you created on this piece, Val, is amazing!! You really are the Queen of drybrushing! Great tutorial, as well. Thanks for sharing, Cynthia
LOL Thanks, Cindy! It IS a fun way to detail!
Don't you love when "mistakes" actually work?! I'm about to redo an old family gossip bench that has those "buttons" as you called them. I actually ordered some replacements, as a few were missing. Didn't occur to me to consider simply plugging the holes. I'm planning to paint it white and then stencil black numbers all over it. Now I'm wondering if I should just use flat wood plugs? Here's the piece I have. Can't upload the inspiration image, but I'm sure you can imagine it. 🙂 I have a collection of old phones to hang on the wall above it, as well as a working 60s style tabletop landline.
Well, the image didn't post – here's the link: https://highendusedfurniture.com/wp-content/uploads/2016/02/DSC02832.jpg
I was very happy with the look after removing the buttons and putting in plugs. It takes away the country look. I’m a stickler for details and I think the plugs made a huge difference. The bench is cool Send me a picture when you are done with it.