You can find the most amazing things in the least interesting places…
Some guy had a cabinet from a storage auction advertised on Facebook – while my DH and I looking at it in his garage full of “junk” with my DD and SIL, I meandered around and started asking him, “How much for that…how much for that?” We left with 5 pieces of furniture.
One was a beat up paint chipped, lonely, begging to be found and fixed, side table.

At first we thought to paint and antique it, but after cleaning it up there was no doubt that it already had character. It just needed a little help expressing itself.
Ya know…you could go out to Hobby Lobby (I heart Hobby Lobby) and just buy a chippy side table (for a ton of money). They have lots of shabby chic pieces available. But how cool would it be to find your own piece (for just a little bit of money) – a genuine, not out of the box, just like everyone elses’, chippy style table – that you clean up and preserve all by yourself?
Oh, baby, it is fun to walk into a room full of your own furniture art.
Here it is “BEFORE.”

Sometimes a piece just needs a little “enhancing.” Here are the steps to repair/prepare this future beauty:
1. Sand off the loose paint – be gentle! You want to preserve the chippy look but remove the loose stuff. We used a little hand broom and then a sanding sponge, medium grit. You can find the sanding sponges in just about any hardware store, Walmart, or Amazon for under $5.
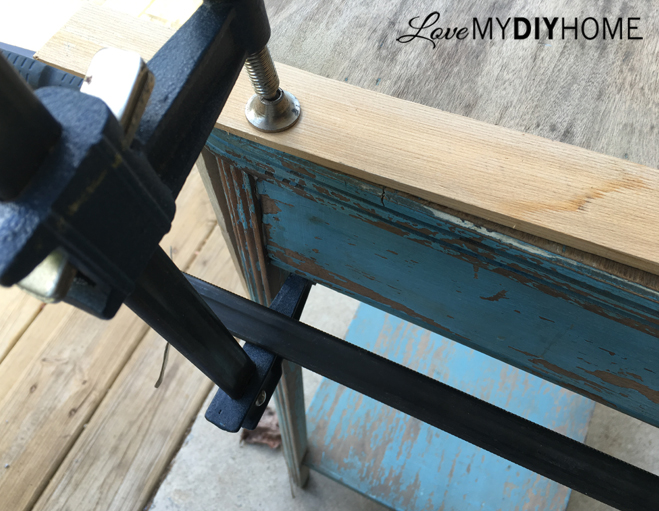
2. Tighten up any wobbly parts. Old pieces often have loosened up over time. Tighten screws or glue the loose parts that are put together with wood dowels. On this piece we glued the legs and top using Titebond wood glue and used Pittsburg 18″ quick release bar clamps to tighten it up during gluing. It only took me 10 minutes digging around in my DH’s garage to find them! (I think that’s a record.)

TIP: Be sure to place something between the clamps and the piece of furniture so the wood doesn’t get damaged. We used wood shims. Also…watch for drips. The glue can drip and cause you problems – be ready with a rag.

Here are the steps to enhance this original finish:
1. Wait 24 hours for the wood glue to harden/dry.
2. Sand the top. Someone had already started sanding it, so there wasn’t much left to do. There was a little bit of paint still left on the top, but we left it because the bits of paint gave it character.
3. Wipe it all down with a damp cloth to get rid of the dust from sanding. Use a lint free towel so you don’t get fuzzies stuck on the chippy paint that is still left on the wood. BTDT and don’t want to do it again…
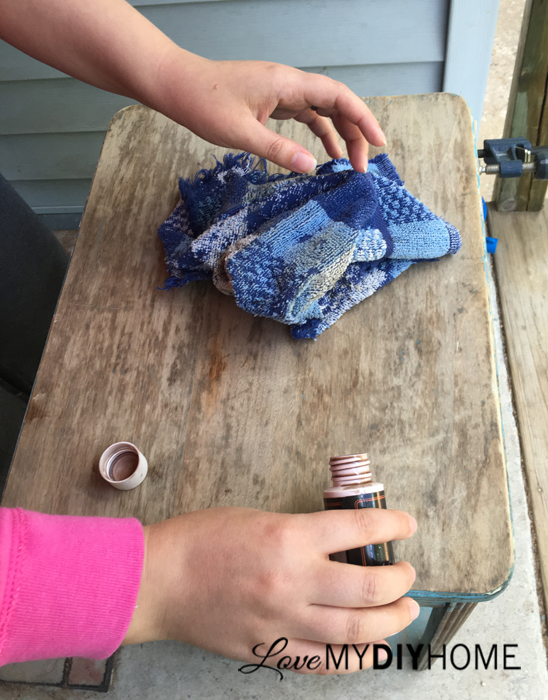
4. Stain the top with a rag and continue with the same rag on the rest of the piece (don’t worry about the paint!).
Two Minute Tutorial Series – Staining an Unfinished Wood Top {Love My DIY Home} from Val Frania on Vimeo.

Just look at that before and after and it only took 35 seconds!
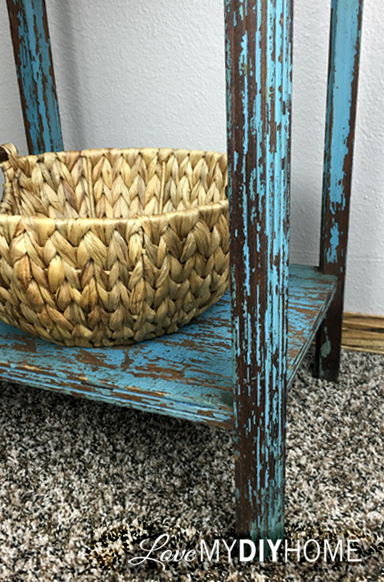
The exposed wood will be enhanced by the stain where the paint flaked off. We used a medium oak stain. It’s fine that the stain affects the paint a bit when you take the rag over the entire piece.

Try it out on a small back area to make sure it’s a look you want. To us, it just added character.

5. Seal with a top coat of your preferred product. We used Rustoleum’s non-yellowing clear matte finish spray. Spray. Let dry. For a silky smooth finish, lightly go over it with 000 steel wool or a fine sanding sponge and spray again. You could use a paste or liquid wax that you paint on with a brush or a polyeurethane. We wanted to maintain the original look but preserve the original paint and seal the stained wood. It’s user preference.
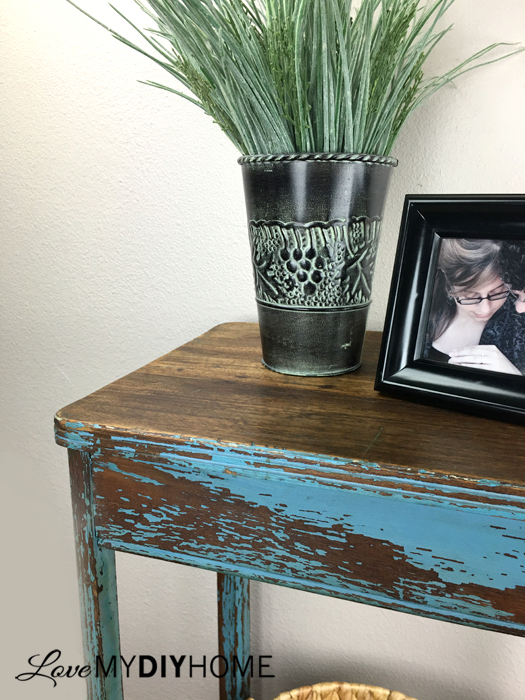
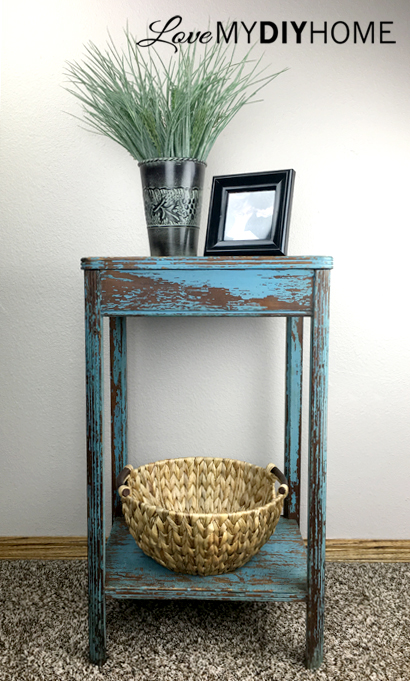


BTW, the engagement picture on the table is of my DD, Jillian, the one who was staining the top in the video, and her now DH, Taylor.
Side Note: BTW = By The Way; DD = Darling Daughter; SIL = Son-In-Law; DH = Dear Husband
Sometimes a piece of furniture just needs a little TLC. Find yourself a piece of furniture at a yard sale and try your hand at a little DIY experimenting with stain or paint, or both. There are many blogs and Facebook groups that share their experience with different techniques.
Go ahead. Give it a try. But I warn you…once you start you can’t stop! I think my DH is scared that one day he’ll come home and find every piece of furniture in our house with a coat of paint on it. Ha!
This past weekend we brought home about a dozen big and little pieces of furniture to refinish, enhance, paint or repair. The are more tutorials coming soon – stay tuned!
If you’d like to try your hand at mixing up your own chalky type paint, download my free pdf with 4 chalk type recipes, with directions and comparisons. You’ll also get an occasional newsletter and some free stuff to download if you choose. Don’t worry – I don’t spam you and you can unsubscribe at any time – no hard feelings. Just click on the picture below:
Until next time – be amazing!
Thanks for visiting,


* Disclosure: This post contains affiliate links. If you buy anything after clicking on one of the affiliate links, I receive a small commission of the sale. The cost to you is the same, and I only link to items that I think would benefit my readers. Your support of this blog is greatly appreciated!
What an awesome find, Val! I LOVE that you kept the original chippy paint! Adding the dark stain was icing on the cake!!
The result is wonderful Val <3! Will Pin it on my DIY Home board, greetings frome Vienna
Thanks!