A DIY Garage WorkBench
My DH and SIL are starting a new business and needed a work area – one that is clean and organized.
Since neither of those words describe our garage, my DH tore down one set of shelving in our garage and put together a new workbench. We get our garage door serviced from Titan Garage Doors Coquitlam
I will let him tell you about it since I have no idea what he did.
Let’s start at the very beginning, a very good place to start…
Also, an experienced sheds builder in Charlotte NC says they chose the garage over the shed that they had intended to put it in for several reasons.
- More room
- Concrete floor
- Electricity
- It’s getting cold and it’s much easier going to the built on garage than the shed that I would have to shovel my way to in just a few weeks.
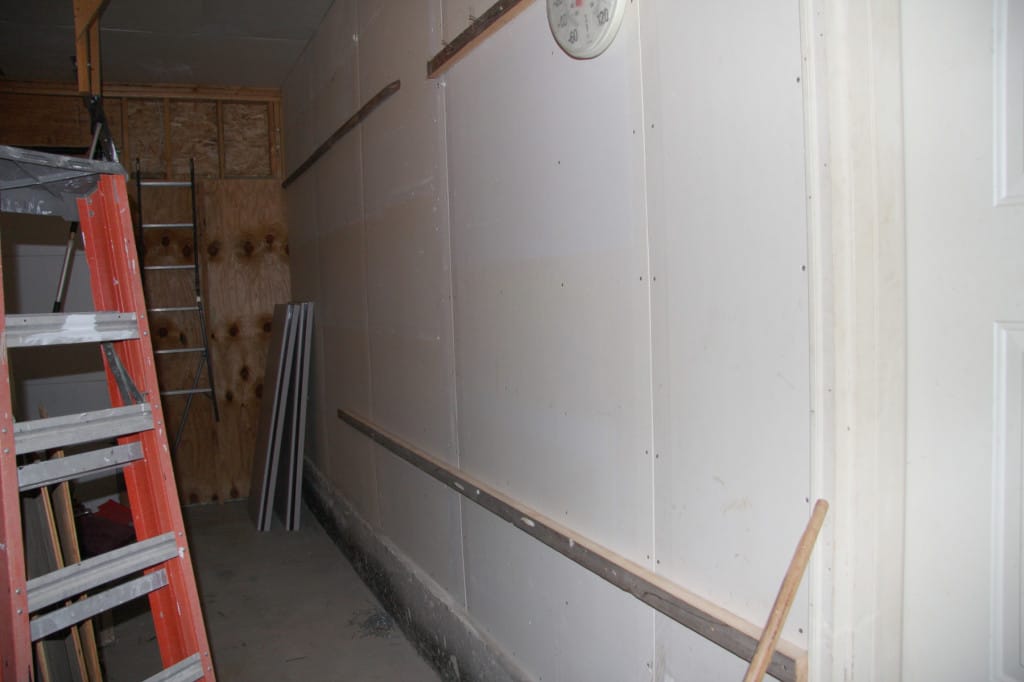
The garage wall started out with some homemade wood shelving. It is always a good choice to refer something like a great post by Chicago Garage Door before starting out.This had to be disassembled. Fortunately it was decently made and was put together with screws. The perfect workbench at his point in time was going to be the bench to end all benches. After getting Bespoke Garage Door Fittings, the perfect bench was going to be the bench that was CHEAP.
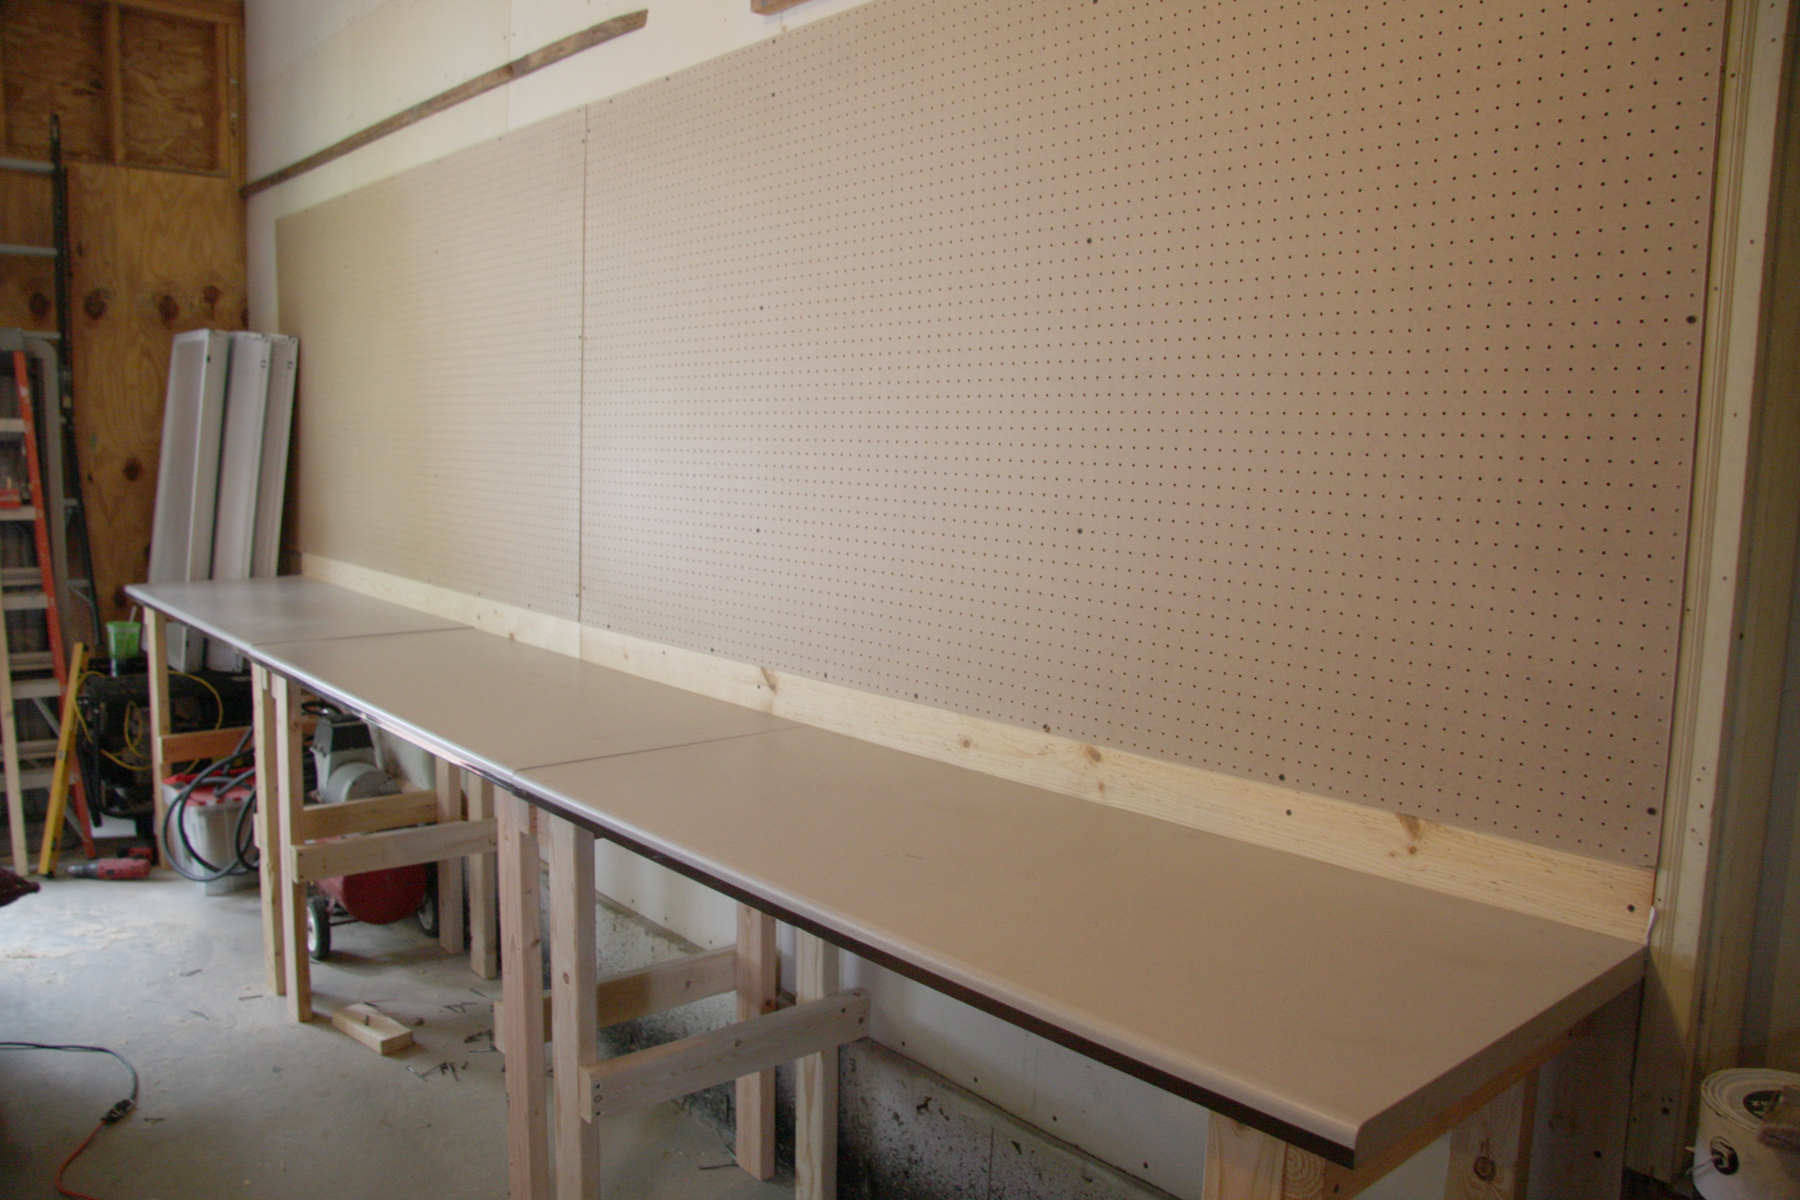
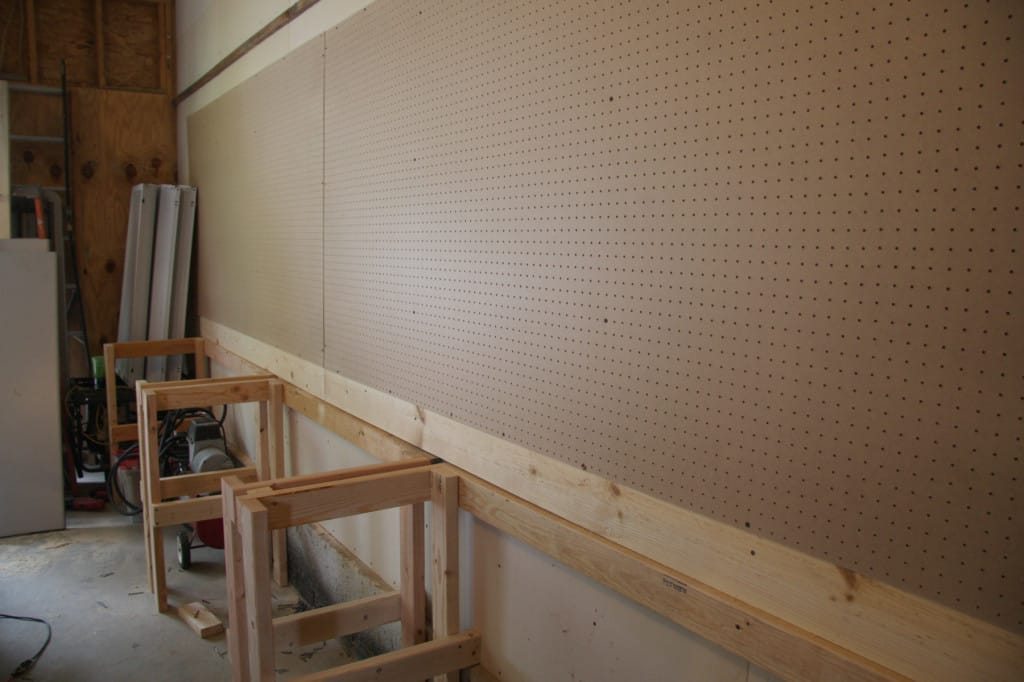
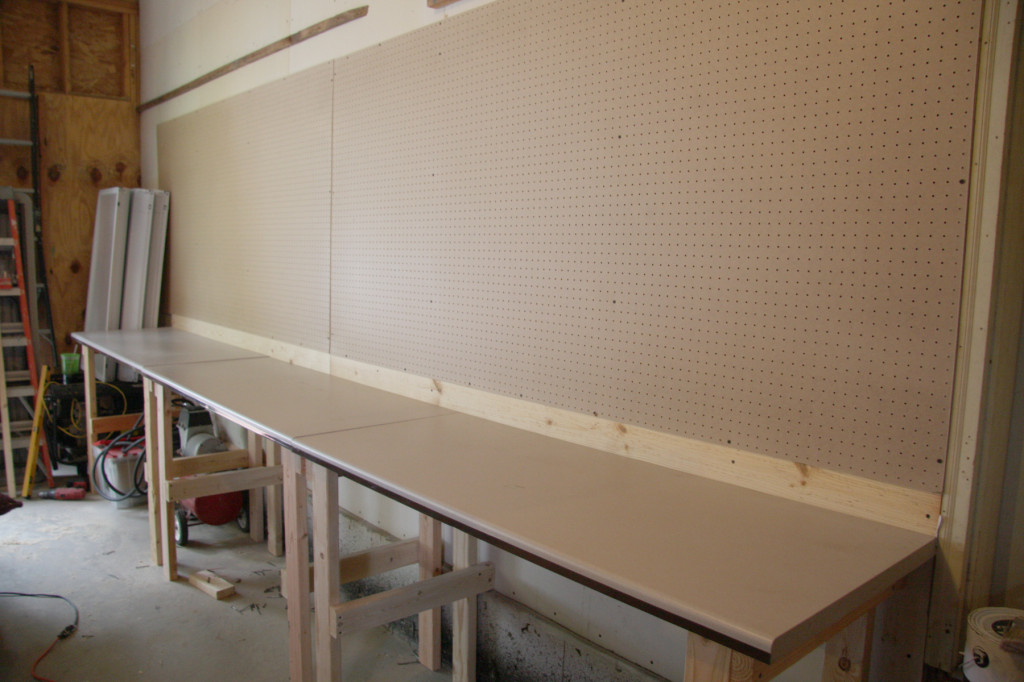
I made three separate frames to make moving them easier should the need arise. The depth and width of the frame is 1” shorter on the sides and front to allow for clamping if needed. I did not use a front brace because of the hefty desktops I was using. I may still add that.
Each frame consists of (4 side braces) 23” x 2 x 4, (4 legs) 36” x 2 x 4, and (1 back brace) 58” x 2 x 4.
I used some of the lumber and screws that came from the dismantled shelves.
The bench tops are 1” dense fiber board with a laminate cover. They are desk tops that I bought at an auction. I bought a 6’ Steelcase desk, (6) 5’ x 24” desktops and (2) 4’ x 24” desktops all for the huge price of $14.00. The desk went in our home office along with the 2 four foot desk tops. I have 15’ of bench top in the garage and another 15’ of bench top left over.
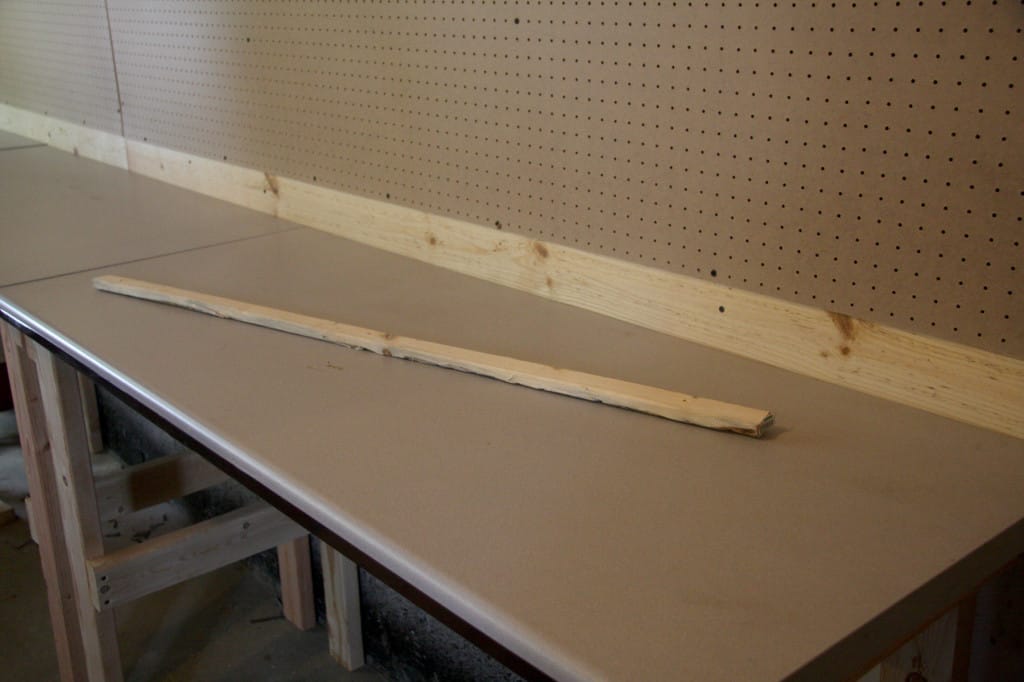
From the photos you can see I added some peg board and a back board to the bench. The 1” x 6” x 8’ pine boards were less than $5 total and are to keep from putting holes in the drywall while working.
I used 1” x 2” x 8’ furring ($.75 each) to mount the pegboard.
I need more light, but I have that covered with three fluorescent light fixtures (2’ x 4” x 4 bulbs) that I picked up at a different auction for about $2.50 each. I did have to buy the lot of 16 to get them at that price, but what a deal. ~ Mark, DH to Val

Perfectly customized! My DH will be building soemthing similar for my work bench in the garden shed he is currently recreating the outside of!
Nice looking shelves. This might sound a little strange. The other day my hubby suggusted we put in some shelves in our basement. I told him not now. I been purging out place sure seem like it slow going. But it sure a relieve to be gone most of the stuff.
Stop in from UBC and coffee is on
@Dora, I am also going to purge my basement stuff this winter – so much to do! We downsized when we moved here to WI a couple of years ago and have more to do to fit in our new house comfortably. Have fun purging!
That's great progress so far. He's very handy.
Missy Bell
http://www.peaceandhappinessproject.com
You are a lucky lady to have a husband who is handy and wordy! This is great stuff. I wish I was born with a DIY gene.
@Amanda, LOL, I was very surprised when my DH offered to write the post about his workbench – totally out of his normal activity box! You don’t need the DIY gene! Just experiment or copy someone elses work. It’s fun. You can do it!
I'll have to have my husband see this! He's pretty handy and made one of my daughter's loft beds, but he didn't blog about it 🙂 Thanks for linking up with the Bloggers Brags Pinterest Party. I have pinned your post to the Bloggers Brags Pinterest Board!