We go to garage and estate sales looking for deals or just something fun for our house, our kids or to flip. I guess you could call us "PICKERS."
I don't usually have anything in mind. I can look at something and envision something else. DH can't do it at all. I'll say, Oooh, wouldn't that look good in blue with a dark glaze and he'll say, "Ok, if you say so." He's learned to rely on my vision. I rely on his ability to size something up that needs repairs and know whether it's a good buy. After all, he's the one who will be fixing it. I'm fortunate. He's pretty good at fixing things.
We saw this gun cabinet turned shelving unit at a garage sale. I've always looked for narrow cabinets. Too often they are very wide and take up too much space. This one was narrow because it was a gun cabinet many moons ago. The original owner added shelves.
It was prices $20! We paid the guy and brought our handsome and strong grandson, Hudson to help load it into our trailer the next day. Man, oh, man, it was heavy and awkward to carry. No way was I goign to be involved in that!
Here it is, the "BEFORE".

Step #1 - Prep: disassemble, clean & take off the stickers
Step #2 - Figure out what to do with the carpet on the back!
I was concerned that the carpet on the back might be glued on. This was a homemade cabinet, so you never know what steps they took. It sat for a while because I just didn't want to tackle it. I was afraid I was going to have to leave it on and paint it to make it fade into the background. Fortunately my grandson, Isaac, came over and he pushed me to find out how it was attached. Leave it to him!
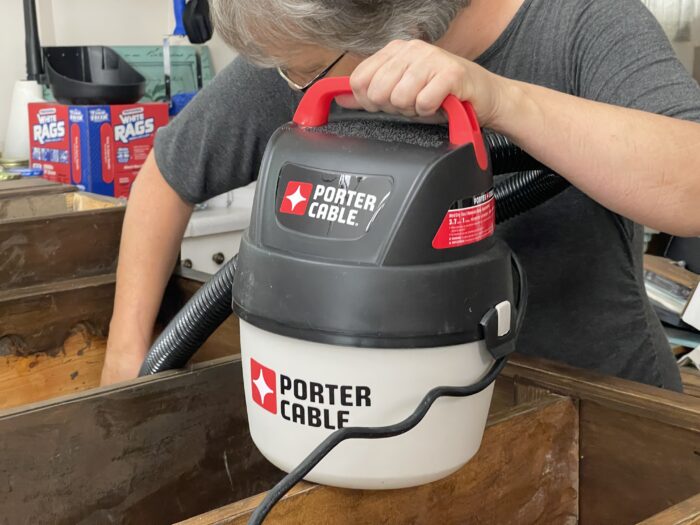
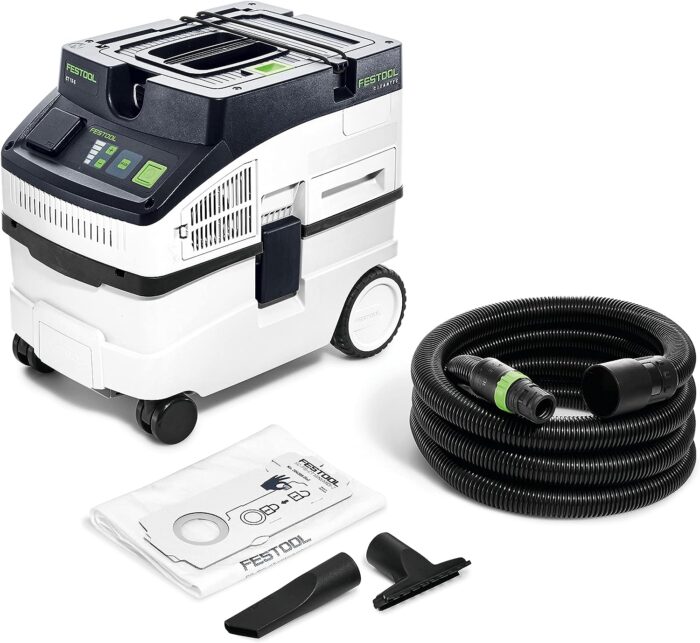
He also wanted to try out my little shop vac that I'd never used. DH bought it for me but I'd never taken the time to use it. He's a great motivator.

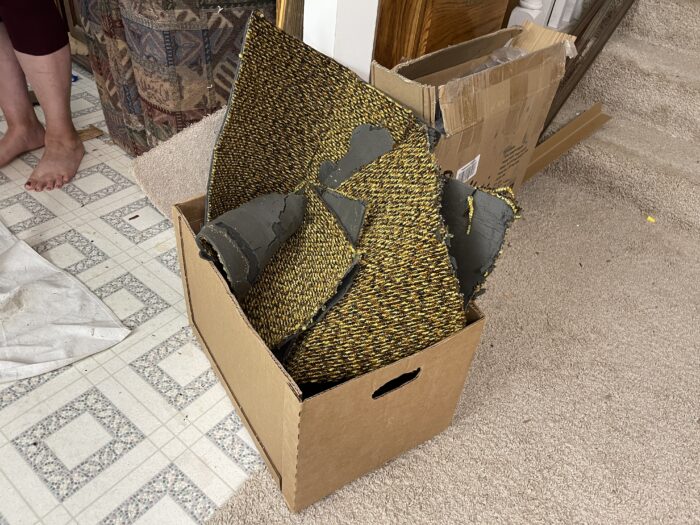
We discovered it was only stapled on, whoot, woot! and fortunately it was also cut into sections. So other than it being dirty work, it was fairly easy to remove. Thank you mister whoever made it!
Step #4 - Remove all the staples and vacuum up the crud.
NOTE: Some product links are Amazon affiliate links. Others are from my online store, Furniture Flipping Market.
I discovered my little shop vac was quite handy and very powerful. Who knew?
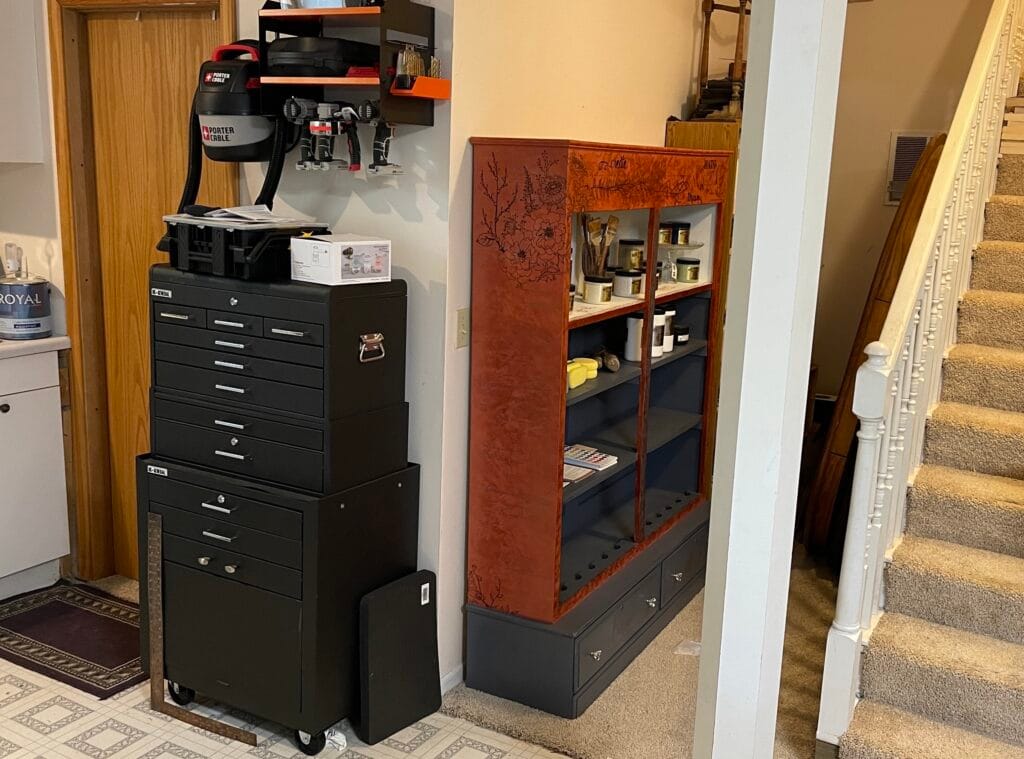
I asked Isaac to hang the shop vac up on the wall for easy access. We moved the china cabinet around the corner out of the way and put my tool cabinet in its place. Isaac then hung my metal shelf and little shop vac above it so it's handy.
I've found I don't use my tools if they're not handy. Being organized helps the entire process. I like having Isaac around because he's so handy too!

Step # 5 - Sand
To make sure the surface is ready for paint, sand the surface to give it tooth. "Tooth" is taking a smooth or shiny surface and creating tiny scratches to give the paint something to grab onto.
DH had just bought a Festool Dust Extractor and Isaac wanted to try it out. We often do furniture redesign videos together, so we decided to do a review of the Festool for my FFB membership. It worked very well. Since he loves tools, I asked him to do the sanding and let me do the videoing. It was a in win/win for me, LOL. I go the review video AND he did the sanding for me!
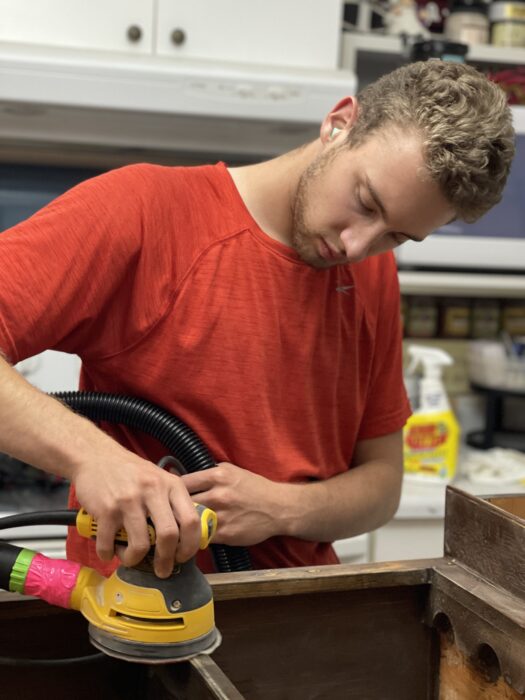
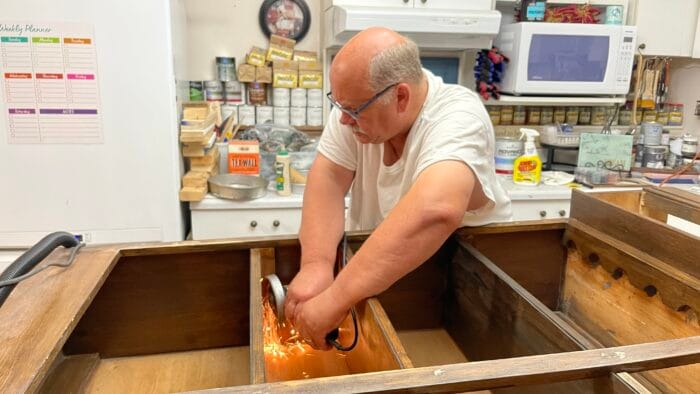
We didn't have an adapter to attache it to my sander, so we taped it until the part came in.
Step #6 - Cut off screws.
A couple of the screws poked through, so I asked DH to cut them off. It's really nice to have family that helps out during prepping.
Step #7 - Prime.
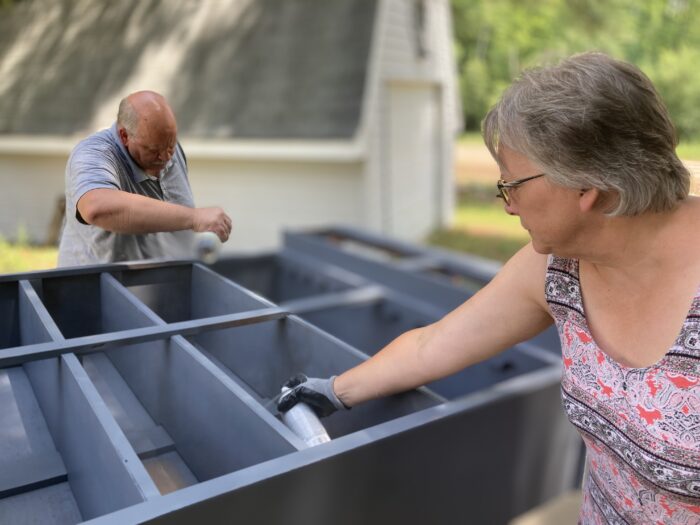
Dh and I used gray Rustoleum spray primer. It's oil-based and would be a great cover, quick and easy.
Step #9 - Remove drawers and create a false front.
The drawers were in bad shape so I elected to make a false drawer font. It was easier than trying to either make more shelves or fix the drawers. The unit is so big I really didn't need the space, so I took the easy way out! Flipping is so much easier when the project is for yourself!
Step #10 - Paint.
I wanted to do something different than I normally do with my pieces.
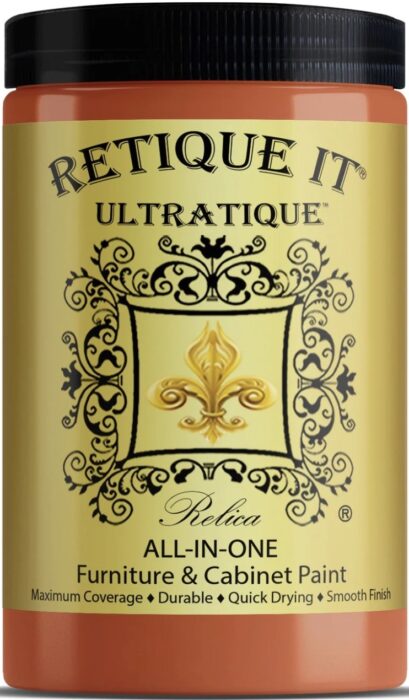
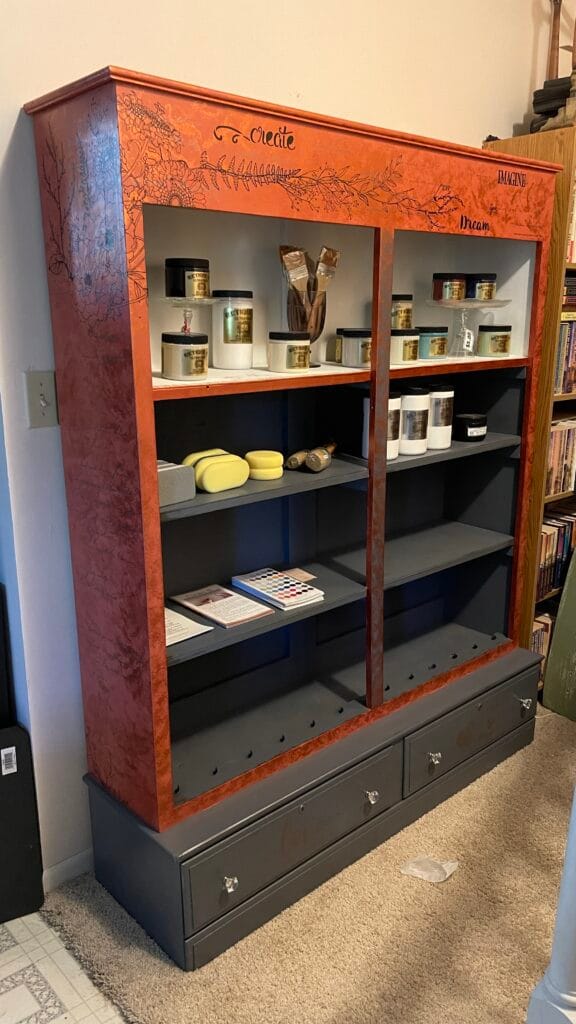
I chose Retique it Ultratique All-in-One Snow (white) for the top part and left the lower shelves gray. Since I planned to use the unit to hold my paint, I wanted it to have a bit of bling.
I was a bit rushed because I had our annual meet-up at the end of July, which was coming up quickly. I needed my workshop for our meetup. It was such a big piece! As it turned out, I was glad to be rushed. A piece like that can take a lot of time and it's easy to put off such a big project. I had a time restraint, so it pushed me to get it done.
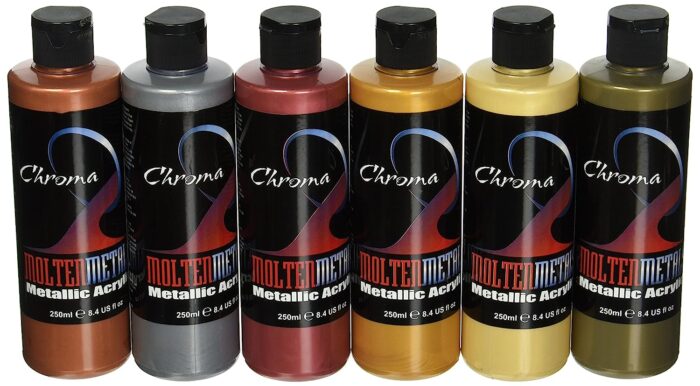
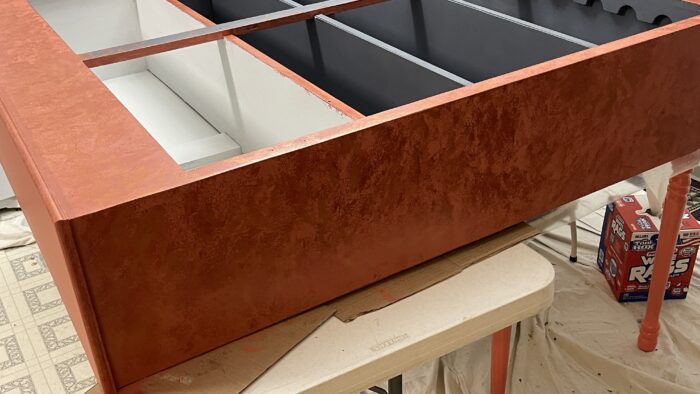
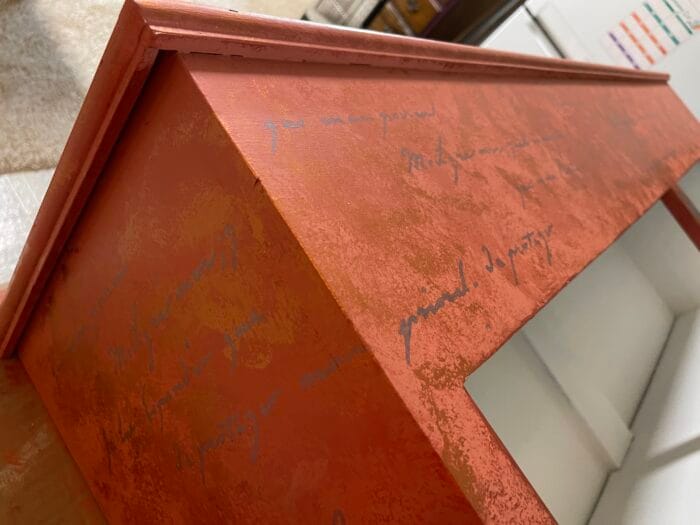
For the sides and top I chose Ultratique All-in-One Spiced Cider and sponge painted two different Chroma metallics to give it depth. The All-in-One doesn't require a top coat, so that saved me a ton of time. I didn't topcoat the gray either except for the front false drawer fronts. I mostly used the Wonder brushes since they help get good coverage with no brush strokes.
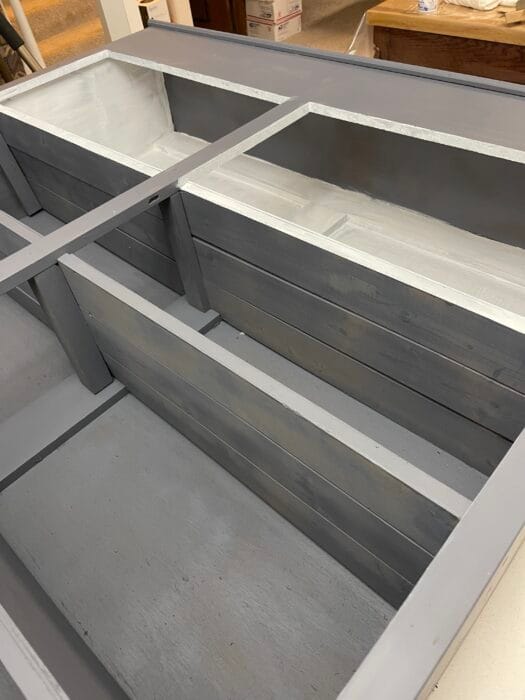
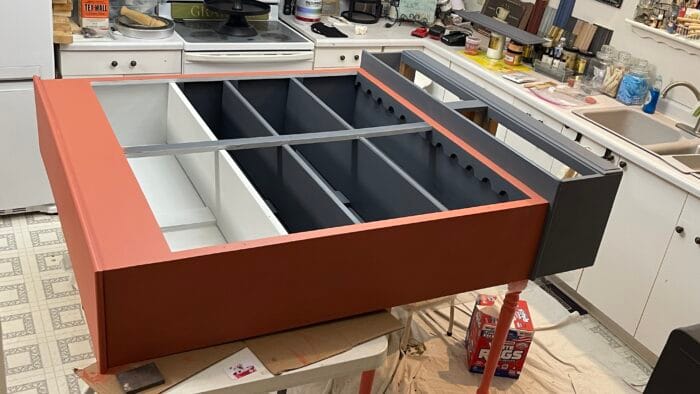
It's super rewarding to see your plan come together, especially when you are not sure which direction you're going. I tend to have one idea in my head as to what I want to do, but not 100% sure where I will end up. Often the piece will turn out very different than I originally imagined it, but that's OK since it's a work in progress. It's important to allow your creativity to direct you as you go. It's one area that I like to fly by the seat of my pants and see where it takes me.
Step #11 - Stencil & Dry Brush.
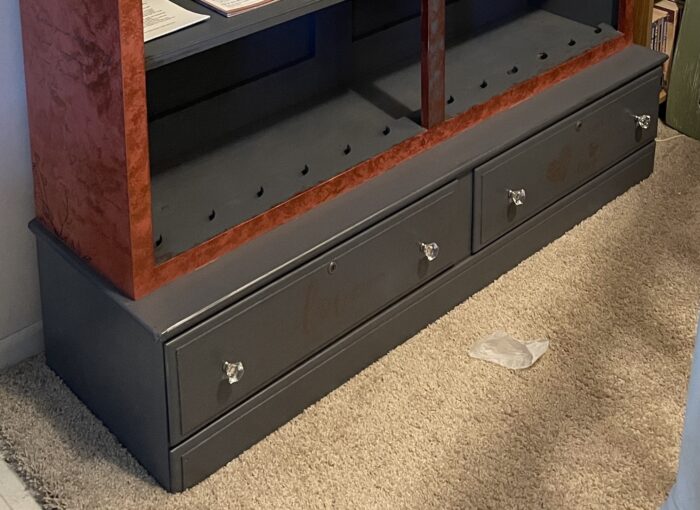
After the base coat and sponge painted metallics were dry, I stenciled some script with metallic. I used the Chroma metallic again. It was the perfect subtle addition to lay behind the next step. I added a couple of motifs to the drawer fronts and white shelf and did a little dry brushing here and there.
Step #12 - Add Hardware to Drawer Fronts
Step #13 - Add Transfer
The was a little stressful because if I messed up, I'd not be able to fix it very easily because of the multiple decorative paint layers underneath. It's not unusual for transfers to stick together and a could of times it actually did because I was working with big pieces. But fortunately it didn't' stick too bad and I was able to pull it apart without too much damage to the design.
Nothing ventured nothing gained, right? I went for it and loved the result. It was the perfect bling I was looking for. It was pretty easy to apply. Some transfers are harder to apply than others, but worth the effort.
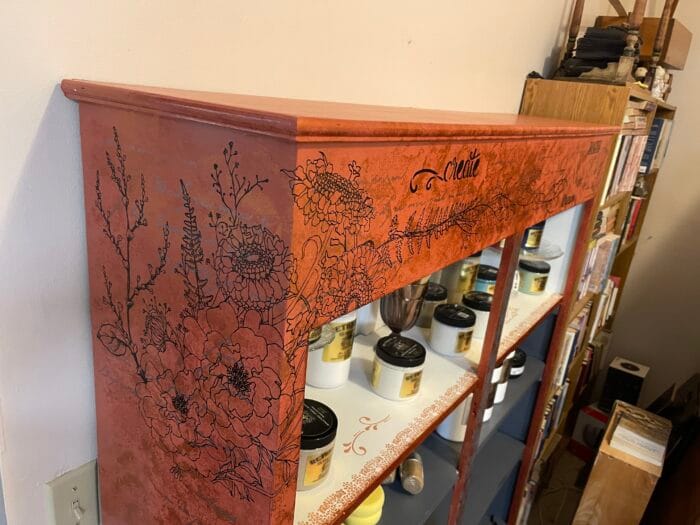

Step #14 - Stencil around the transfer.
I had to get that transfer on before I could place my wording on the front. I used regular stencil paint for these.
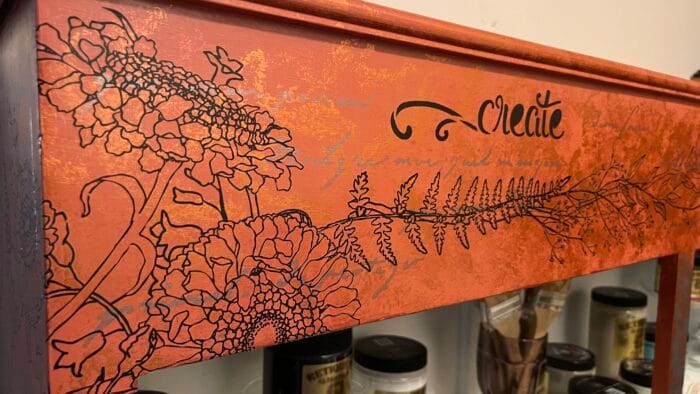
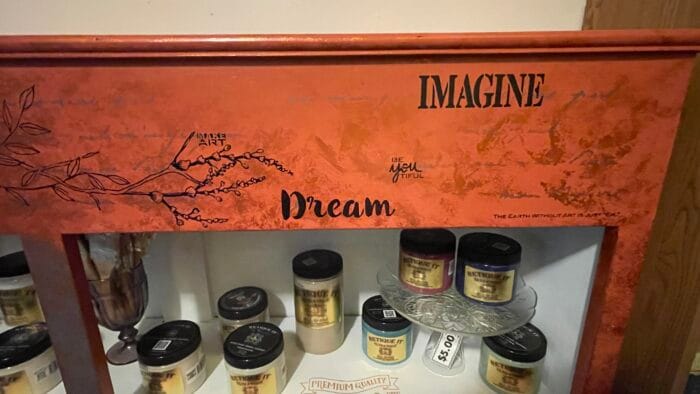
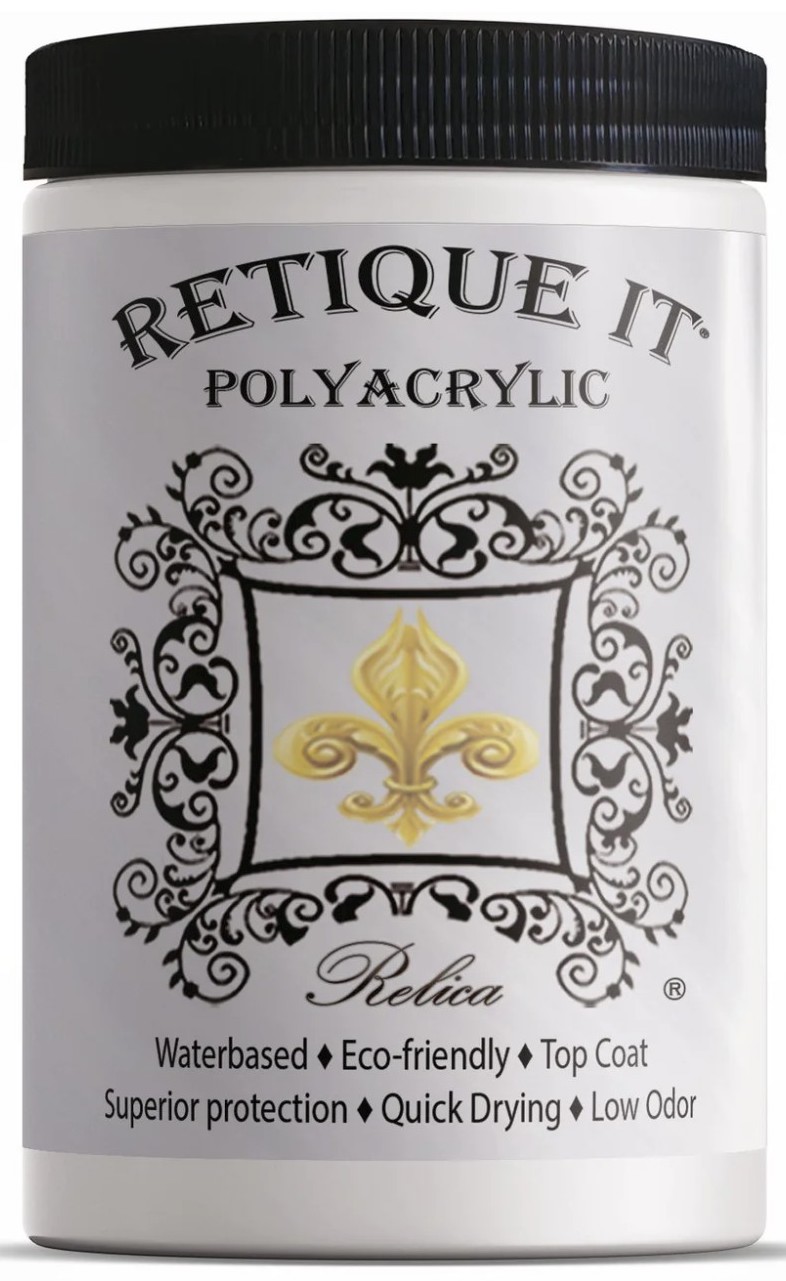
Step #15 - Apply Polyacrylic.
The Snow, Spiced Cider and Gothic Grey areas are Ultratique All-in-One and don't require a topcoat, but since I added transfers and stencils, I want to add protection. Yeah, I forgot to tell you that I used Gothic Grey Ultratique on the drawer fronts. These three colors are my favorites these days.
This cabinet fit perfectly in the nook right next to the stairs and is the perfect place to store my paints and brushes from my online store Furniture Flipping Market. Have you visited FFM yet?
I looked for years for a poly that was durable and EASY to apply. Oh, the headaches I used to have from poly that dried too fast and streaked! It was a good day when I found this polyacrylic.
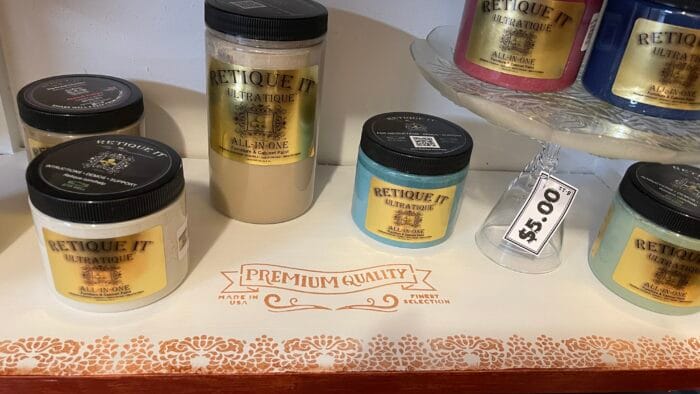
I had also considered having an online store or at least be able to recommend to my FFB members products that I KNEW were of good quality and came from a reputable dealer. I found all that and more in the Retique It products.
If you have any questions, feel free to leave them in the comments. I'm super happy how this project turned out and you can do the same if you want to learn all the ins and outs of furniture redesign. You can do that HERE!
Thanks for visiting,

TOOLS USED IN THIS PROJECT

