Every time I flip a piece of furniture, I wish I could find a permanent spot for it in my own home.
I think this is common for anyone who turns an old out-dated piece into art. We put our heart and soul into it throughout the creative process.
It’s something that you must experience before you understand. It’s even hard to see it go out the door when it sells. You feel like a piece of yourself is leaving. Of course the cash in hand is great as is the thought that someone else will enjoy your creation. But still. It’s an emotional moment.
I find it quite funny that we would get so attached to a “thing”. But it’s true. A piece of ourselves goes out the door each time.
Here is the before. We got it from our favorite shop in Door County here in Wisconsin. We visit the store every year on a mini vaca hoping to find a van full of treasures in the raw to flip. Sometimes we drive away with a full vehicle and sometimes we drive away empty. It’s part of the fun, wondering what we might find each time.
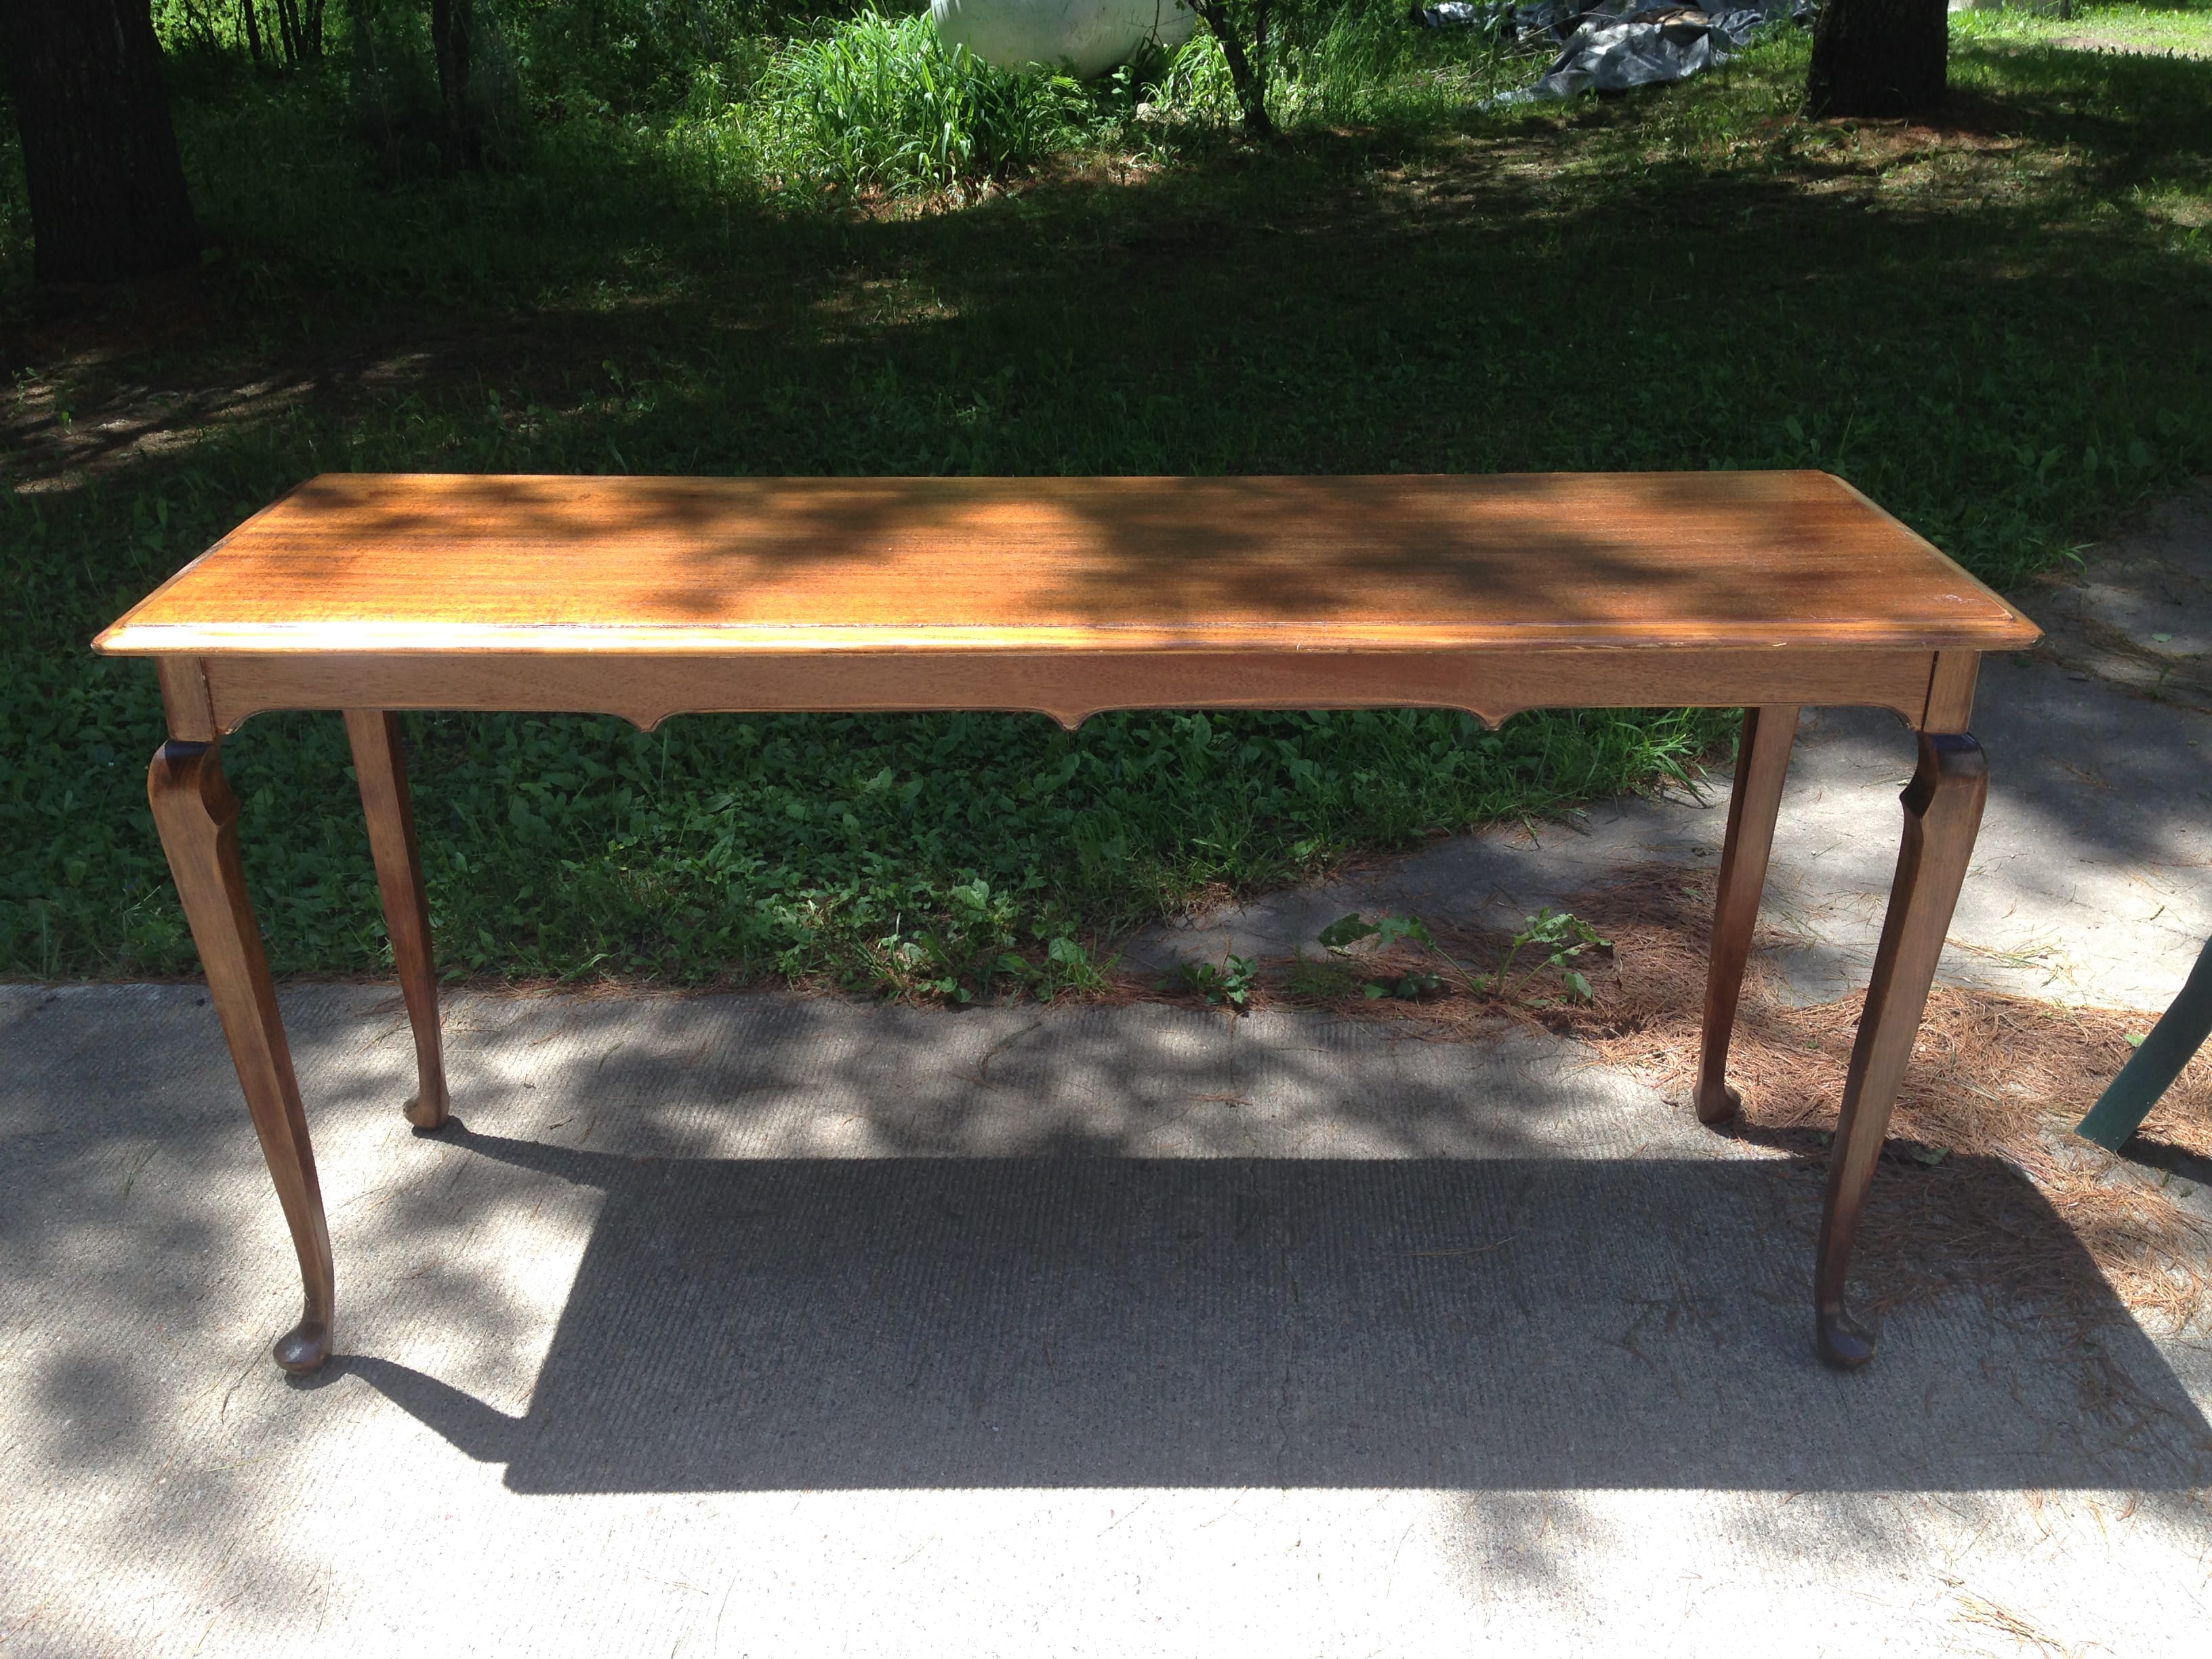
It was solid but in pretty bad shape cosmetically. Apparently it had been painted an orange and had been quite abused through the years. You can see little orange drips on the underside, so it must have been someone’s project. Not everyone knows how to save a piece to the point it looks new again.
There are many steps to take to bring it back to life. It’s not uncommon for half jobs to be done so it’s “good enough”.
I don’t subscribe to that thinking. If it doesn’t look fresh and new, I’m not satisfied.
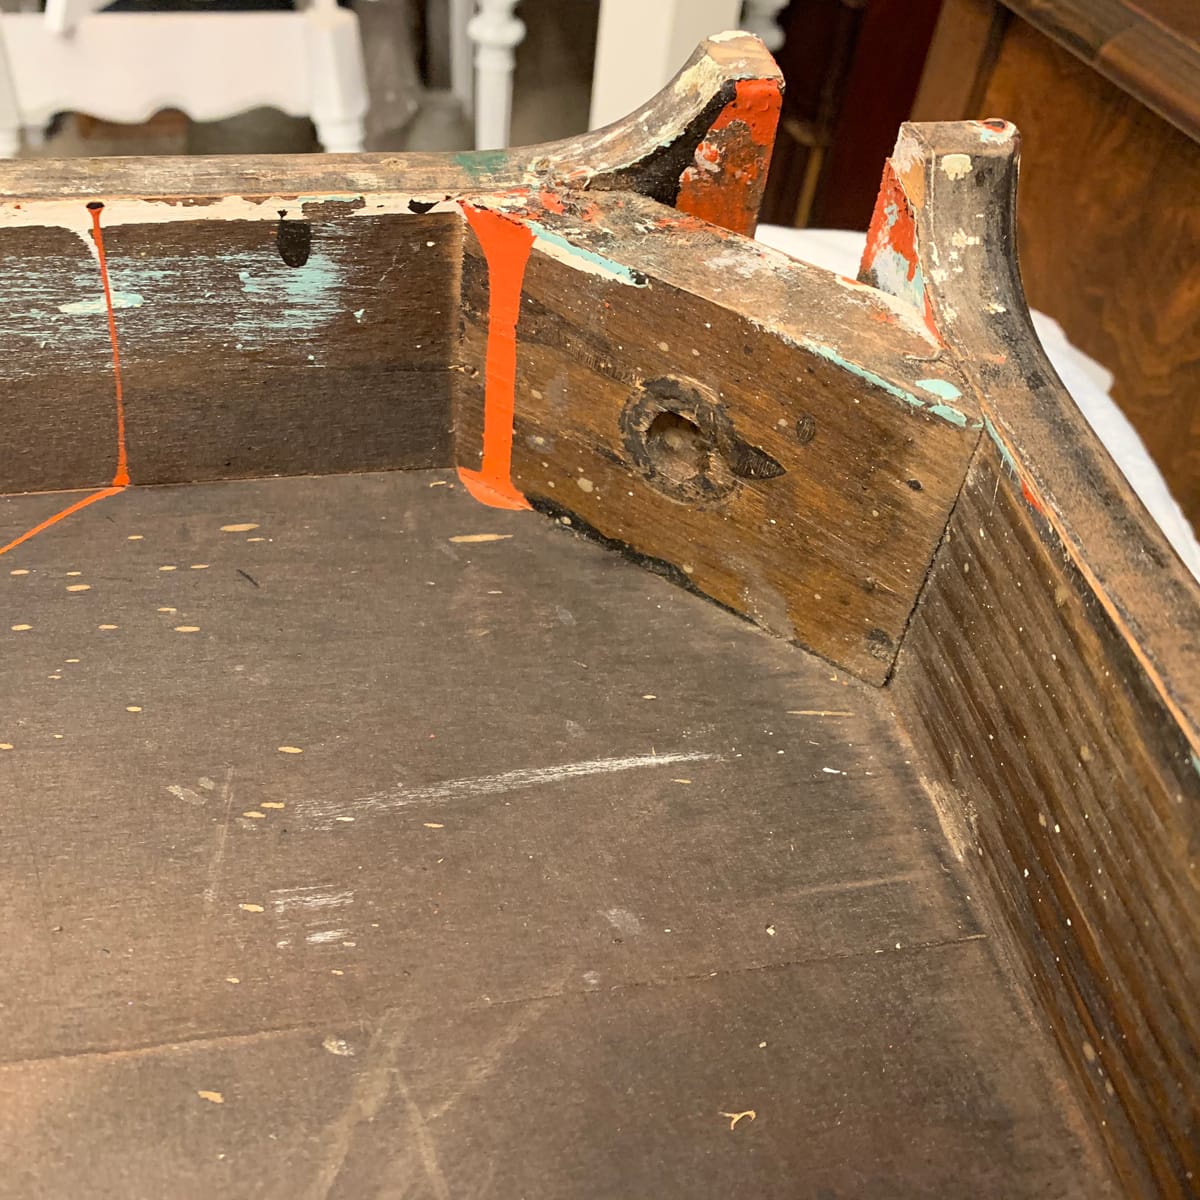
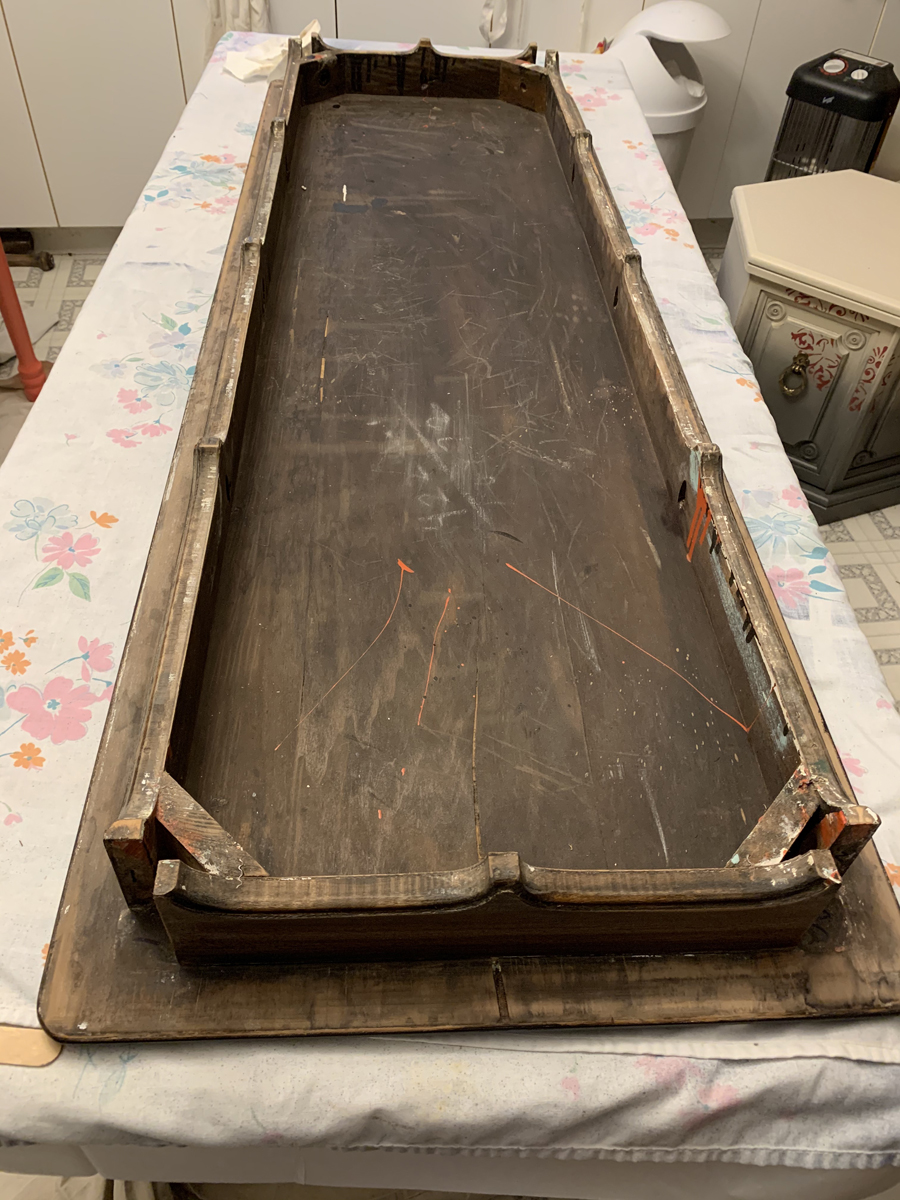

We had to remove the veneer since it was too damaged to fix and found an nice solid base on top, though it was made with mismatched pieces of wood. So DH…
(The hyperlinked products are Amazon Prome affiliate links for your convenience)
1. Removed the veneer
2. Sanded the entire piece
3. Filled holes and scratches
And I:
3. Cleaned with Krud Kutter (the gallon concentrate is the best deal)
4. Detail sanded by hand
5. Stained the top with Java Gel from General Finishes
6. Sealed the top with Wipe on Gel Top Coat from General Finishes
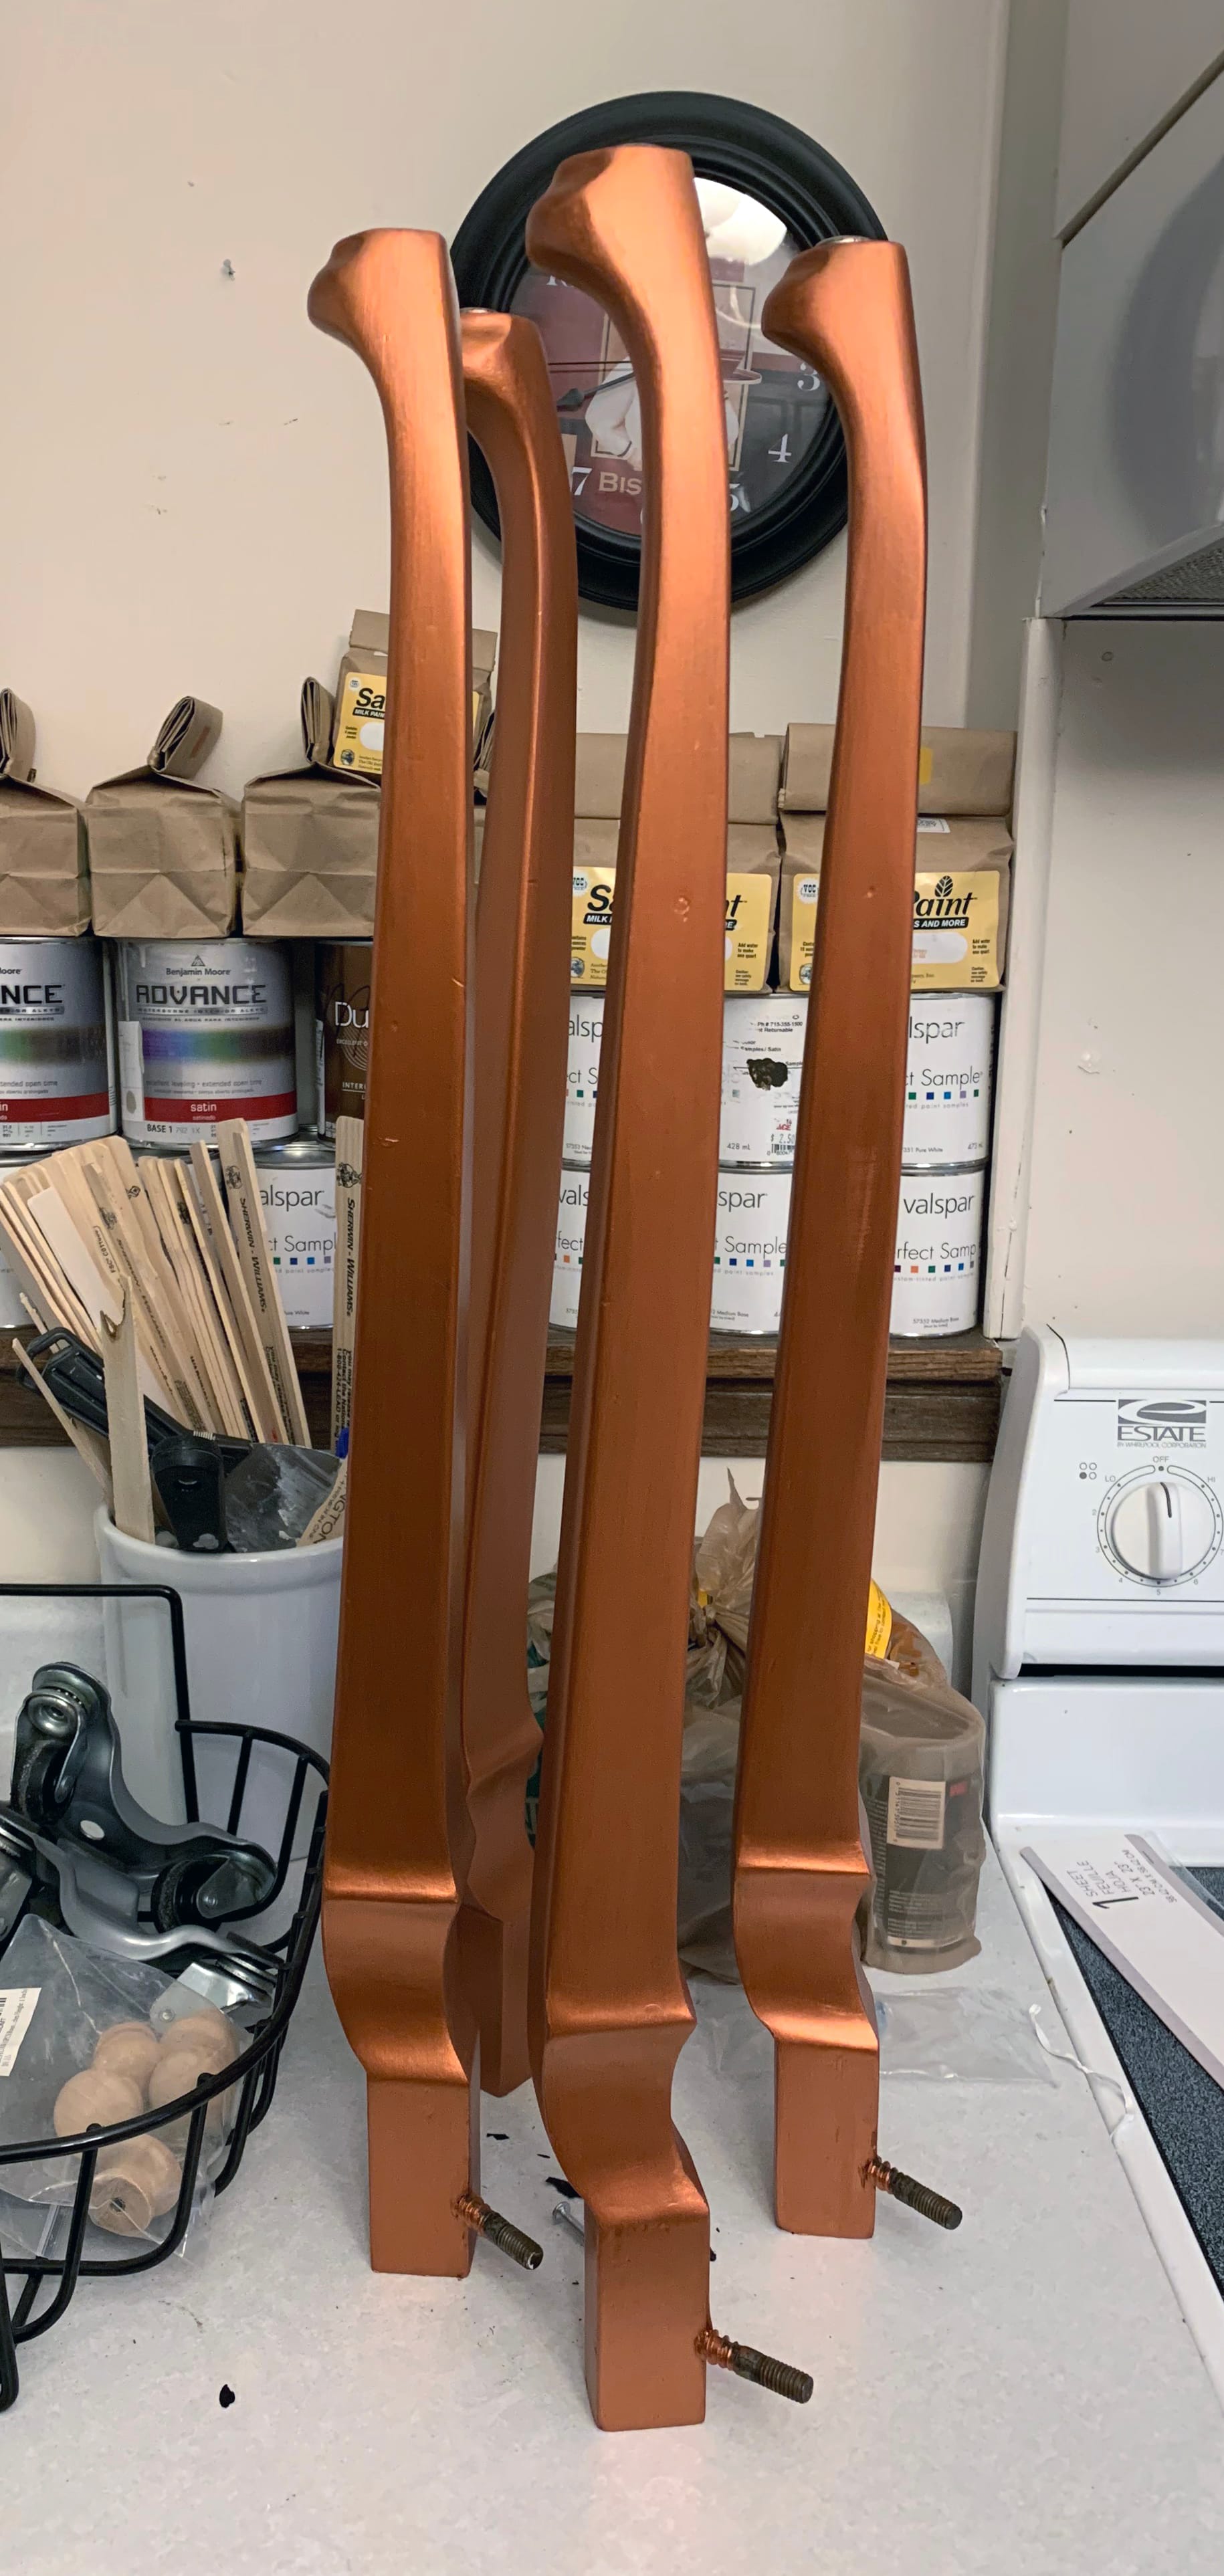
7. Painted the legs with a Bronze Metallic Paint by Chroma Molten Metals
8. Protected the legs with CrystaLac’s Gloss Polyurethane
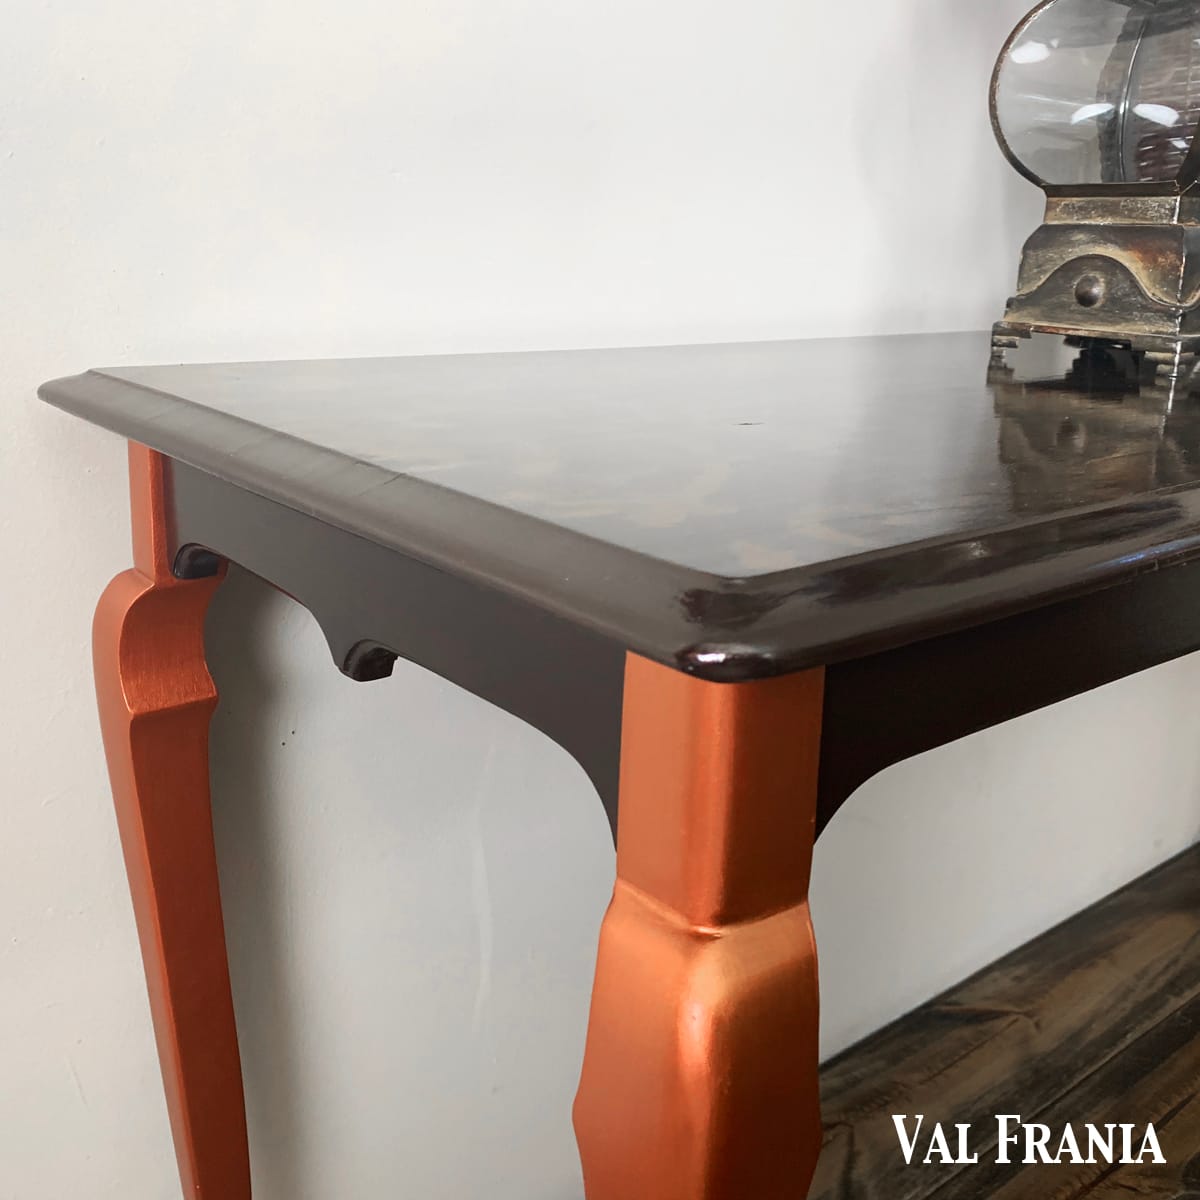
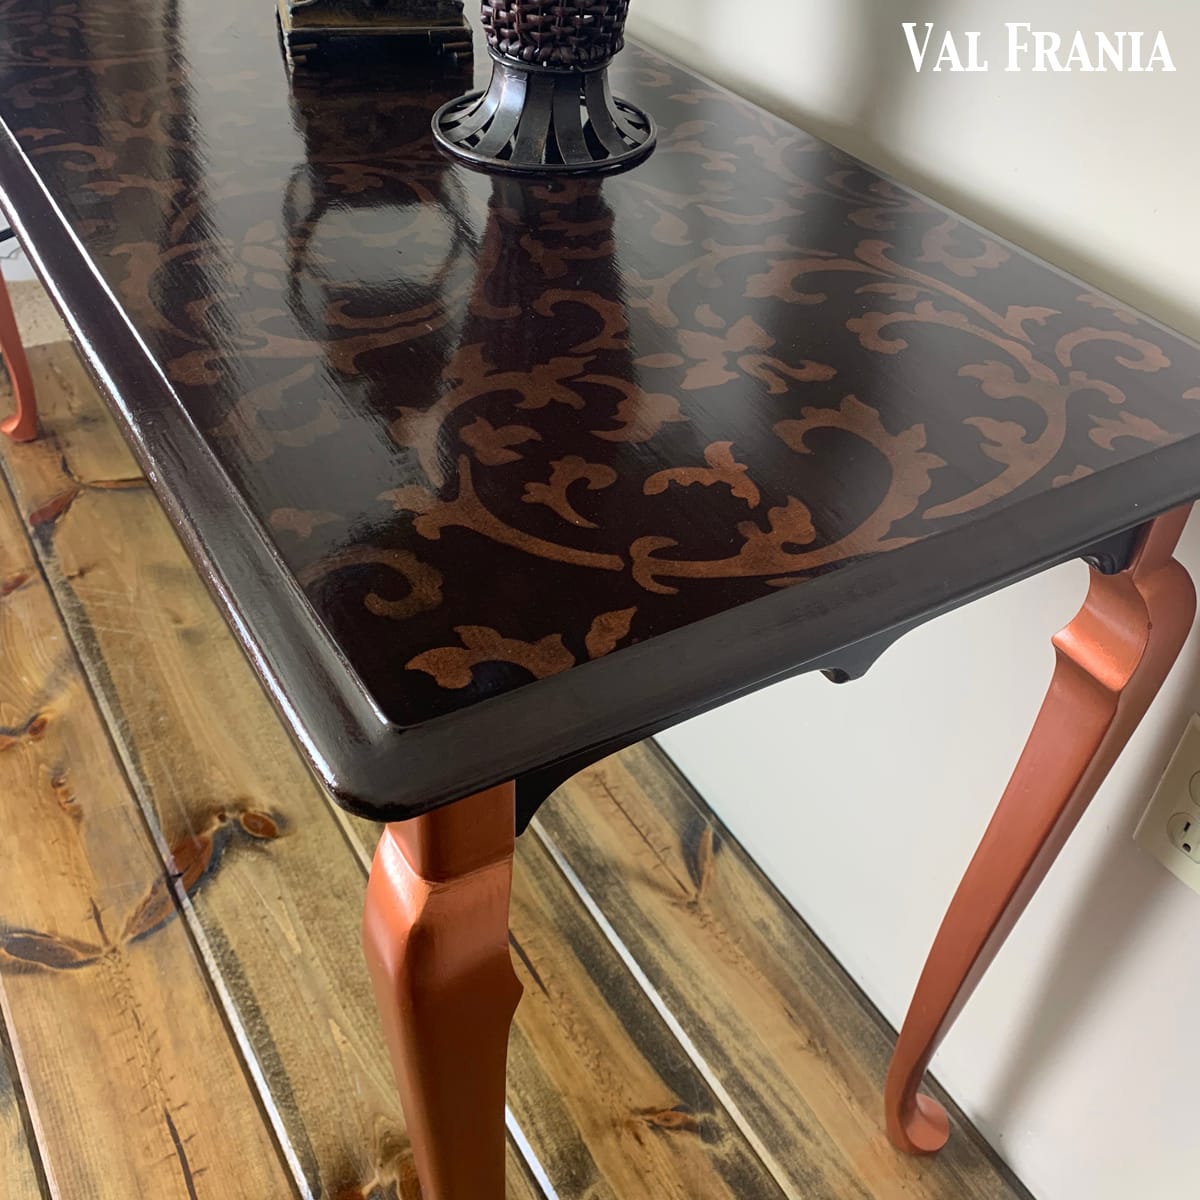
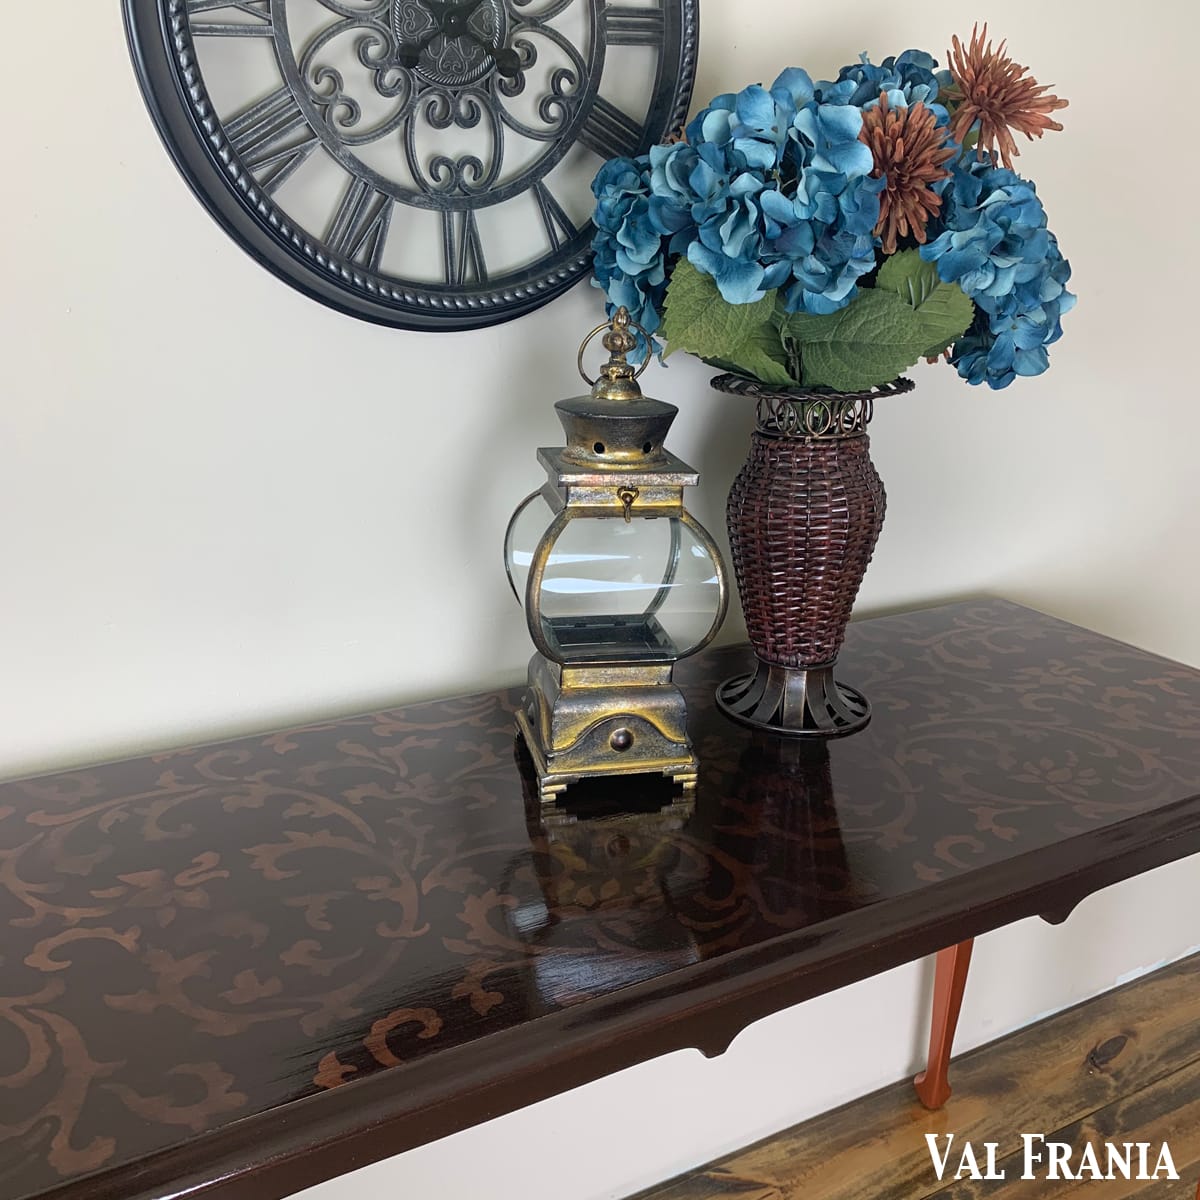
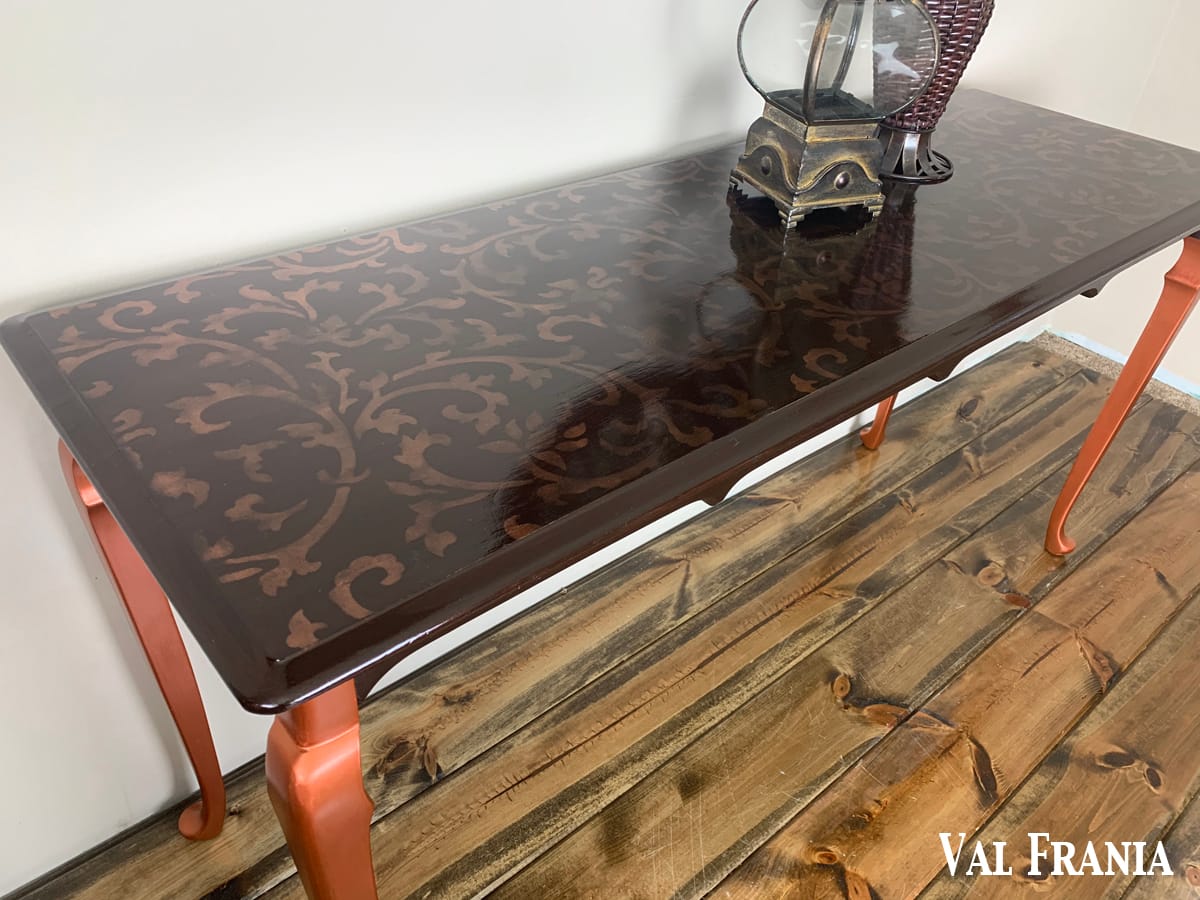
To decorate the top (for of course, we can’t just keep it plain!), I stenciled with the same metallic paint and top coated with the gloss CrystaLac polyurethane. In the last two coats added a bit of the metallic paint to add some shimmer.
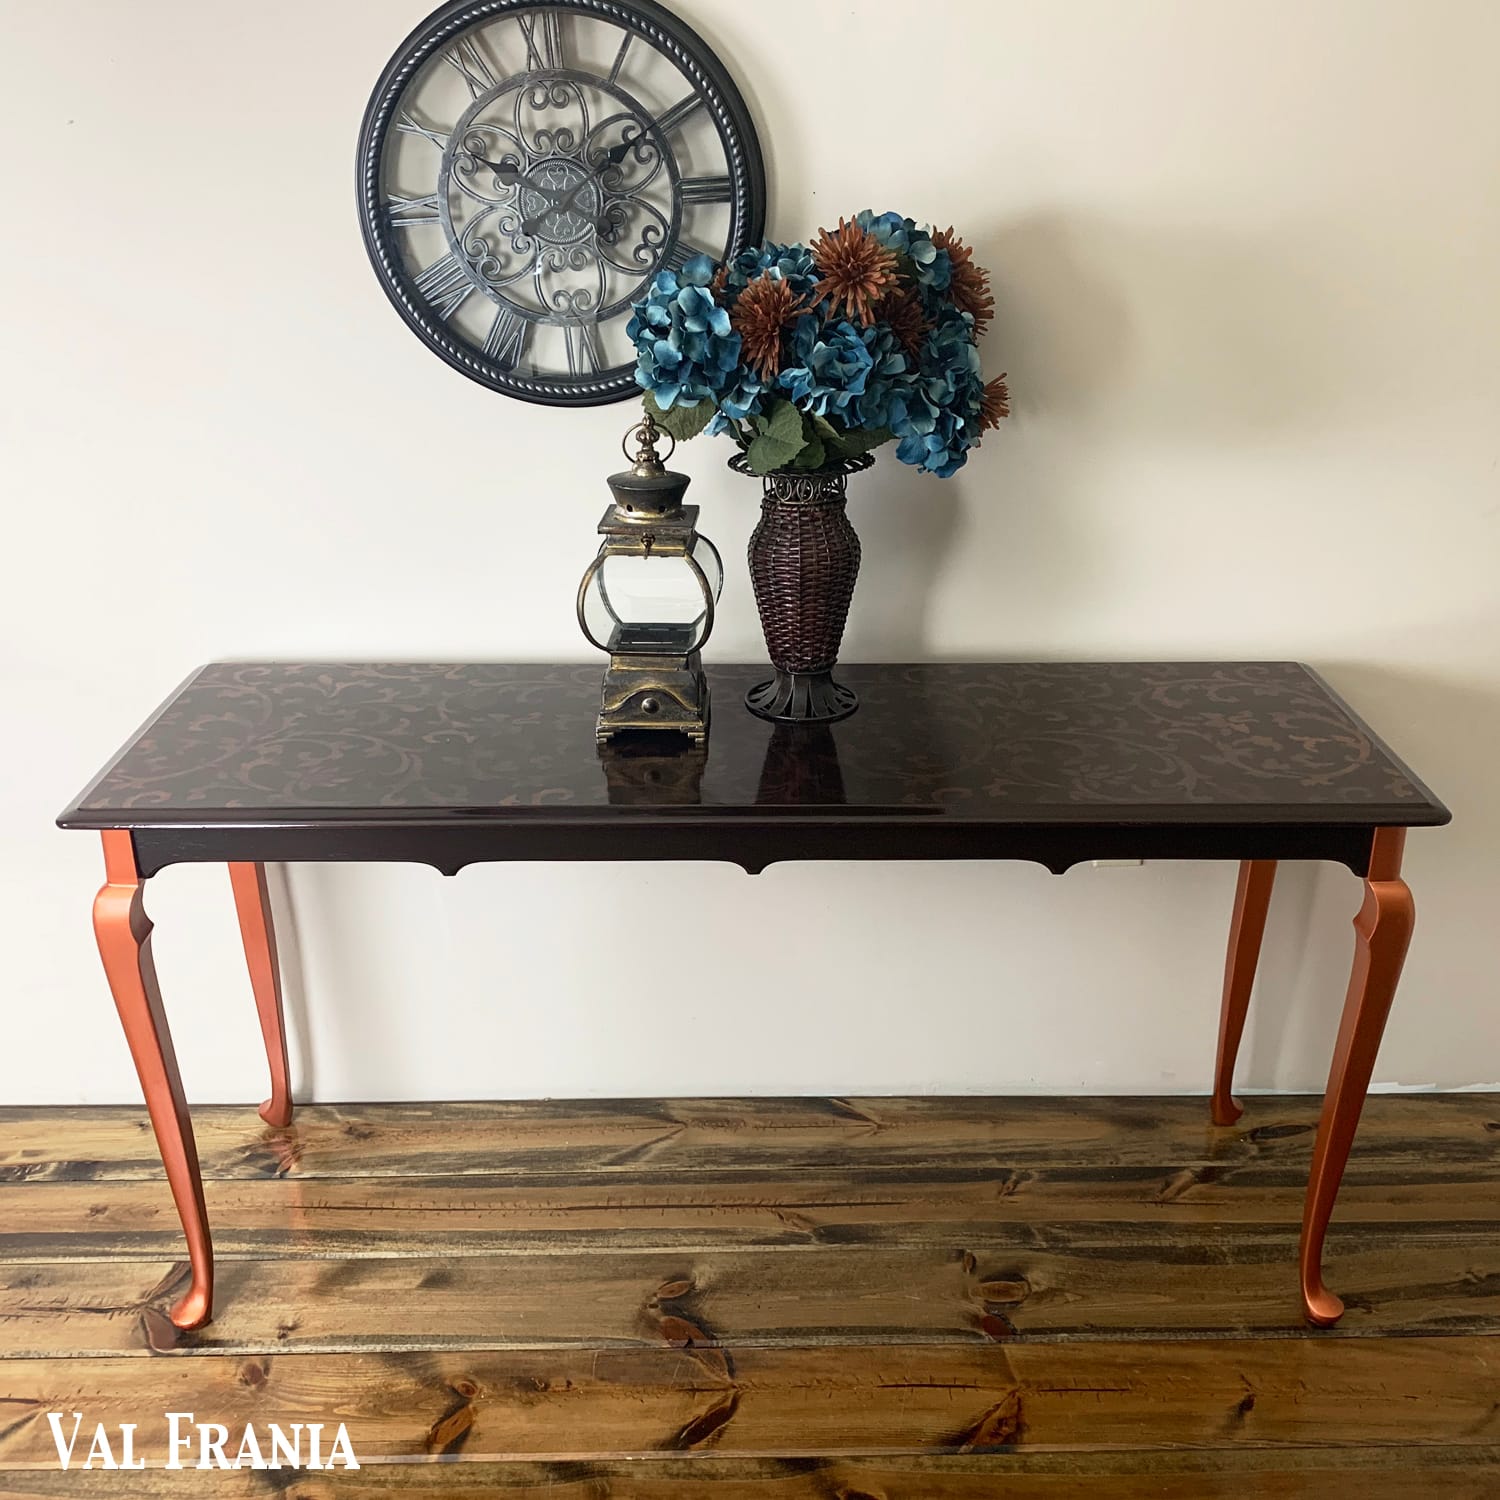
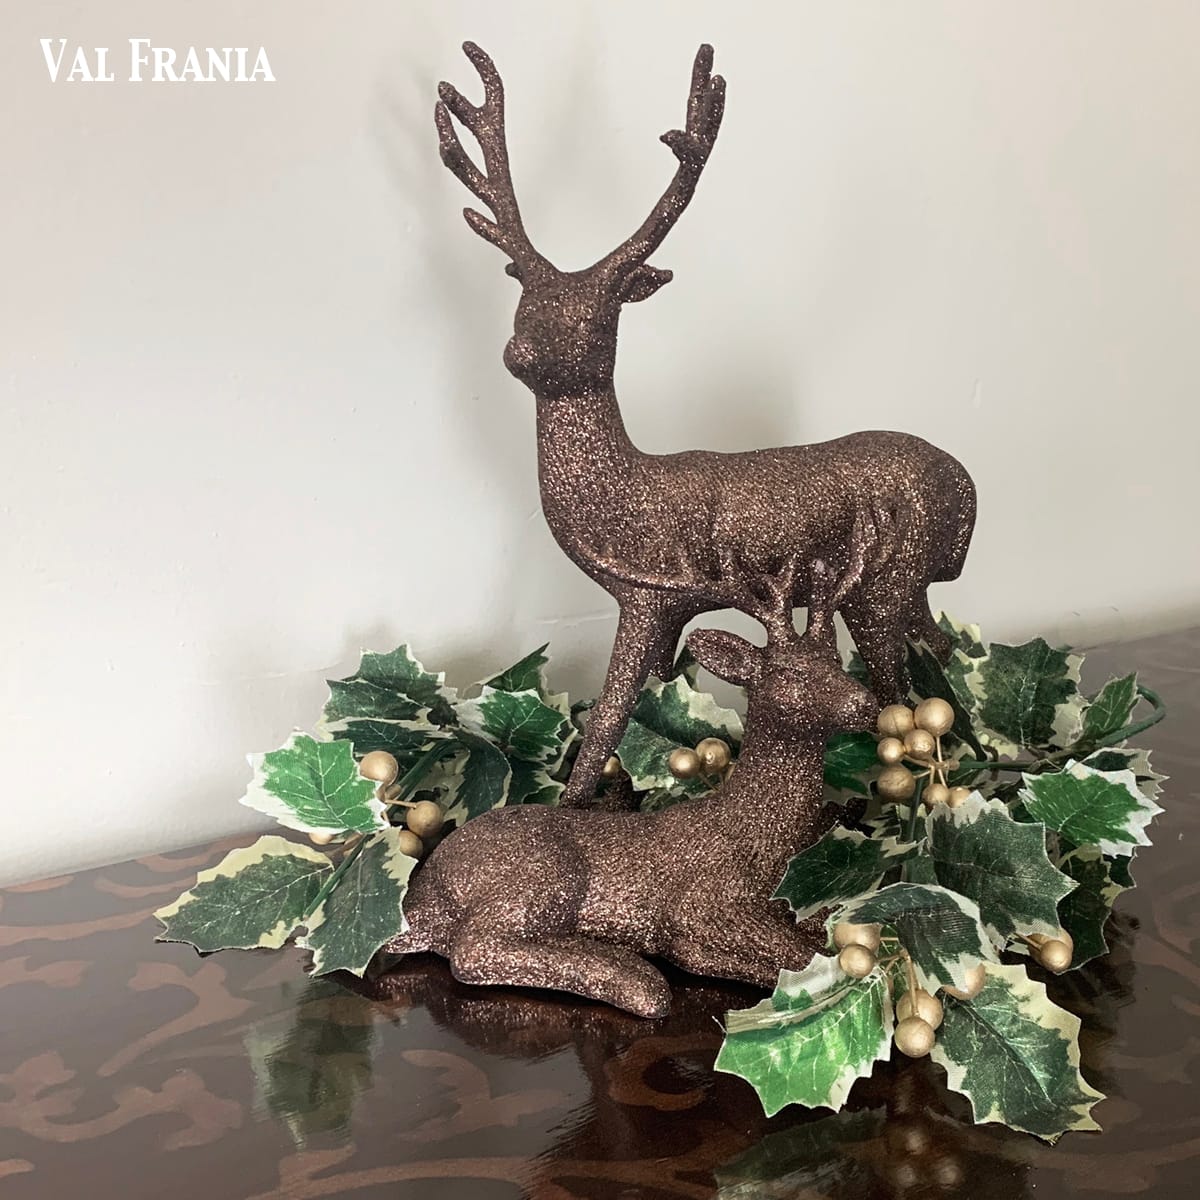
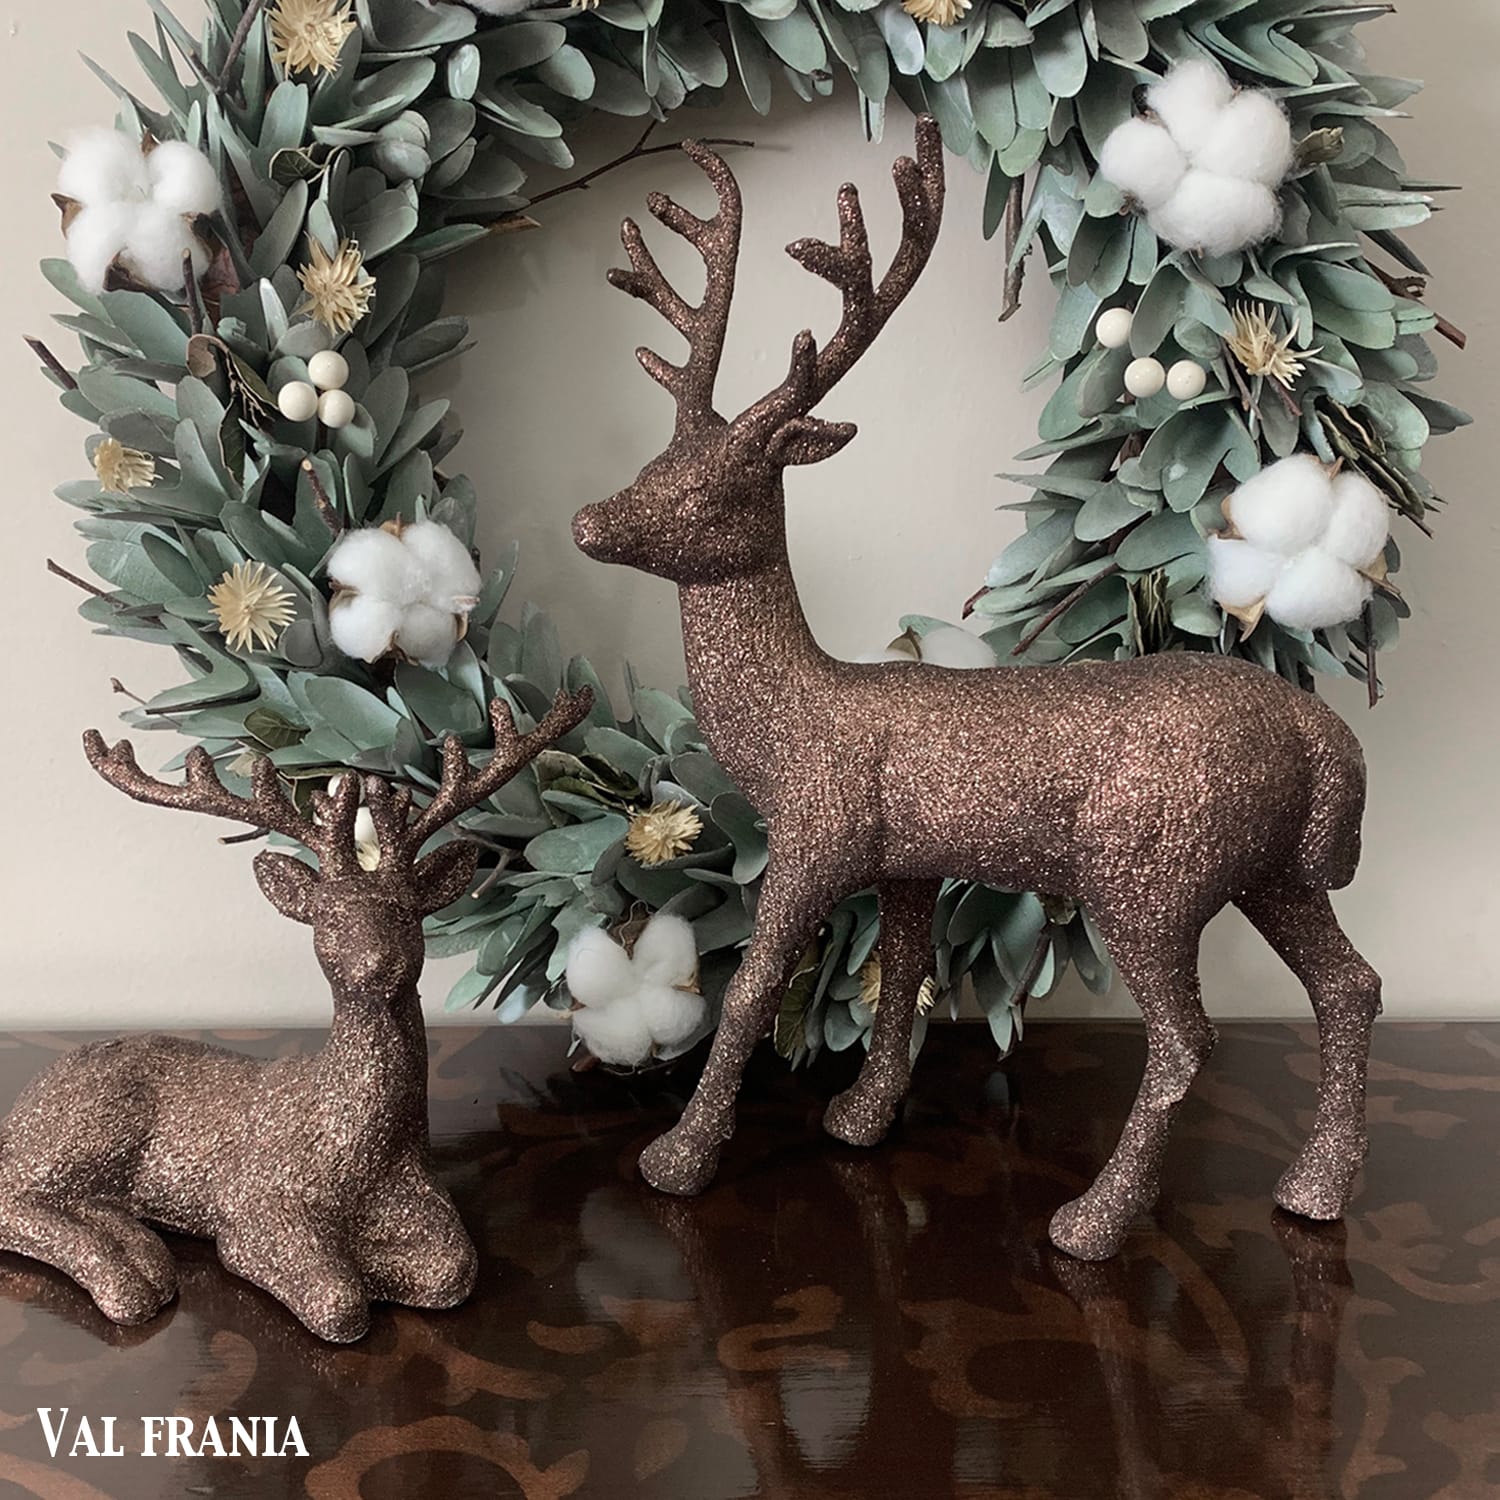
The color pop of the legs and decorated top will add interest to any room and will be just just glitzy enough to be a great backdrop for holiday decorations.
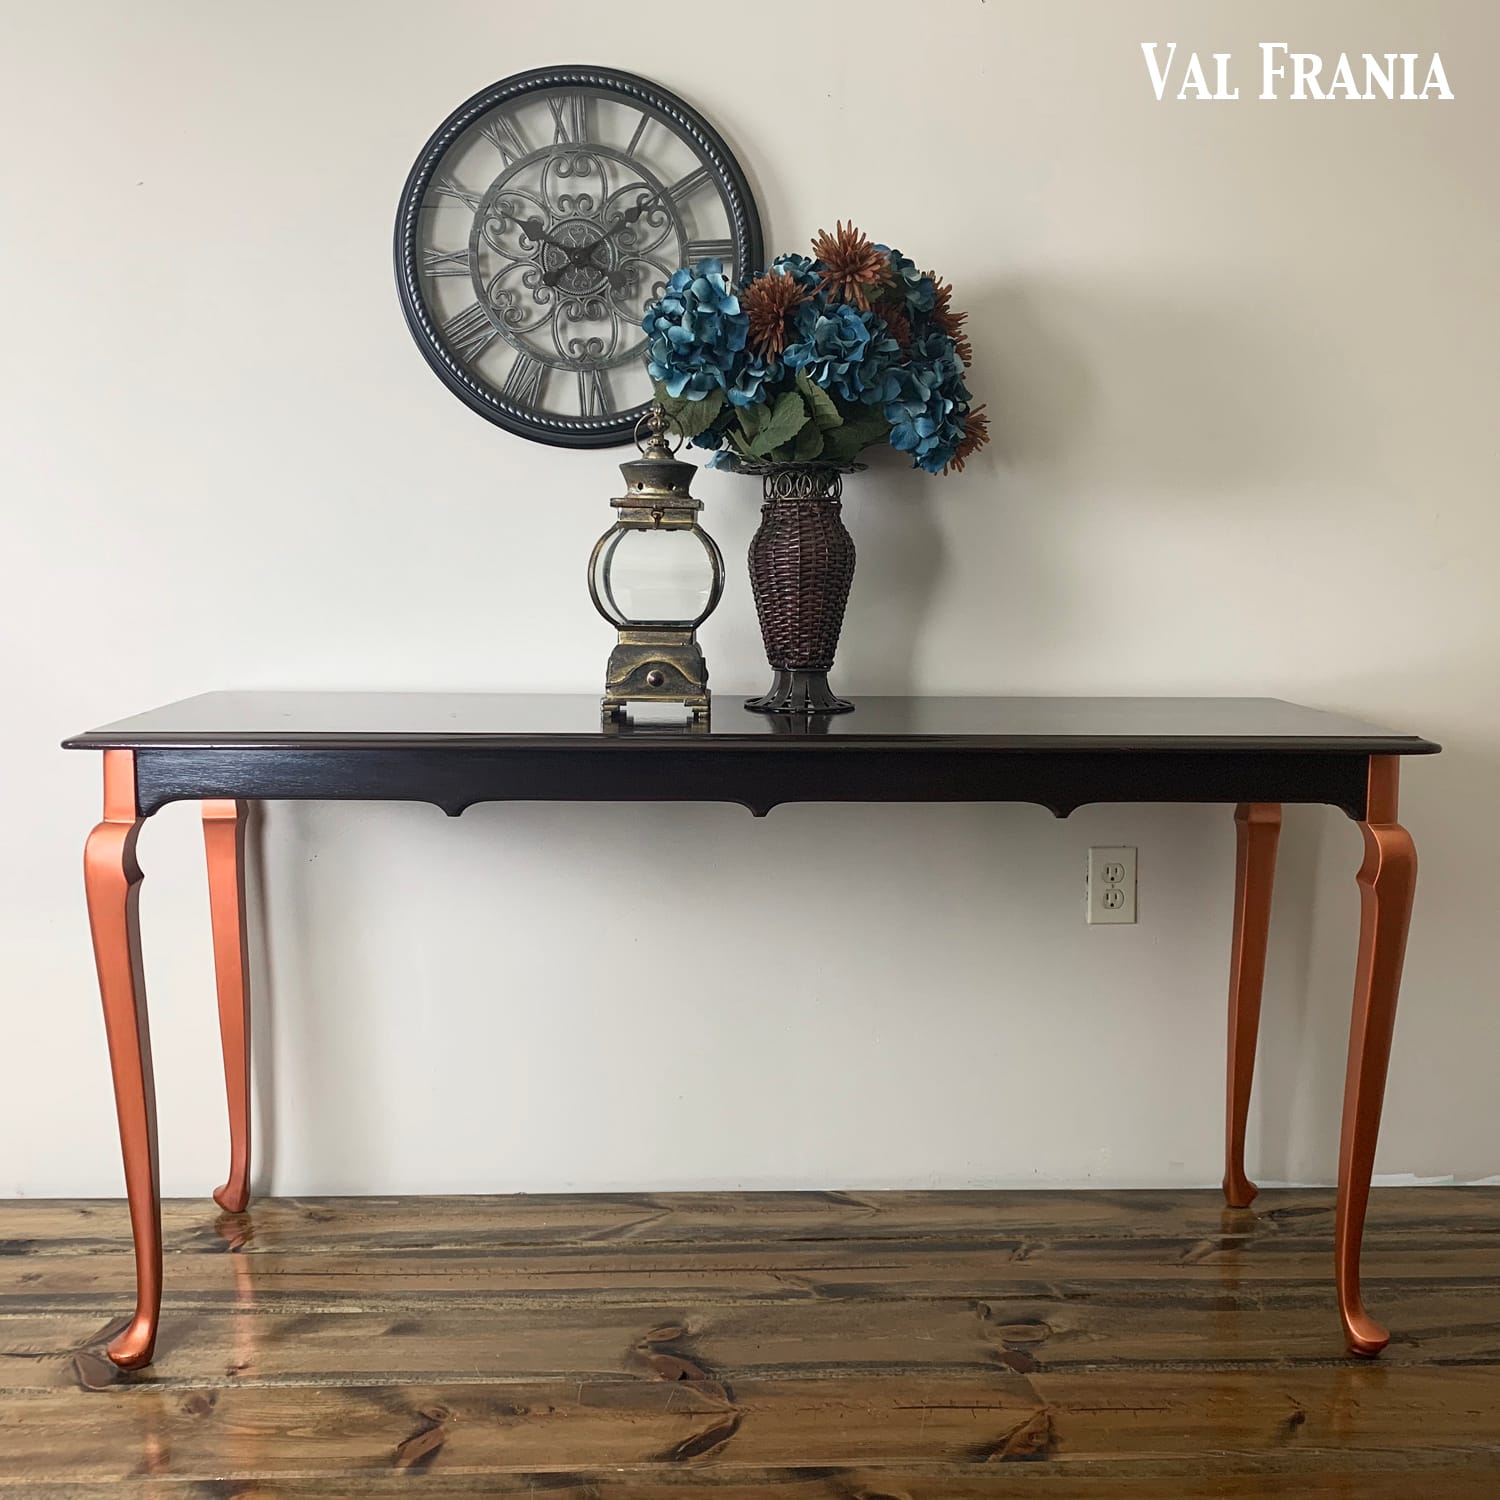
BEFORE & AFTER


I often find that many DIY’ers tend to just clean and paint a piece of furniture or decor for their home. Rugs or carpets can greatly enhance your home’s decor, especially if you opt for wool carpets. The more I flip, the more I desire to go the extra mile and turn out an above average piece of furniture both in quality and design.
I have an online membership that teaches furniture redesign because I believe that those who redesign furniture, whether it be for themselves or to sell, should take the steps necessary to allow that piece to last 100 years.
It’s important to build your confidence, enjoy the process, and be so proud of your piece of art that went from old and boring to an artful treasure that you want to do it all over again.
The journey from unloved to being a treasure should be fun and rewarding.
We need to be able to stand back and smile at our accomplishment.
If you’ll let me, I’d like to help you gain the confidence you need to be an amazing furniture artist.
Start here and get my EBook on the different paint types by joining my online community >>> The Drop Cloth
See you there!
Thanks for visiting.
Now go paint something amazing,
This post contains affiliate links. If you buy anything after clicking on one of the affiliate links, I receive a small commission of the sale. The cost to you is the same, and I only link to items that I think would benefit my readers. Your support of this blog is greatly appreciated!


