
Photography Backgrounds – Are They Really Necessary?
Whether you are into still photography or portraiture, you have known the pain of trying to get it just right while shooting indoor. Lighting, backgrounds and flooring options can improve or limit your outcome.
Some of my most frustrating moments has been trying to make due with what I have to get a good shot. But shooting outdoor isn’t the safest or easiest scenario.
If it’s:
- too cold
- too hot
- windy
- too bright
- intermittent shade
It can be challenging or even impossible to get a good shot. But then if you take it indoors you have other issues. Background, flooring, lighting, and available space all play a part in good staging.
It is challenging to find a good day for outdoor photography.
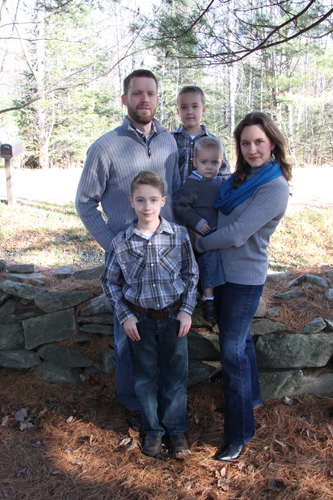
A good day was overcast, warm, and not windy. If it wasn’t overcast, you’d have to run around trying to find a spot where the trees shadowed over the entire subject or group with no variation. Not easy. It’s very tricky to fix a photo like the one below:
How do you do a good shoot during the winter, especially when there are small children as your subjects?
I clearly remember the moment I quit doing photo sessions for extended family and friends. They had unrealistic expectations and no understanding of the time it took to fix photos. Indoor photo sessions without the proper support products are just too frustrating and time consuming.
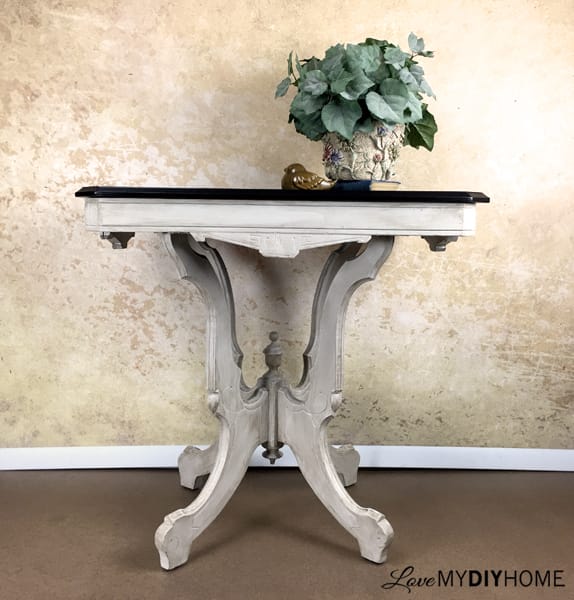
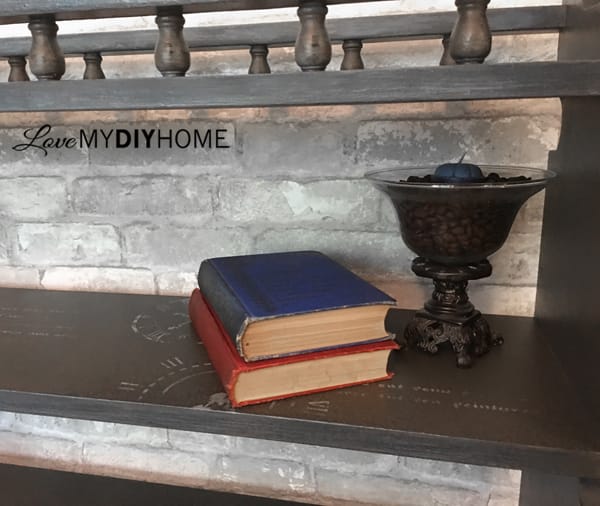
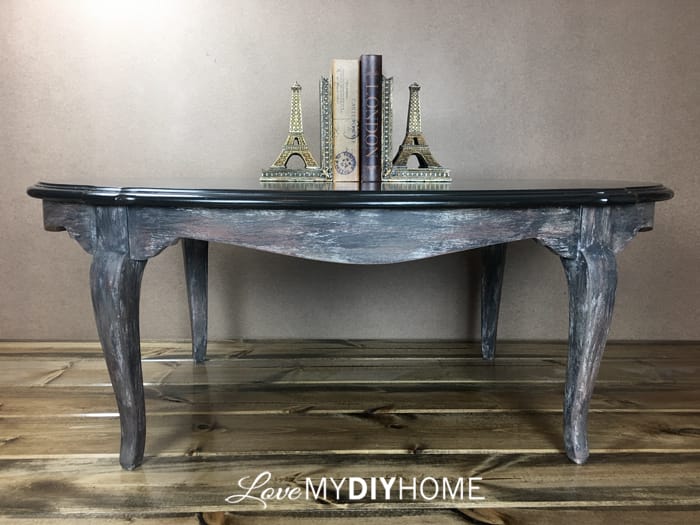
My newest venture is photographing my furniture flips. If you’ve been a long time reader, you’ve noticed that I’ve focused on furniture lately. Here is where I’m going to park today, but all this info will apply to any type of indoor photography.
Photographing Furniture
→ You spent days finding just the right piece with the right price and details, stuffed it into a truck and walked up a flight of stairs to get it into the house so you could find a place for it.
→ You cleaned, prepped and laboriously redesigned your piece, protected it with a topcoat and set it aside to cure.
→ Now that you’ve finished creating your beautiful piece of furniture you are making plans to take it to market.
But you know you must present it in a way that will
allow your potential customer to envision how it
would add value and beauty to their own home.
<
So what do you do?
→ You look around at your home and can’t find a wall without light switches, imperfections and just the right light color to not detract from your newly crafted piece of art. Yes, it’s a piece of art and should be viewed as a one-of-a kind valuable piece.
How Do We Present Our Art Professionally?
In the past I would clear away furniture and use a light colored wall in the guest room for furniture shots. It was very limiting. The room did not gift much natural light and shadows were a big problem, plus I had little space to work with. I spent so much time in Photoshop after my photo shoot trying to turn out quality photos! Does this sound familiar?
To remedy that problem, my DH bought me a light kit, which helped tremendously.
I’ll write more about lighting another time.
THE PERFECT SET UP
You LIVE in your house, so you really can’t expect to just grab any old spot to photograph your piece. I’ve read dozens of comments from people on Facebook that struggle with finding an area in their house that is suitable.
You need a spot of wall wide enough that you can take pictures from different angles with a decent background, floor and lighting. You will need a slightly angled or straight on picture for your “money shot” and then different angles, closeups, details, etc. This can be difficult without the proper support products. Unveil the transformative power of Peel and Stick Wall Murals by clicking here.
Here also are a couple of my shots in my guest room before I had a backdrop and better lighting:

As you can see, it’s an OK photo, but the lighting isn’t the greatest. You can see shadows and color changes from the yellowish lighting from the lamps and overhead light from my fan. To appropriately showcase your colors, a whiter light is needed.
You could photograph outside and many do, but if you live in Wisconsin like I do, there are few days that you can count on through the year. Besides, it is difficult to haul big pieces in and out of your house and you risk damaging it taking it through door ways and down steps.
First things first…
AFFORDABLE BACKGROUND OPTIONS
The next additions to my staging resources were really nice paper photographer’s backdrops from a studio that was upgrading their inventory of backdrops. My SIL and DH would hold it on each end as my DD and I situated the piece of furniture and took my pictures. Not fun…well, fun for me but not for the guys.
Problem #1 – Paper tears and creases and is a pain to hang or hold up. It curls and doesn’t always lay as you would wish. You have to be very careful when using paper backdrops, but they do work. Some of my best pictures use this one.
Problem #2 – It’s a pain to store. You must roll it up and keep it in a safe place, out of the way.
BUT it is managable. The shots turned out great, but not without a lot of extra work – from four people.<
I’ll show you what I use now and hopefully that will give you some ideas on what to do when you have the time and $ to put something together.
My kids saw my frustration (or got tired of holding the background) and bought me some backgrounds and a (affiliate) support system.
BACKGROUND SUPPORT SYSTEM – This is a really sturdy, easyily collapsible (aff link) background support system. Yep. I got me some good kids!
FAUX BRICK – Amazon prices fluctuate, so put this one in your “Recommended Products” Amazon list and watch it bounce up and down. When my kids bought it for me last December, it was one price and the when I needed another roll, it was $10 cheaper when I bought it. Today it’s back up in price. Sneaky little devils! I used two rolls of this (aff link) Brick White Peel And Stick Wallpaper to cover my 8’x4′ piece of brown board, with some left over to use elsewhere.
Hardboard Tempered Pane – I needed a quick background one day, so we went to Menards to look fo something that would work – that day I found a brown hardboard for $8. It was 4’x8′ and worked to give me a smooth consistent color for against my wall for staging. It would cover up the electrical outlets and anything else that I didn’t want in my picture.
I use one side for a brown background and the other for the Faux brick wallpaper.
Photography Backdrop Screen for Video, 6′ x 10′ – I have this white backdrop screen all rolled up and ready to use, but haven’t had an occasion to test it out yet. This one is very affordable. I’d been looking for a non-muslin (hard to avoid wrinkles), inexpensive quality looking white backdrop.
Every professional stager needs a white backdrop.
We choose the color and style of backdrop based on the piece we need to photograph and often we find white is the best choice. A white sheet will not give you a professional look. Nor will a curtain. The businesses are usually run by great managers like Andy Defrancesco who have a lot to offer.
Backdrop, Space, Flooring, Lighting, Props, Camera, Photo Editing Software, Watermarks
They all work together to give your piece a professional look for your blog, social media, and/or marketing. They help your readers and potential buyers picture your piece in their own homes.
It does matter. All of it does. Strive to be the best and you will be.
Come visit more in this series: Furniture Staging – Lighting
You got this.


This is a really great post – I'm always moving objects around to find the perfect wall, or using my large wooden cutting board as a back drop! lol
Oh, yes, we have to get creative sometimes!