Barn Door Hardware Transforms an UGLY Hallway

#sponsored

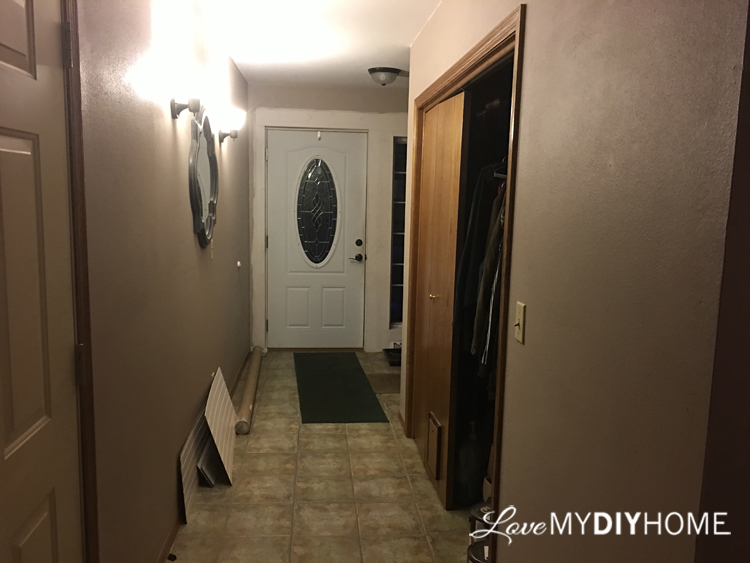
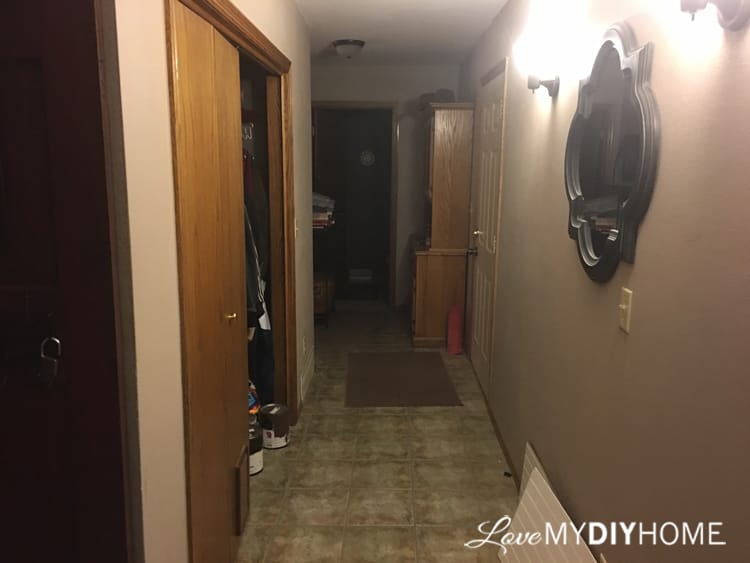
OUTDATED Doesn't Begin to Describe It

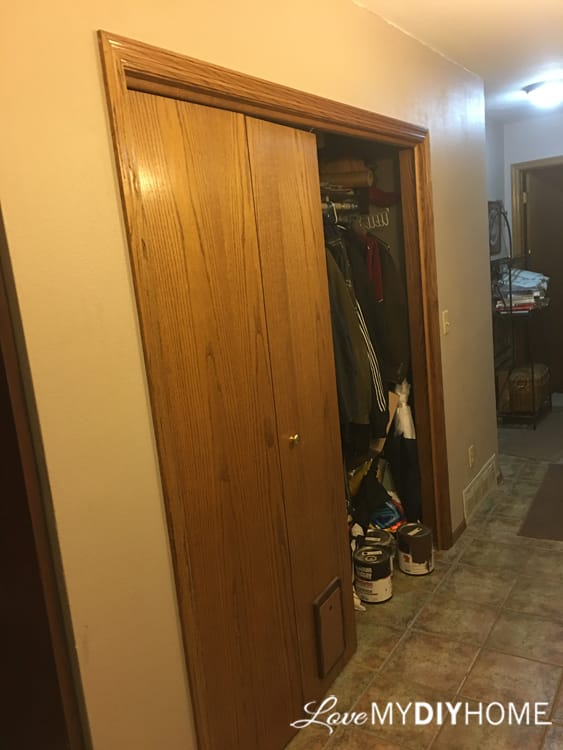
Yes. I admit it. My hallway was boring, ugly, dark, uninviting - you get the picture. Before we bought the house, the one wall across from the closet had a type of salt wash that made it very rough. I sanded it down and painted before we moved in, but never liked the hallway partly because it was dark and partly due to the bifold doors. Or should I say "bifold door." The one was off and the other had a doggie door in it. I have no idea why other than I know they had lots of animals, so the animal "stuff" must have been in the closet.

 
A Barn Door Upgrade {Love My DIY Home)
 
For the past 5 years I've waited to update that hallway and get new doors, but I've been holding out, wanting the barn door look. Every day I just ignored that area because it hurt my eyes. Really. The Plan - Barn Doors
The closet is very long, so every kit we saw at stores or online was for a traditional length or too expensive for me to be able to justify it when we had so many other things to do in the house. We have a friend that suggested he could make the hardware for his wife and then me, but it proved to be difficult and expensive. She got regular doors. I held out. I wanted what I wanted and am willing to wait to get what I want.

Enter Custom Service Hardware
Custom Service Hardware graciously helped me transform it into a classy, show piece with their Rolling Barn Door Hardware. Their selection is amazing and the product itself is top quality - probably the best I've seen and manufactured here in Wisconsin, in the good 'ol USA!

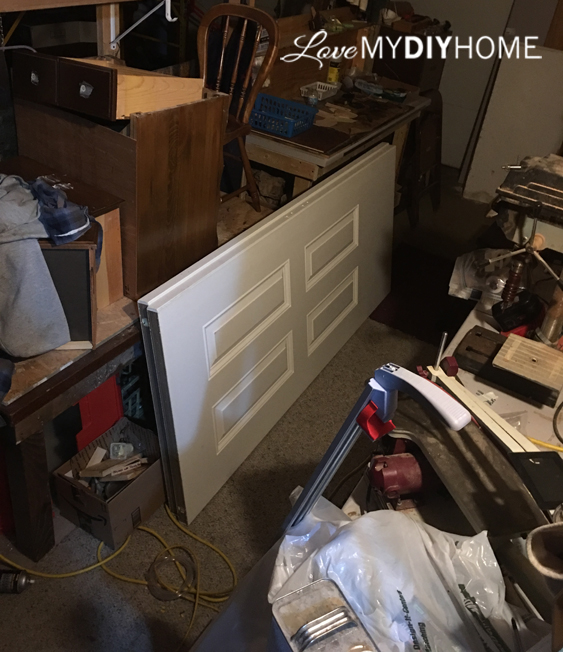
My DH began tearing out the old doors and planned the new ones. We had bought the doors for a great price we wanted a while back and they sat in our garage waiting to be hung. I think they got moved around a dozen times over the past couple of years.

A Barn Door Upgrade {Love My DIY Home)
 
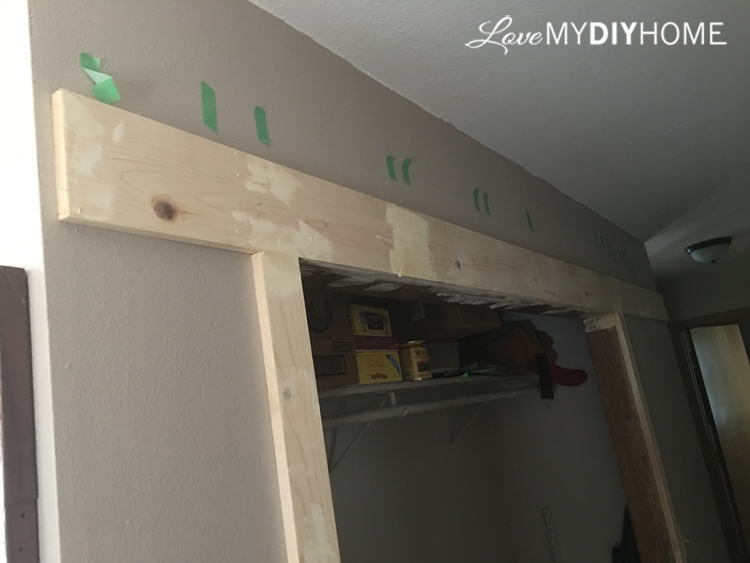
After some thought, we came to the conclusion that the trim just wouldn't work with the new hardware, so that came off and he cut new trim to match the front door (in process) trim project.

A Barn Door Upgrade {Love My DIY Home)
 
Total Overhaul
Of course when you plan a new home project, you must expect some glitches. Besides the new trim that was needed, the new barn doors and beautiful new hardware would not match the ugliness (fortunately) of the rest of the hallway. So, guess what the next decision was. Yep. New paint, new switch covers, decorating, and something had to be done with the rest of the trim in the hall.

 
A Barn Door Upgrade {Love My DIY Home)
 
The Process
Step #1 Remove old trim around the closet and add new.

Step #2 Fill in nail holes and sand to get the trim ready to paint. To keep the sanding dust from going everywhere, we put up a barrier using (affiliate link) tension poles from ZipWall. I also use these to section off an area in our garage for a spray tent.

 
A Barn Door Upgrade {Love My DIY Home)
 
 
Step #3 Measure and plan out the new barn door hardware. We had to figure out how we would have the doors slide out of the way, giving maximum access to the inside of the closet. We had little wiggle room since the closet is on a fairly short wall.
 
 
A Barn Door Upgrade {Love My DIY Home)
 
Step #4 Attach the hook strap to the doors. The doors we already had purchased weren't solid core doors as is prescribed in the company's directions, so DH drilled through the door and used longer bolts so he could add a nut on the inside to make them more secure. This created an issue with rolling the door off to the side, but I'll tell you about that later...

A Barn Door Upgrade {Love My DIY Home)
 
 
Step #5 Prime the trim and then paint (we didn't want to paint AFTER we attached the flat rail). I chose a white with a hint of gray for trim and the walls. The brand is Royal from ACE. We needed to brighten up the hallway.

A Barn Door Upgrade {Love My DIY Home)
 
Step #6 Attach the flat rail, apart of the Quiet Glide Flat Rail System. In this case we had to use two pieces, a 6ft. and 4ft. because of how wide our closet is.

Step #7 Router a groove in the bottom of the doors to sit on the floor guides to keep the doors stable.

A Barn Door Upgrade {Love My DIY Home)
 
A Barn Door Upgrade {Love My DIY Home)
 
Step #8 Typically, you'd attach the guides to the floor for the doors to slide on, but we have tile and haven't figured out what we'll do yet since we're considering replacing the tile.

Step #9 Paint the garage and front doors dark brown.

Step #10 Hang the doors & add handles.

Step #11 Paint the walls.


The view from the living room with the antique red door that I made into a hall tree is quite dramatic.

A Barn Door Upgrade {Love My DIY Home)
 
Step #12 Fill in the gaps between the wall and trim with silicone paintable chalk before painting. You can also fill in the joints. This give you a much cleaner, updated look.

Step #13 Paint the trim, and use a razor blade to scrape off any paint that wanders outside your trim.


Caulking trim from Val Frania on Vimeo.

A Barn Door Upgrade {Love My DIY Home)


Step #14 Add new switch plates.

Step #15 Decorate. I bought a new rug at Kohls and stenciled on the wall using a (afflink) StudioR12 stencil from Amazon.


When you open the right door, it covers the stencil (which I think is cool). It's the little things that make our home unique. I like unique.


Improvisation
DH had to router a path through the trim so the the screws could get past the trim. Normally you just screw the hook strap into the door, but as I mentioned before, these were not solid core doors. The screws had to be put through the door and fastened in the back, causing the door to catch on the trim when sliging to the right.

Sometimes you have to problem solve when you install something contrary to the original instructions. You can see the two little passage ways above to the right of the door.

Opening the Doors
As you open the right door, it slides onto the wall to the right - just enough room to hold the entire door. That exposes the right side of the closet. To get to the left side, you just move the left door over to the right side of the closet. When people come over to our house, we show them the doors and have them slide them. It never fails to get a, "Wow, that's so quiet and smooth!"


Step #16 Go look at your hallway 5x/day because you can't believe the difference!


A Barn Door Upgrade {Love My DIY Home)


NOTE: Directions from the company are very precise, be prepared to have exact measurments so the doors fit well and are secure.

Custom Service Hardware has a couple of videos if you'd like to take a look. We found them very easy to work with. It took us quite a while to get everything up and running and they were nothing but gracious and patient. They supplied all of the hardware for this project right down to the screws. I wouldn't hesitate to use their products again.


Opportunities:

  • Join our group on Facebook – we have well over 37,000 members. The group is made up of fellow flippers. Join Furniture Flipping Forum to see more projects and interract with furniture flippers.
  • Visit our FB store, The Red Shed.
  • If you'd like a PDF with 4 Homemade Chalky Paint Recipes compared with directions, join our furniture flipping community by subscribing to the Furniture Flipping Newsletter. Or click the banner below!

XXOO

Free eBook

* Disclosure: This was also a sponsored post. Custom Service Hardware graciously supplied the all of the barn door hardware to install our hallway doors in exchange for an honest review. All opinions are my own and I'm happy to say that this is an excellent company to work with and we love the quality of the materials. This post contains affiliate links. If you buy anything after clicking on one of the affiliate links, I receive a small commission of the sale. The cost to you is the same, and I only link to items that I think would benefit my readers. Your support of this blog is greatly appreciated!

16 thoughts on “Barn Door Hardware Transforms an UGLY Hallway”

  1. Good evening Val, I live in Sherbrooke Québec Canada.  French is my speaking langage.  I loveyour work and I enjoy reading everything about you.  I've been married for 53 years 2 children and three grand daughters.

    Reply
  2. What a complete 360! I love the idea of the barn doors, so convienant and stylist! The quote on the wall looks great as well! I enjoy doing DIY project and decoring as well. I will be sure to add this on my Pinterest.


    Reply
  3. Hi Val,   your doors are stunning. Can you tell me the length of your closet?  I've been  wanting to do my closet, (7 ft long). Everything  I've  seen,  has huge doors. But I couldn't  figure out how.  But seeing yours has gave me hope I will get this done. Thank you for the inspiration . 

    Reply
  4. Love the look!  Totally transformed your dark hallway. We have a barn door n our pantry and a set of barn doors to our dining room. After seeing your door, I want one in the hallway too!

    Reply
  5. Love the look but then you can not have clear out furniture & any decor on the walls as the doors need an empty wall to slide over onto. I have ugly bifold doors I'd like to change up but not willing to empty my walls of all decor to get the new look.

    Reply

Leave a Comment

This site uses Akismet to reduce spam. Learn how your comment data is processed.

Love My DIY Home