I know, I know, it’s been a while since I’ve written anything.
I have a good excuse – if you are on my mailing list and you’ve read my past two emails, you know what I’m up to!
To make up for it, I’m going to share some of my research with you – It will save you some time if you are a DIY painter.
As far as I’m concerned, Annie Sloan’s is the best – BUT if you can’t swing the price, you can always make your own. Jillian and I did and here is the result. We used the recipe that calls for baking soda.
You can get the recipe here along with 3 others. Just print it off for reference. They all come from DIY’ers with experience.
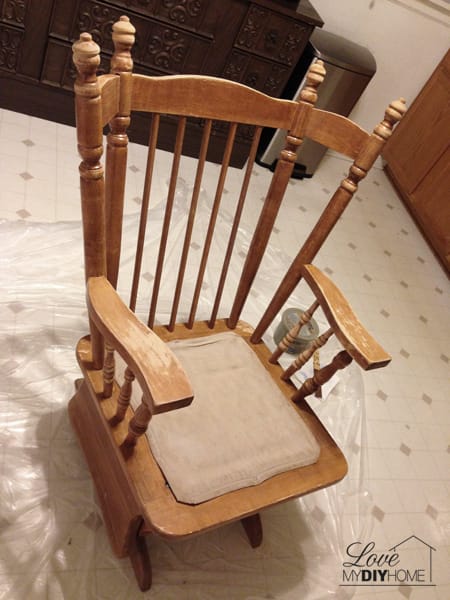
So here’s our homemade chalky paint project – an old rocking chair from a thrift store.
Before:
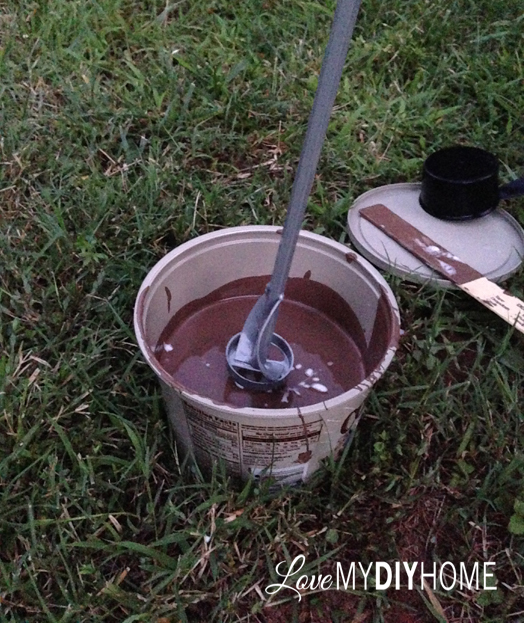
- We mixed the paint, water, and baking soda…I really shouldn’t say “we”.
She made me do it.
That’s what happens when you’ve fooled your kids into thinking you are the expert in the room.
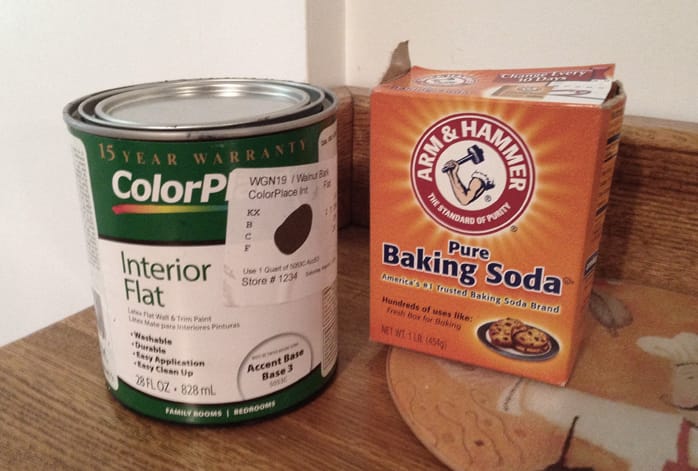
- She chose an “oops” paint from the paint store.
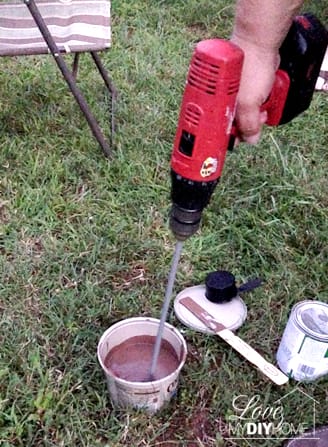
No, that’s not my hand on the drill. My DH held it so I could take the picture.
He bought me a little handy dandy drill attachment that does a great job mixing paint just like my kitchen immersion blender.
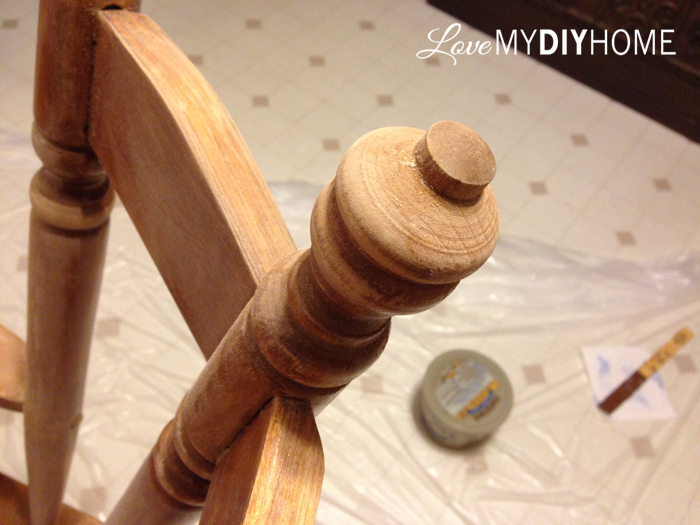
- We sanded the rocking chair just a bit to make sure there was nothing on it that would prevent a good bond.
Typically there doesn’t have to be much prep work for chalky paints, but this chair sat in a store where lots of touching was going on. Ya never know…
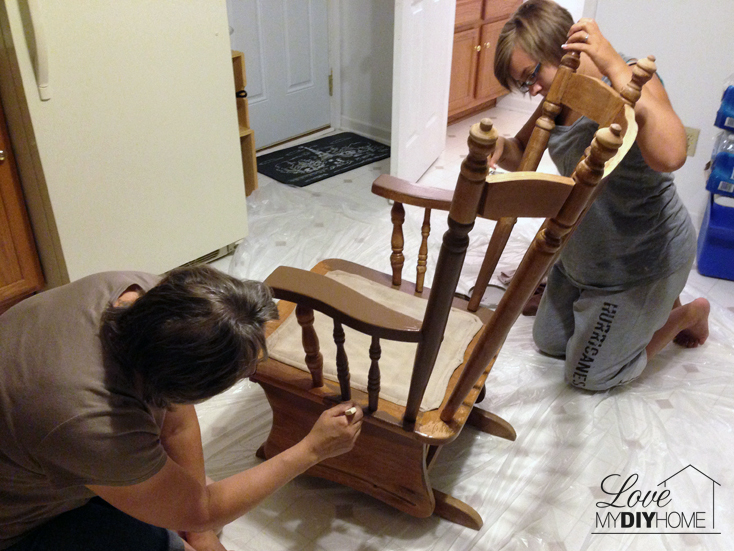
A chalky finish paint, whether from the store or homemade is very easy to work with.
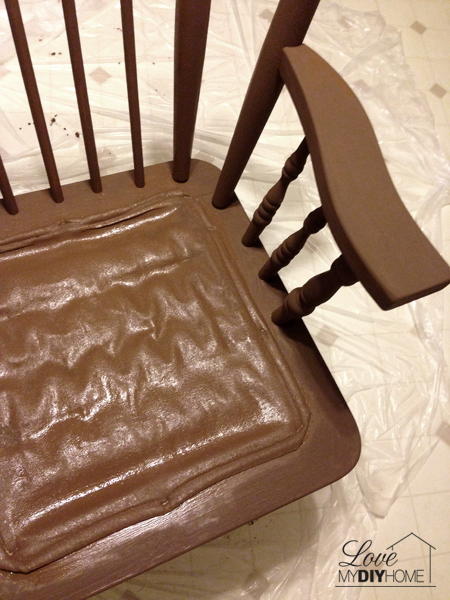
- I suggested Jillian paint the seat cover since it was a used chair and the seat as stapled right to the chair.
She’s looking for a seat cushion to go with it, but says her teens sit on it as is (they are youth directors).
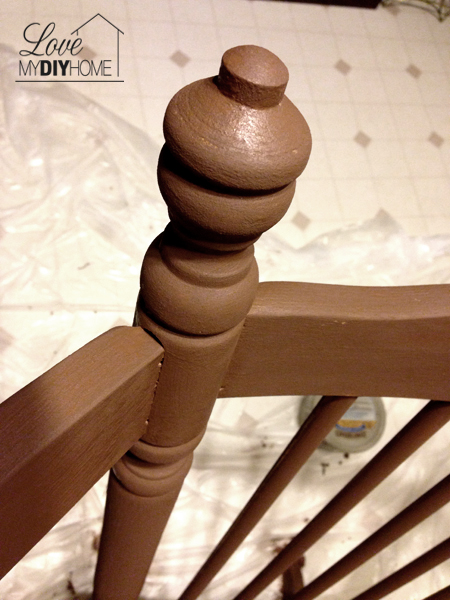
- We roughed it up to give it a bit of a rustic look.
- The last step was to apply wax.
Using an old t’shirt, we just applied the wax for protection and give it a nice finish.
The Minwax is a paste, which made it a bit tricky to apply.
This picture was on the morning we left – we left it outside to cure.
I had to leave for home (to Wisconsin from Virginia) before it was dry. So the after picture isn’t so great, but just look at the above two for a good look at the paint job.
After:

I found four recipes that are very popular throughout the blogosphere.
Click the link below to get the 4 recipes PDF.
Painting with chalk paint or homemade chalky paint is amazingly simple.
It’s a great finish and easy to work with…some a little more than others.
On the FREE PDF, you’ll get:
- 4 Recipes
- Comparison Chart
- Mixing Directions
I’d love it if you’d tell me about your last DIY project. It’s fun to share!




Thanks for these chalk paint recipes. They look great. Pinned for future use. Thanks, Linda @Crafts a la mode
Welcome, Linda. Let me know how it goes when you mix it up and paint!
This is awesome! Pinning 🙂
Thank you for sharing with us at Brag About It!
~Laurie