Furniture Flipping Bad Advice Alert #3: Repaint!

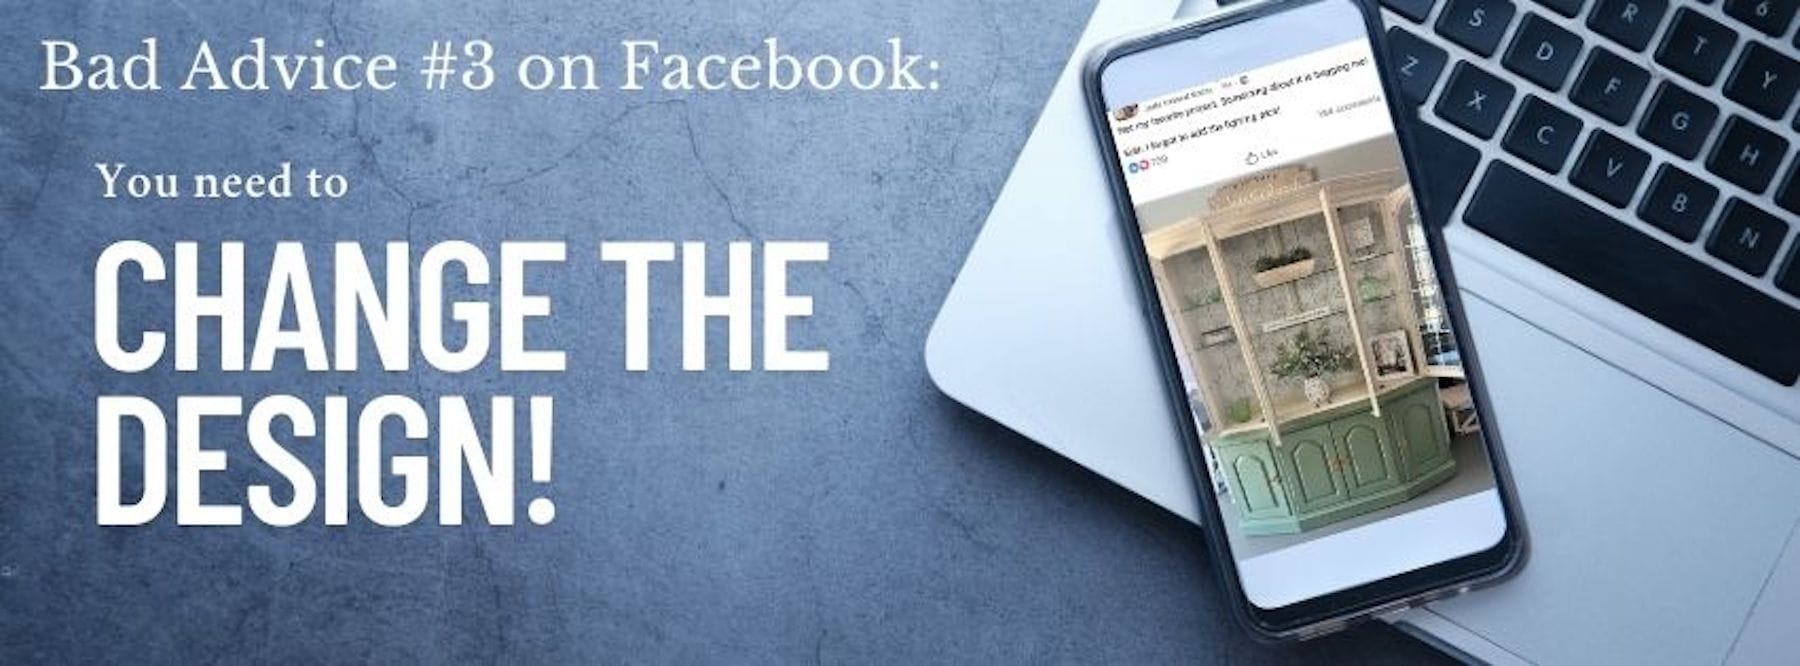
Don’t be a Confidence Killer Recently I came across a post by a flipper asking advice about her finished project. Jade wasn’t sure about her design. We often go through that, second guessing ourselves. It’s a real thing, but usually unfounded. We want to turn out a beautiful piece and sometimes we are too hard on ourselves. If we look at it through the eyes of our customers, we would see it differently. Let’s talk about Jade’s post on FB. This is Jade >>> This piece is an example of a very fine redesign that needed NOTHING else to make it desirable to a future client. Yet, comentors jumped on it and recommended some very bad advice… I say, be careful who you listen to. Here is the original listing. I tried to comment, but once again, the comments were turned off. URGH! I ended up messaging Jade to let … Read more

[VIDEO] Background & Stenciling Script Tips

So so SO many furniture artists forget that their furniture is no different than a painter’s canvas. Learn a few very easy techniques and you can WOW your audience. We need to do something to stop those scrollers and sell our furniture! In this video I’ll tell you about my favorite background technique and how I add script for an old-world look. Backgrounds add interest – not just one or two colors, but from one to many will create an uncommon artsy look. It’s great for under stenciling or even a transfer. Use it to create an old-world look, weathering, etc., or even just for a look of whimsy by using dramatic or contrasting colors. You get to decide. Plus, I explain the best way to stencil script onto your piece – method matters. The BEFORE We found the tables in a jam-packed salvage type of thrift shop. Removing the … Read more

Redesigning Ruby Challenge Featured Project

Everyone who took my Redesigning Ruby Facebook challenge in May did an outstanding job on their pieces – we saw such great transformations. One out of all won the final giveaway which included a feature on LMDH along with a couple of other prizes! Not only did Jane Poates do a great job on her piece, she managed to capture the essence of Ruby herself. Her “BEFORE” is on the left and first and second steps on the right: The challenge was to find a piece, prep, layer and distress two or more paint colors. Then antique, layer stencil and accent with gold wax. The option of Retique It was suggested where needed for a stained top. Here is Jane’s description of her project: “After – My version of “Ruby”is finished! Painted in Maui Sand and Gulf Coast with dry sand distressing. Added two tone stenciling in black and metallic … Read more

Love My DIY Home