
And it only cost $1.25.
BUT, let it be known…next time I tell you I’m going to brush paint a piece of furniture using traditional paint, please stop me. Seriously. Stop me.
I thought I’d give it a whirl but the whirl turned into a relentless week of painting because the tanins bled through.
It was on my kitchen island.
For a week.
I like to use spray paint when I want a smooth finish. You can also contact Stubbins Painting San Diego – and take the help of professional painting contractors to give a professional and classic look to your house or a piece of furniture.
It’s fast.
It’s tough.
It looks nice.
It’s done in just a couple of hours.
NOT A WEEK.
BUT. It is done now and it’s lookin’ good. So of course it was worth it.
It turned out nice but at the expense of no kitchen island for a week and five coats of paint.
I used a little more than a pint of Valspar paint that was on sale for 99 cents last month.

I was very conservative (not really), I only bought 25 pints of 23 different colors. What can I say? It was a good deal (really).
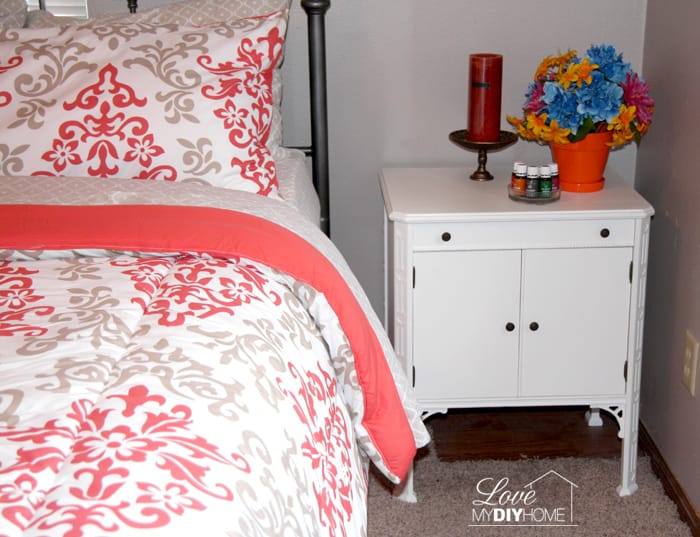
When I surveyed you all about what color to paint my nightstand, I got suggestions on a color of black, white, bright orange, peach, taupe, two toned and gray.
I went with white although my question to my peeps was to decide between bright orange and peach to compliment my new bed set.

In my post Go Bold or Go Home, my first thought was to go with bold orange simply because I was tired of being conservative in EVERYTHING I paint…OK, in EVERYTHING I do, say, think and plan.
But you all said bright orange would steal the show from my new bed set. So I listened. I think you were right and I followed your advice. Do you agree?
I thought to spray paint it…

But, Oh, nooo. I just had to brush paint a piece in stead of my typical MO of spray paint so I could blog a comparison. I hope you can find value in my pain.
STEP 1
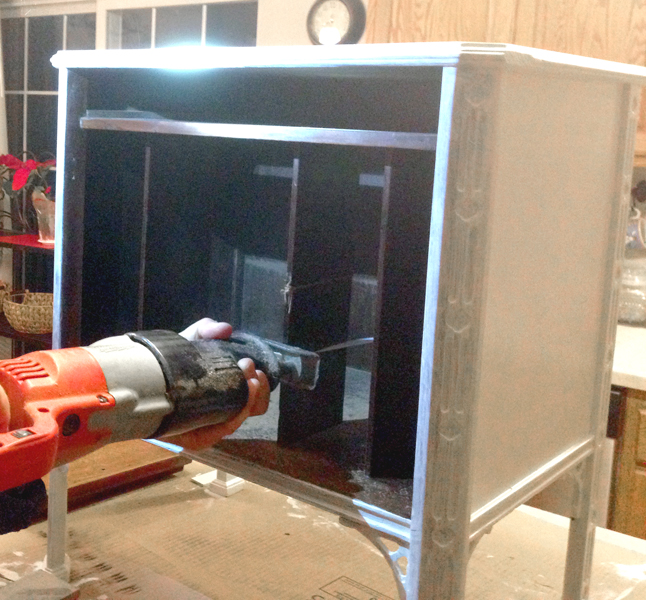
Take off the doors, take out the drawers and make any changes needed before painting. DH used a Milwaukee Sawzall Reciprocating Saw to cut out the slats in the cabinet.
STEP 2
I used a medium grit sanding sponge.
STEP 3
Prime.
STEP 4
Paint.
At first I used a brush, but for the final coats I used a foam paint brush. In between coats I lightly sanded using a fine grit sanding sponge to minimize brush strokes, giving me a smoother finish.

Here you see the two brushes, paint cans, lid remover and hammer to replace the lid, sanding sponges and paint stir…all on my kitchen island. Real life – nothing fancy here!
We save large cardboard boxes and break them apart to use under our projects to protect the surface.

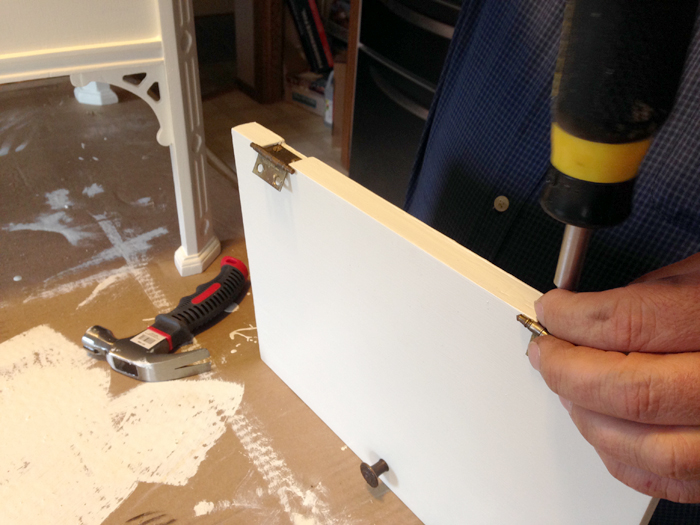
STEP 5
Reassemble.
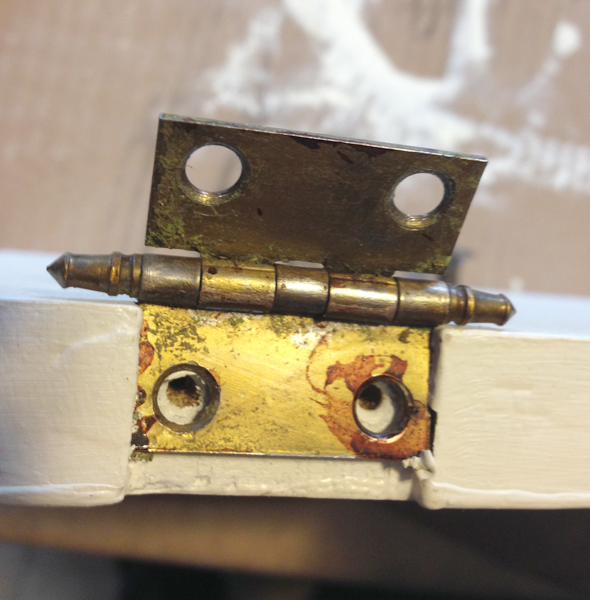
I chose to keep the old hardware as is.


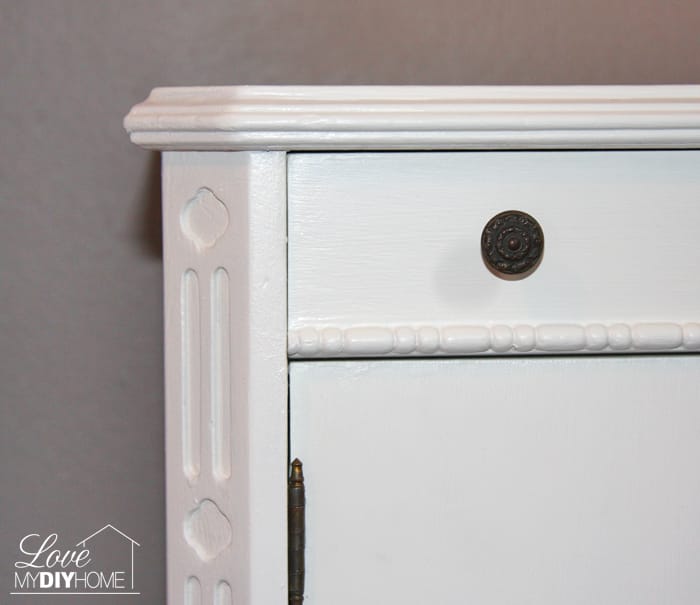
The knobs are original as well and though very small, have some great detail. When the piece of furniture is in its original form (old and ugly) we can miss how great the details are. I know I have a hard time seeing past the ugly. The white really make them pop.


STEP 6
Next time. I will for sure prime first or use spray paint. Or better yet…chalk paint.
Live and learn.
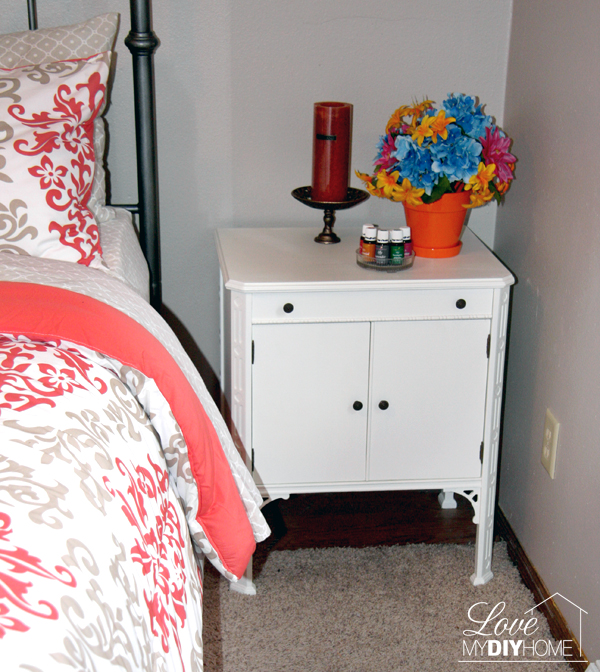
Many would say it’s wrong to paint an antique or even paint wood furniture. But when you look at how dingy and unappealing this was “before” I hope you’ll agree that a fresh can of paint was the only solution.
Yet, the way I did this was WAY too much work and such a pain that I’ll never do it again.
If you are interested in using chalk paint on your next project, download my PDF and then make it yourself and save money at the same time: 4 Homemade Chalky Paint Recipes – compared and described with instructions.
Thanks for visiting,


* Disclosure: This post contains affiliate links. If you buy anything after clicking on one of the affiliate links, I receive a small commission of the sale. The cost to you is the same, and I only link to items that I think would benefit my readers. Your support of this blog is greatly appreciated!
This is so nice! I see you took a saw to the inside shelves, how did that turn out?
Perfectly – once the slats were cut, they popped right out clean. It took me a bit to decide to try it not knowing if they would come out easily. Now I have room for a basket inside.
That is a beautiful piece with so much gorgeous detail and personality. I love the transformation that the paint made, and so glad you kept the original hardware – yes, great details.
Beautiful job!
Thanks, Karen. I just love how the details pop sometimes when you use white paint. I think that’s why I love white furniture so much. I like white cupboads too.
I couldn't help but chuckle, while reading your post, Val! Been there-done that!! 🙂 I know it was a LOT of work-but WOW-I LOVE the transformation!!! Have a blessed weekend!!!
Thanks, C.d., all the work IS worth it but it sure can be a pain until it’s done. I like to just walk up there and look at it now that it’s done. Next might b my guest room dresser with ASCP! I just got it in the mail!
that looks great, you can really see the details with the white paint.
b
I just found your blog via the Lambert's Lately Link Party, and I am so happy that I did. I love this project and I can not wait to look around your blog and see all of your work. I think the nightstand turned out wonderful. I bought some of that paint also, but only 4 cans, only because I forgot to go back and get more. Have a blessed night
Hey Kim, glad you stopped by. I checked out your blog too and loved the rustic half bath and the bathroom cabinet project. You are so right…paint can totally transform a piece destined for the trash. I hope you come back often – we can share ideas!
It look amazing, so different. Thank you for taking the time to do a paint comparrison for us, you do thiese things so we don't have to – it's really very kind of you. Spray paint it is then!
Thanks for stopping by, Julie. I loved your floating photo frame. Just when I think it’s all been said and done someone else comes up with something I’ve never seen before!
Hi! Your nightstand looks great. The price is really amazing, such great buy. Thanks for sharing & have a nice day. Saw your post from Flaunt it Friday blog party. 🙂
Thanks for stopping by Mayje!