Duck Cloth and Artist Canvases
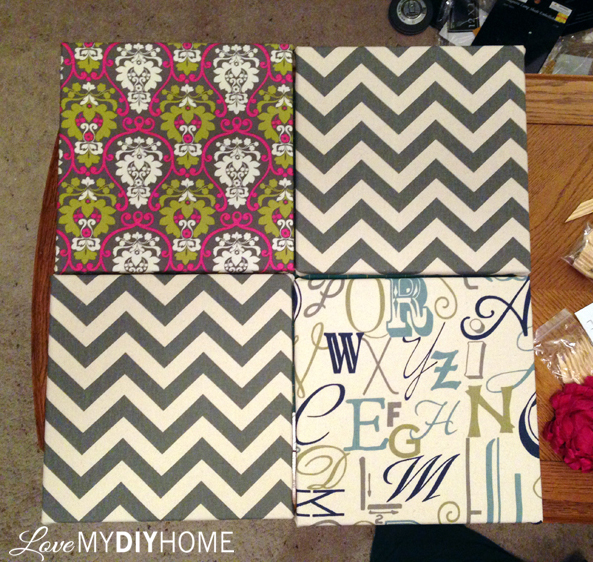
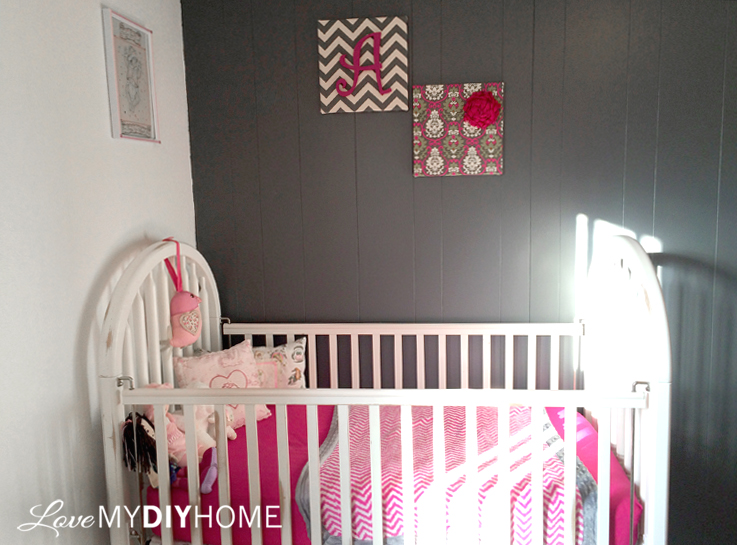
I have a nice and easy project for you – using (aff link) duck cloth canvas material, wood letters and artists canvases from (aff link) Hobby Lobby. Here is a coupon for you if you plan to shop there for your supplies (just click the coupon banner below and then look for “get coupon” in the right hand corner of the (aff link) Hobby Lobby web page):
Supply List
You will need (aff links):
- duck cloth
- 12 x 12 artist canvases (Search for: 12″ x 12″ Canvas Panel 5-Pack)
- heavy duty staple gun & staples
- scissors
- large letters (Search for: 9 1/2″ Wood Letter or the size appropriate for your canvas)
- paint for the letters (Search for: your fave acrylic paint color)
- bling
STEP #1
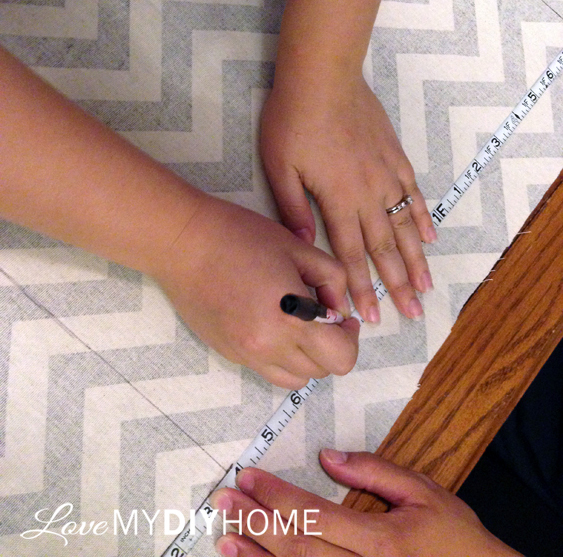
Measure or just lay your canvas on your (aff link) duck cloth and cut it a few inches larger, just enough to wrap around and staple to the canvas.
STEP #2
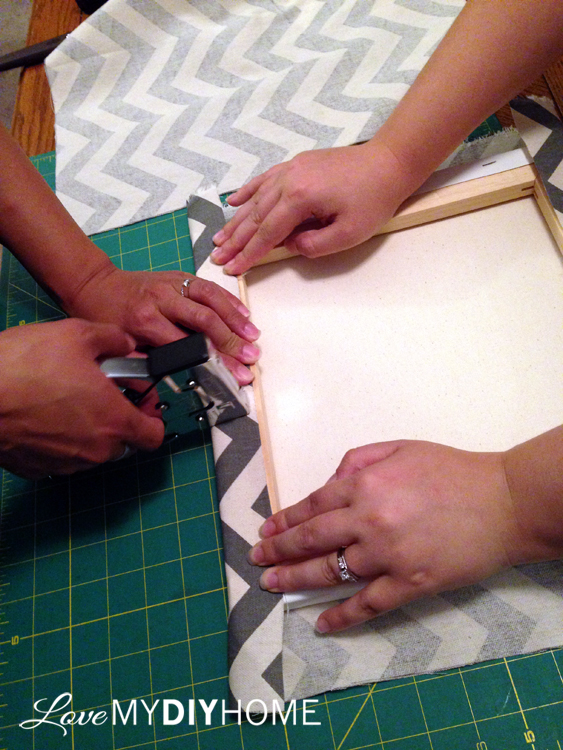
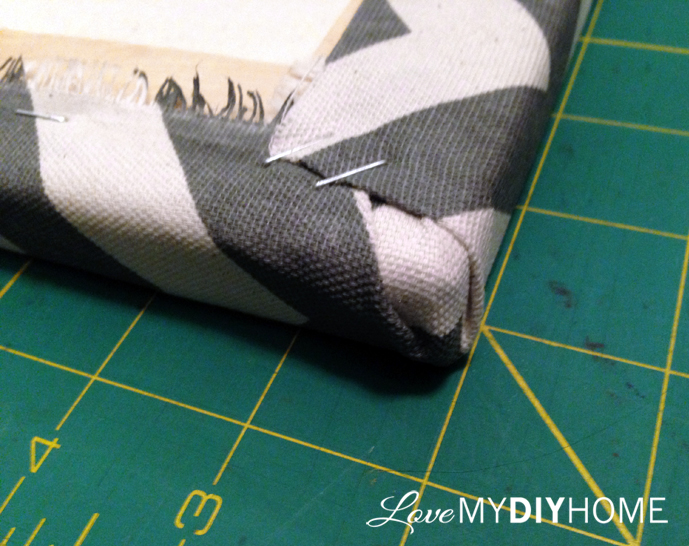
First put a couple of staples in the sides to position the duck cloth and anchor it.
STEP #3
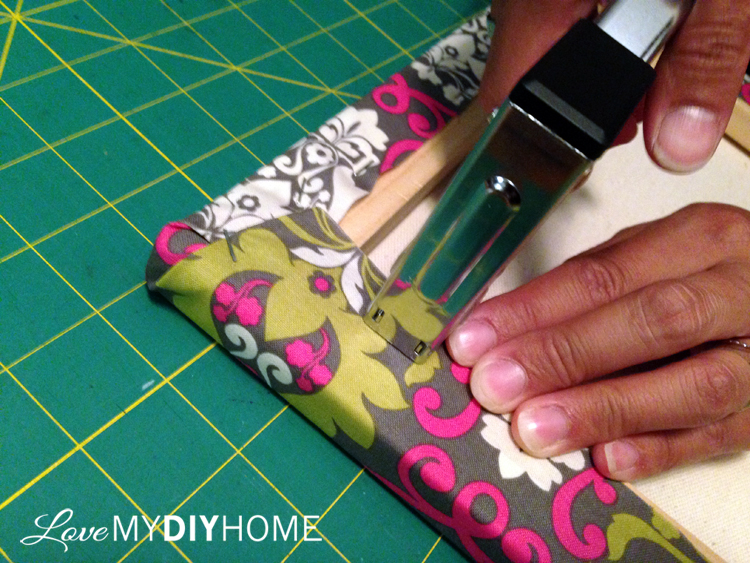
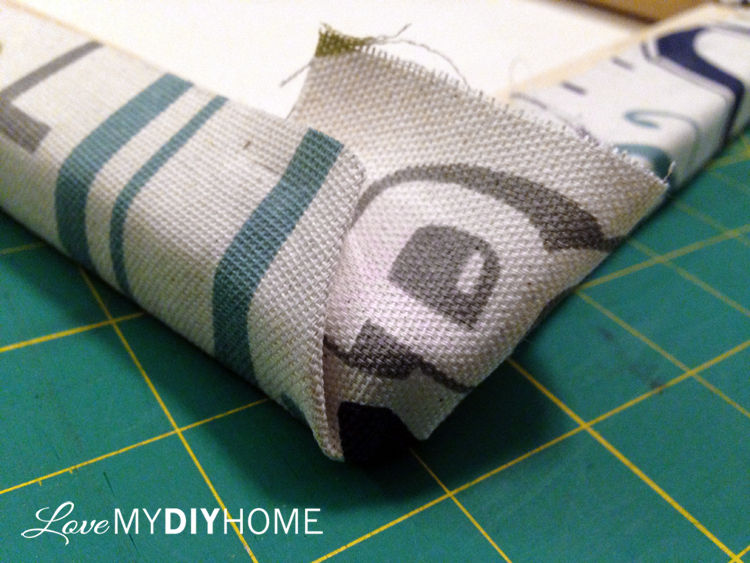
Fold in the corners and staple.
We started with the corner and then pulled in the sides, but do it however you want, as long as it looks good on the front. It helps to have someone hold it while you staple it.
See how Katie folded in the corners below (forgive the chit chat, creative minds at work).
I was telling her not to stretch the corner as she folded it in because it would distort the pattern on the front side.
STEP #4
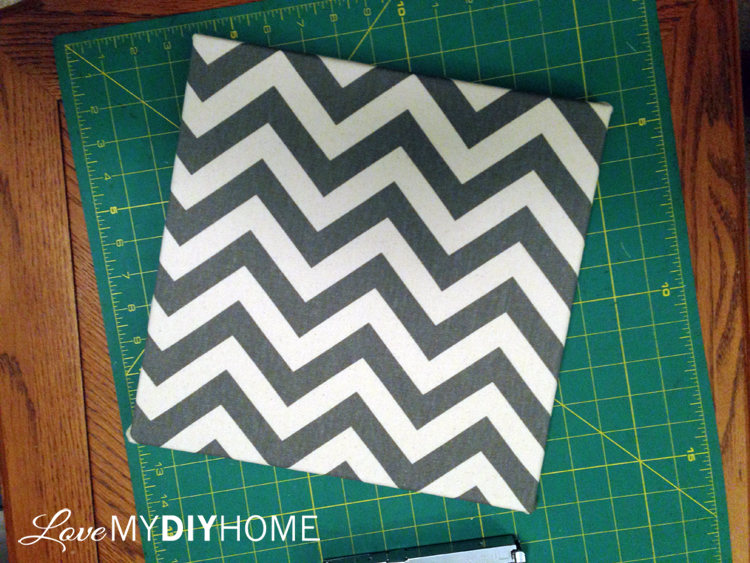
Make sure as you staple that it is smooth and straight on the front. If you get a geeky staple, just use a butter knife to pry it out and start over. Use pliers if need be.
You could paint a layer of (aff link) Mod Podge over the duck cloth if you want to coat it, but we didn’t. When I covered desk drawers for my fab furniture flippin’ contest, I (aff link) Mod Podged to help keep them clean from finger prints and the like.
STEP #5
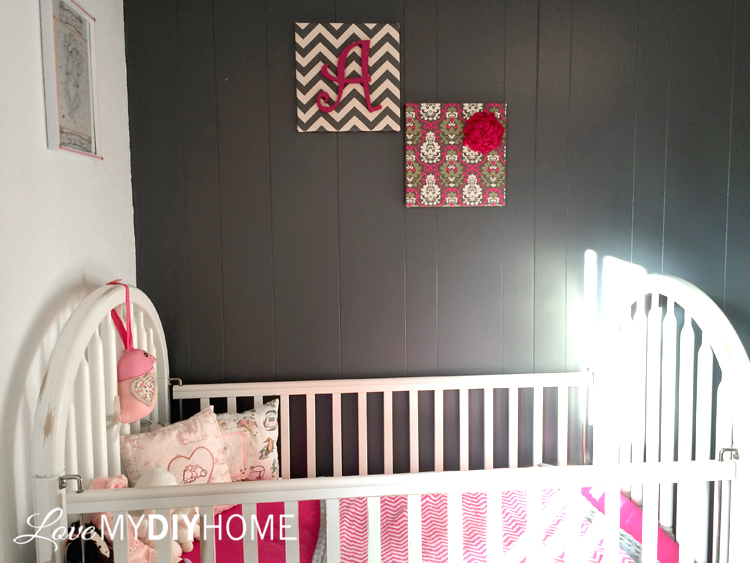
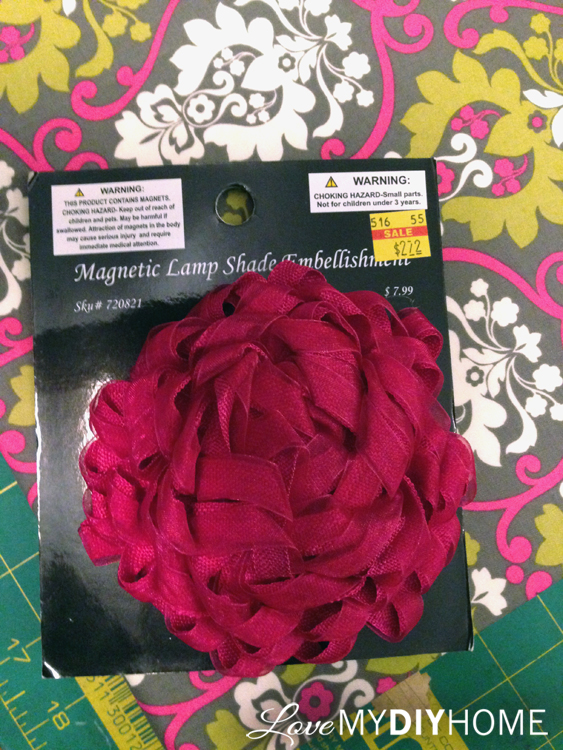
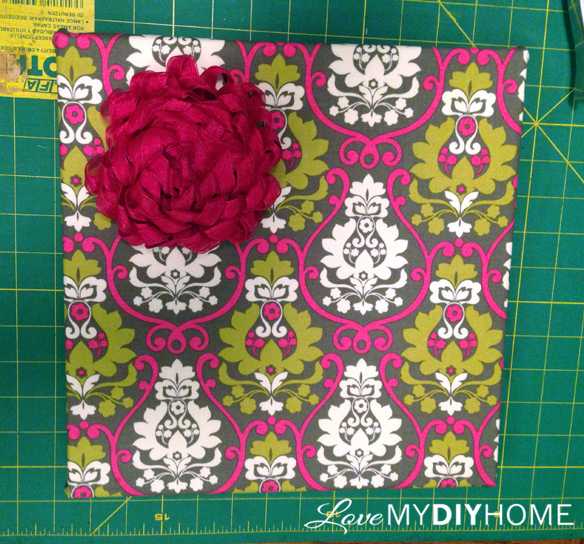
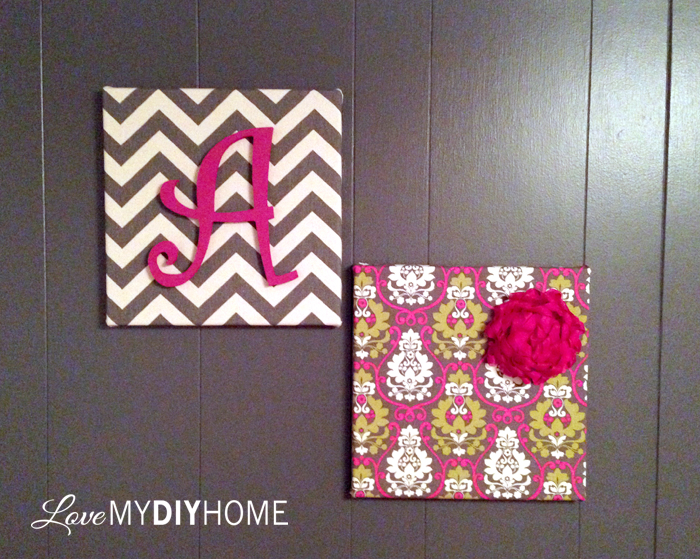
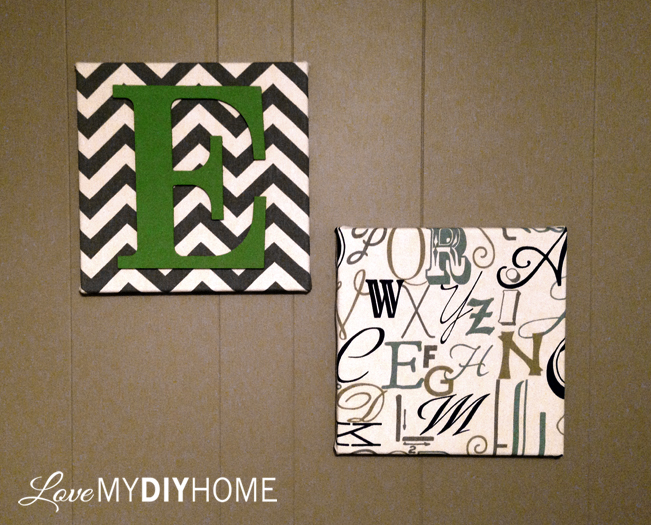
Katie added some bling to the front – the kids’ initials and a flower for her baby girl. Get creative with yours – personalizing your project is the best part of DIY.
It took just a few minutes and was super easy.
Don’t be afraid to experiment. What’s the worst that can happen? So you mess up your fabric and have to buy more. It used to freak me out to cut material, especially if it was expensive.
Fabrifobia
Ha! When I was a teen I got a job at Sears and was a floater for one of my first assignments. I would go relieve co-workers for breaks and when I had to relieve the lady in fabrics I told her I wouldn’t cut fabric so she’d better be back before a customer came.
Here I am in my 50’s and still afraid of that first cut! I hate wasting money and a cut is forever. I think that is called fabrifobia.
These would make great new baby or Christmas gifts. I’m thinking I might make it my plan to DIY ALL of my Christmas gifts next year.
Have you DIY’d any gifts for family and friends this year?
Blessings!
* Disclosure: This post contains affiliate links. If you buy anything after clicking on one of the affiliate links, I receive a small commission of the sale. The cost to you is the same, and I only link to items that I think would benefit my readers. Your support of this blog is greatly appreciated!
