I have a friend …
Truth be told, she's more of a seester, and this seester is also my top commentor on Love My DIY Home.
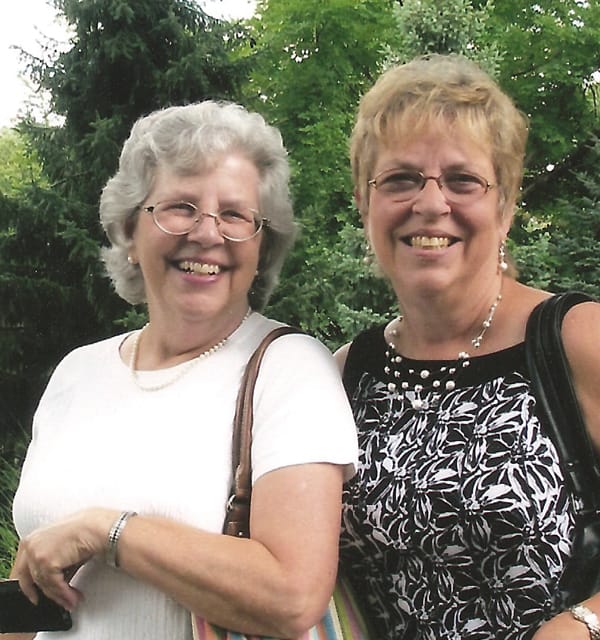
Linda and her (my other) sister, Pam, are my adopted sisters – and I even have have a certificate to prove it! Years ago one of them photoshopped my picture into their family photo and made it official.
⇔ my sisters by choice ⇔
Now that you know who I'm talking about – a while back Linda sent me an old photo that she hoped I could fix. She knew I worked with Photoshop and she had done as much as she could using her little jenky program. Ha! If you know anyone who uses Adobe products, you know we are snobby when it comes to design programs.
I started out using Publisher years ago and would die before going back to it. Go ahead, call me a design snob, I wear the badge proudly!
I wanted to show you what can be done with a little time and know-how with some of those old pictures that have been passed down through the generations. I'm no expert by any means, but with a little bit of tweeking, I was able to take a washed out or overexposed photograph from years gone by and make it something that could be framed. "Win one for the Gipper!" I like to win, don't you?
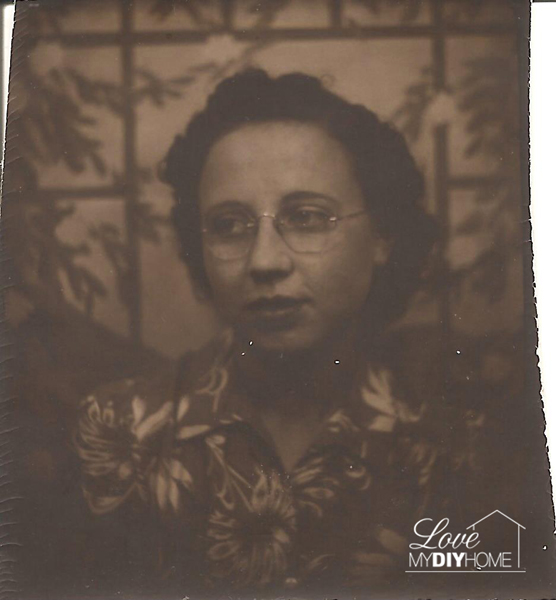
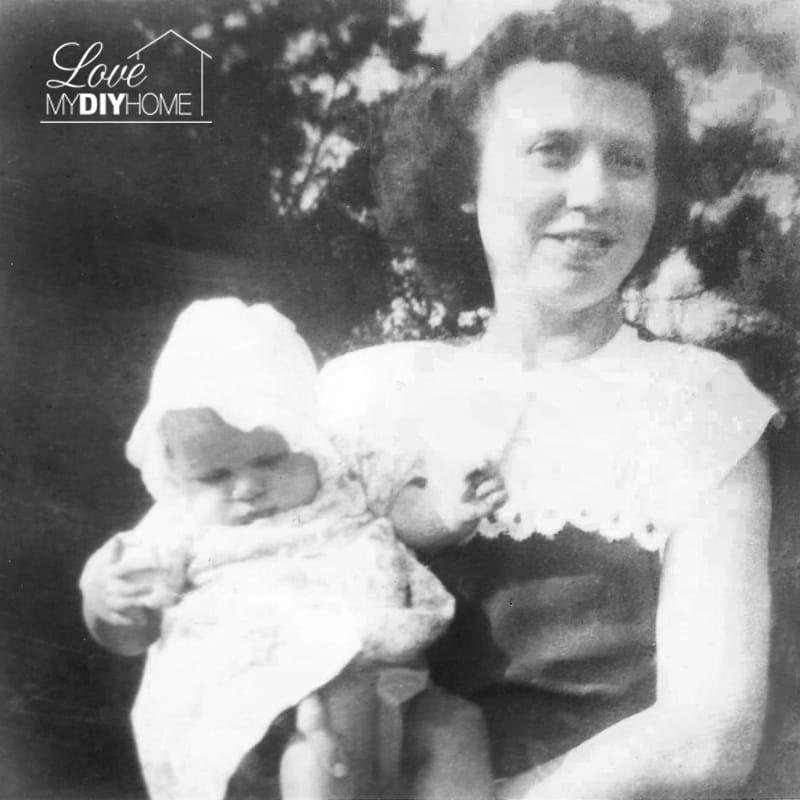
Here's the original picture of Linda's mom:
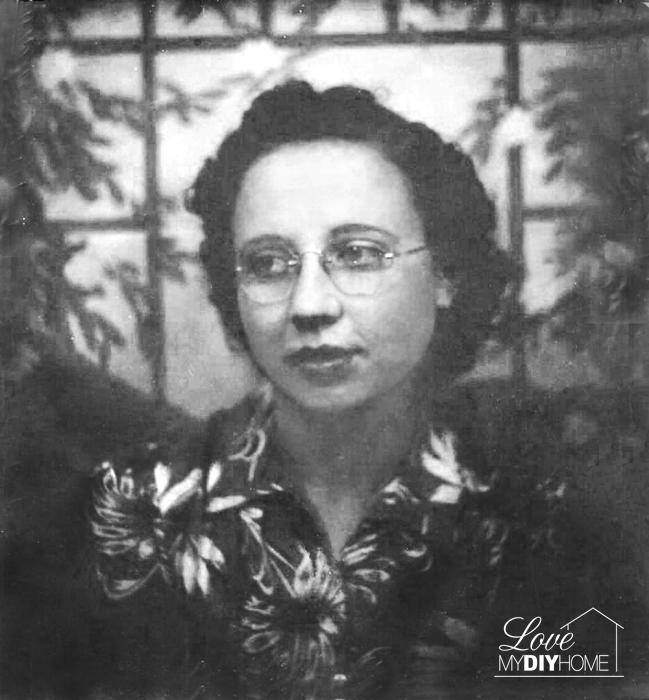
Here's the photo restored:
The thing I want you to realize is I never went to school to learn the Adobe products – I'm self taught. What does this mean for you? It means you can do the same thing I just did. Too often we think we must leave the important stuff to the "professionals." I learned the Adobe products InDesign and Photoshop by playing them. There is a lot I still don't know about the programs, but each day I learn more. You can too.
Here's a brief description of my process:
With the first picture I began by taking out all the color (saturation) and lightened the photo with a couple of different tools – Image – Adjustments – Levels (Middle Arrow) and Contrast/Brightness. I cloned away the white spots and scratches as well as the missing parts of the picture on the edges. Then I used the Burn and Dodge tools here and there until I got the desired look. I also did a bit of blurring and sharpening.
Take a look at another before and after. The processes were a bit different with each photo since they all had different issues.
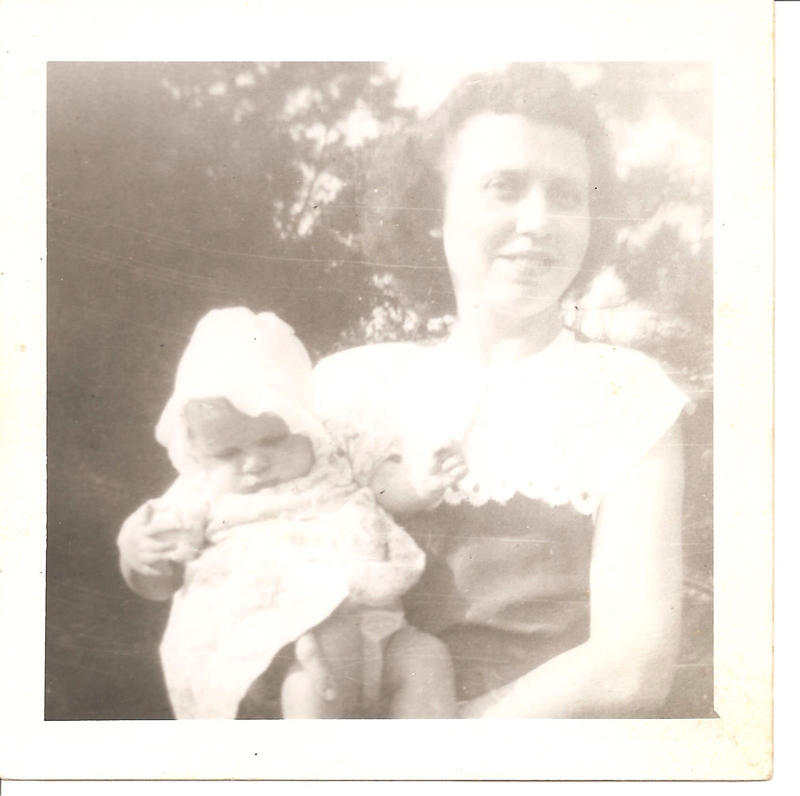
This is Linda and her mom:
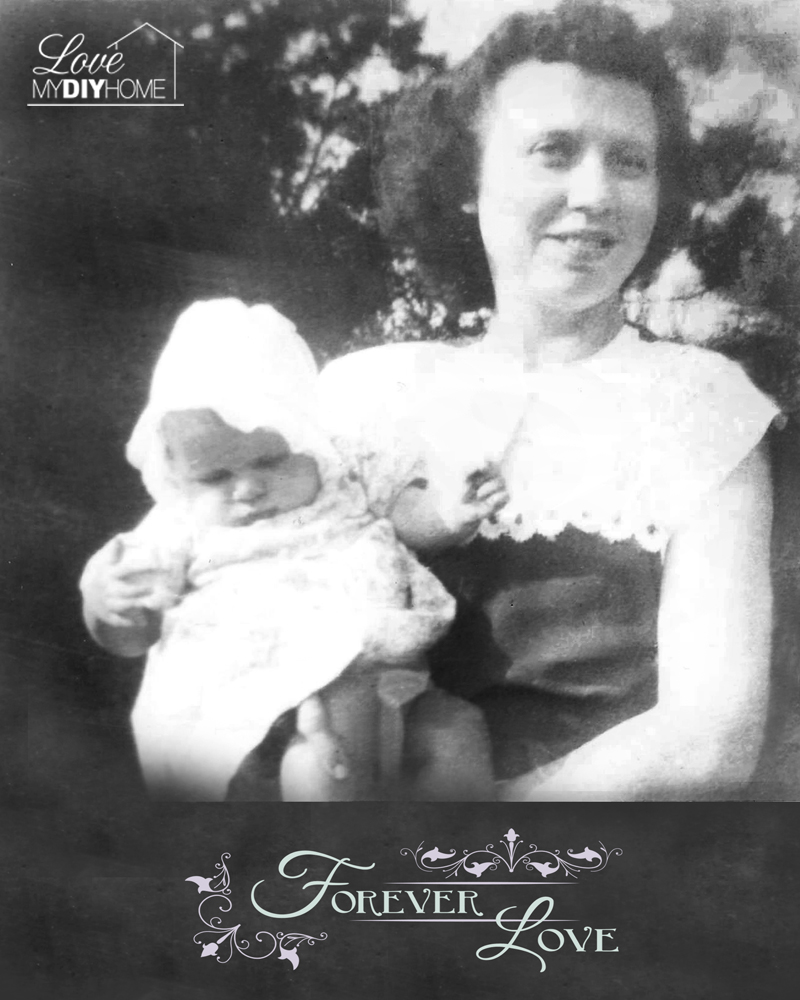
Here is the after picture:
I cut it to an 8×10 thinking to give her the full picture that she could cut into 8×8 (otherwise, the photo would have lost some of the picture being automatically cropped to fit to a 8×10, capiche?) Then I added some wording at the bottom so she could frame it as an 8×10. At first I colored the extra space black, but then cloned the area so it would match her background. I used the words "Forever Love" at her request.
I've done many different restorations over the years along with different types of manipulations like black and white/sepia, etc. It's not hard, but you do have to spend some time learning the program. BUT, I would highly recommend it. It's worth the effort.
Photo restoration isn't as difficult as it sounds.
If I had spent a few more hours on each photo, I could bring it to a more perfect look. You have to decide how much time you're willing to spend on each project. I've spent hours and hours on one grandkid's pictures! I'm in the midst of a dozen projects right now…including getting a post up! So, give me a hollar if you have anything to add or would like to tell me about some Photoshop projects you've done that you'd like to show us.
Meanwhile, keep smiling – it makes your photos much easier to edit!

Cool beans!
How cool! I've never seen the picture of Mom and Linda! Luv it. You are so talented! I may try this with some of Frank's mom's old ictures. Can you do it to make copies of pictures better?
Thanks for doing this and for claiming us!
Pam, yes! I’ve recolored, enlarged, cropped, darkened, lightened, added to subtracted from, improved, faded, framed…need I go on? (I’ve even made people thinner or wider!) Anything for my seesters!
Dear Seester, Love, Love, Love, what you did for those pictures. You just can't put a price tag on pictures of loved ones that are gone. Thanks for using your talents to bring these pictures back to life!
Welcome, Linda. It was my pleasure. Thanks for being my top commentor. I enjoy your input.
It's amazing what you can do with Photoshop, isn't it? I bet those newly restored images will be treasured for a long time to come! Thanks for sharing this at Frugal Crafty Home Blog Hop!
Carrie, thanks for stopping by. Photoshop IS amazing. It seems every day I learn something new while messing around with a photo.
That is truly amazing! Those photos look wonderful. Thanks for sharing your post on our Bloggers Brags Weekly Pinterest Party. I always look forward to the postst that you share.
Thanks, Misty. I always look forward to your party!
Wow, what a difference. I'm sure Linda appreciated all the time and effort you put into restoring her photos. Thanks for sharing your process at the Vintage Inspiration Party.
Thanks for stopping by, Betsy.