Today is the day I get to use all the things I bought this week
Let's do some Fall Decor!
I can't wait to show you what I did today. I need to hurry or I will have to change that to "yesterday."
This is what I started with:
- Bag of 12 hand painted ceramic pumpkins - $4.00 at Goodwill
- Funky Candle Holder - $3.00 at Goodwill
- Little metal vase - $.86 at Nice as New consignment shop
- Metal hanging thingy - $1.50 Nice as New consignment shop
- Ugly green pumpkin - $1.99 at Goodwill
- Little orange pumpkin - $.75 at Goodwill
- Black sequin pumpkin - $1.00 at Target (Tar-jay as I like to call it)
- Blackboard spray paint - $3.98 at Menards
- Jelly Jar - old deco from years ago
- Two decorative glass canisters - $1.99 & $1.49 at 2 different Goodwills
- Bag of caramel chocolate brownie flavored Cameron's coffee beans - $3.00 at Walmart
- Quart Canning Jar - A brownie in a jar gift from a friend that I never baked that had been sitting around in my pantry collecting dust for 5 years

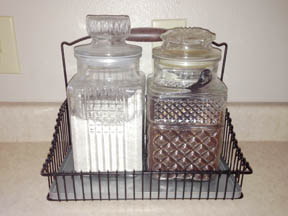
Here are a couple of glass jars (Goodwill - $1.49, $1.99) that I picked up that matched a couple of other ones I've had for a while that are on my kitchen counter.

Here are the glass jars I already had - for my cappuccino and coffee. I got those a few years ago in Michigan at Salvation Army for a buck.
They are resting in a tray I found at IKEA on my kitchen counter - don't ya just love IKEA?
I always feel like God smiled down at me when I find something I've been looking for at a second hand shop so cheap.
Back to my DIY day...
This was my day. No interruptions. No makeup (sorry DH). Just me, in my worn out sweat pants and t'shirt, armed with my cans of spray paint....
As I sit here writing this, eating my homemade applesauce and coffee from the beans I ground up this morning, I am reflecting on how fun this day was with my diy projects. Baby this coffee is good!
I am happiest when I am creating...and drinking coffee.
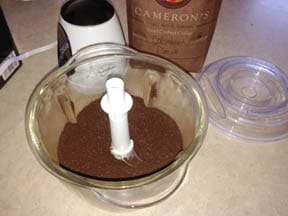
Here's my improvization on the coffee bean thing - honestly, some of my best ideas are accidents or mistakes.
I bought a clearanced bag of coffee beans thinking they were grounds. I used my mom's food chopper to grind them up since I didn't have a grinder and am too cheap to just run out and buy one. Besides, I wanted some now, not next week. I AM a diy'er. 'Nuff said.
There's more to diy-ing than just home decor.
My plan was to come up with stuff to put in my wire basket that I painted from white to brown last week. It's been sitting up there all lonely for several days.

Here's my first DIY project - mason jars:

I used (affiliate) Rust-Oleum Painter's Touch Spray Paint, Satin Colonial Red on the quart jar & (affiliate) Rust-Oleum Chalkboard Spray, Black on the lids and jelly jar.
The red mason jar is for split peas. I have no idea what I'm going to put in the jelly jar. But who cares? It's cute! I will also empty out one of my coffee bags, put the beans in the freezer to keep them "fresh" and use the bag in the basket too.
Here is my ugly pumpkin turned art deco:

First I spray painted it with (affiliate) Rust-Oleum Spray Paint, Satin Nutmeg (tan), then sprayed (affiliate) Rust-Oleum Spray Paint, Satin Dark Walnut on top, letting the darker brown spray paint fade into the tan. I had taped off the stem because it looked fine the way it was already painted, but after I was finished painting I discovered all I had to do was pull it out - it was attached to the styrofoam pumpkin with a metal rod. I guess I need to investigate better to save myself time and effort.
A couple more projects added in...
I started a DIY chalkboard for the kitchen that was suggested by my friend, Linda on facebook. I used a regular picture frame that I already had my kids' sports pictures in (sorry guys, out with the old, in with the new) and just spray painted the (affiliate) Rust-Oleum Chalkboard Spray Paint, Black onto the glass. I found a tutorial for painting glass with chalkboard paint here at Shannon's Madigan Made DIY Blog.
Here it is waiting for the overnight drying fairy to do her work.

I may scuff the frame up a bit with sandpaper in the morning after it's dry. The paint was lightly applied and the original finish wasn't sanded off, so the wood grain still shows through quite a bit. That wasn't a mistake - I actually planned that, believe it or not.
Note: before drawing on a newly painted chalkboard, it's a good idea to take chalk and prime it first by rubbing chalk all over the surface and then wiping off.
This will be my menu board in the kitchen. Now I just need to find someone that is good at drawing cool words - of which I am not talented in any way. Levi...you need to come for a visit.
The other impromptu diy project is a jewelry holder repurposed into a mug rack. I first painted it red and then brown, so I could rough it up a bit and bring out the red, my accent color in my kitchen. It too was an ugly green like the pumpkin. I have nothing against green, just ugly.

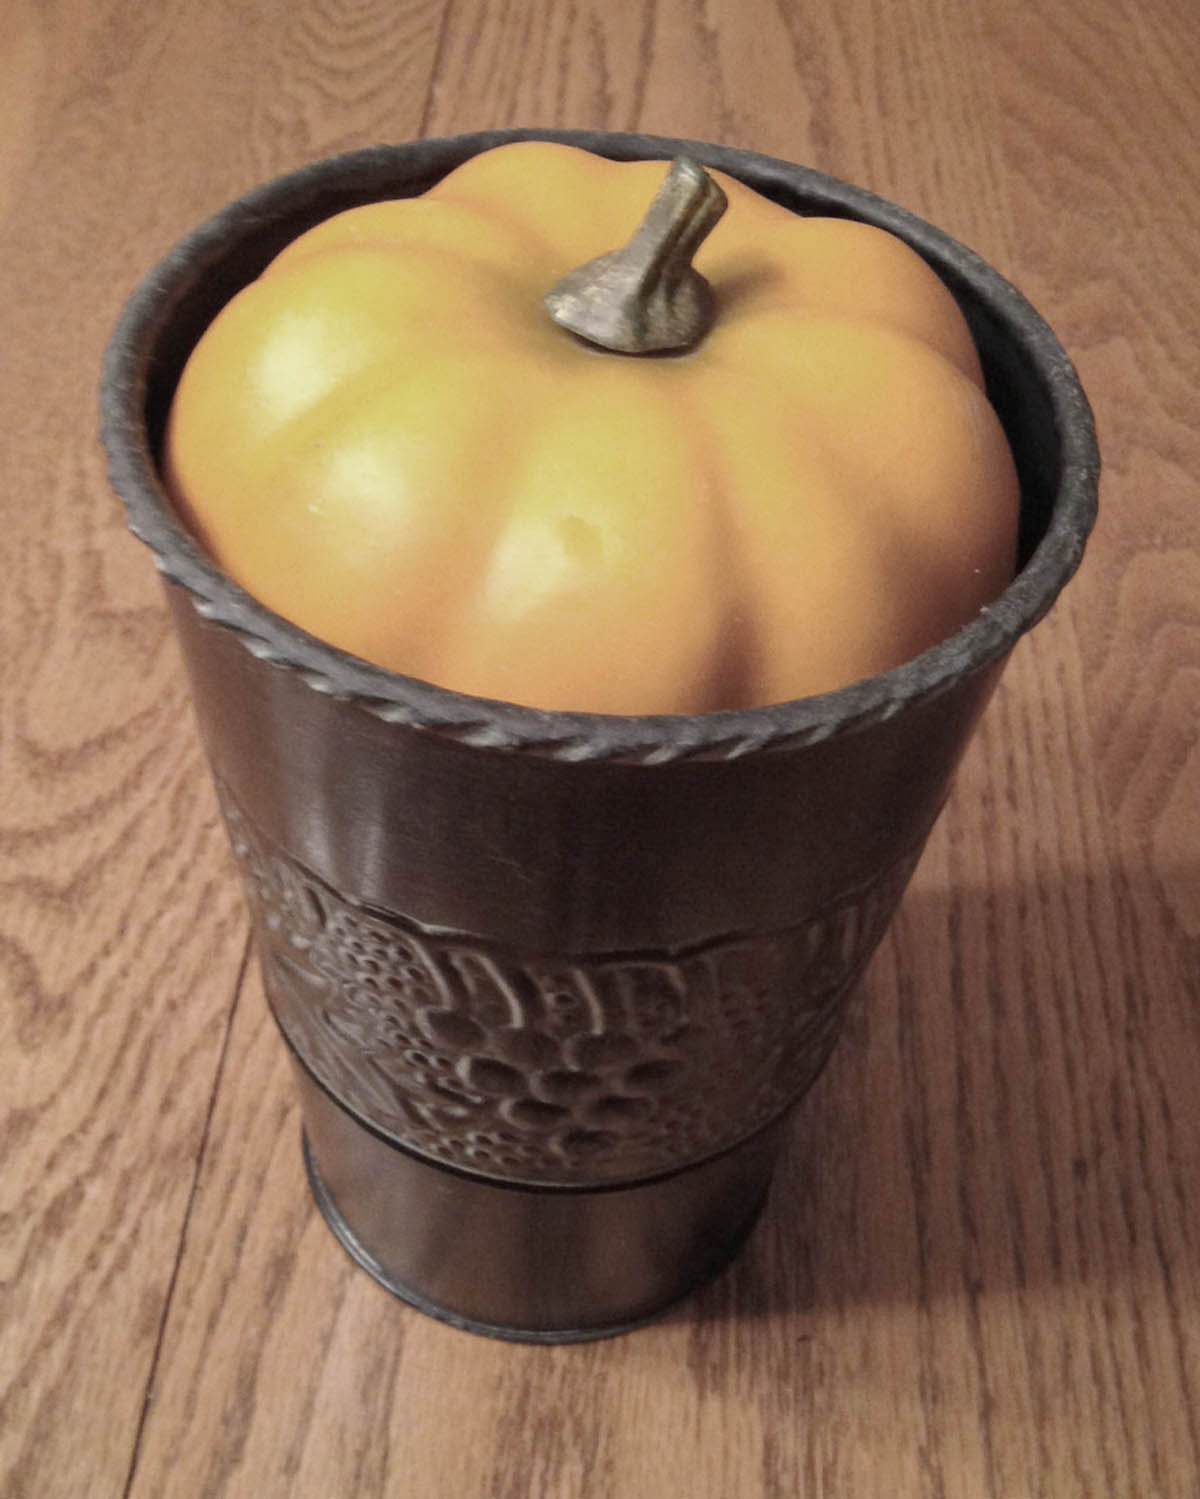
The medium pumpkin looked cute as is, sitting in the eighty-six cent tin vase. So that'll stay as is. I'd like to tell you that I planned that one, but I really didn't. I stumbled upon it when I was just playing around with the different pumpkins I had picked up.
The black sequin pumpkin will also stay as is and decorate my ledge next to my EAT sign.
I spray painted the funky candle holder tan. It doesn't look much different, so I'm not going to bother picturing it here. You will just have to wait to see that.
Not bad for one DIY day, ay?
My next post will show you how I pulled all the projects together to bring a bit of fall to my kitchen and deck.
Hopefully that will be in a couple of days.
Tomorrow I've got grandsons and church publication work to catch up on. Maybe I can sneak in a little deco time in the late afternoon...
This post contains affiliate links. If you buy anything after clicking on one of the affiliate links, I receive a small commission of the sale. The cost to you is the same, and I only link to items that I use or think will benefit my readers. Money I earn through affiliate links helps to pay the expenses of running this blog so I can keep it up and running. Your support of this blog is greatly appreciated!


1 thought on “Painted Fall Decor Accents – Before and After”