Blah...Boring....Antiseptic!
The last two days I was in Virginia, my daughter Jillian and I pulled together all our furniture DIY redos, and roped Taylor, my son-in-law, into hanging the curtains, shelf, and travel posters.
I used a couple of Pinterest ideas to make the jobs easier. I will post those in a couple of days. But for now, I want to show you our transformation.
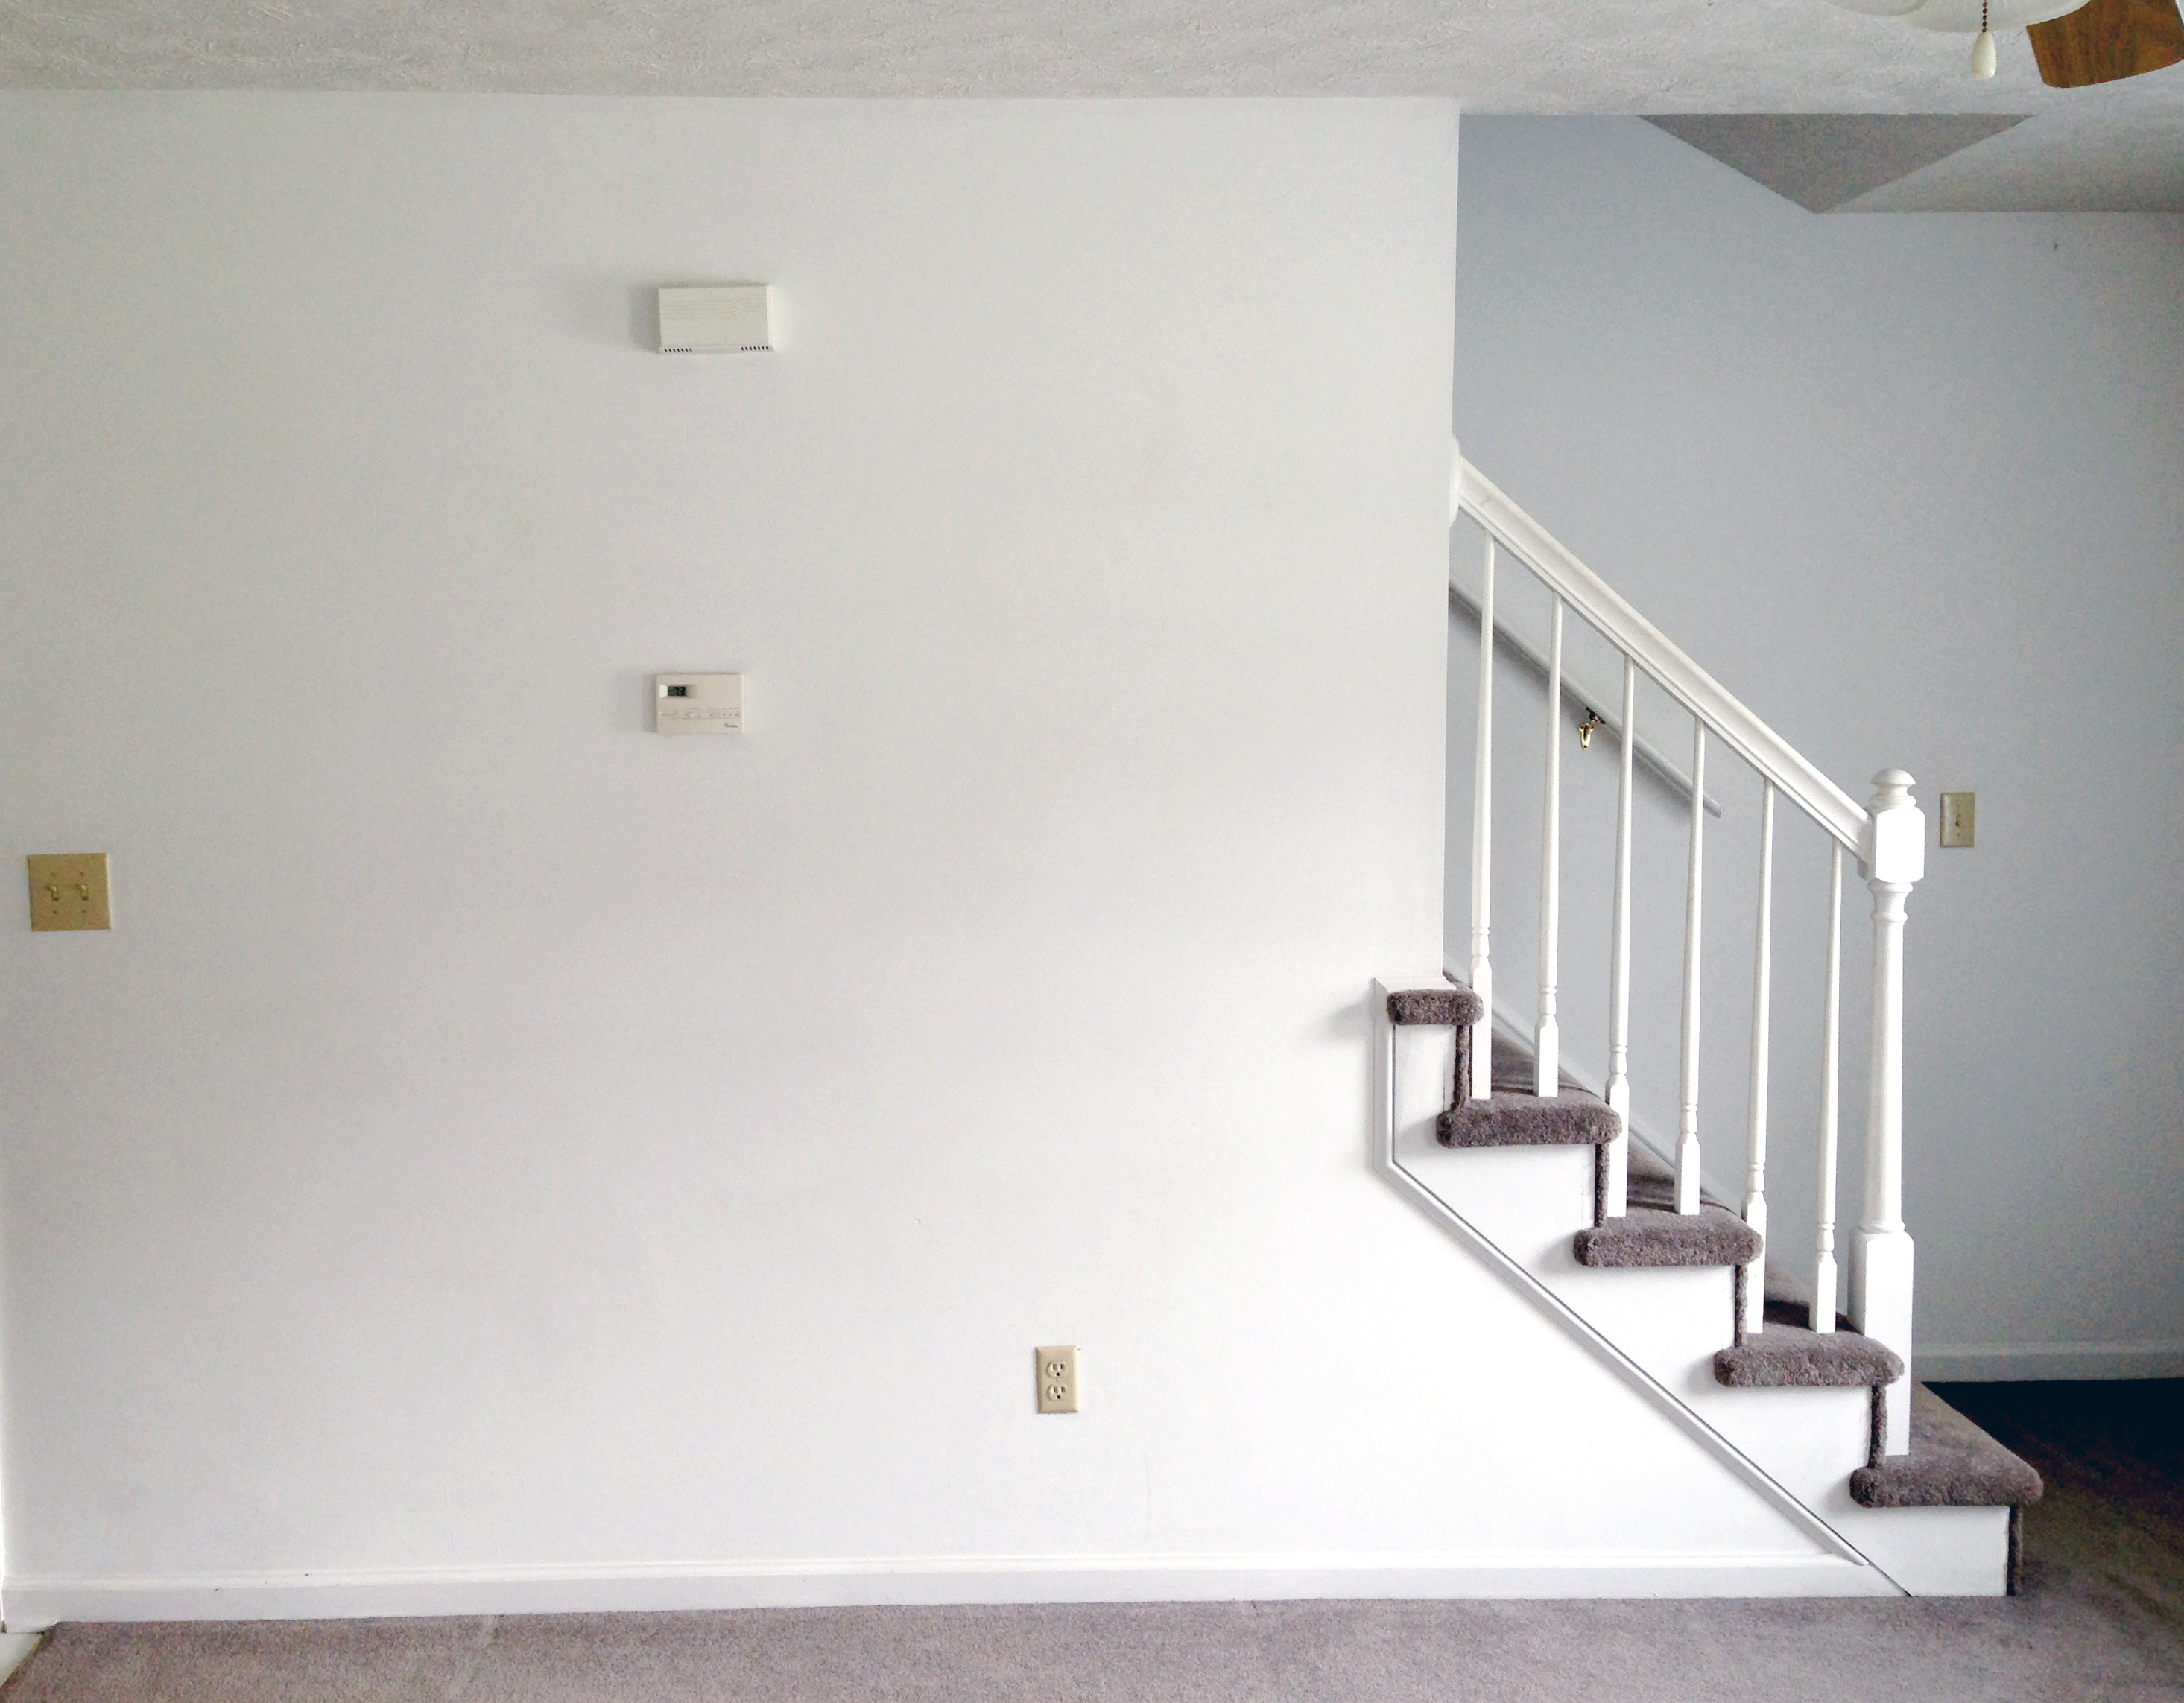
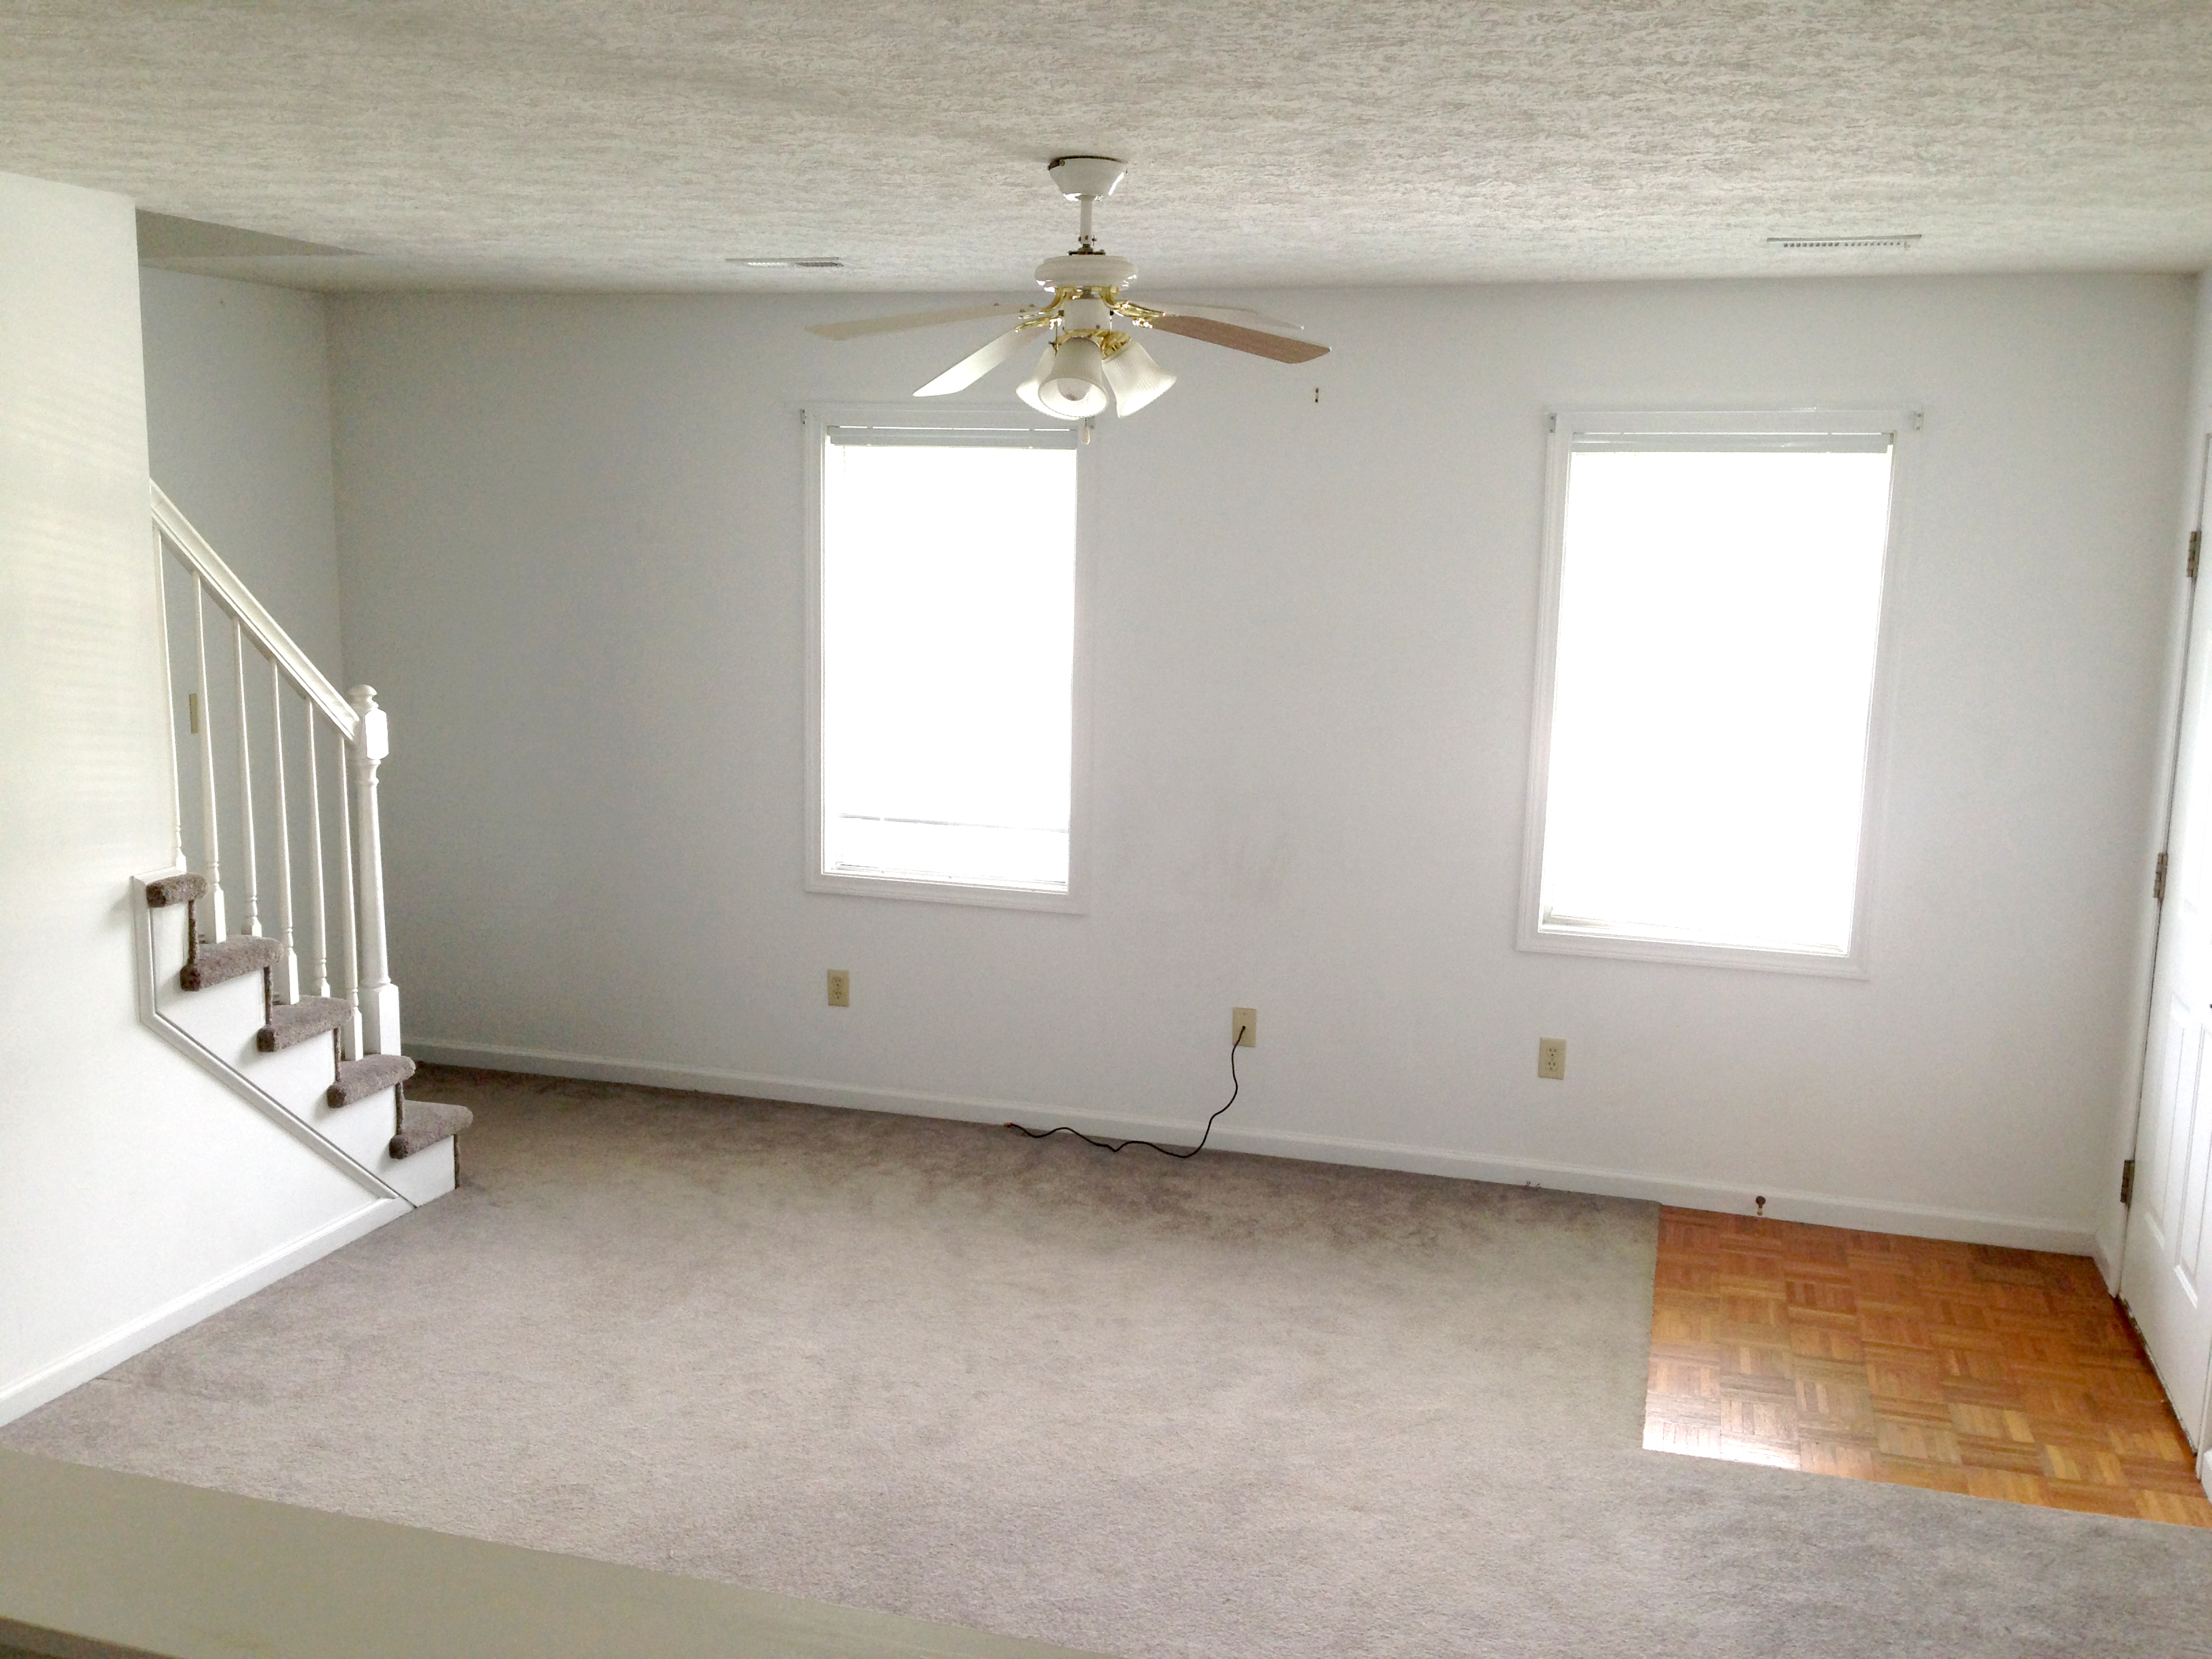
As you can see, the front room in the duplex consisted of three white walls with tan carpet, two windows and a door.
Blah...Boring...Antiseptic!

We found a used dining room table and 4 chairs in a local second hand shop for $200. That in itself brought hominess into the front room.

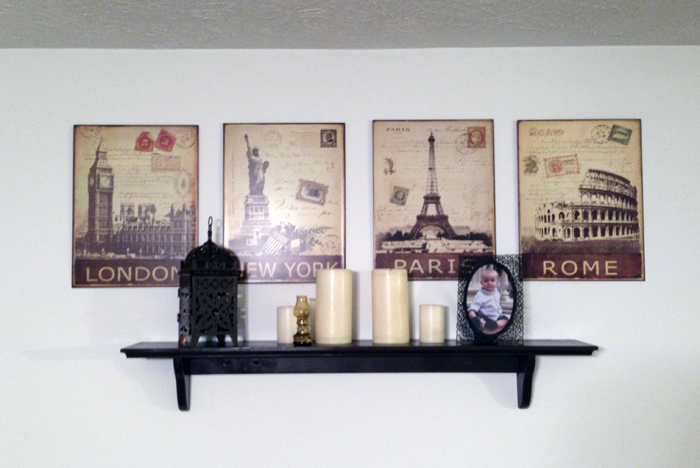
Though we mostly used deco she already had, we went out to Kohls and Ross to find accent pieces to pull it all together. We found a large clock that was originally $150 on clearance for $27. She picked up a little lantern, some mugs to match her travel posters, and tie backs for her curtains. Here are the photos I took my last night in Virginia. I honestly didn't think we would pull it all together before I left, but with Jillian's persistance, we were able to add the finishing touches in time for me to take "after" pictures home with me. Below is a shot of one of the possible ways to use her accent pieces with her shelf and travel posters.

Pulling it all together
After the bench, nightstand, and shelves were painted, we started hauling them in to be put in place. Just before midnight we finished our project: a new front room that was warm and inviting. See our after pictures below.


Think it through and bide your time
It doesn't have to be a daunting job to decorate or rejuvenate a space in your home.
Take some time to think it through and plan out your space. It can be very rewarding to turn a dull boring space into something eye appealing and homey.
First decide what defines your style. Try to work in the bigger pieces you already have to save money and then choose accent pieces to carry that style through. Watch sales and clearance sections.
Lose the "I gotta have it now," mentality and bide your time.
If you wait long enough, you can find the right deals to make your transformation affordable.
Watch DIY shows, read blogs, search Pinterest for ideas. There is no reason to spend big bucks to buy everything new - you can add character and beauty to your home without breaking your budget. Do you have a board on Pinterest that in which you gather ideas for your home? What is your style?
Check out the Antique Night Stand Re-do here.
Thanks for visiting, and I'll tell Jillian to keep the light on...


Beautiful remodel! Jillian must be very happy with her new room! I am currently working on putting a new finish on my TV armoire. I have sanded off the urethane and planning on painting it a very dark green to match our pellet stove that is in the same room. I will leave some of the pine as it was, mostly painting the sides and the doors while leaving the front frame and crown molding alone.
Thanks Mary-Margaret! I would love to see before and after pictures of your TV armoire. I love the idea of painting part of a piece and leaving the rest original. I will be posting something similar soon. I would love to add your project to that post.
I will have to see if I have a before picture. I know that I should always take the before but often don't think of it.
Great job helping your daughter personalize her home! Looks fun and inviting !
Thanks, Nadya. We discovered how much we enjoyed working on the project together.
I love the “distressed” painted fireplace but can’t find it here? Do you tell how you did it anywhere?
Thanks
Sherri Payne
Here is the post: http://lovemydiyhome.com/brick-fireplace-update-leslie-stocker/ Leslie Stocker is the artist and she describes her process on her blog. You can find a link by visiting my post at the link above.