I've had my mom's jewelry armoire since she passed nearly 3 years ago in my walk-in closet, holding all of my essential oils and all the accessories. Yes, I have that many. What can I say. I love my oils!
It needed a change and I wanted to play with some of the many options we have these days for updating our furniture. So out came the Old Fashioned Milk Paint and an IOD Transfer.
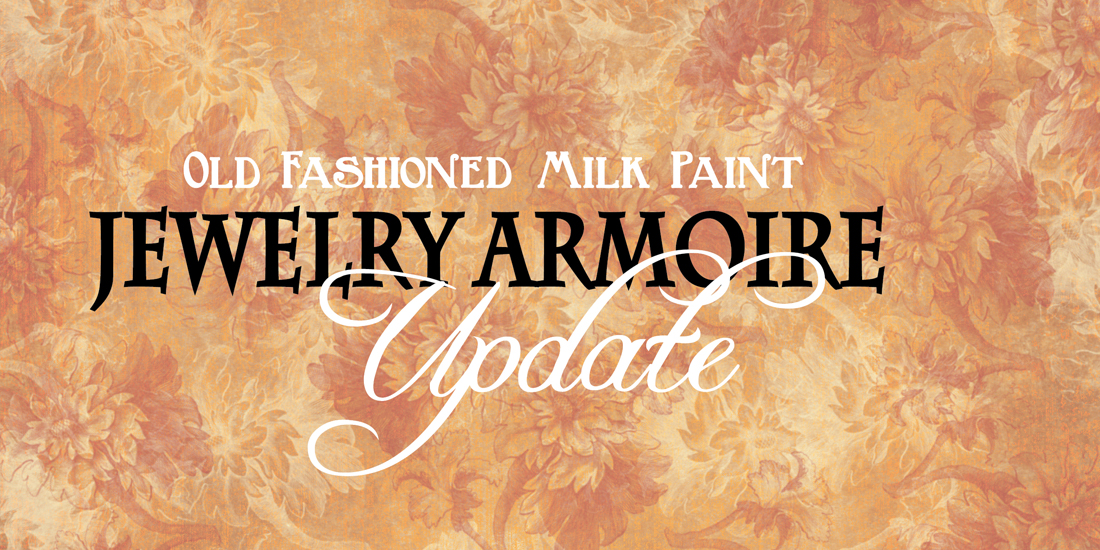
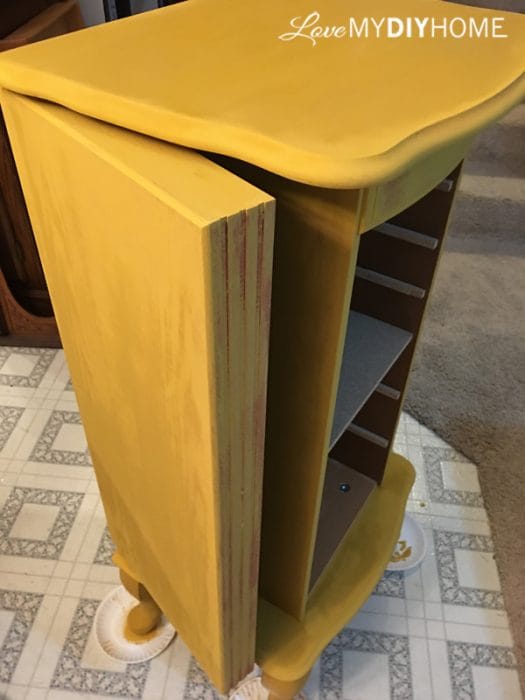
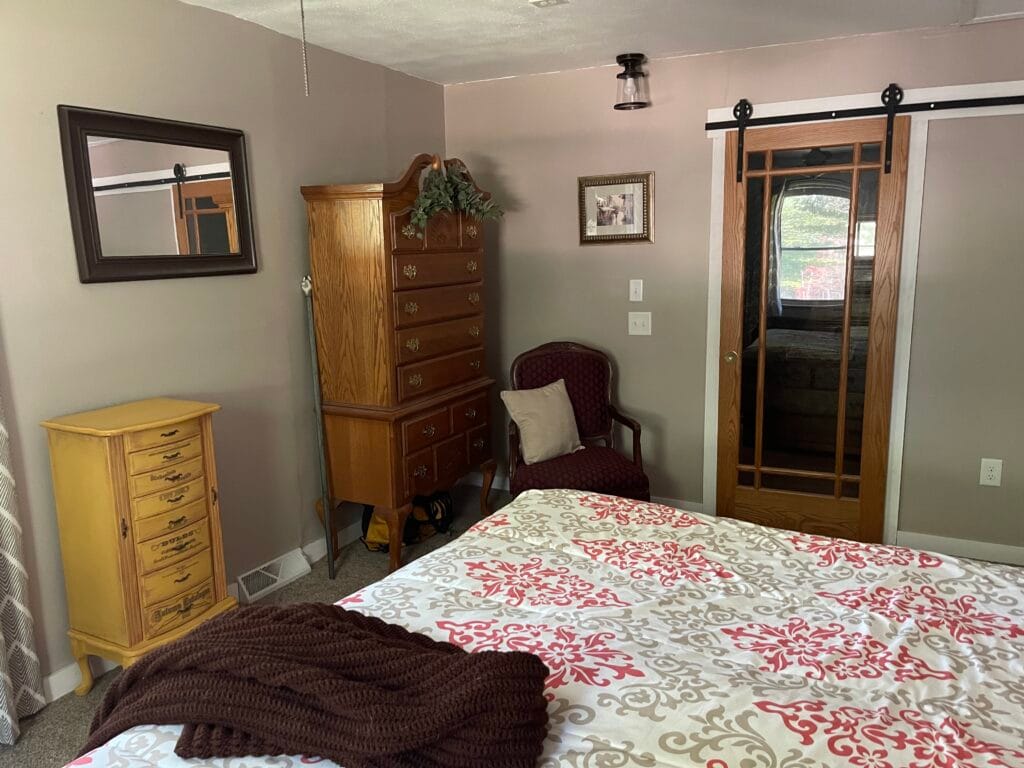
Here is the before - Meet Nancy (before she was beautiful)
I named her Nancy after my fave aunt and she was the first one I called to let the sisters know my mom had gone on to Glory. I'll think of the both of them when I see it. Sentimental? Yes.
Supply List
(Affiliate Links are in bold Salmon throughout this post for your convenience)
STEP 1: Remove hardware, clean with Krud Kutter, and sand lightly with a Sanding Sponge to provide a good foundation for paint.
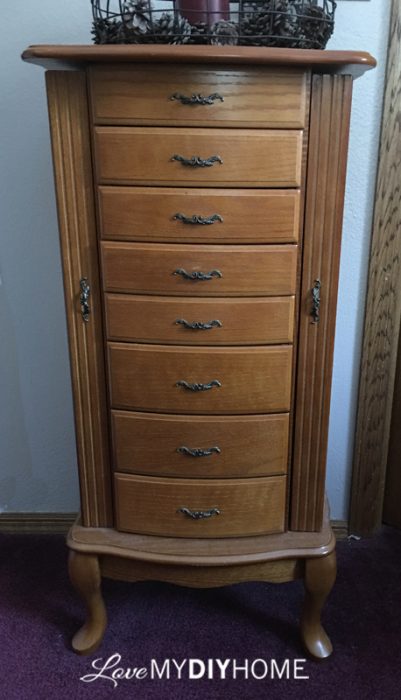
STEP 2: Mix up Old Fashioned Milk Safe Paint Salmon with a little bit of warm water and add a tad of the bond. The paint goes far, so do small batches. I probably wouldn't have needed the bonding agent since the OFMP was Safe Paint, but I want to make sure it sticks - FOREVER.
STEP 3: Paint the first coat with Extra Bond and the second coat without. I discovered I like my paint thicker than the directions suggest, so I just mixed it the way I like it. I didn't sand between coats because it was very smooth and I like a bit of texture anyway. I used my Cling On paint brush for the flat surfaces and square Zibra paint brush for some of the detail work.
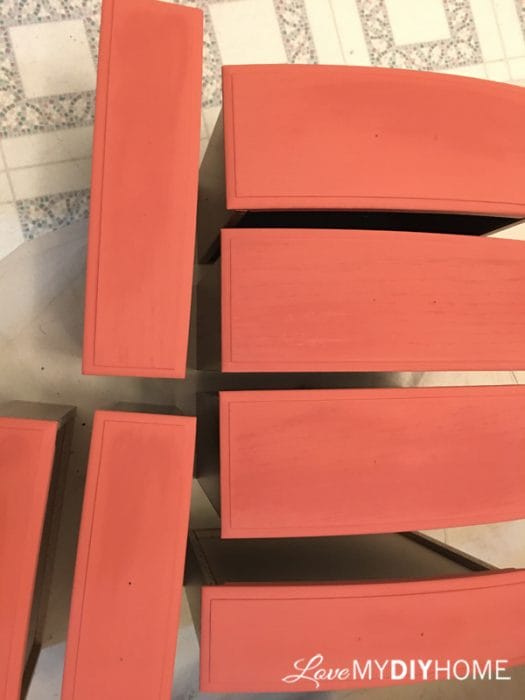
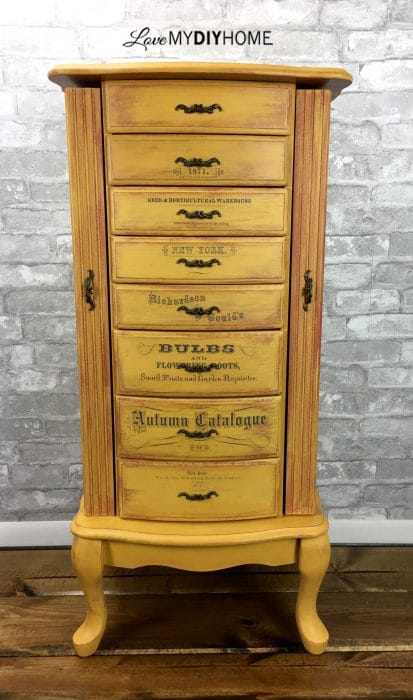
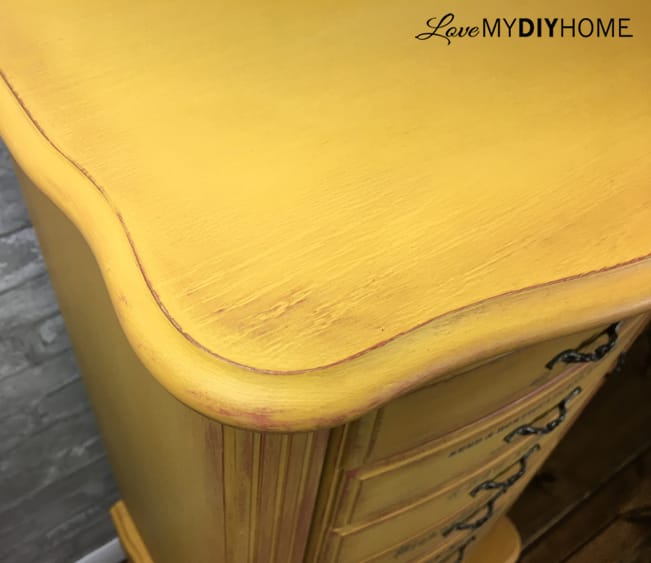
STEP 4: Next, mix up some OFMP, but his time a different color for layering, OFMP Safe Paint Marigold Yellow. Paint one coat. Since I mixed the OFMP to be fairly thick, it was easy to get this look just by brushing the yellow on but not going for full coverage everywhere since I wanted a weatherd, distressed look.
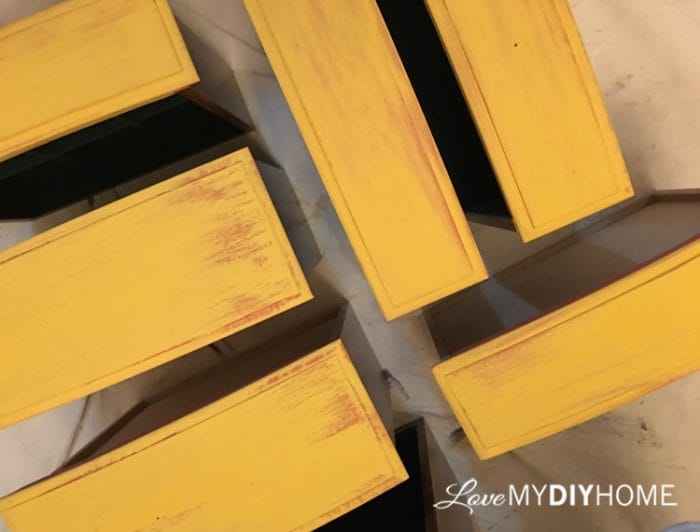
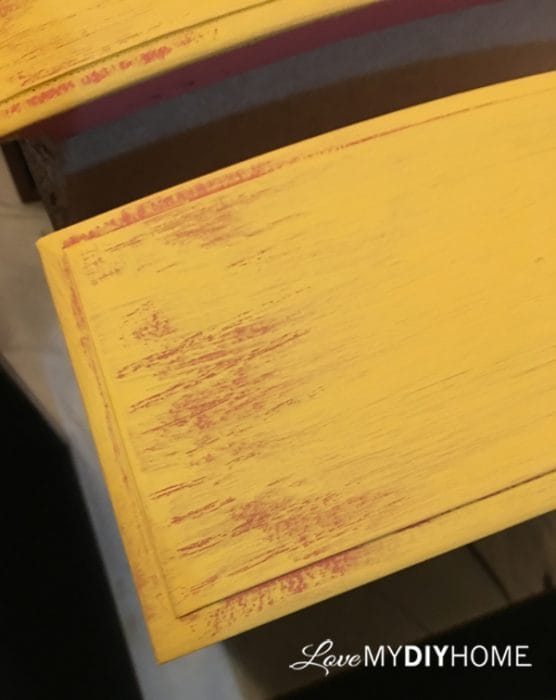
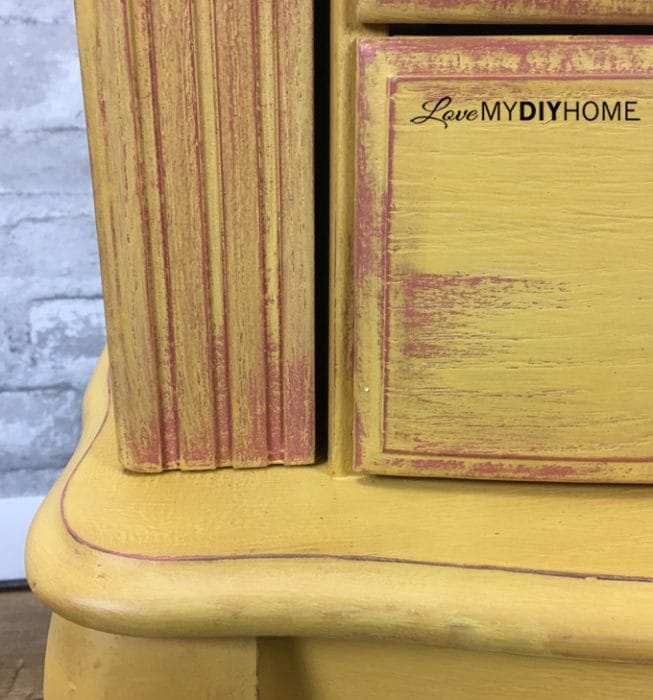
STEP 5: Distress it a bit more with a sanding sponge around the edges. OFMP is amazing paint and I didn't have any trouble getting to the salmon, but it took a bit of elbow grease since it adheres so well.
I was tempted to leave and do nothing more because it was so vibrant. But, the plan was to dress it up a bit more.

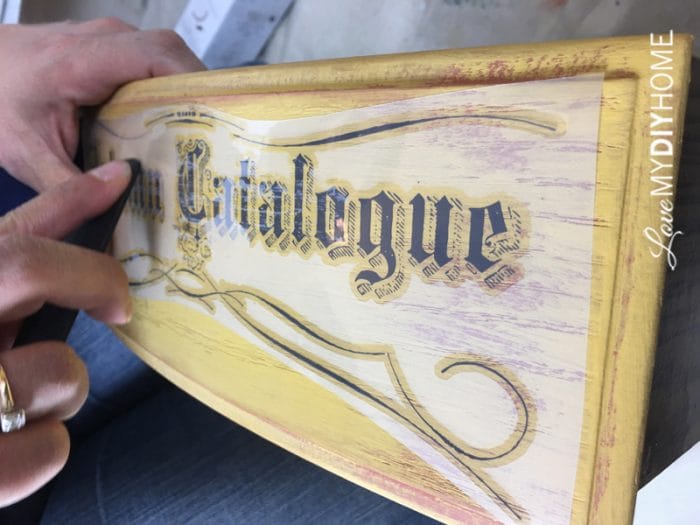
STEP 6: Add the IOD Transfer, Richardson's Seeds. Cut it up and place on each drawer part of the transfer.
If you plan to order this transfer, don't buy it on Amazon. Go to Scrapbook.com and get the transfer for half the price of what I did - I have no idea how it happened, but I paid twice what I should have.
Tips:
When you lay down your transfer, be careful because it may stick in a couple of places right away and you will not be able to reposition it. Do your measuring before you pull off the backing to get an idea of where to place it.
After you get it rubbed onto the surface and take off the plastic, lightly rub your clean/dry finger over it to make sure it's all stuck down. But be gentle, the transfers are very fragile.
![]()
Do you ever get tired of seeing the end result when you redesign a piece - such a change!
![]()
Very Important TIP: I started out using clear wax as a sealer over my first drawer, and then was planning to wax with my dark wax after that. But when I did, it darkened the yellow and salmon milk paint all around the transfer, and since it doesn't penetrate the transfer and there is a clear border around the script, I ended up with a border around the script that was much lighter than the rest of the drawer. It was not attractive - at all.
Here it is after I used the wax to seal it:

Not good...and very disappointing!
I had to use mineral spirits to take off the wax and then sand off the transfer. There was still a gummy residue, so I used a bit of a citrus essential oil to get that off and then cleaned it really well to prepare for new paint.
No border now!

 <
<
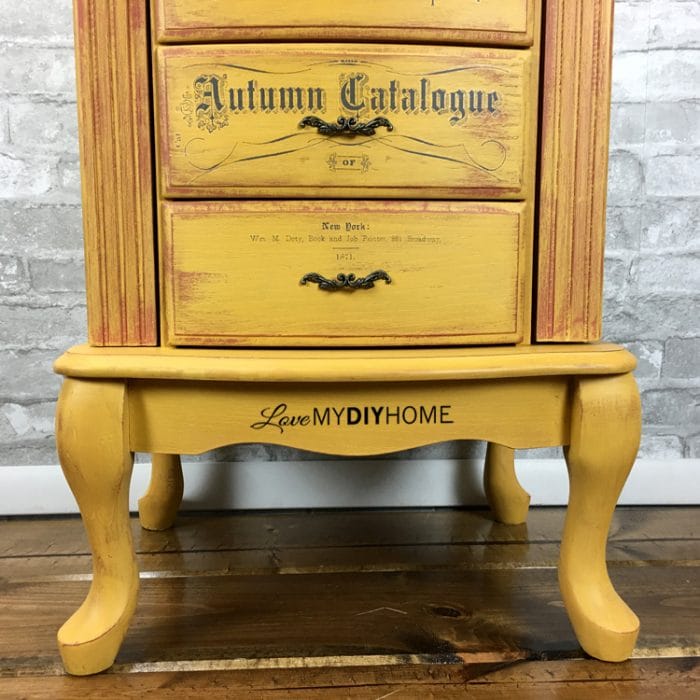

Old Fashioned Milk Paint is amazing. One coat of OFMP Salmon with Extra Bond, one coat without, and one coat with OFMP Marigold Yellow gives a strong, smooth surface of vibrant color. You can mix it the way you like, giving you control over how it goes on. IOD transfers jazz up a project, but you must not use wax as a sealer if applying over a color that will soak it up and change hue/intensity. But, since it must be topcoated, use a good poly, two coats.
Have you changed the look of any piece you've inherited so they fit into your home decor? It's better than leaving it down in the basement gathering cob webs.
OPPORTUNITIES
Furniture Flipping Forum on Facebook – We are 38,000+ members strong from over 100 countries. Or, if you're just beginning and need the basics, come to our newest group, Furniture Flipping Basics on FB. Come join us!
Until next time...

* Disclosure: This post contains affiliate links. If you buy anything after clicking on one of the affiliate links, I receive a small commission of the sale. The cost to you is the same, and I only link to items that I think would benefit my readers. Your support of this blog is greatly appreciated! Special thanks goes to the sponsors of this post, Old Fashioned Milk Paint for supplying the milk paint, Modern Masters for supplying the varnish, and Zibra Brushes for supplying a few brushes. All they asked for was an honest review, and they got one... all are fabulous products - thank you!
Beautiful !!!! I have the exact same jewelry box. How did you remove the handles? Because you can't see how mine are screwd in due to they have felt covering them. So I don't know how to remove them without removing all the felt. Is this what you had to do?
Thank you
Deborah, my handles have tiny screws on the outside, not inside of the drawer. They’re so tiny and look like they are a part of the handle that you don’t realize they are there.
OMG!!!! I am such a GOOF!!! I had never even noticed those. You are the BOMB DIGGITY!!!! Thank you for such a quick response!!!!
LOL. Now go make her pretty!
You do very good redesigning and painting. I just saw a few of your projects and the advice is great.
Thanks, Bobby.
Very lovely. Would love to do this.
Thanks. It was a fun project.
It’s so funny when I saw this because I have a similar transfer that I want to use, and I actually purchased the yellow paint that I want to use it with. I still do not have the piece that I am doing it on! But I love yours! You are right when you said that the piece was beautiful even without the transfer, but that transfer came out lovely!!! The foundation has to be on point even before you place that transfer, so, good job!I hope mine comes out as nice as yours!
Thanks. At first I wasn’t sure about the colors but now it’s one of my favorite pieces.