It's the same with babies and cats. They tend to take over your house. Cat bed, toys, littler box, tunnel...my kids think I'm nuts. They come over to my house and you have to step over all of Mia's stuff.
Let's face it. Mia is my baby, so I enjoy seeing her lounge and play. Catadorn is my go-to shop for cat toys and accessories.
So I had this idea that maybe others might like to have some furniture that has a duo-function.
How about an end table that hides a cat bed when company comes over?
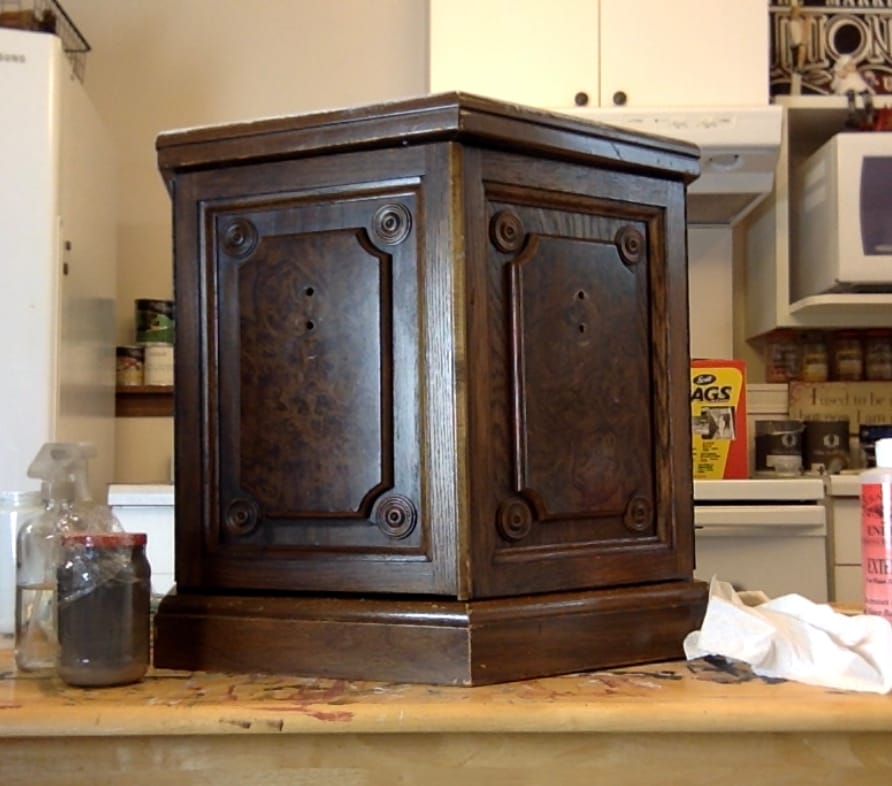
Here is the before. I got it at a garage sale for just a few bucks. The picture looks kinda nice, doesn't it? This is a case where the photo fools the eye. It's was in pretty bad shape and needed help. I think it was supposed to look high end, but somehow it lost it's way.
In May of 2019, this was the third workshop in my series that I posted online just before I opened enrollment on Furniture Flipping Blueprint. I demonstrated in a video tutorial how to blend two colors, stencil, glaze and topcoat.
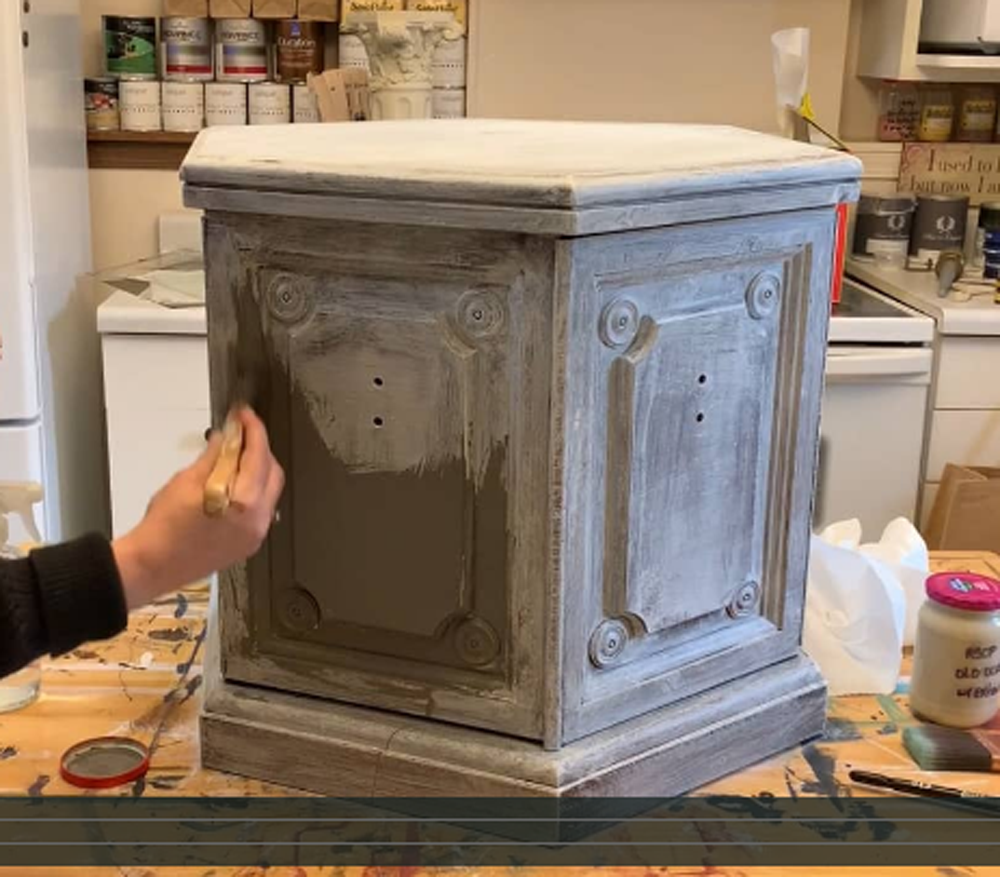
Step #1 - Prep (prime if needed)
Step #2 - Paint one coat of each color, butting the colors up to one another. You don't need to blend the first coat. (ASCP Chalk Paint)
Step #3 - Paint the second coat, the top color and then the bottom color and blend together with smooth long strokes using a dry brush until you get the look you want.
Step #4 - Paint all the trim (door edges, inside edge)
Step #5 - Top Coat (afflink: CrystaLac's water-based polyurethane)
Step #6 - Stencil
Step #7 - Top Coat
Step #8 - Use glaze to antique (Wise Owl Black Glaze)
Step #9 - Topcoat
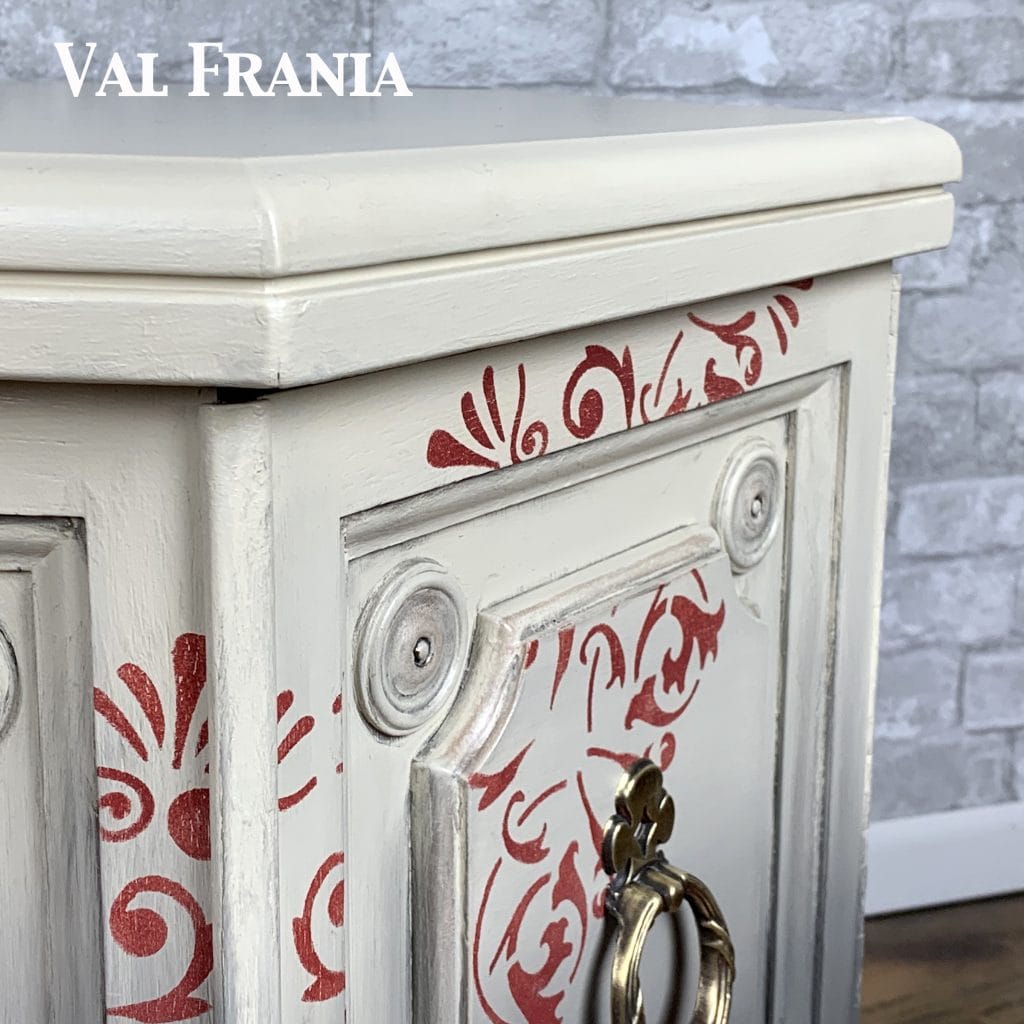
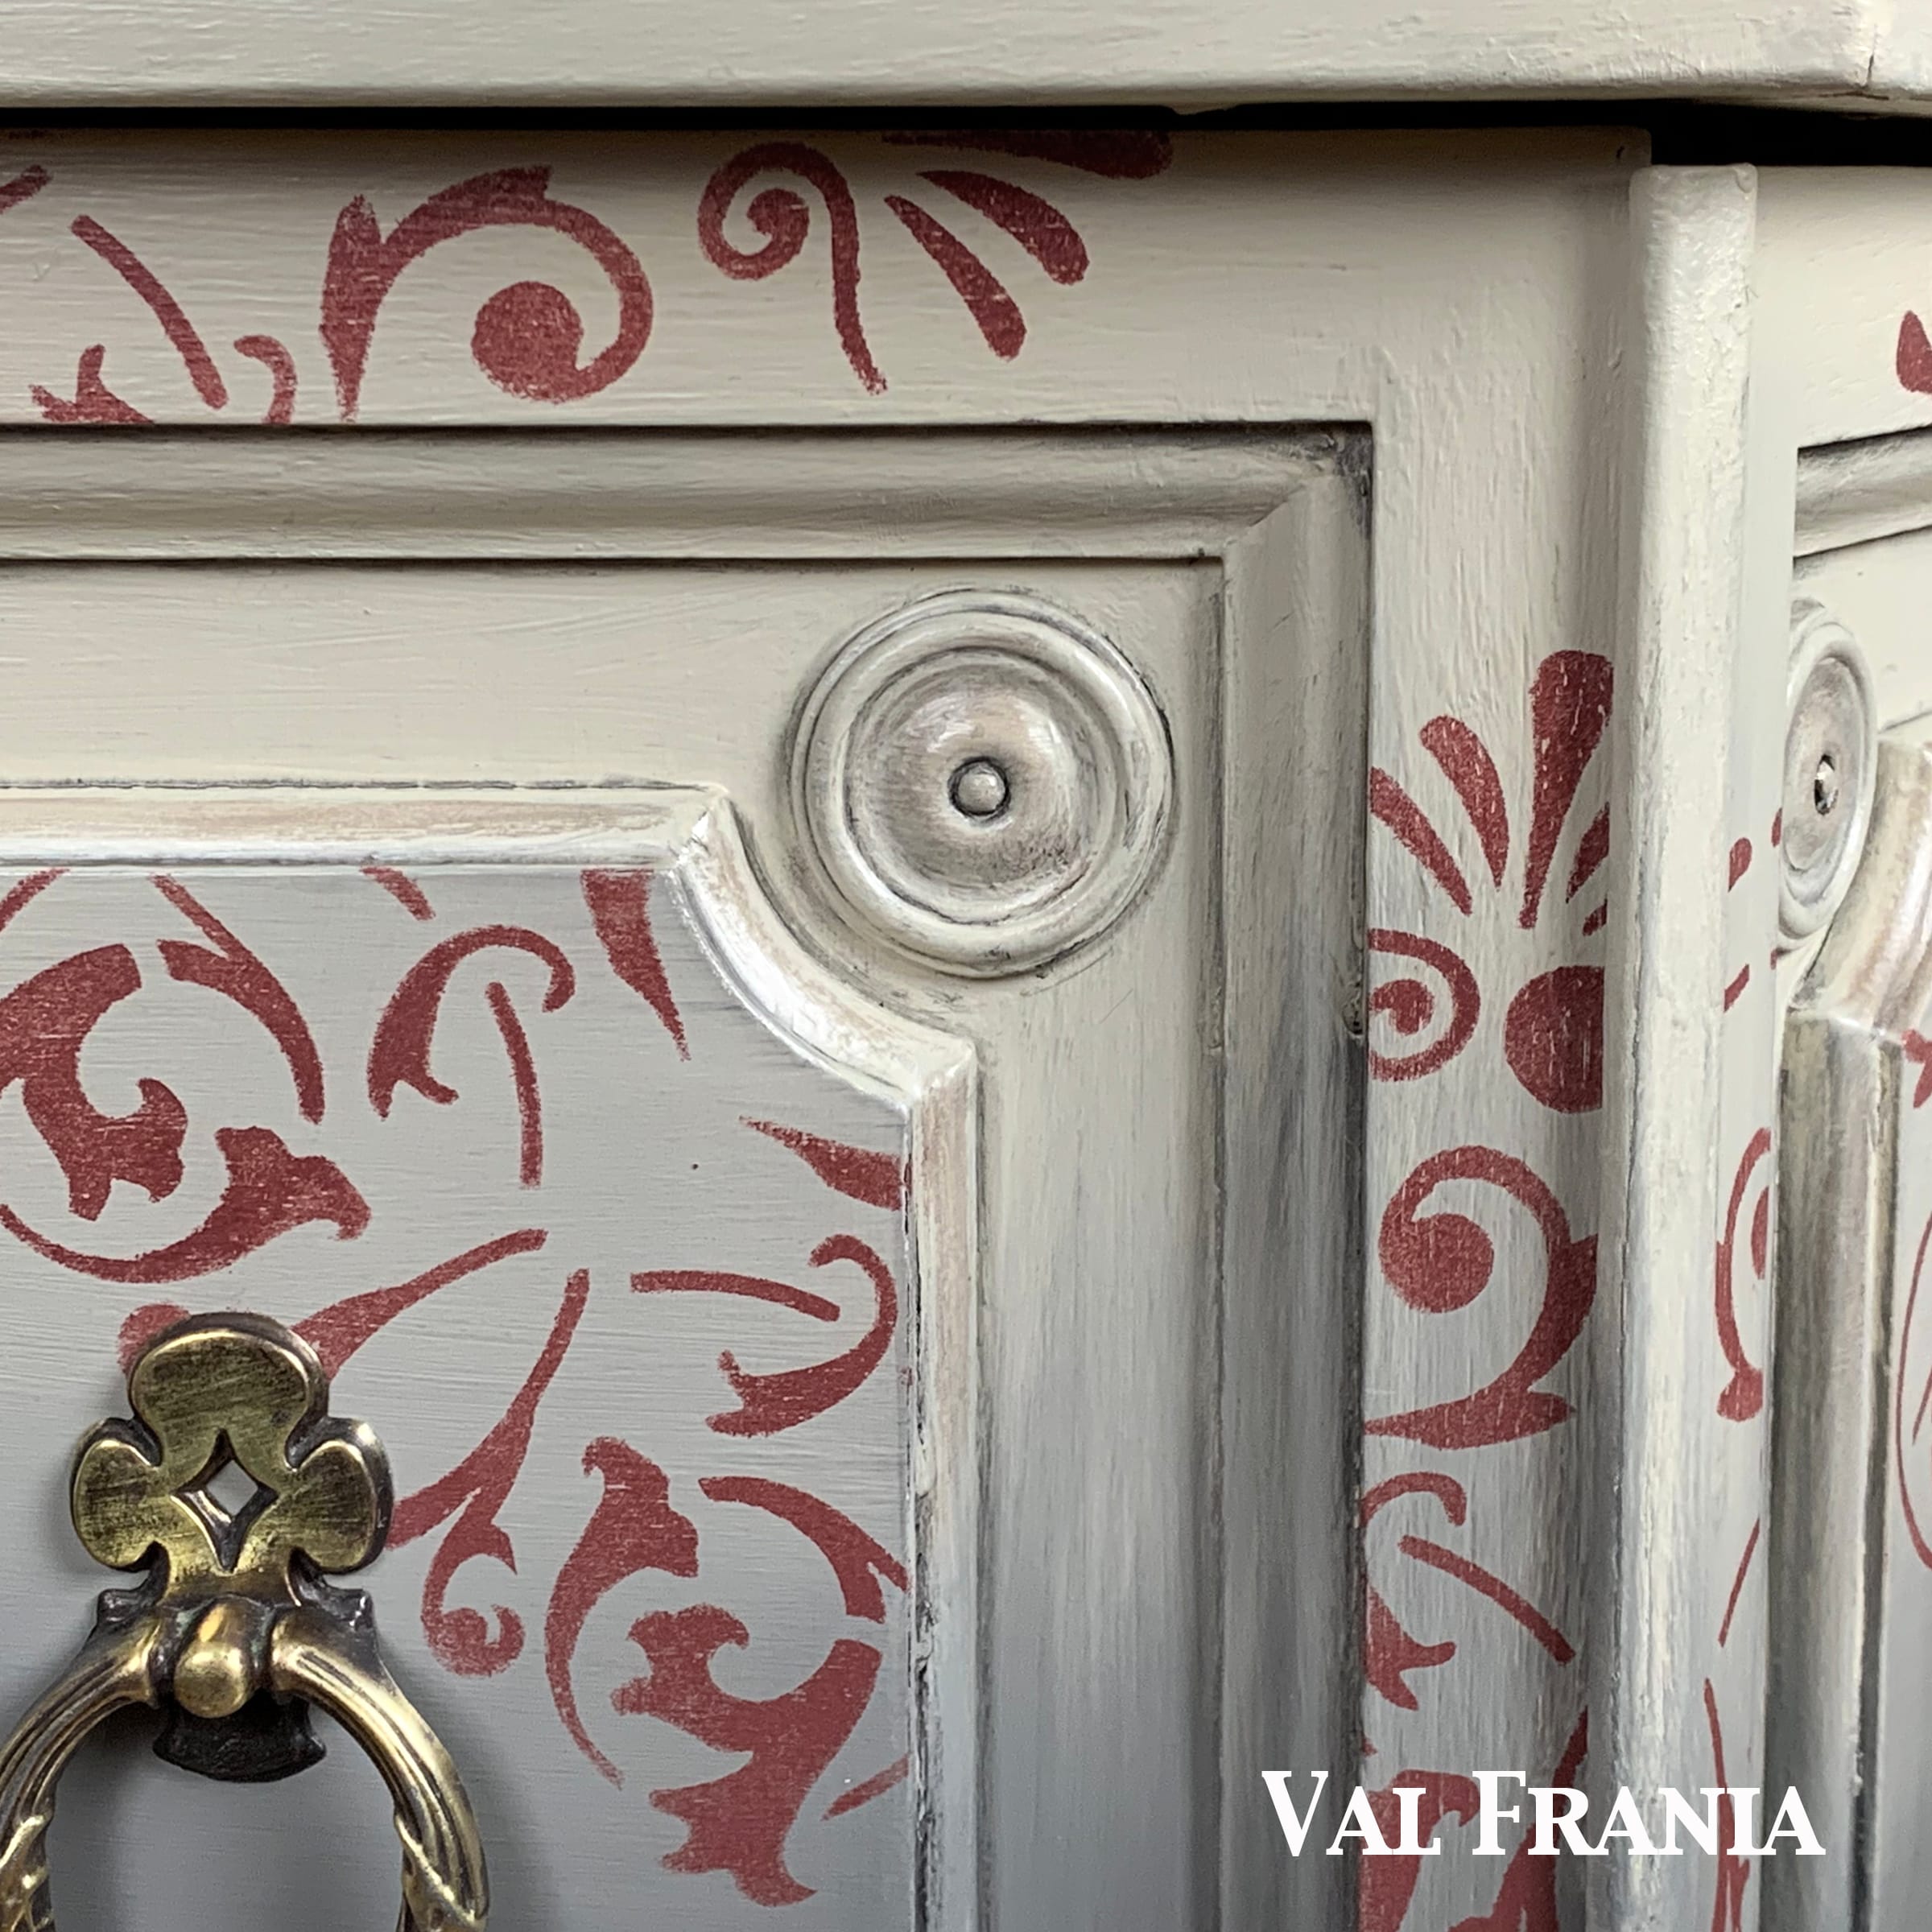
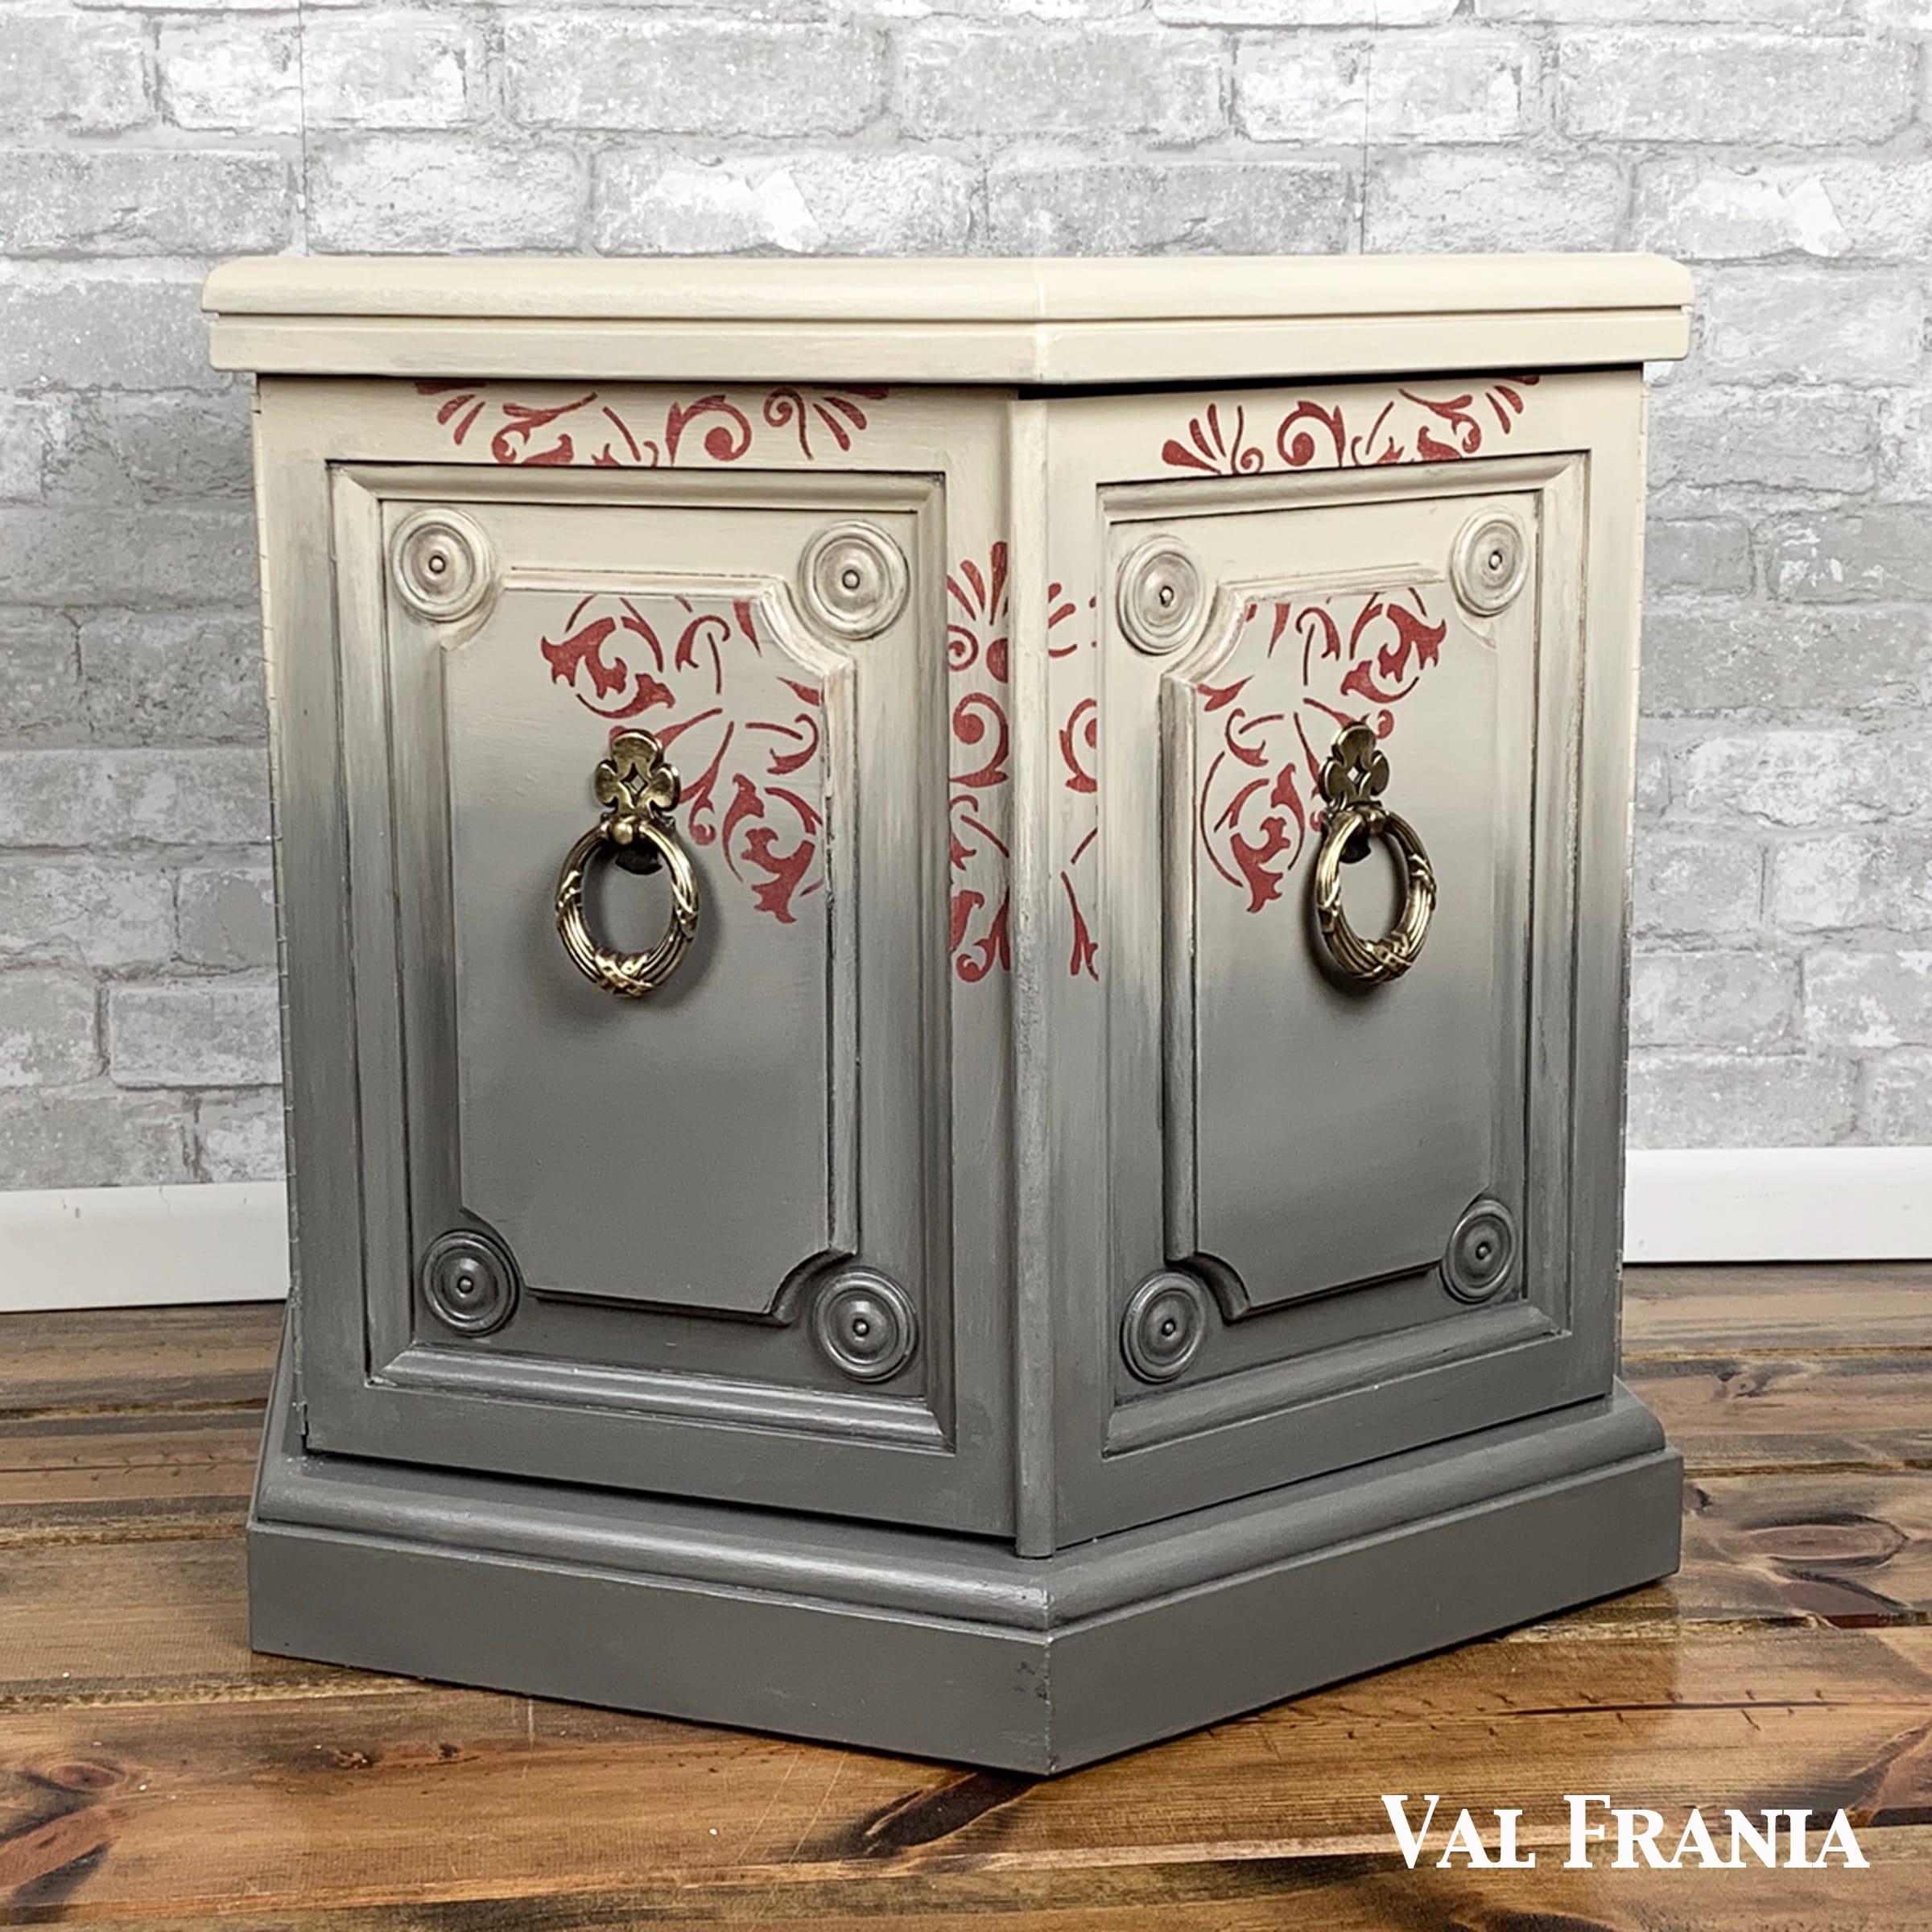
Would you like to see how I got crisp lines using painter's tape on the inside of the cabinet? Sometimes a tip from someone who's been doing it a while can be a real game changer.
I'm an avid stenciler, so this method came very easy for me.
I had a little fun while staging the piece for Marketplace. Have you ever tried to get a cat to pose?
Mia definitely had a mind of her own. The last 2 shots, the ones I was trying to get from the start only came when I had given up (stinker little cat!) and had put away my camera. Fortunately I grabbed my camera quick enough to get them, FINALLY!
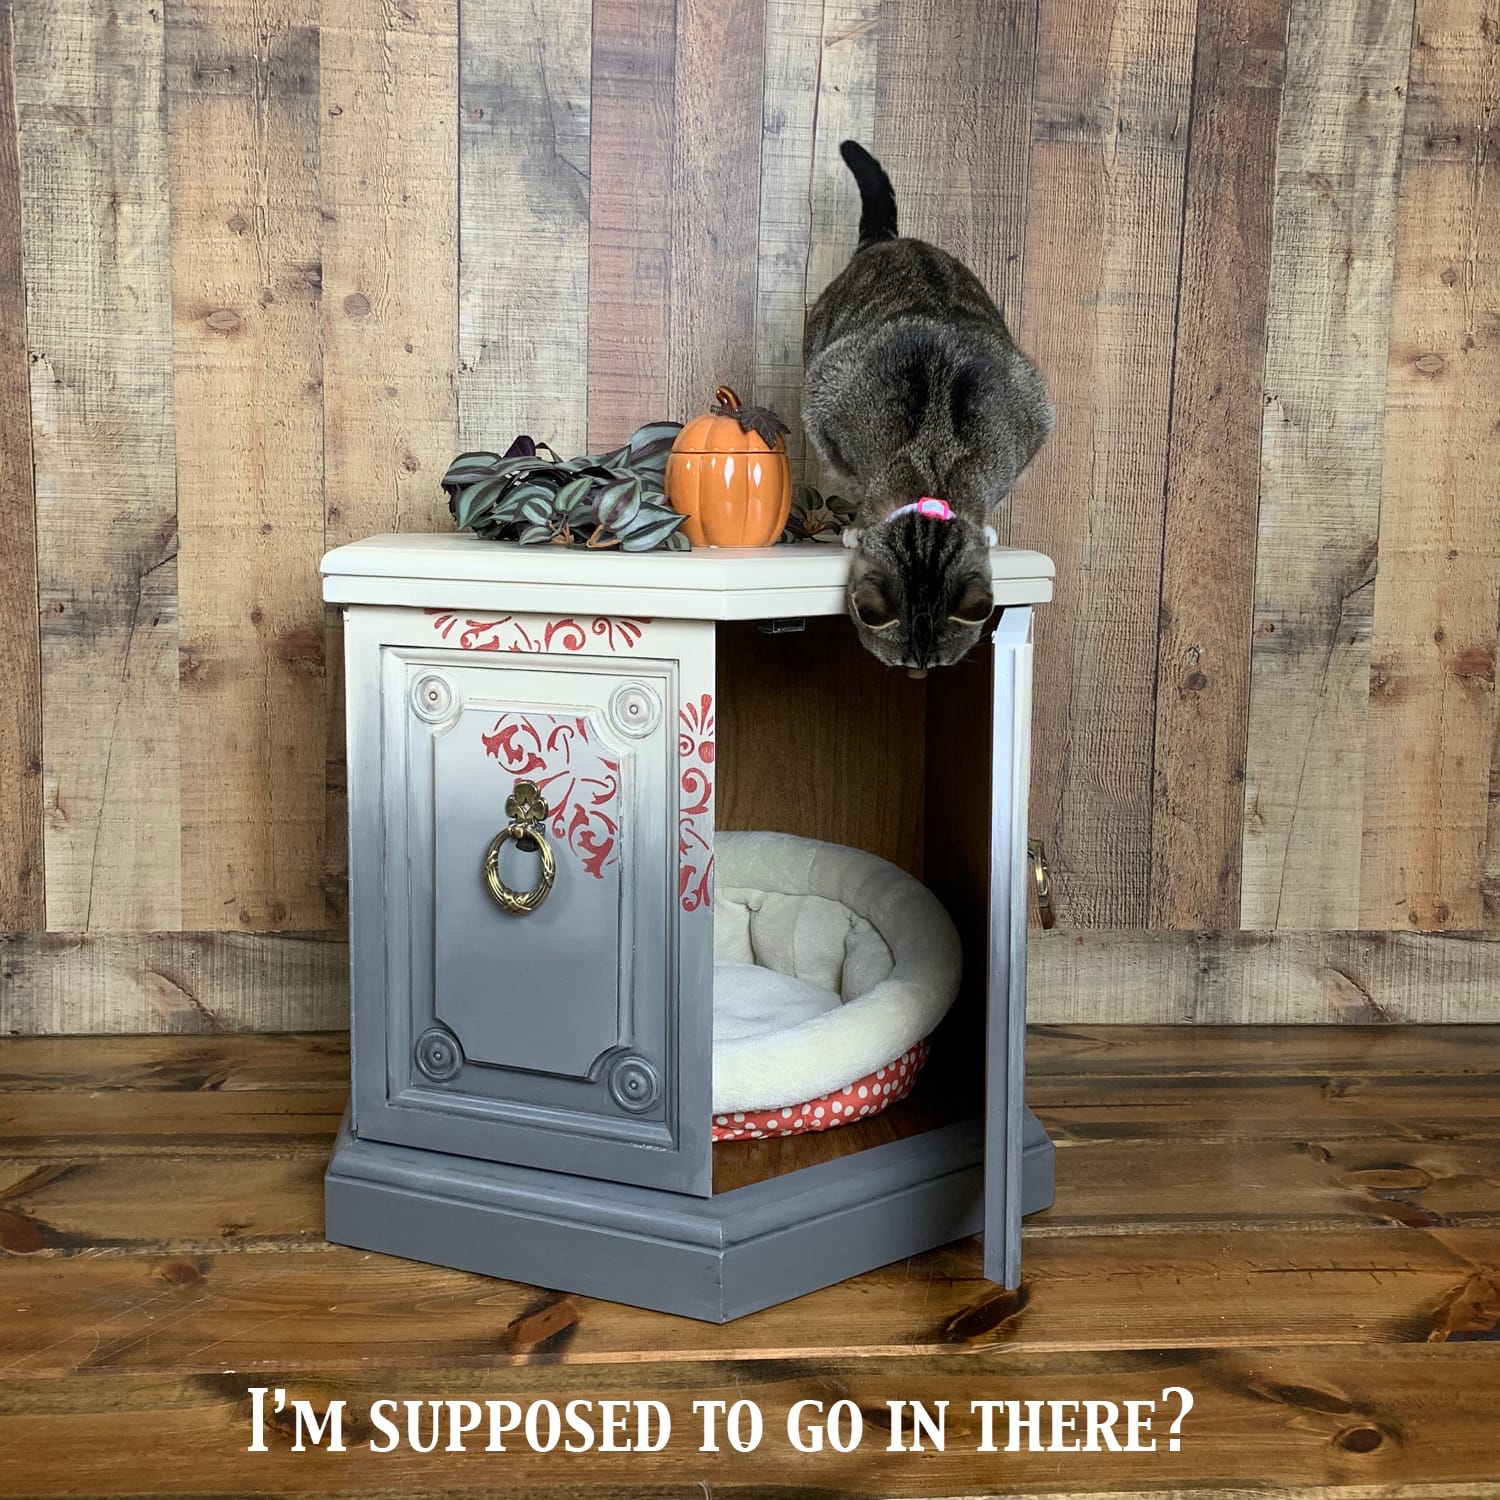
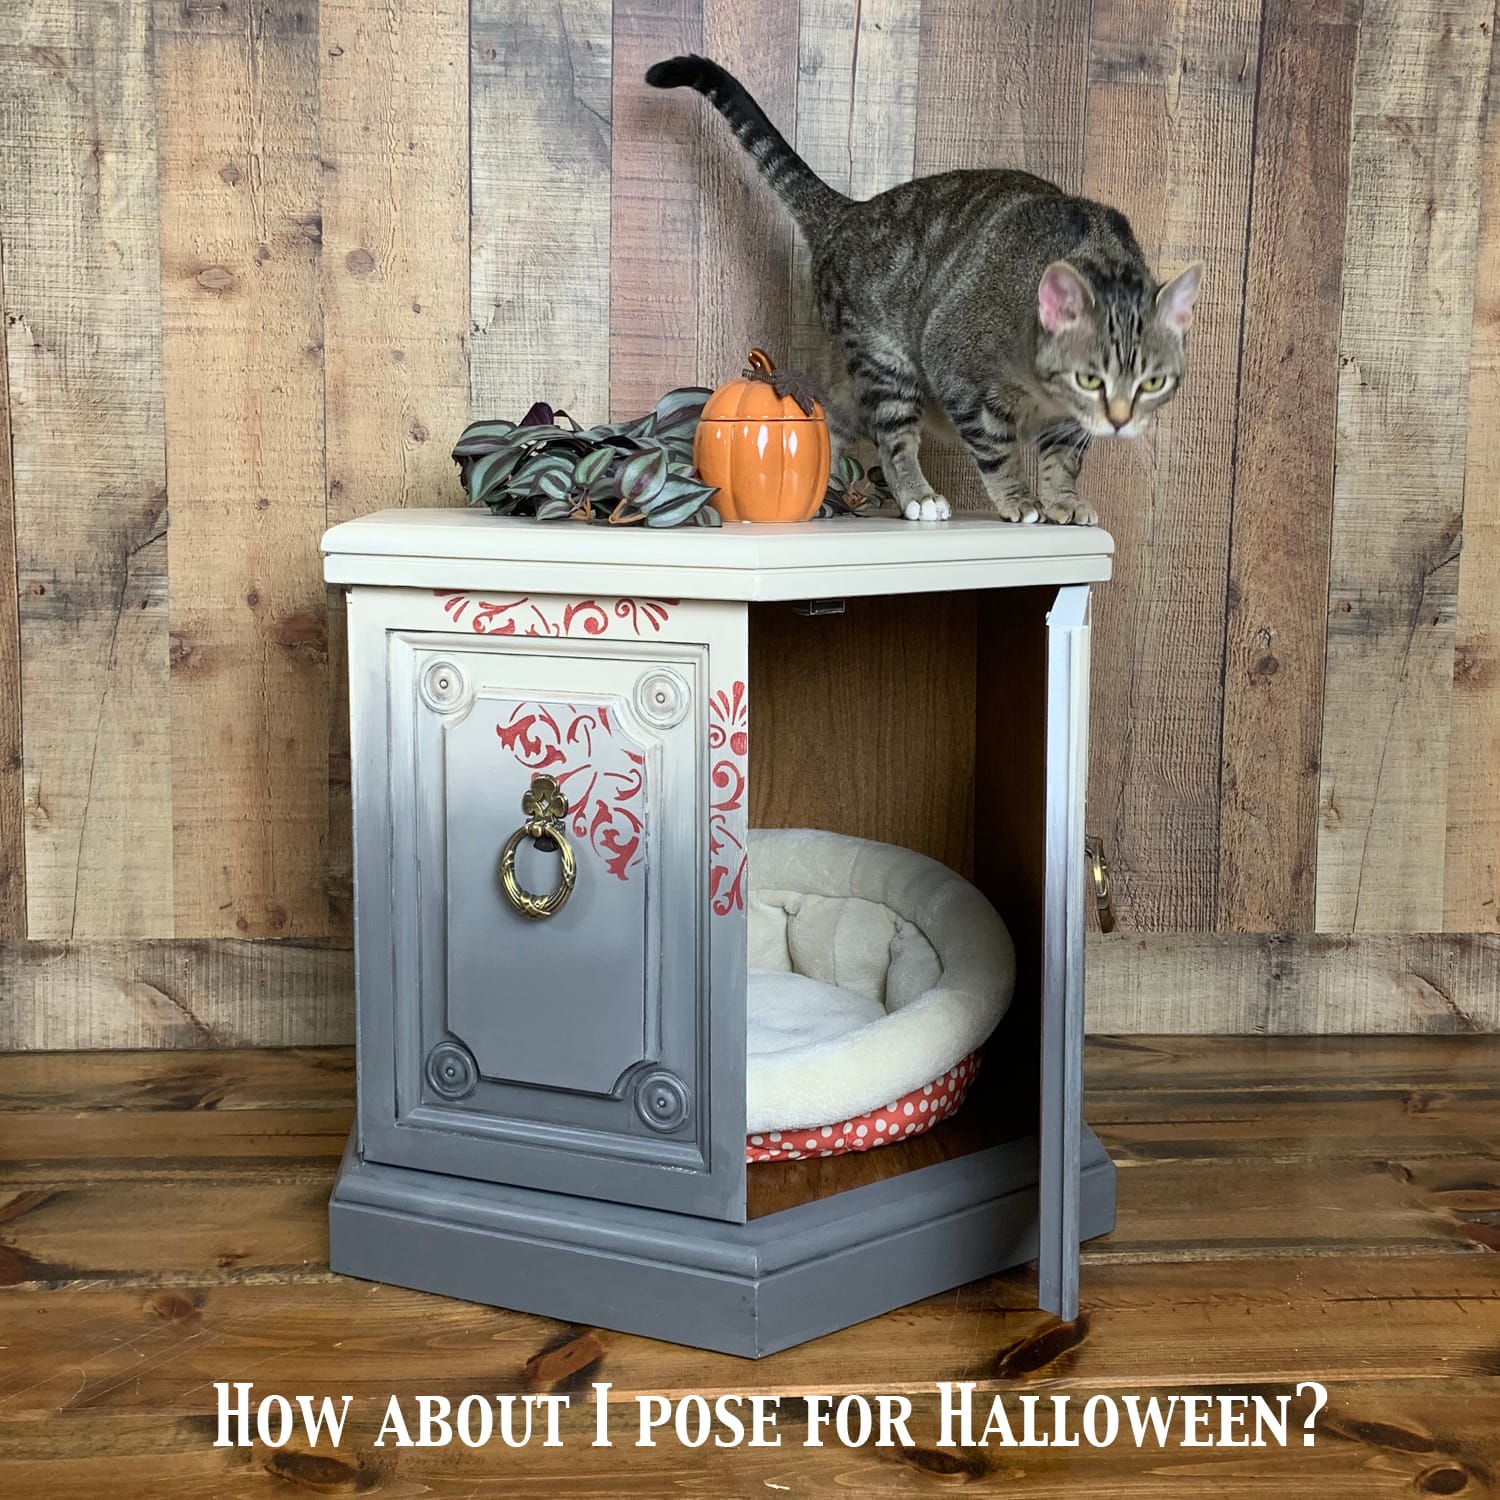
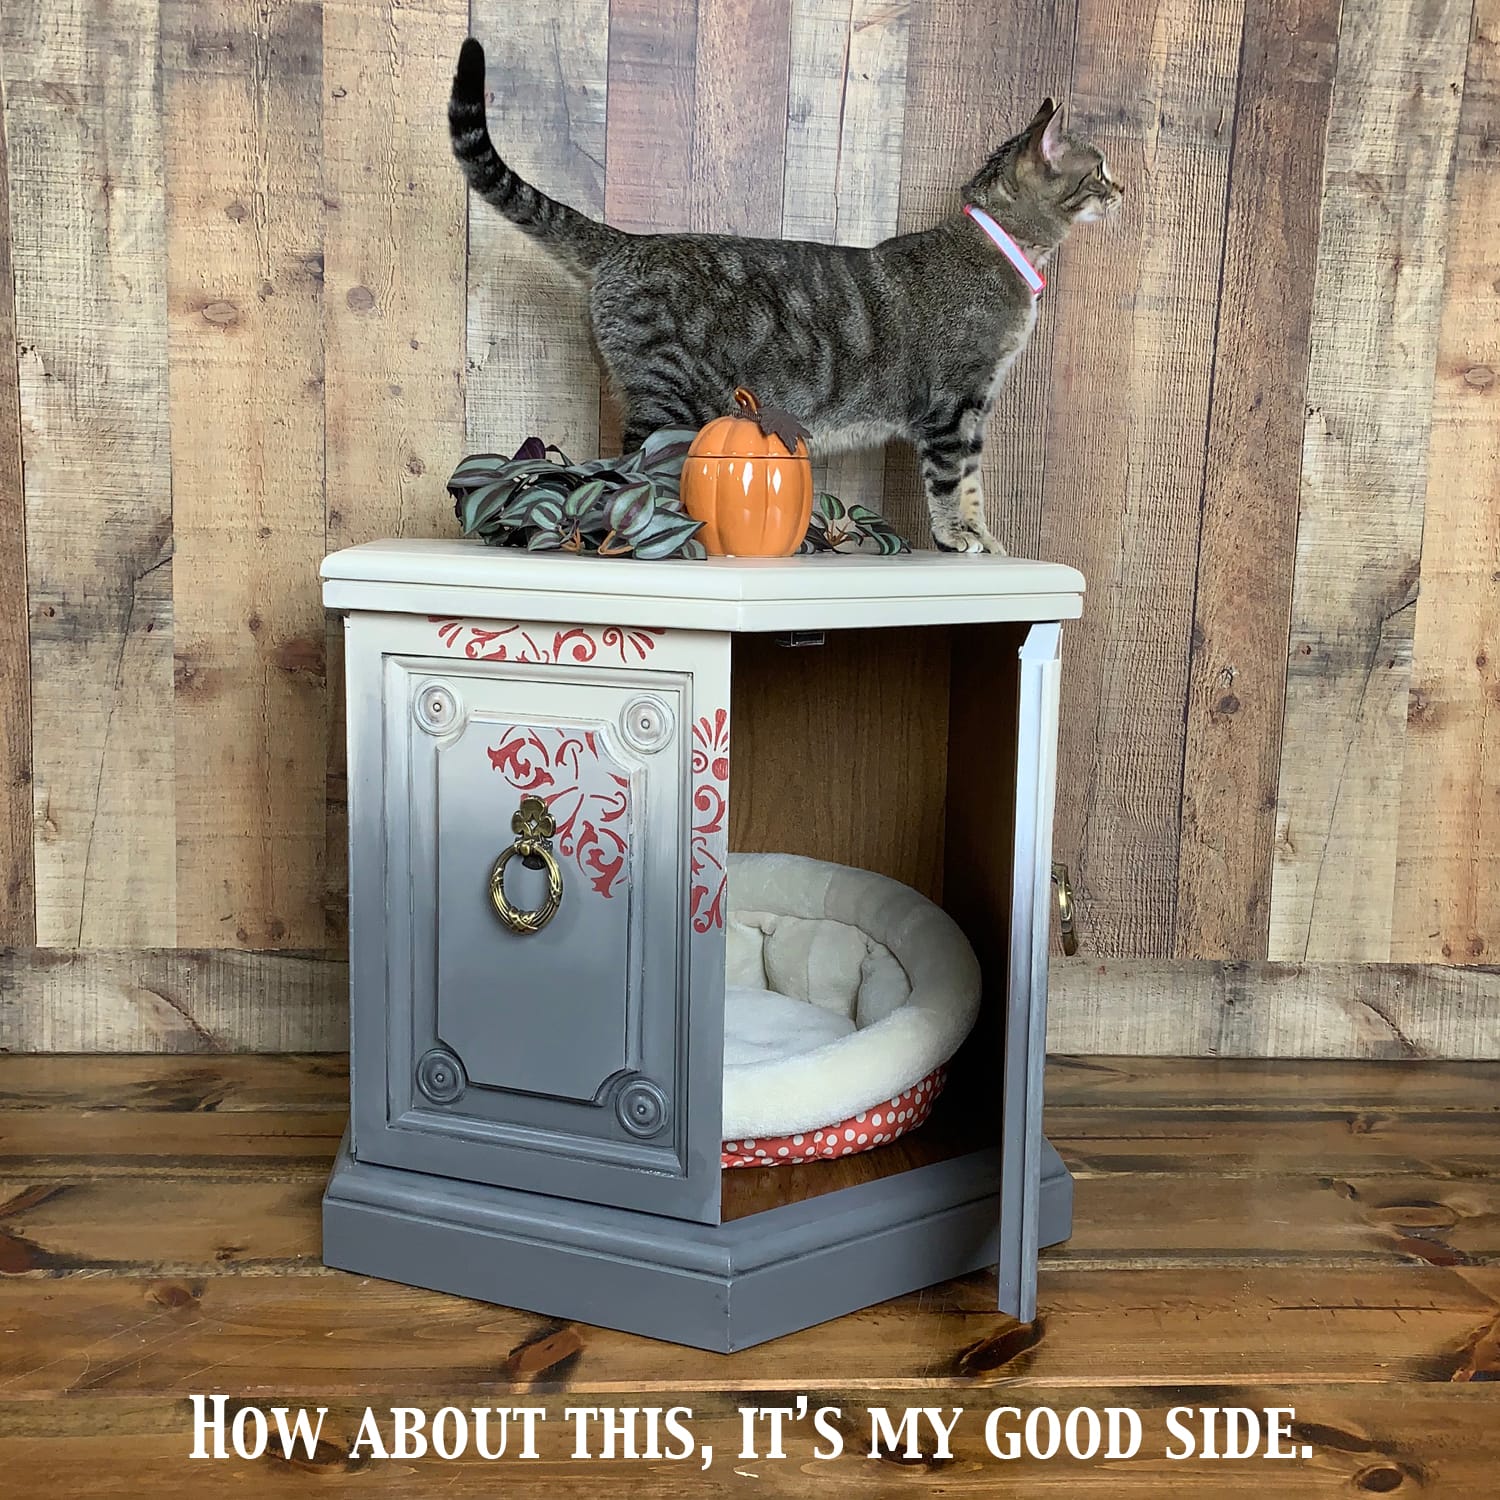
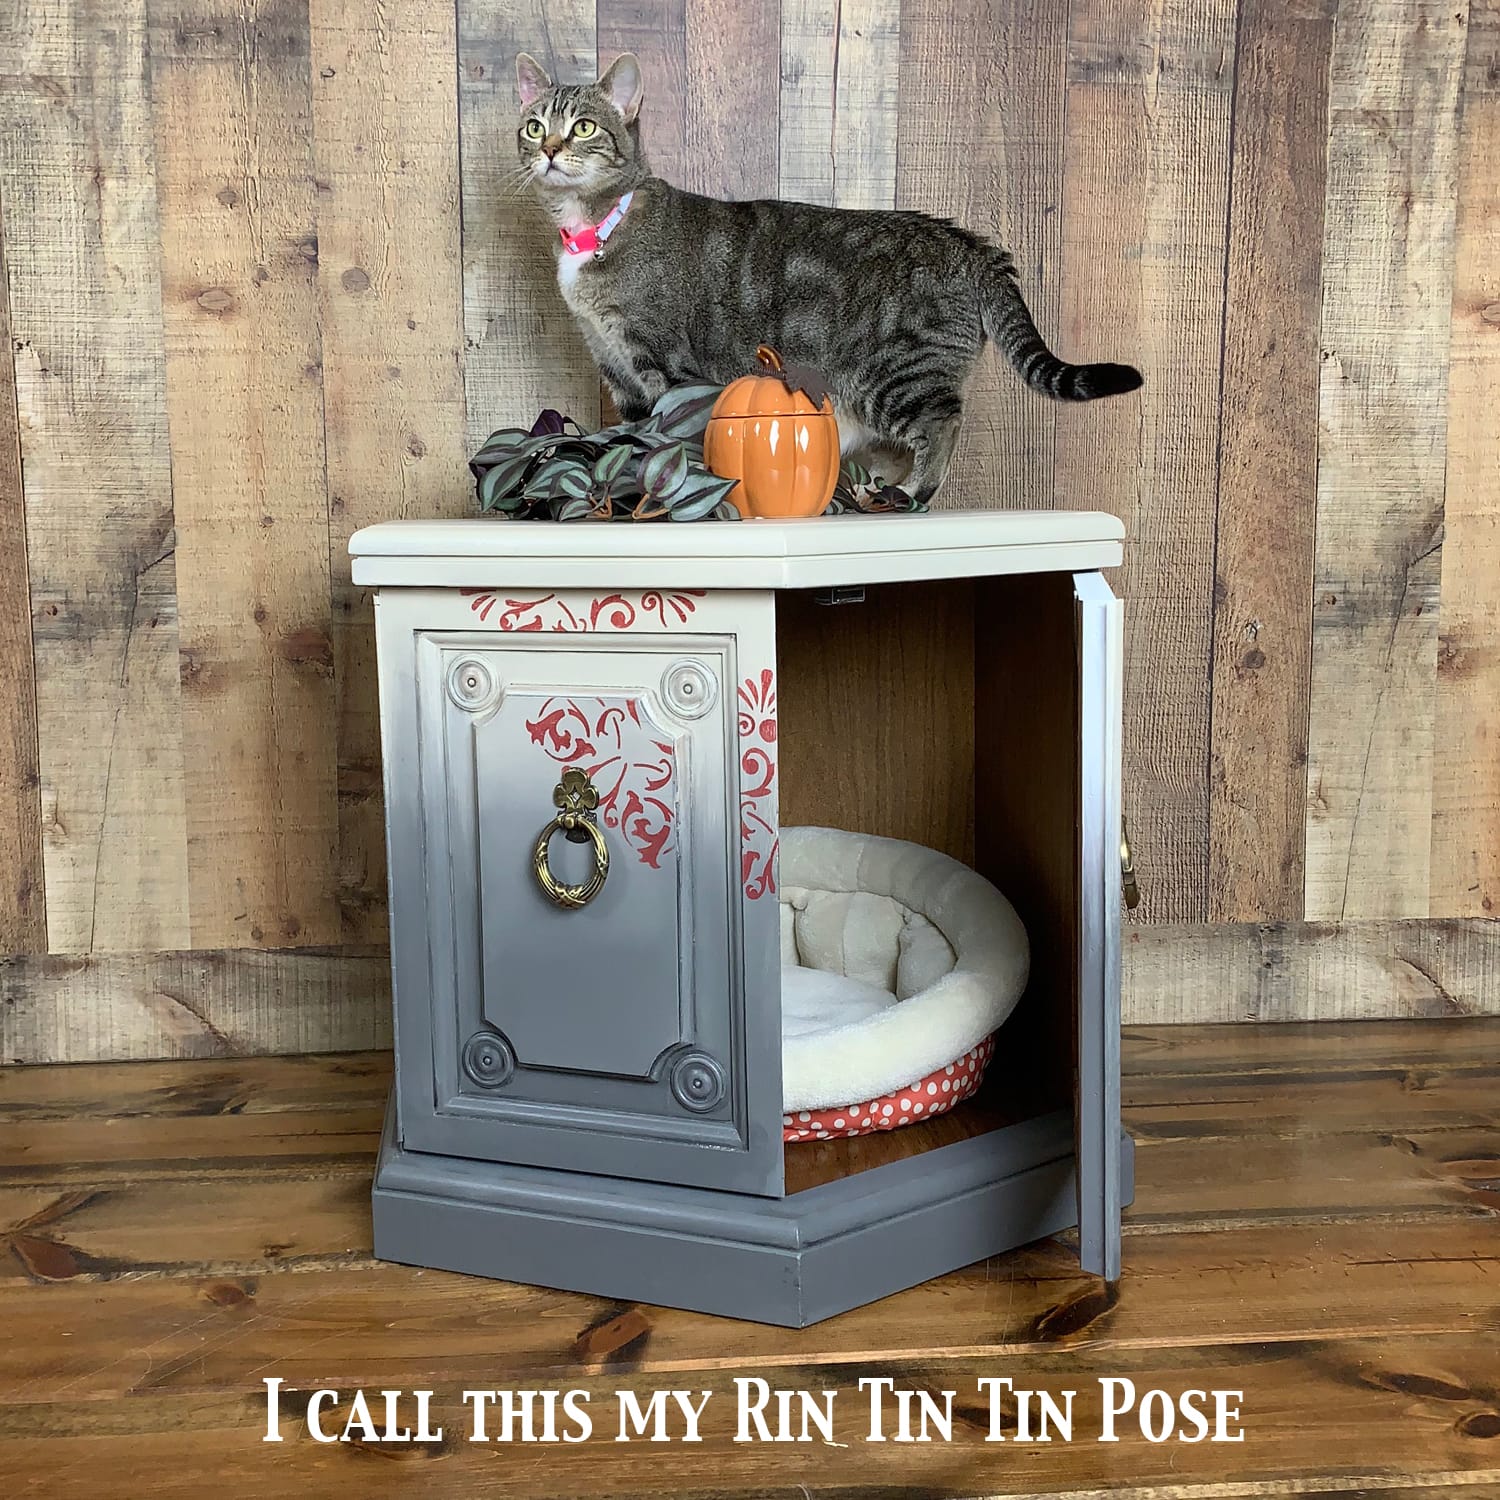
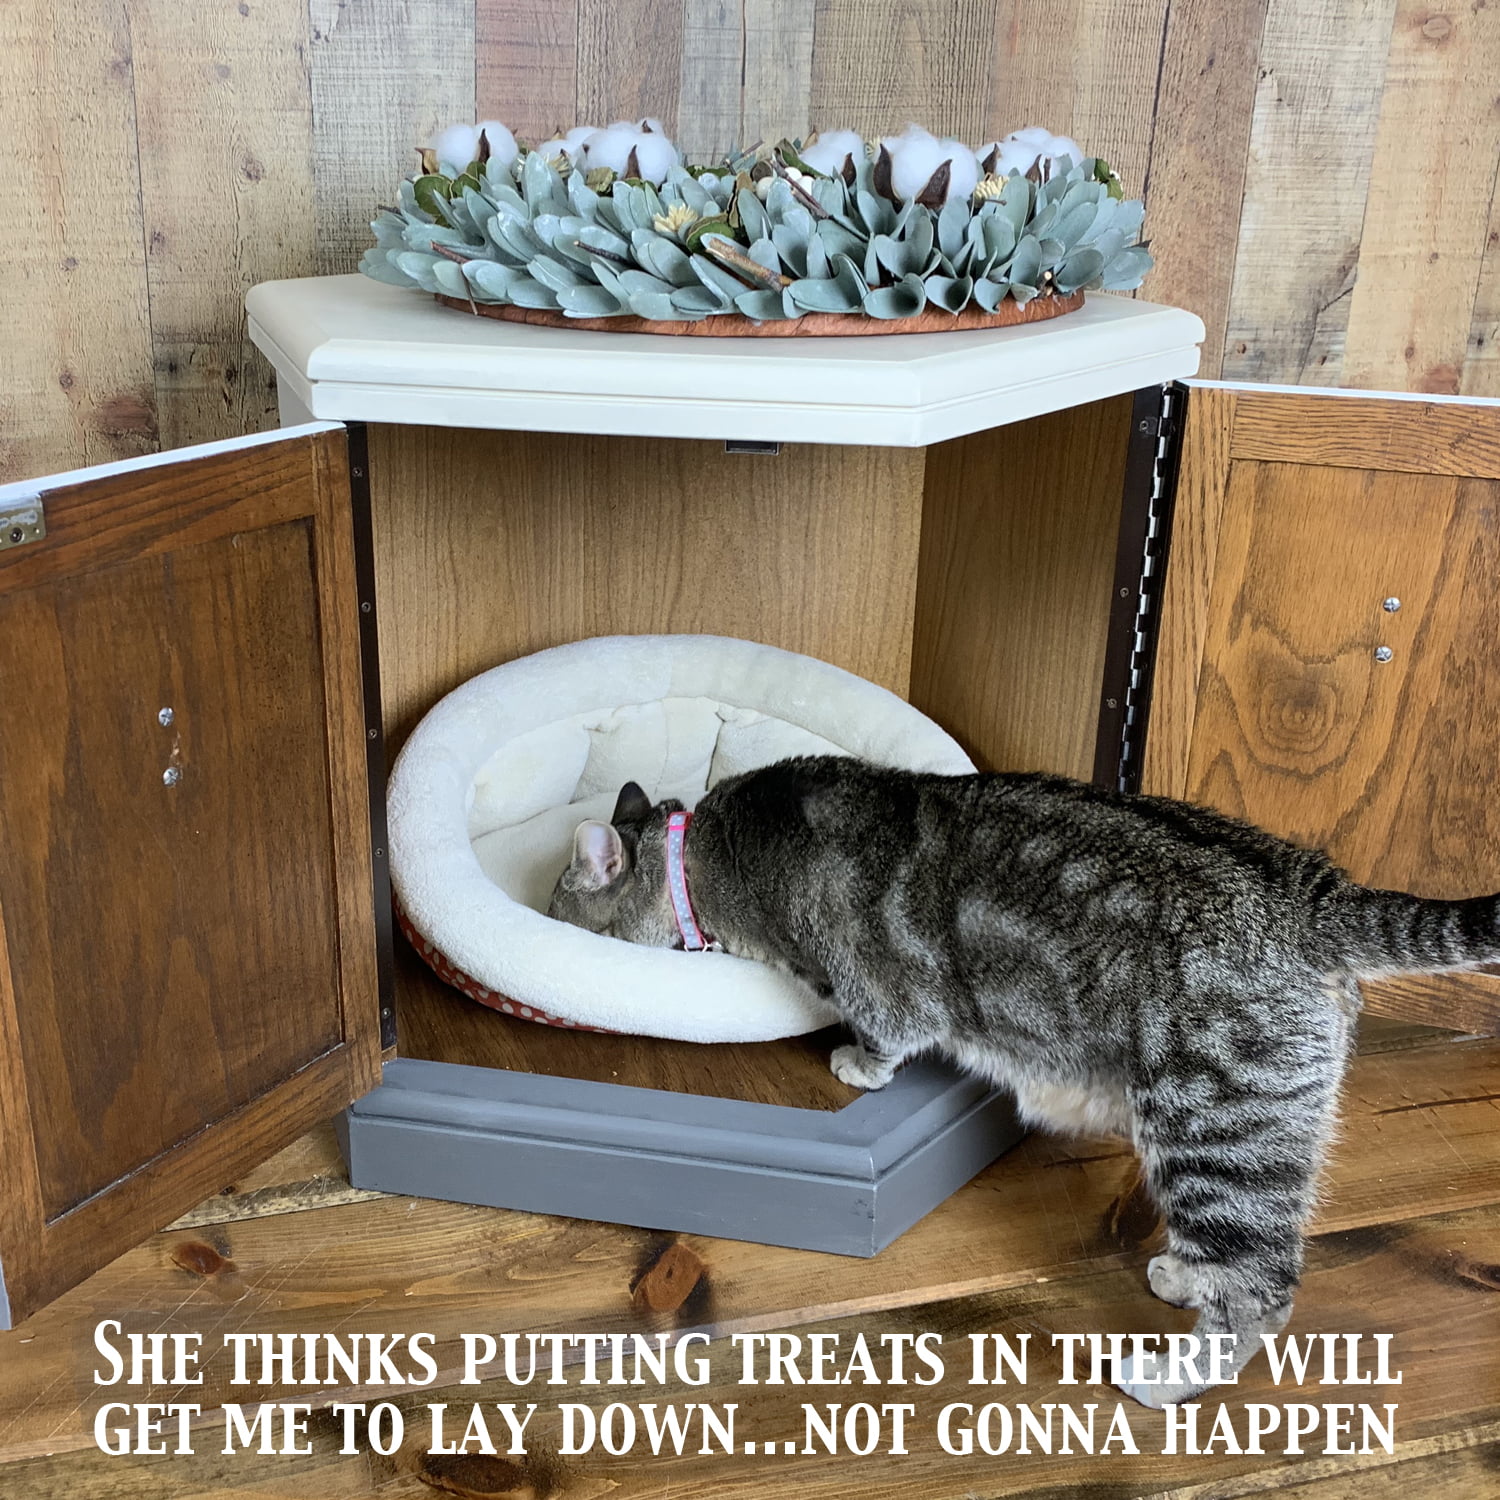
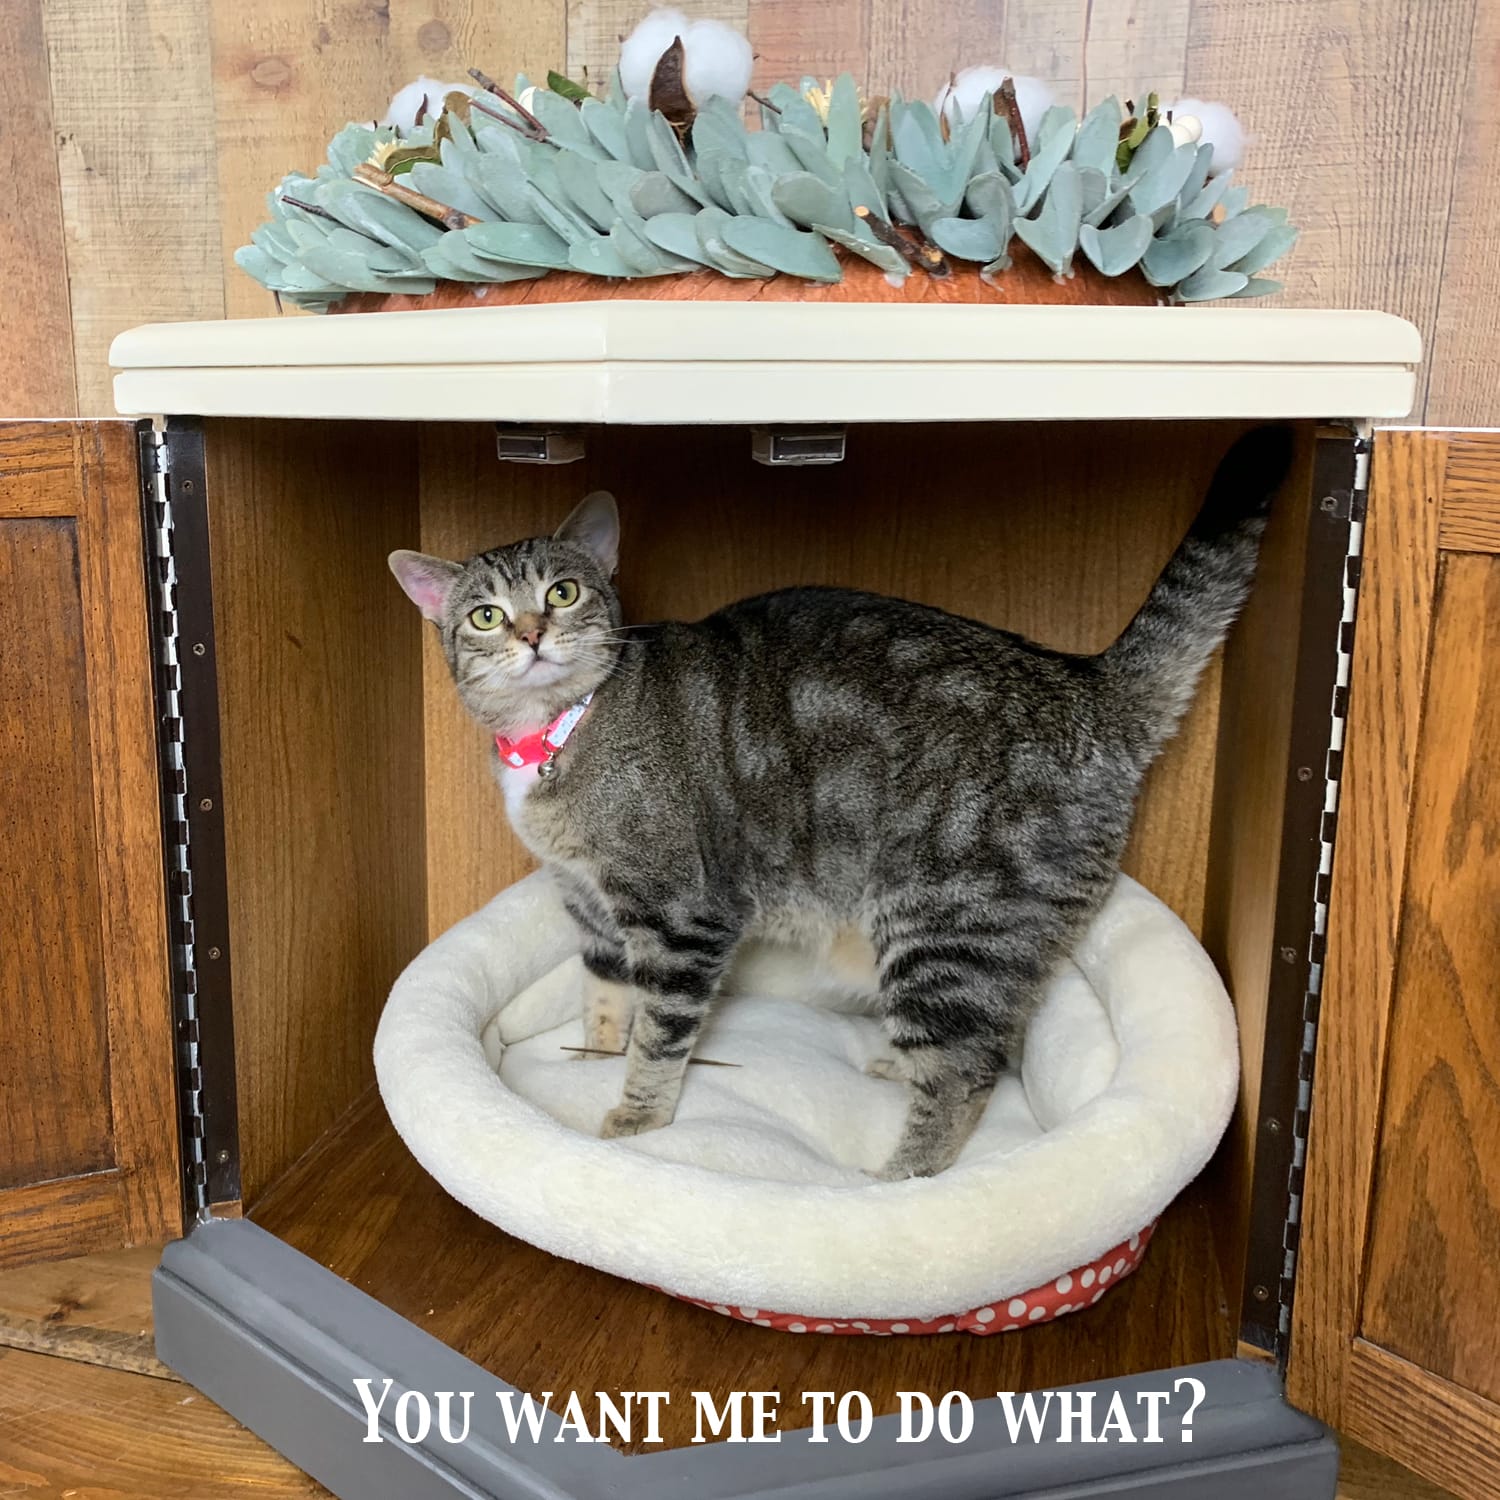
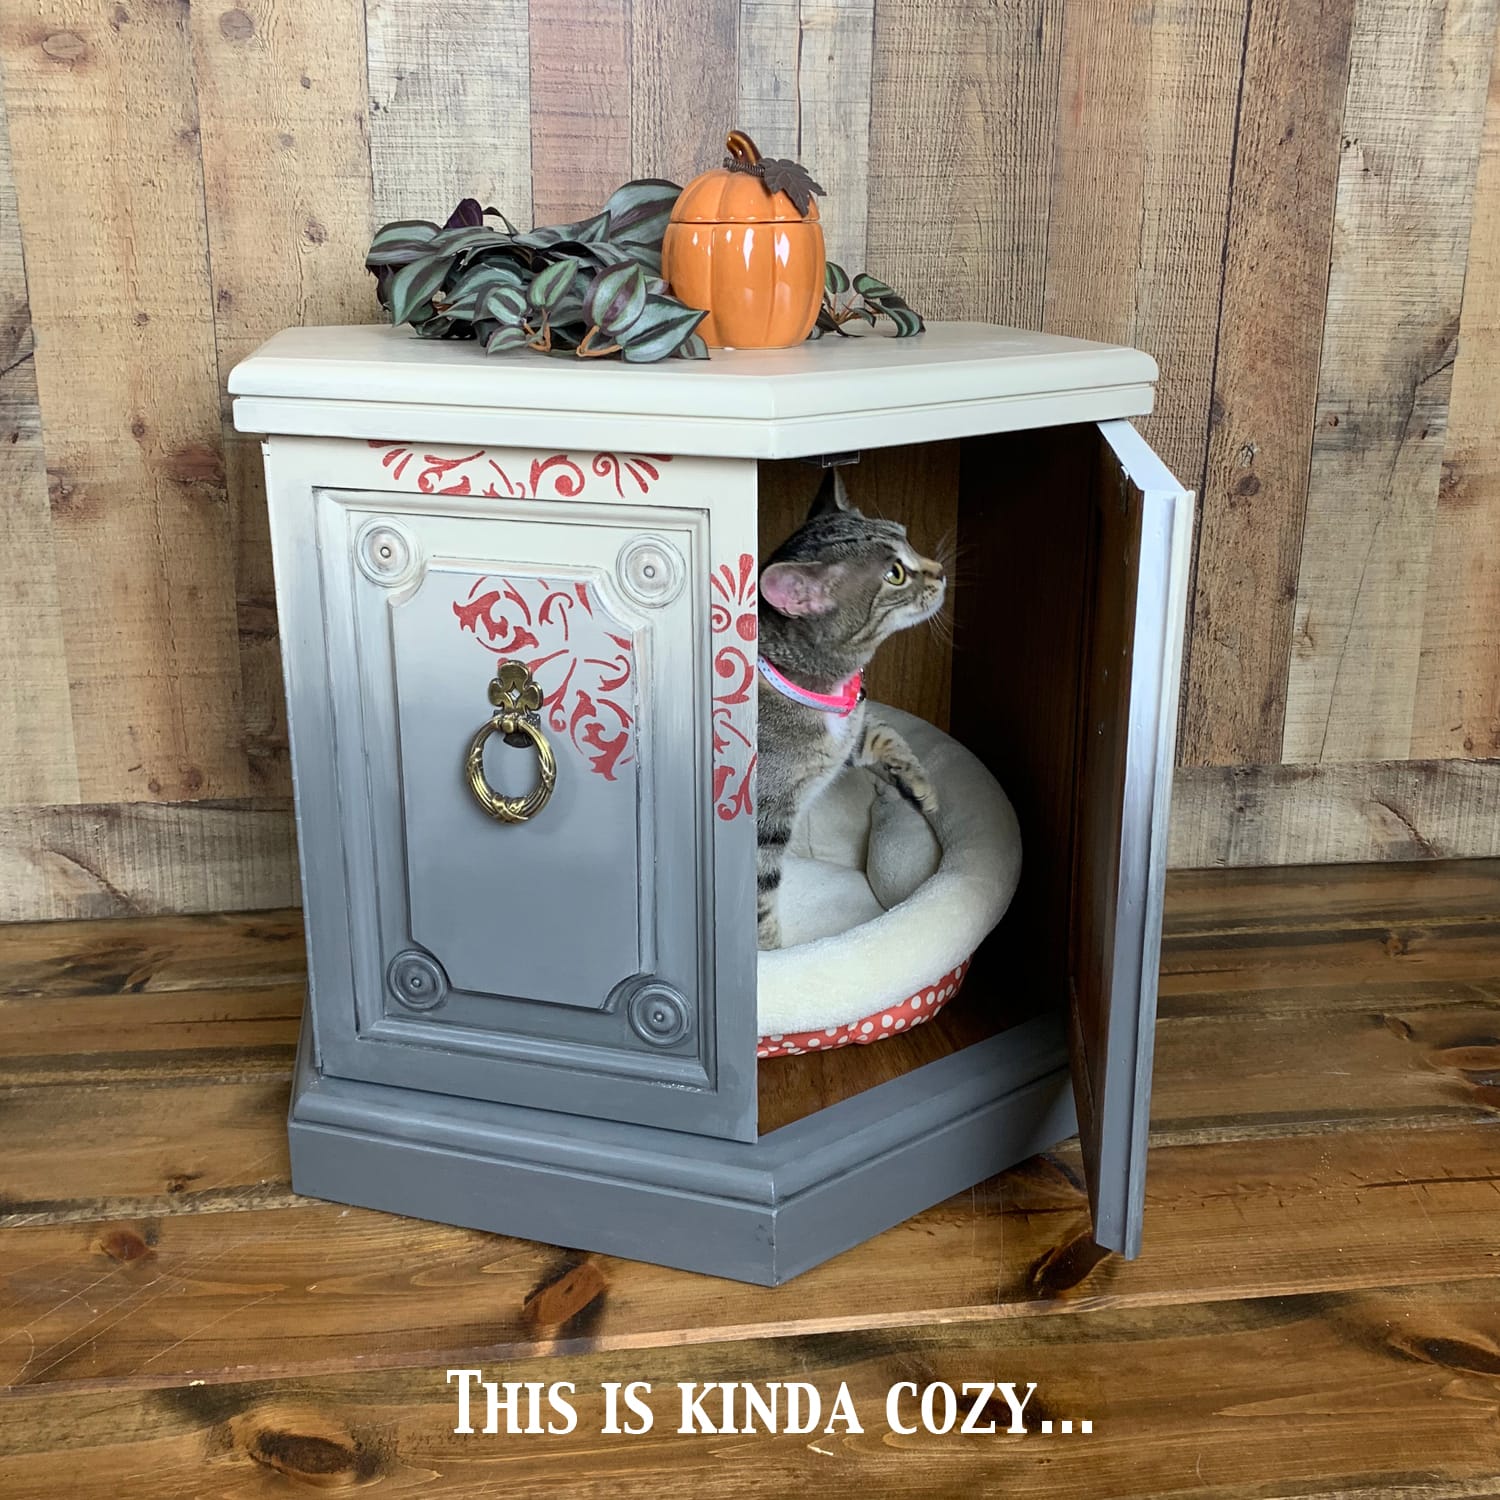
This was a fun project. What have you painted recently? Tell me about your latest project. Did you run into any problems? Did you like how it came out? Was the final outcome how you envisioned it when you started?
So many questions. I'm interested!
Have you joined my forum yet? This week we are talking about stenciling. Come join us if you've not yet! Go here >>> Furniture Flipping Forum
Blessings!


