#sponsored post
The Story of Ava & Elsa
Ava & Elsa were not wanted.
Ava & Elsa sat out in a driveway thinking there was no hope.
Ava & Elsa were wobbly and scratched up pieces with a $10 tag for BOTH of them.
Ava & Elsa though they were worth more but needed someone to find them and make them beautiful again.
I was that someone…
AVA “BEFORE”
Finding Your Inner Artist
It does take practice, but the more you hunt and take home projects, the more you practice different techniques and experiment with different paints, the more you will gain a new perspective on our craft and gain your own style and develop a vision for redesign.
Don’t tell yourself you don’t have the talent or tell me that you could never do what I do. I learned how to transform old unwanted out-dated pieces of furniture and decor into highly sought after works of art through trial and error, practice, research, and conversations with other artisans.
Ava and Elsa were simple, plain and damaged through every day wear and tear. They were stuck in the 80s. The person who owned them and put them out in their garage sale apparently couldn’t see how they could be.
Fortunate for me, unfortunate for them.
Materials List
(affiliate links for your convenience)
Pure & Original Inspiration Collection 2017
Take a look at some of their new colors:

Pure & Original, known for their stunning neutrals, is showing their colorful side with this campaign, using colors that never had the chance to stand out. As you can see in the pictures, they also worked with complimenting shades. For example: pink-deep red or dark and light green.
Now for Ava and Elsa’s step-by-step transformation:
Step #1 – Clean, repair and sand.
I used (afflinks) Krud Kutter and wood filler to prep them for their redesign. I used the degreaser formula, but Krud Kutter now has a prepaint tsp substitute. I’ll buy that next time I need more. The (afflink) Scott Rags in a Box are pretty handy – just use and throw away. Menards has them on sale occasionally. You want a good surface to receive the paint, allowing it to grab on – this is called “giving it tooth.” They must have been in a smoker’s home because the (afflinks) Krud Kutter took off a bunch of brown crud. It is good to clean it first so you don’t sand the crud down into the wood. After going over it twice with the Krud Kutter, I sanded to give it tooth and to smooth out the wood filled areas. Clean again to get the dust off and prepare it for paint. Step #2 – Grab your brush and start painting the base coat.
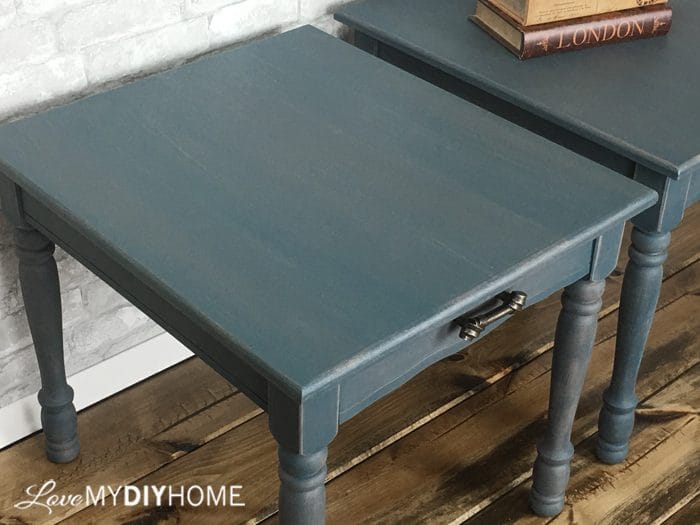
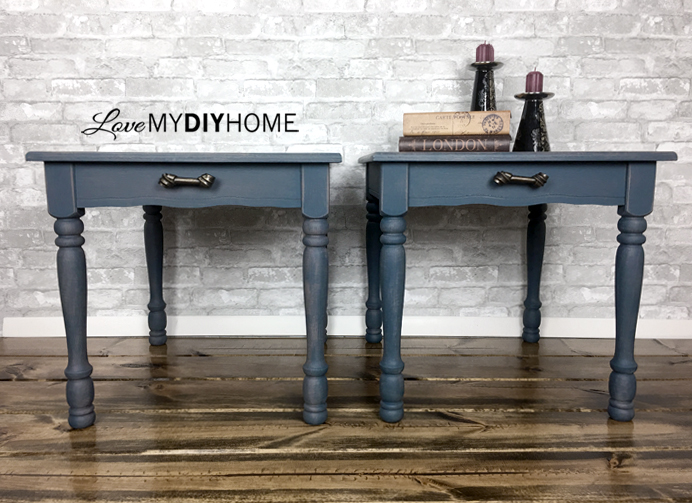
(afflinks) Classico is a very thick paint – you can thin it if you prefer, but I liked its workability. It covers well in two coats. In this project, starting with a base of the Steel Blue, I flipped the tables upside down and placed them on top of cardboard boxes to be able to get the legs and underside easier. Step #3 – Dry Brush with Classico Storm.
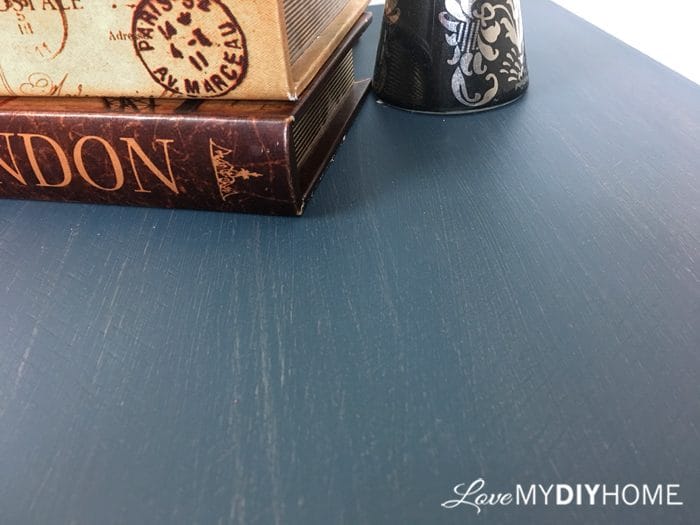
Dip your brush in the paint and wipe most of it off onto a paper towel. Lightly brush it on so the paint only slightly highlights the base color, giving you a textured look. Storm is a grayish brown, a nice compliment to the (afflink) Steel Blue. It doesn’t have to be perfect. As a matter of fact, you don’t want it perfect. You get that at the store – and match everyone else who buys the exact same piece. You want this authentic and you can only get that from an artist (like you). Step #4 – Top Coat.
After you’ve given it a couple of days to dry (cure), topcoat with (afflink) Polyvine Dead Flat. Lightly sand in-between coats with 400 grit sandpaper to remove any dust particles. I like to use a (afflinks) sanding sponge. I applied 4 coats using a damp auto detailer’s sponge. I’d heard from others that it worked well for topcoats and I wasn’t disappointed. Step #5 – Add New Hardware.
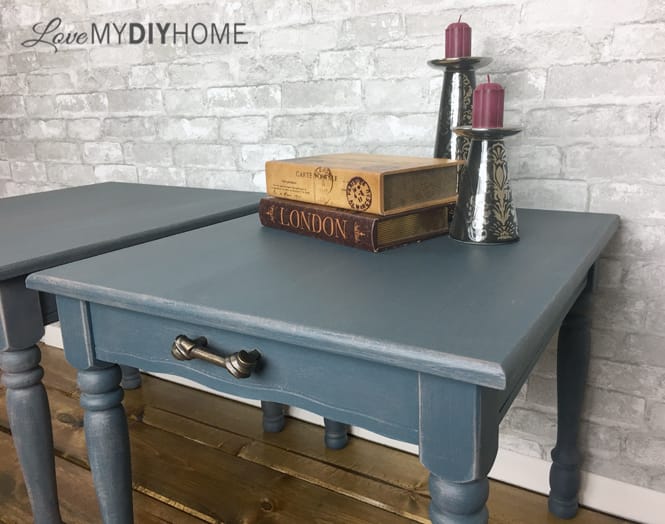
It’s nearly always a good move to replace the hardware. It’s the icing on the cake. These came from Hobby Lobby – a good replacement for the old colonial brass. Quite often the hardware from (afflink) Hobby Lobby is irregular and you’ll have to hunt down screws if they don’t come with. (afflink) ACE Hardware is our usual go to for such things.
This Was an Easy One.
Ava and Elsa were one of my easiest flips. You can find these type of tables everywhere. Since they are very dated, people get tired of them and sell them in garage sales quite cheap. Many just toss them and buy new.
You Can Do This Too!
You don’t have to buy expensive, solid wood, designer pieces to end up with beautiful furniture for your home. You just need a vision. You need to see how the garage sale items COULD be, not how they are when you find them with a $5 tag at a garage sale. With a bit of soap and water, wood filler, sand paper, and paint, you can transform even the least desirable decor into one-of-a-kind piece of art.
Just do it. I know you can. You just need to believe it.

Opportunities:
Thanks for visiting – I have more projects just about ready to share, so come back soon!
XXOO


* Disclosure: This post contains affiliate links. If you buy anything after clicking on one of the affiliate links, I receive a small commission of the sale. The cost to you is the same, and I only link to items that I think would benefit my readers. Your support of this blog is greatly appreciated! This post was sponsored by Pure and Original by supplying the materials for this project – Thanks, Pure and Original!