Dead Flat EcoSealerSTEP #1 – Prep by cleaning and repairing. I used (afflinks) Krud Kutter and J-B Weld KwikWood to fill holes and indents. The back plates were nailed in, so those holes needed filling.
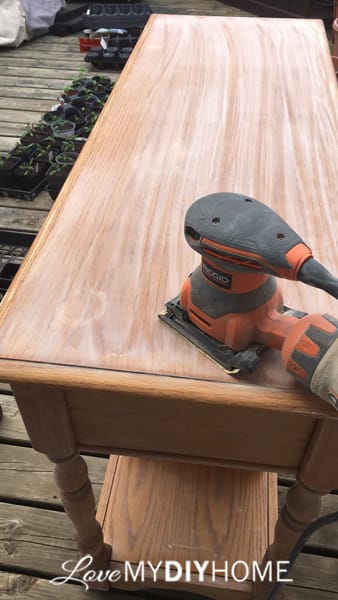
STEP #2 – Sand the finish to give tooth.

STEP #3 – Clean off the dust from sanding with a damp cloth.
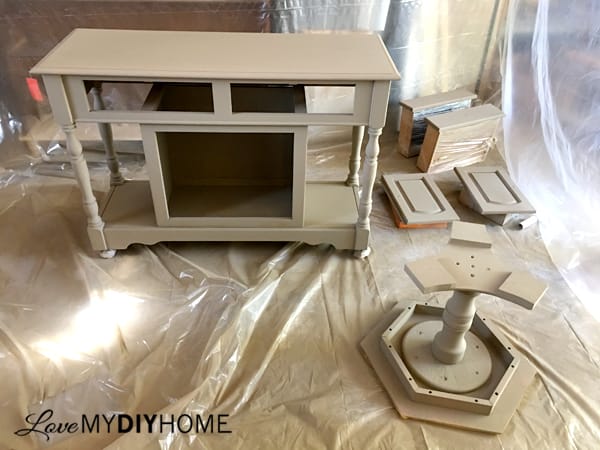
STEP #4 – Prime with (afflink) Wallprim, preferably tinted to match the paint you will be using for your finish coat. I used my (afflink) HomeRight Finish Max sprayer. On the front right you can see another project – I painted this first to get a feel for the (afflink) Fresco.

STEP #5 – Lightly sand when the primer is dry to prepare it for your final coats.This is where it gets interesting…STEP #6 – Grab your special brush and take short swipes of the (afflink) lime paint all over as you cover the piece bcause you want to see the variations in your surface. Add a little water to thin the paint just a bit to help the light and dark pigments separate and bring you a beautiful varied shades.


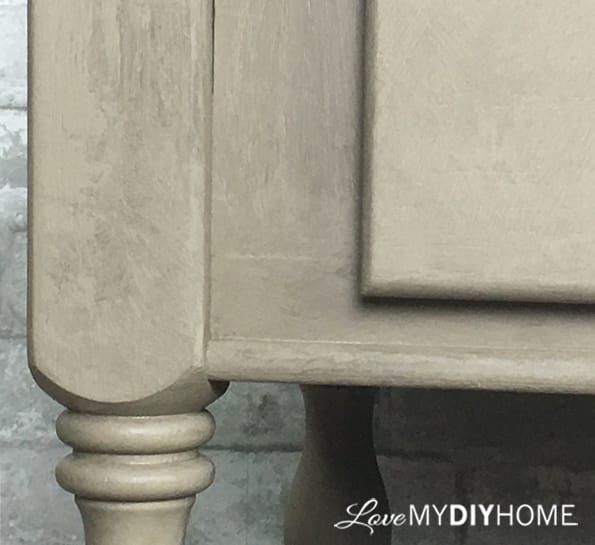
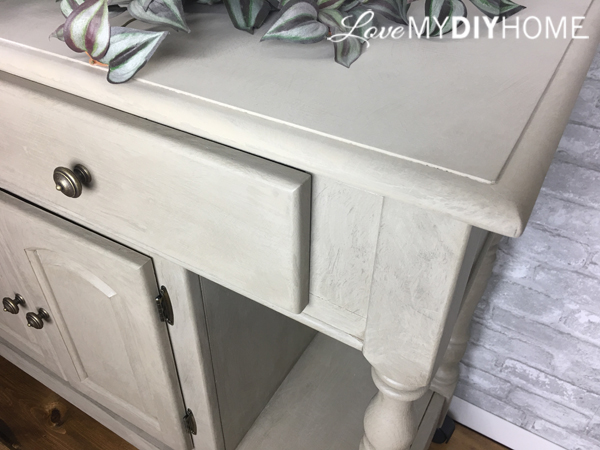
The Technique
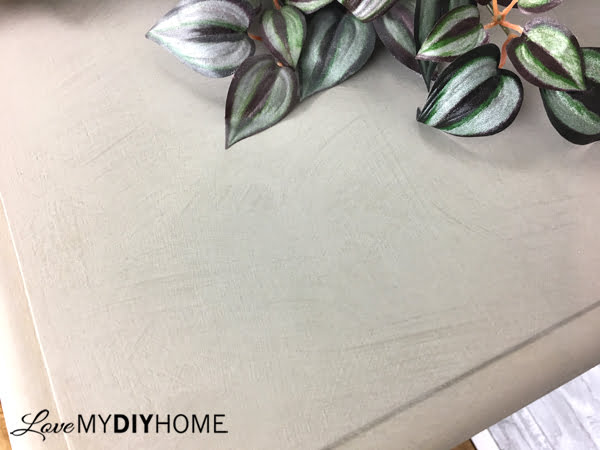
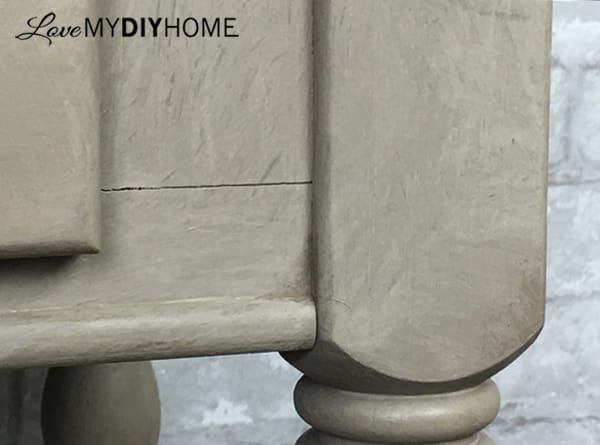
I found that the (afflink) Fresco brush, normally used on walls didn’t give me the look I wanted on the top because of it’s large footprint, so I switched to a medium sized chip brush, giving short sweepy passes until it was covered. You will need to let it dry for a few hours to see how color variations will come out. I ended up giving the top three coats because it took me that long to learn the paint’s special nuances. I needed the shades and strokes to evenly distributed. I know, it’s kind of a conundrum – but I prefer to have controlled chaos.

Even then, after a few tries, I discovered that a quick a slight sanding brought out a softer, more cohesive look. After letting it dry overnight, I was extremely pleased with the outcome. 
STEP #7 – Wait a week before topcoating to let the lime paint sufficiently dry. I used the (afflink) Pure and Original Dead Flat EcoSealer. It was easy to apply and dried nicely. I used a Country Chic oval brush.
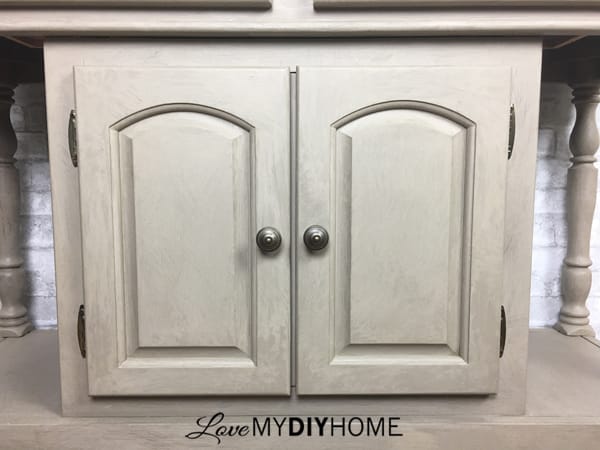
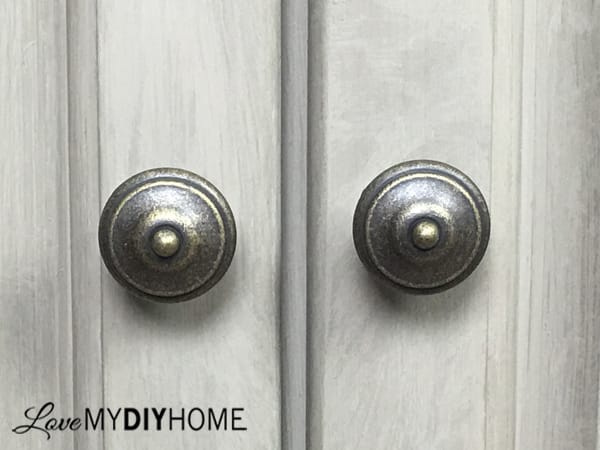
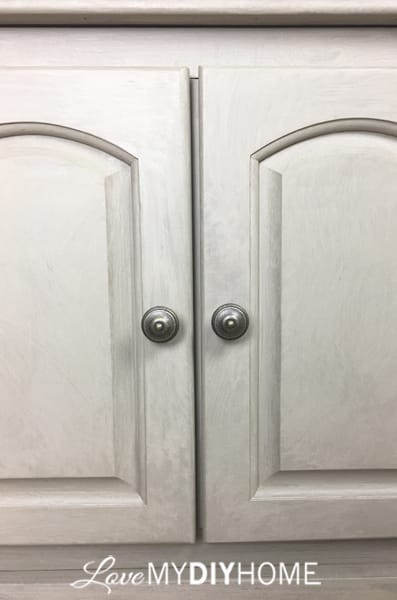
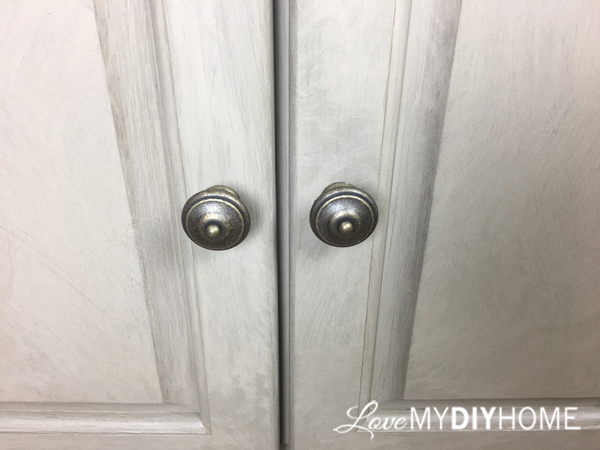
STEP #8 – New hardware usually is in order. In this case, I had no choice because I can’t find the original hardware. After spending a day looking for that illusive bag of metal, I gave up and we just went out a bought some. BUT, as it usually turns out, the new hardware with just what it needed.
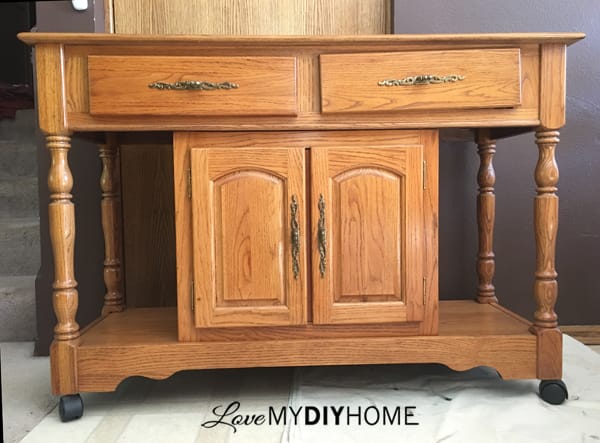
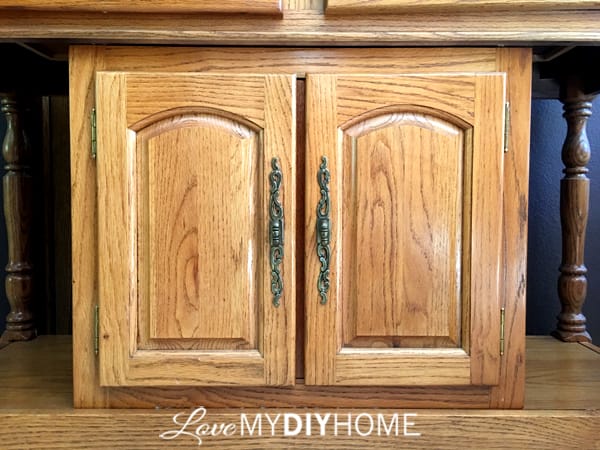
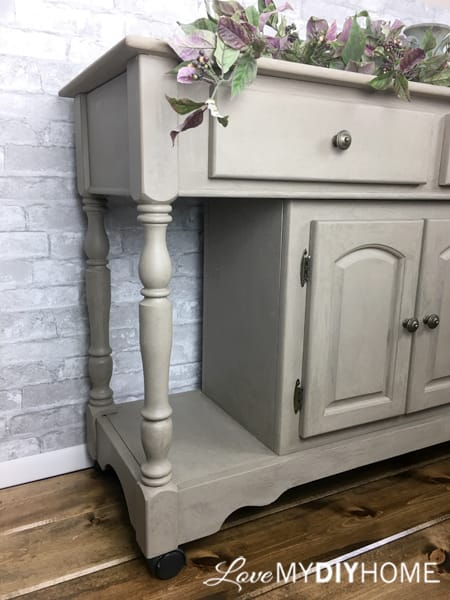
Look at the difference a bit of paint and hardware can make:
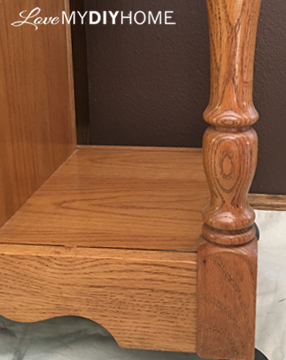
BEFORE

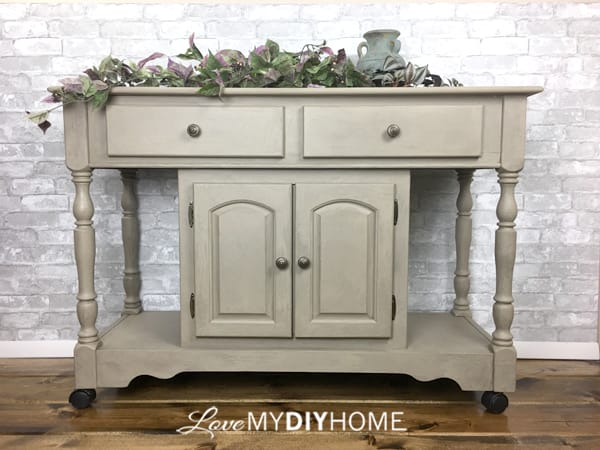
AFTER


So what is lime paint?>
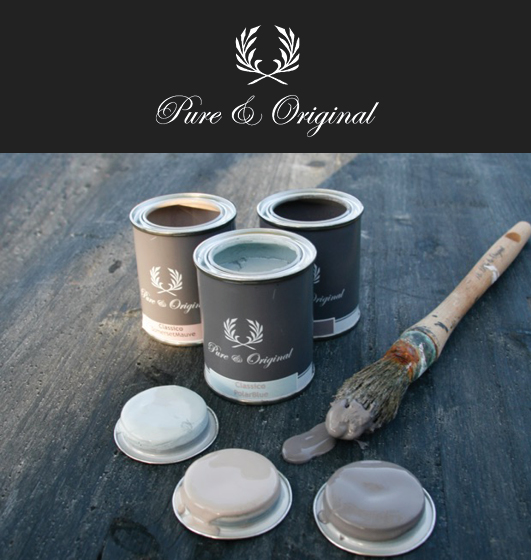
(Afflink) Pure and Original Fresco is remarkable paint that results in an aged look that would be hard to duplicate with traditional paint.Lime Paint, a type of paint that has existed for thousands of years, is an all natural, 100% mineral paint composed of quick lime and natural pigments. With a VOC <30, it meets the most stringent environmental requirements Mold- and bacteria resistant.In general, the color of Fresco turns out a bit lighter or more grayish than the colors on the color chart (chalk based paint) and may slightly deviate because it is a natural lime-based product. BEFORE

AFTER

If you are looking to stand out or have a one-of-a-kind piece in your home – check out (afflink) P&O Fresco. I’ve contemplated carrying a paint line. If I do, Pure & Original will be one of the options. Read about its history here. 


Are you in love with the aged, old-world look as I am? Have you ever tried Pure and Original Fresco Lime Paint? To see a project with P&O’s other paint, (afflink) Classico, go check out A Family Dresser Rescue that I did last year for the Fab Flippin Furniture contest.
Love My DIY Home 


Wow Val, you knocked it outta the park with this transformation! I have always loved the look the lime paint, and it really changed up this dated cart! LOVE LOVE LOVE IT! I will have to try this Pure & Original paint. Thanks for sharing
Thanks, Kaycee! It was a fun project – and it’s going back in my living room. I get to keep this one!
Hi Val, what a difference between the before and after! I've never heard of lime paint but I'm loving the finish and the color. Pinning to share and refer back to.
Thanks, Marie. You should try the Fresco. It’s such a regal finish.
Please tell me; is it necessary to sand the whole piece prior to painting with the Pure and Original line?
Leslie tells how she did it in her original post that I referenced. Just click her link.
I always sand, to be sure. Even if it’s just to give a bit of tooth, it’s always a good idea.
Wow! What a beautiful transformation. I love the aged finish effect. I've never heard of this paint – I'll have to give it a try.
Thanks. The Pure & Original has a bit of learning curve, but I do love the outcome.
Love the color, goes with many things! Thats a great color to stencil something as well.
Maria
Thanks. I tend to go with conservative colors in my home, but this has a bit of a twist since the lime paint in it varies the color.
Hey Val, that is a wonderful piece that I'd love to have in my home. I can't think how it could have turned out any nicer and it's one of my favorite colors at the moment. Well done.
Thanks. I’m so glad I get to keep this one. It’s hard to let them go!
Thank you Val, it’s beautiful!
Thanks for visiting, Shirley!