You might remember a while ago when I featured the series, “Keeping Up With the Joneses.”
Here are a few of the posts about my DD, April’s, house flip:
- The Kitchen Before – Gunk everywhere, three layers of ugly linoleum, and the walls…indescribable!
- Kitchen Demolition – Even the kids got involved in ripping the kitchen apart. Who says reno isn’t fun!
- Preparing the Walls – Fixing holes and smoothing out the walls…the polkadots and red paint must go!
- From Polluted to Pleasing – Ever walked into a room and felt your health was at risk?
- The Floors Won’t Dry – High humidity? Bad polyeurethane? Did we apply it too soon or do it wrong?
- Lose Those Ugly Floors – The stains and gouges make you think there is no hope. But then it all comes together. WOW!
There is more to do and more on the blog, but for now, I want to show you a little upgrade she did recently on a FREE dresser she found on the side of the road near her house.

So often when furniture gets damaged or isn’t needed any more, we don’t know what to do about it. Just get rid of it is what we usually hear in our head. It’s just so much easier than trying to repair it or recreate it.
It’s the trend these days. Just get rid of it and buy new.
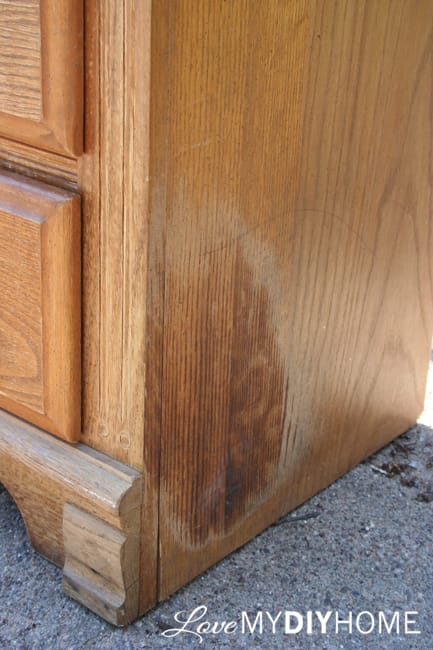
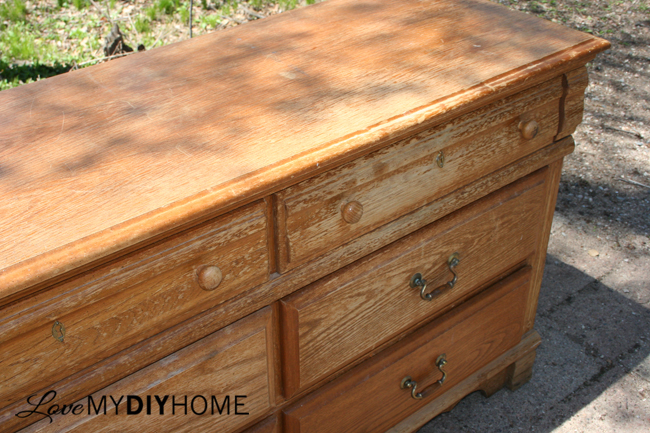
I was totally impressed with what April did with this dresser. It had good bones, but was terribly worn and water damaged. Fortunately she could envision what it could be like.
That’s the key. Vision.


Step #1:
Clean it well. Vinegar and water work well. Just give it a good scrubbing.
Step #2:
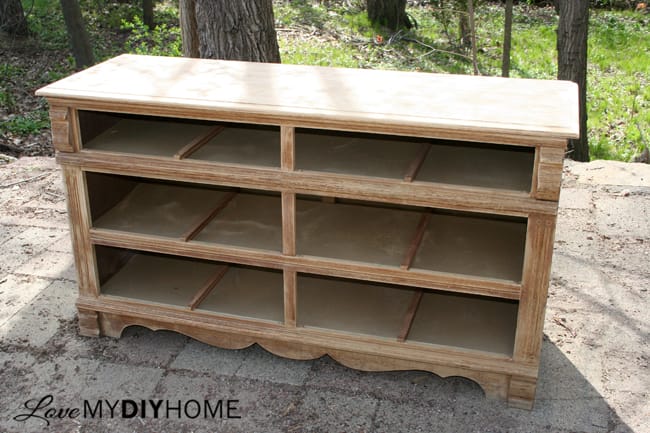
Fix any issues. Sand to give it tooth. You want the paint to stick.

Step #3:
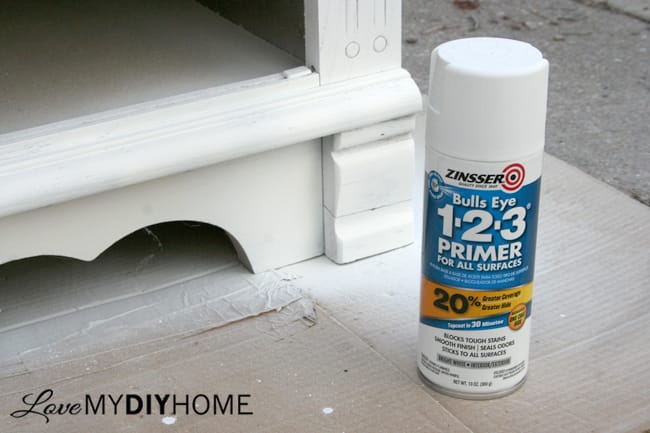
Prime. She used Zinsser spray primer. 

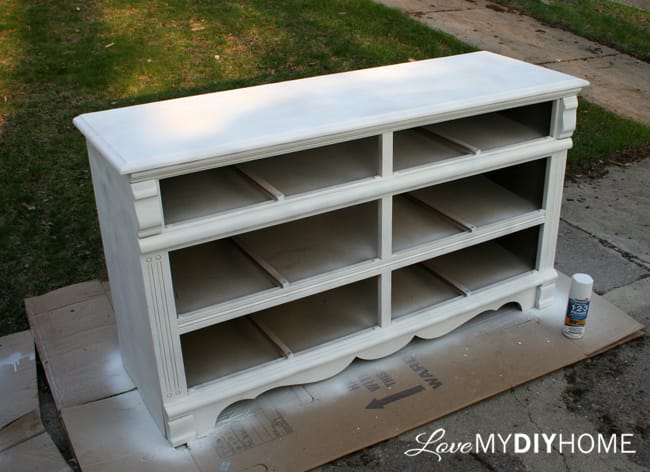
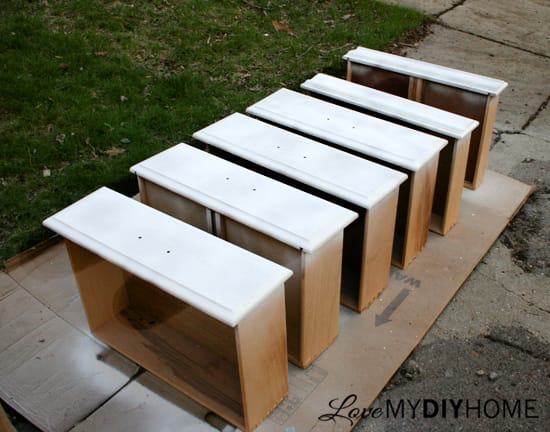
Step #4:
Paint. Two coats is usually enough to give you good coverage. She used a (aff link) little craft roller for most of it and a brush to get in the nooks and crannies. She chose an antique white ACE Cabinet, Door & Trim paint so it would match her kitchen cupboards that she painted when they redid their kitchen. That reveal will come soon.


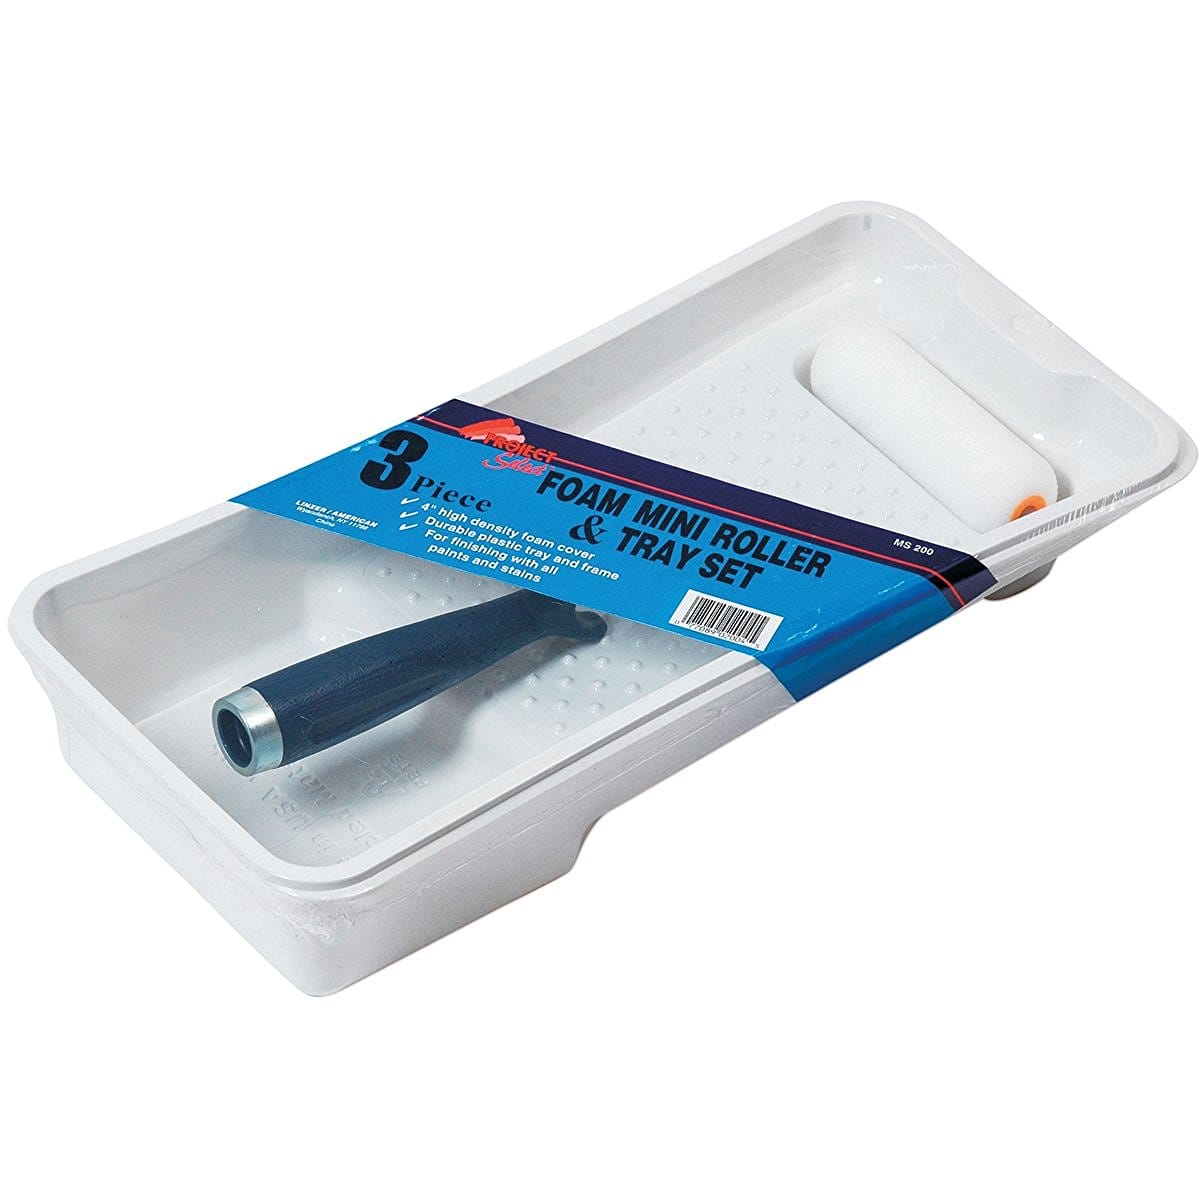 She chose an antique white ACE Cabinet, Door & Trim paint so it would match her kitchen cupboards that she painted when they redid their kitchen. That reveal will come soon.
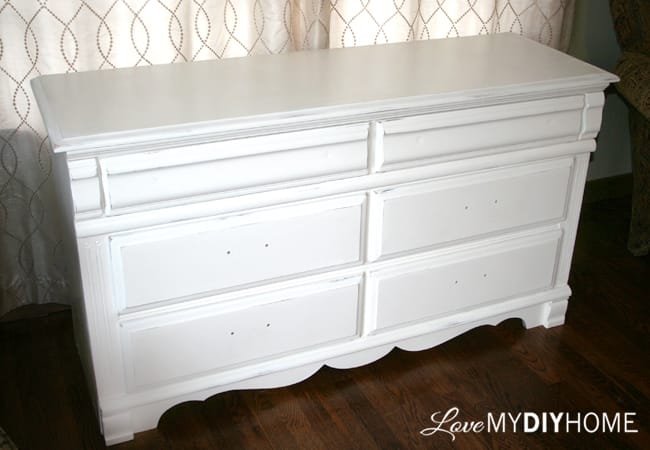
Step #5:
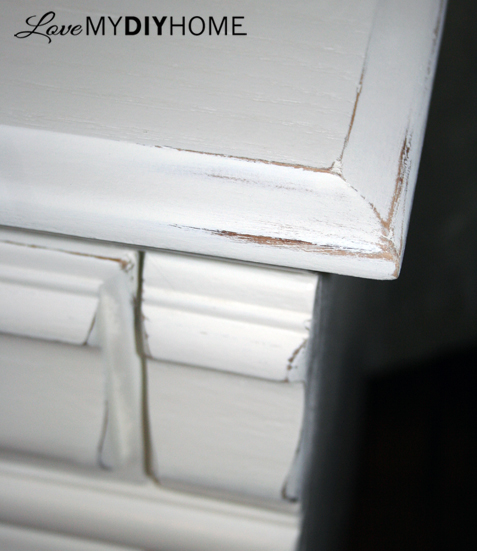
After the paint dries, sand the edges and corners to distress it.  \
\
 \
\Step #6:
Add hardware. Typically the hardware needs replacing. It’s a great way to give it character and make it your own. Hardware is the icing on the cake.


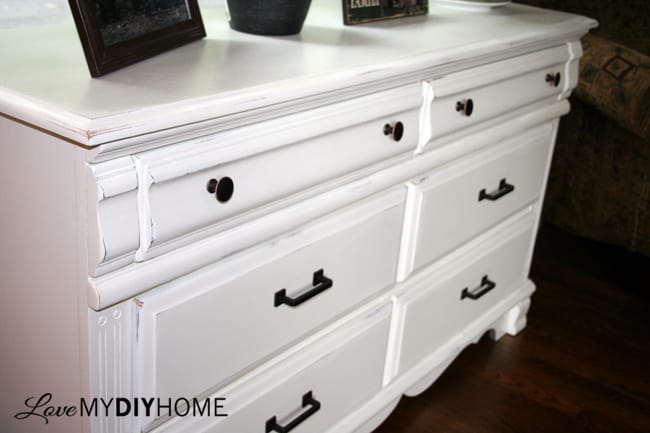

She also upcycled an old dilapitaded dresser we found on the side of the road in the rain into a tv stand in the same paint.
We have become a throw away culture. But I see that changing. I am pleased to see that things are a changin’ and more people are restoring or restyling furniture to fit their vision. The saying, “Necessity is the mother of invention,” plays out in tough economic times and is the back bone of DIY.
It’s truly a good thing.
What piece of furniture is sitting out in your garage waiting for someone to pick up a brush and give it new life?
Do you typically toss out old furniture and buy new?
Please don’t. Consider reviving your outdated decor – making it your own.
Let me know how I can help.


April used latex paint from ACE Hardware, but if you like chalk paint for this type of project, I have some recipes for you – how about a FREE PDF of 5 Homemade Chalky Paint Recipes? Click the picture below if you’d like it sent to you via email. It will also put you on my mailing list, but feel free to unsubscribe at any time:


* Disclosure: This post contains affiliate links. If you buy anything after clicking on one of the affiliate links, I receive a small commission of the sale. The cost to you is the same, and I only link to items that I think would benefit my readers. Your support of this blog is greatly appreciated!

Dresser came out just right! Send me more of your projects! Happy Holidays!
Go ahead and subscribe and you’ll get a monthly listing of my posts. Are you a furniture flipper?
This looks fantastic!! Awesome flip and I love how you just walked up through the steps like it was a breeze. Beautiful!
Thanks, Carole. I do like a good tutorial.