While in Virginia visiting our DD and SIL, we worked on a couple of projects – an island made out of pallets and a rocking chair painted with homemade chalk paint.
This is a tutorial on the DIY Deck Island.
Hammer
3″ Deck Screws
Cordless Drill
Pry Bar
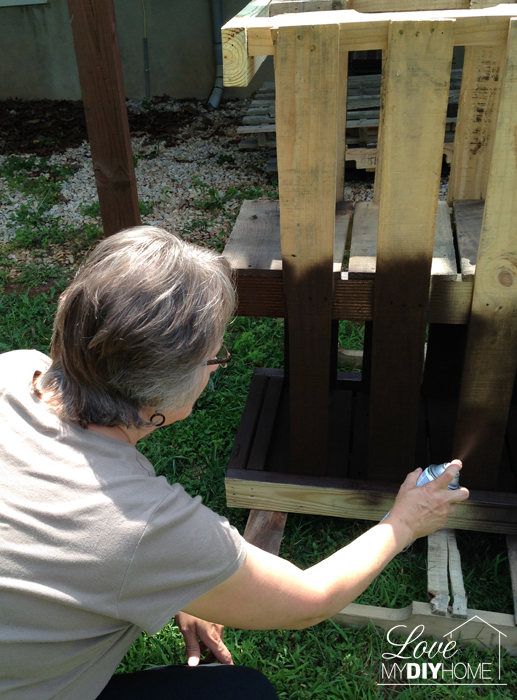
Spray Paint
Glue
2x4s
Ceramic Tile
DIY Deck Island
Since pallets come in all different sizes, we won’t give you exact measurements, since it would do you no good anyway. BUT, I am giving you detailed pictures and will try to answer any questions you may have – just leave them in a comment.
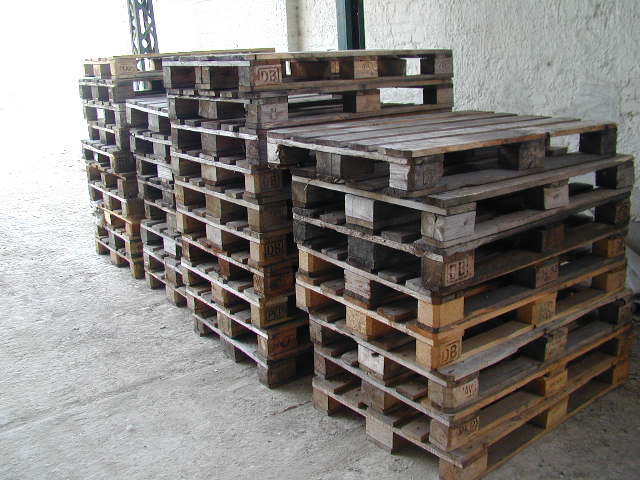
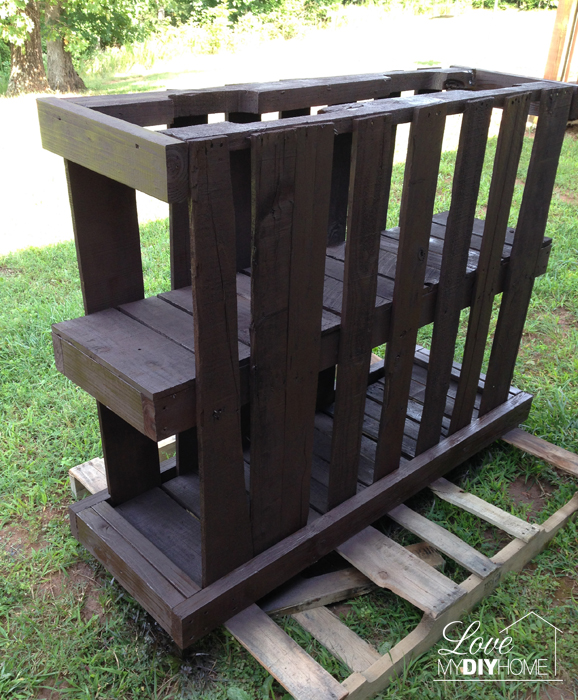
Find two pallets that are the same size.
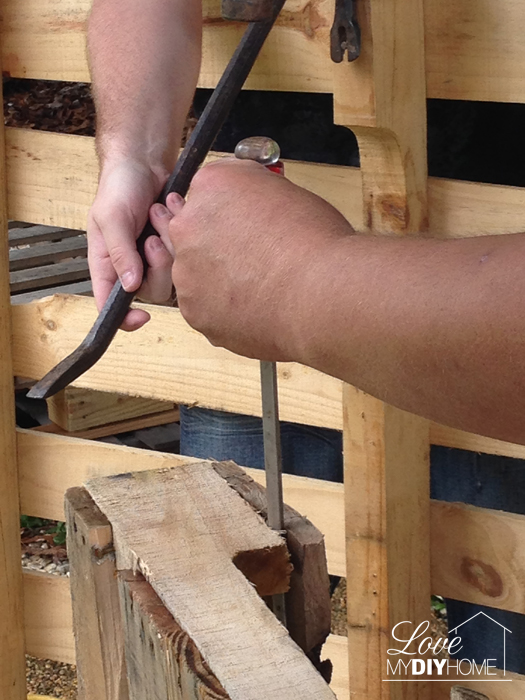
Pry off pieces that you won’t use, carefully.
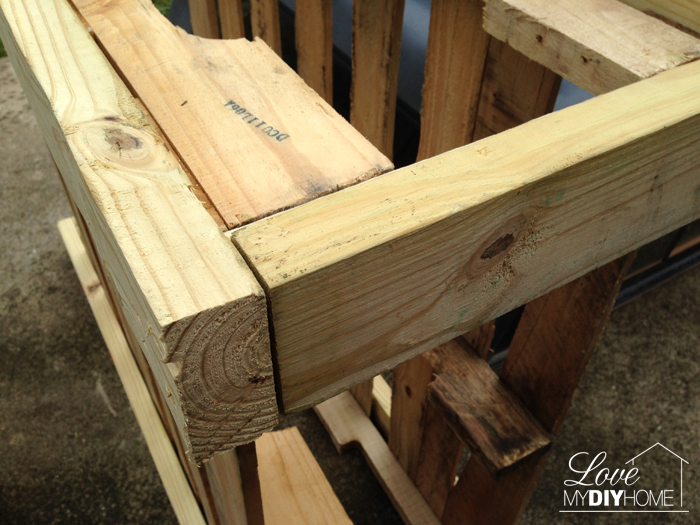
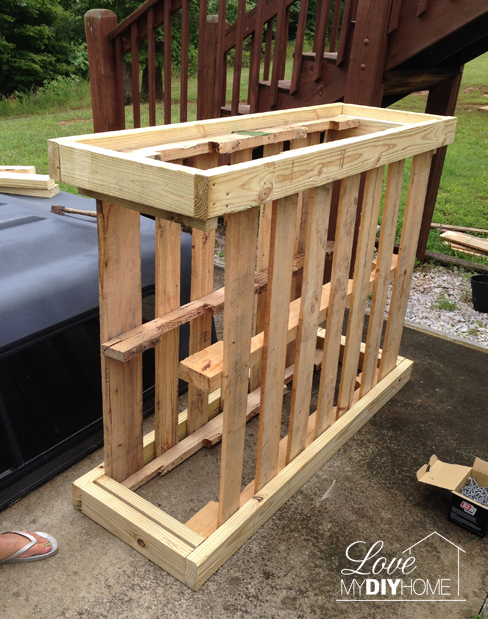
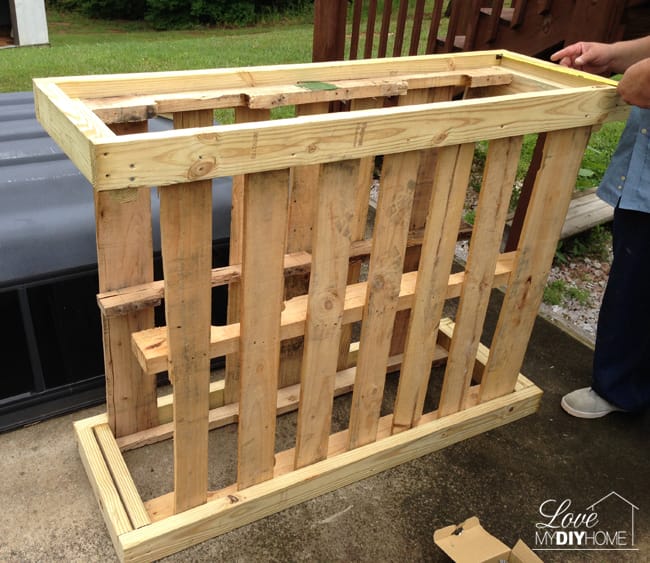
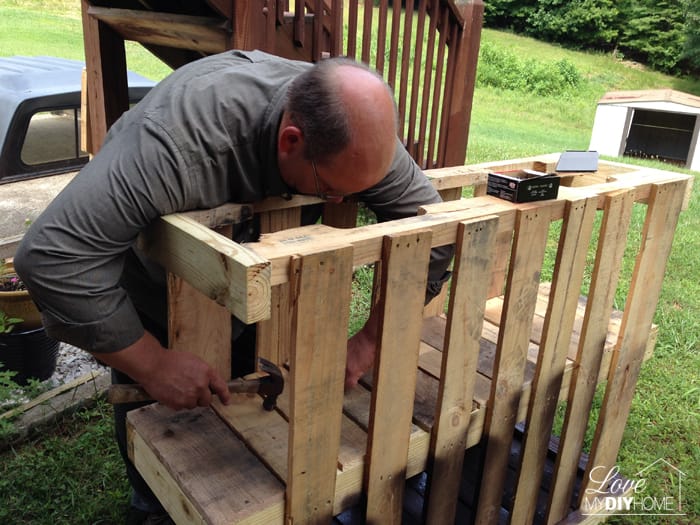
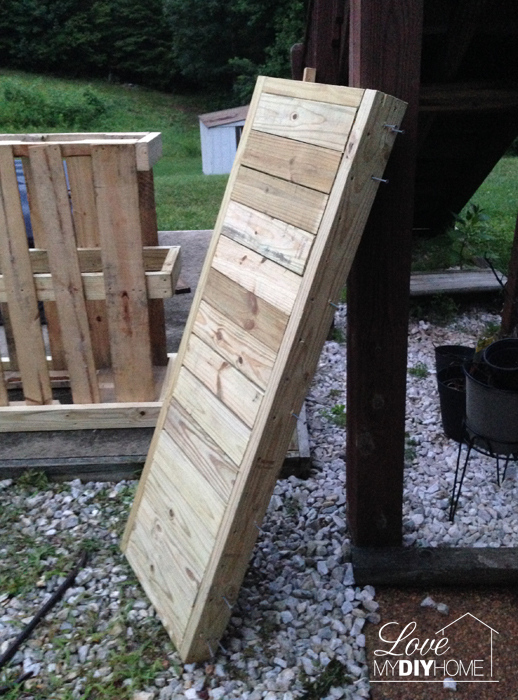
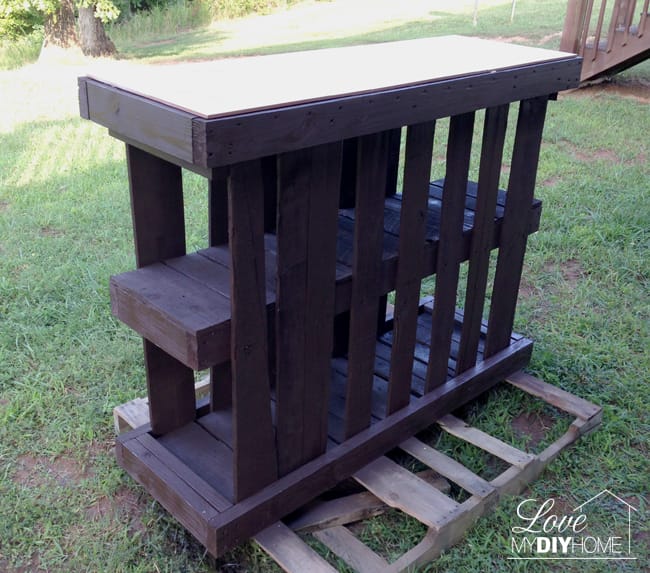
Keep in mind what size you will need the frame to be in order to accommodate the size of tile you plan to use on the top. DH used his (aff links) cordless drill to assemble the frame with 3″ deck screws.
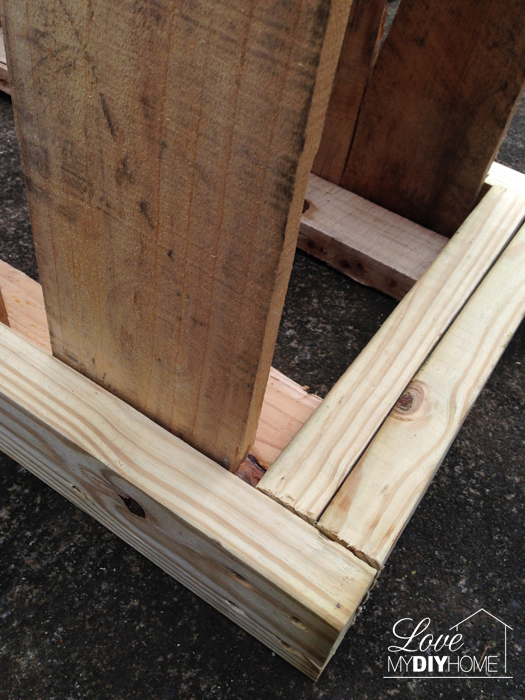
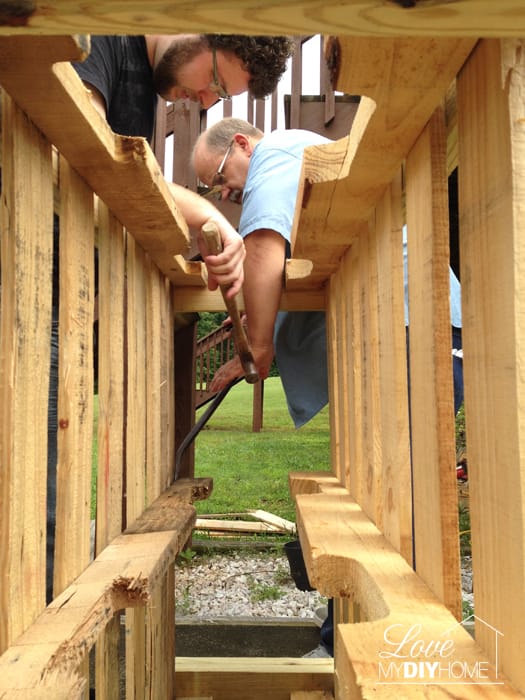
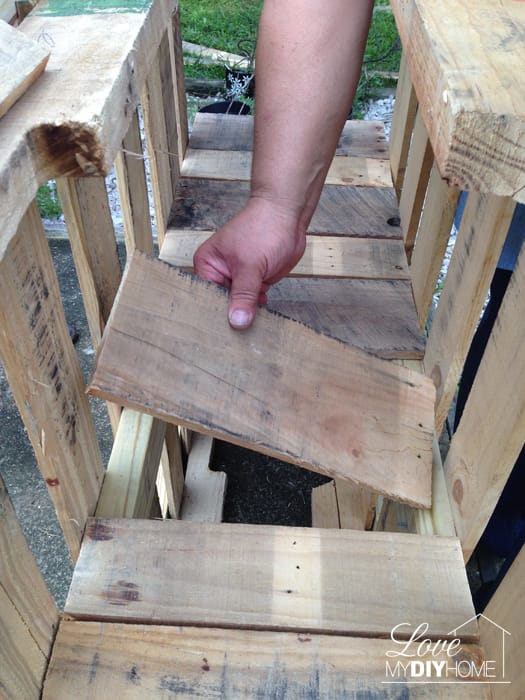
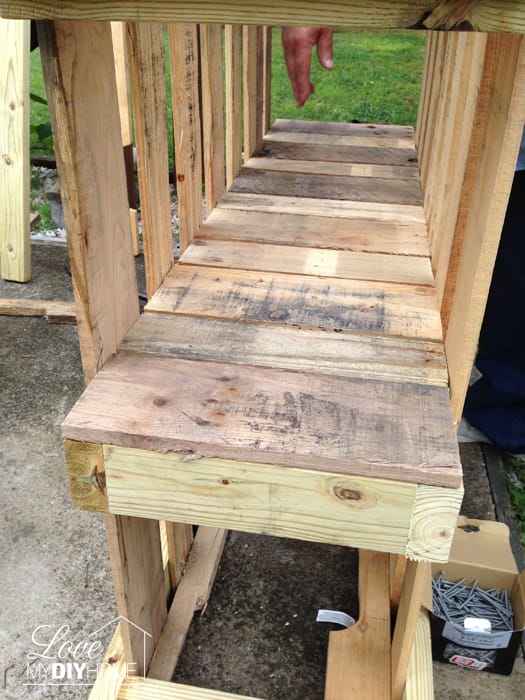
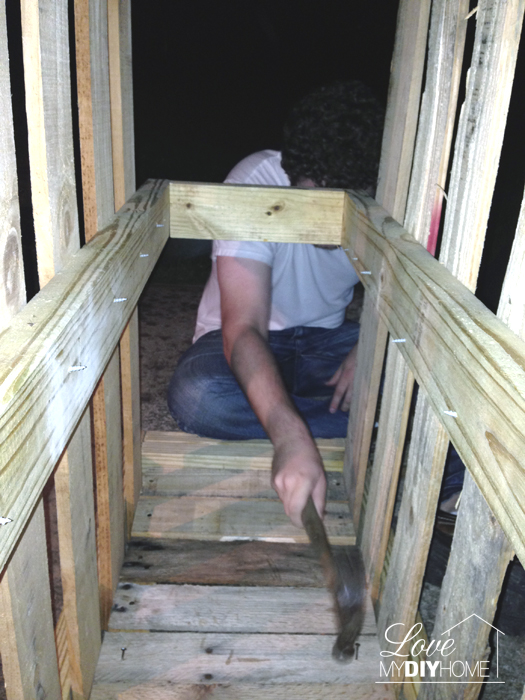
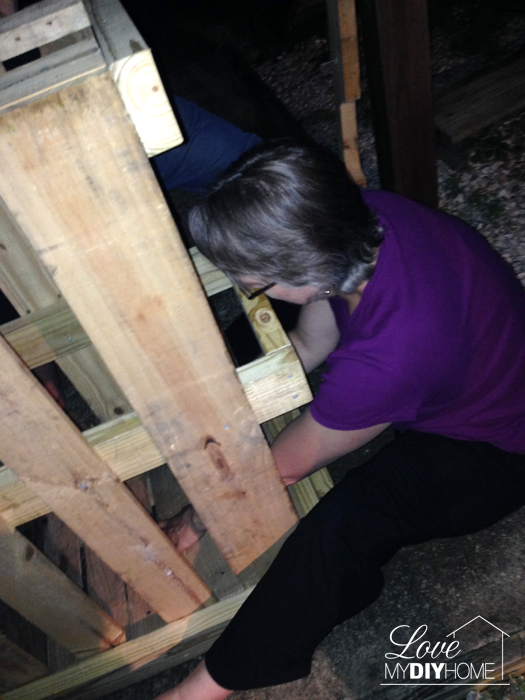
The middle section didn’t match up. We wanted a middle and bottom shelf, so in order to add that, the center and bottom pallet pieces needed to be level. DH and Taylor pried off the inside support and added new supports. My DH leveled up the bottom supports.
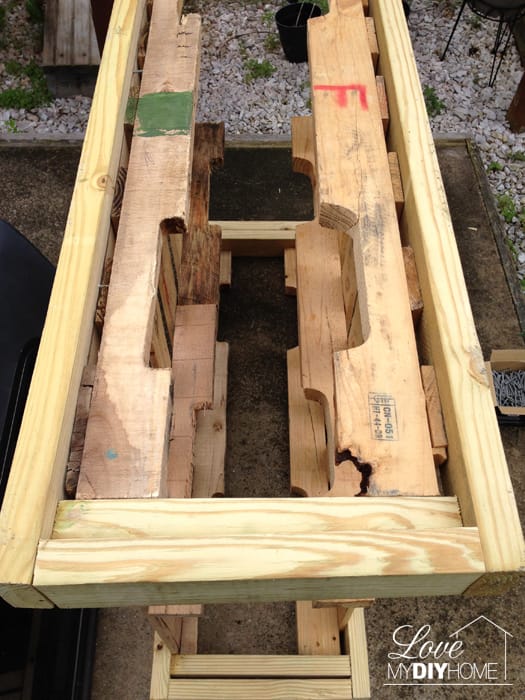
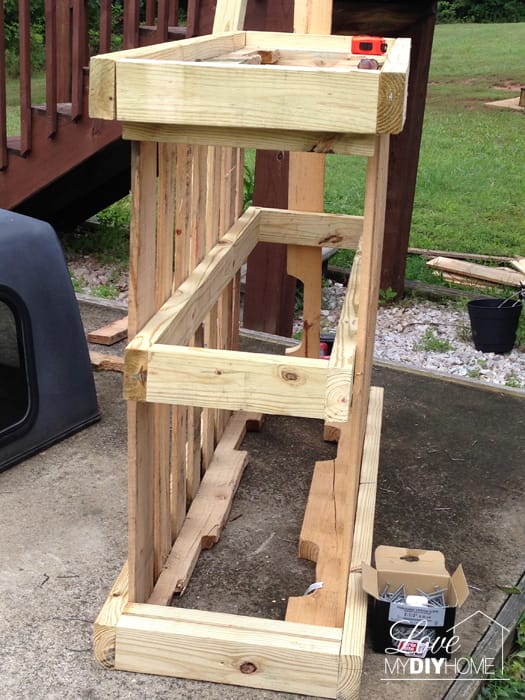
We added slats to the middle supports to make a shelf.
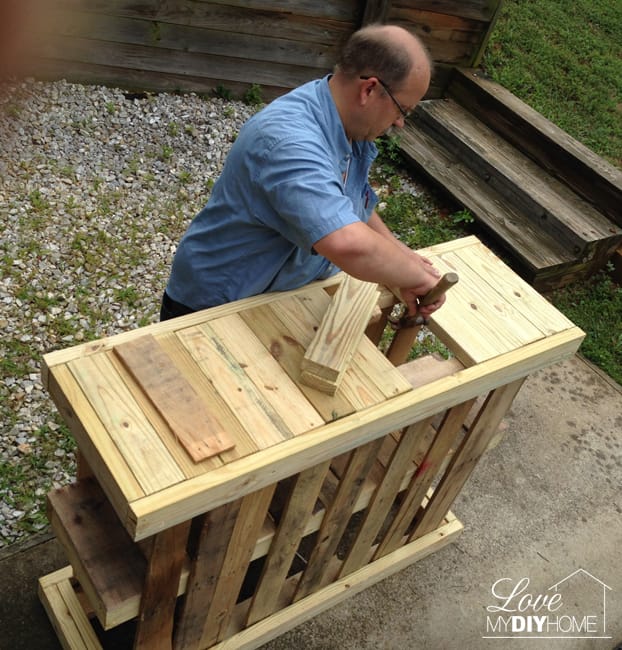
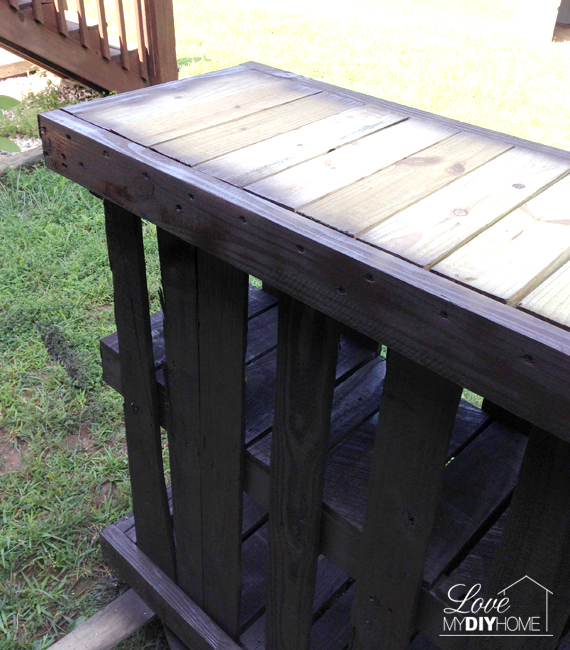
DH built a top piece that would set right on top using 2×4’s and pallet slats.
Support, cut, nail, repeat.
As you can see we worked past sunset – family projects are so fun!
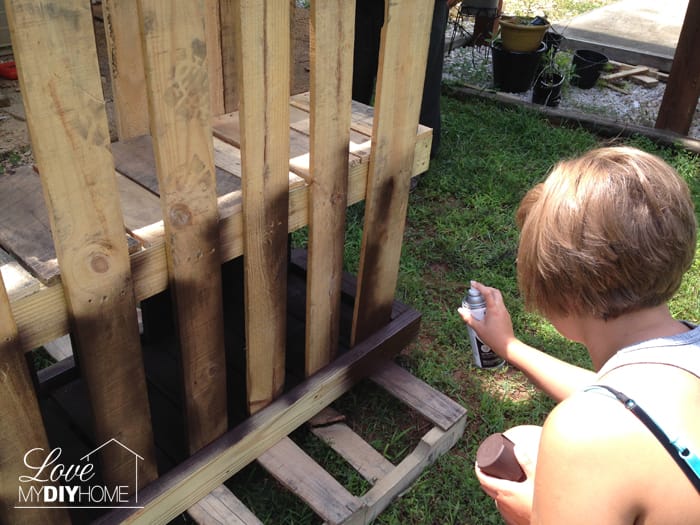
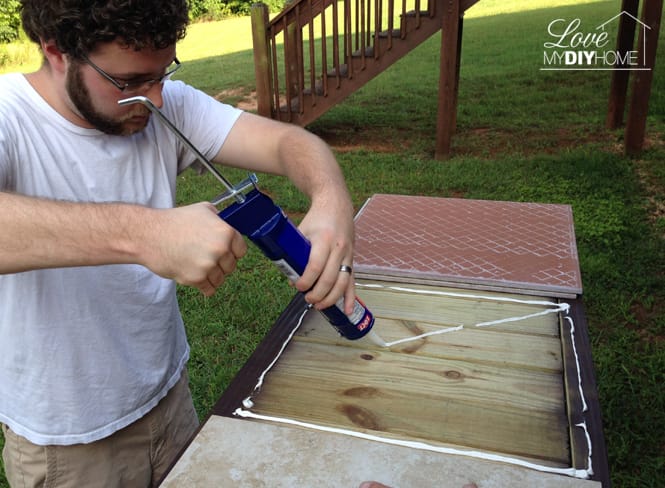
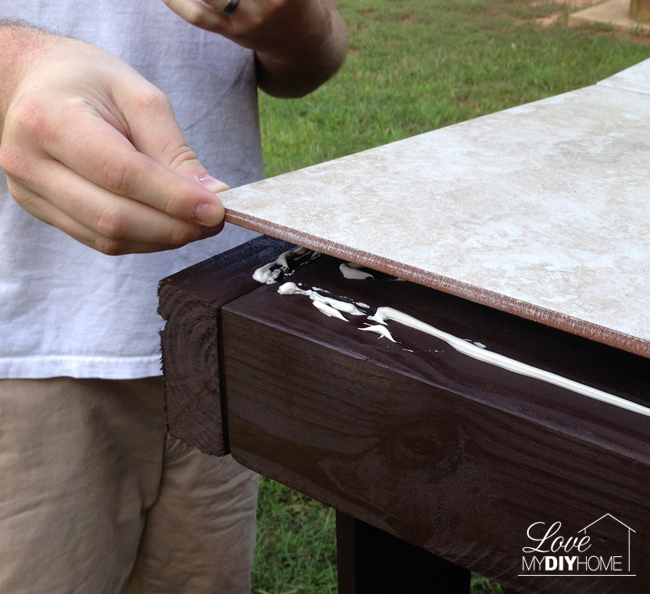
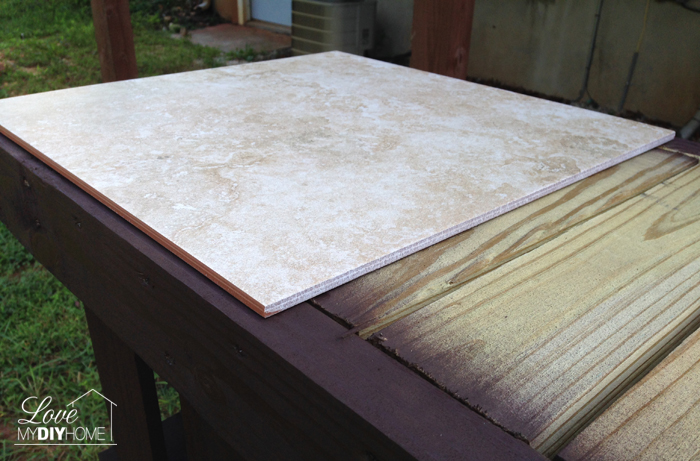
Taylor added glue and placed the tile.
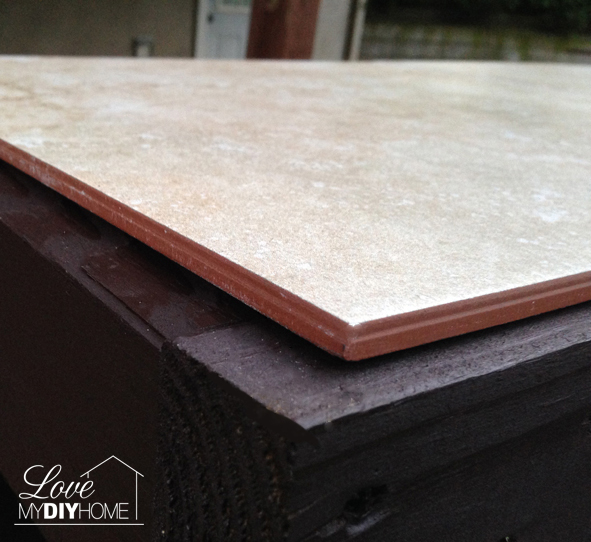
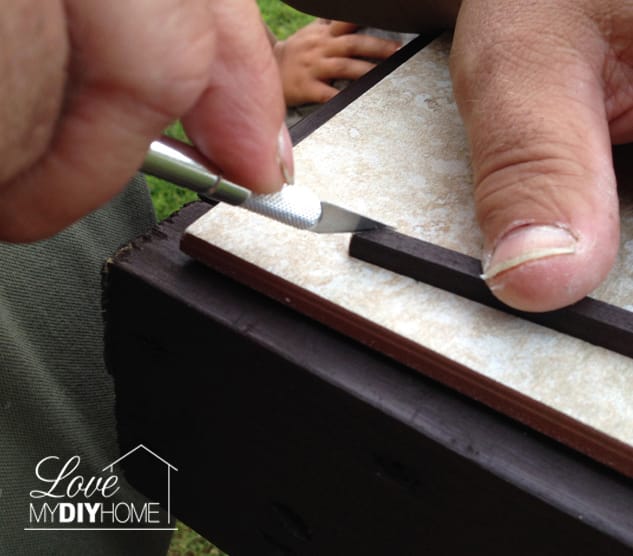
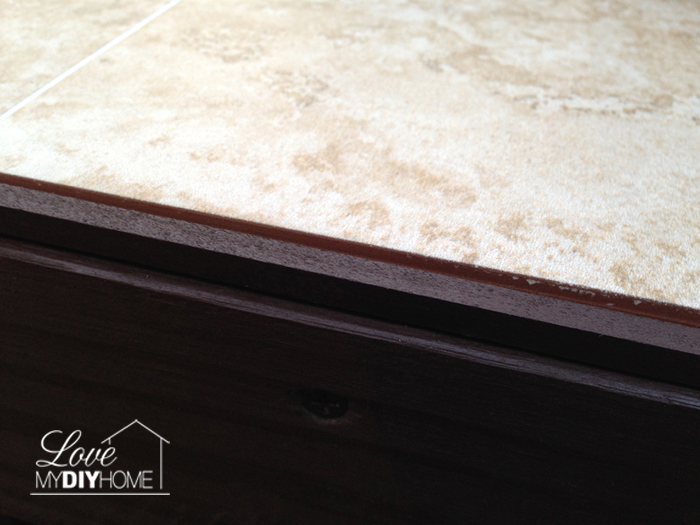
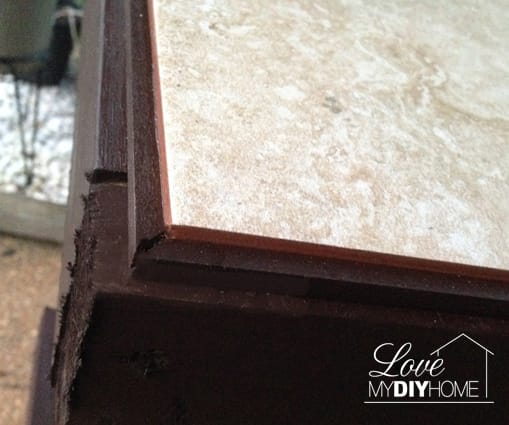
The tile looked unfinished so we added trim.
We couldn’t find quarter round that was slim enough, so we used simple square wood pieces to trim it out.
No, those aren’t my hands, BTW.
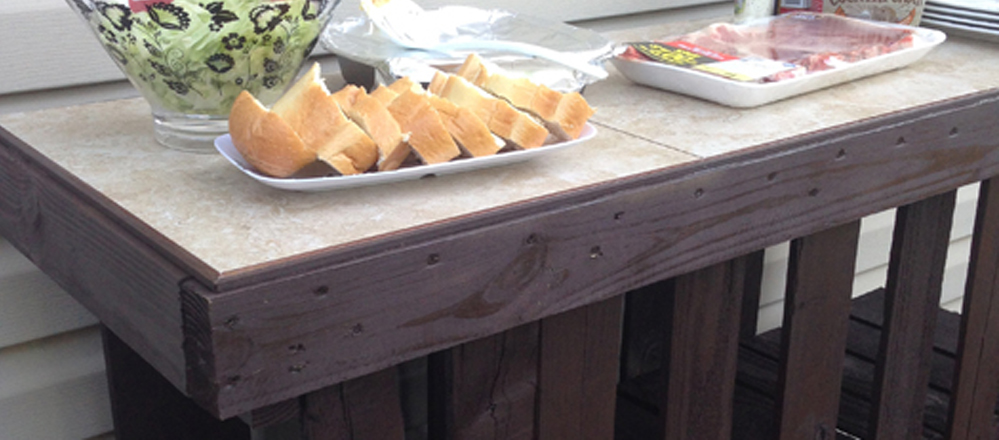
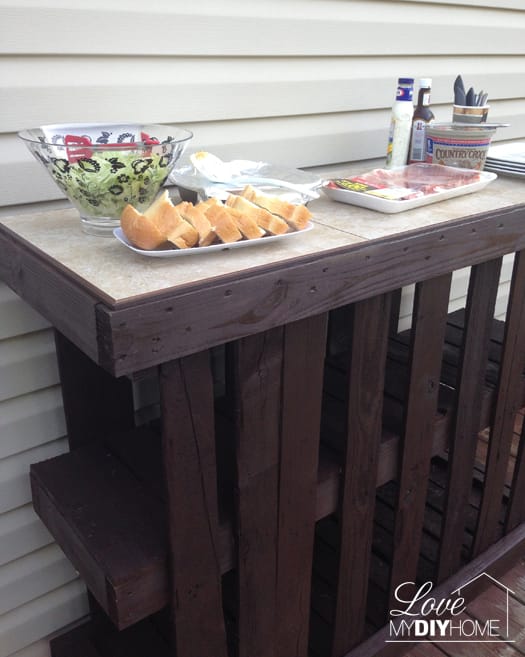
Trash to treasure – a deck island out of pallets.
I’ll never look at a pallet the same.
It does take vision, but if you can see past what a piece is and see how it COULD be, then you can have something useful and pleasing to the eye.
This pallet deck island was made in a weekend without plans or specific directions. Between the four of us, we figured it out and added and subtracted as we went along to come up with a one of a kind deck island. What have you dreamed up that you want to build?
Have you ever worked with pallets?
 If you are interested in using chalk type paint download my 4 Homemade Chalky Paint Recipes – compared and described with instructions PDF and then make it yourself and save $$. Doing so will put you on my mailing list but feel free to unsubscribe any time. Really. It’s OK. I may cry a little, but I’ll get over it. 🙂
Have a great DIY day!
XXOO
Planning a project? Shop Amazon:
* Disclosure: This post contains affiliate links. If you buy anything after clicking on one of the affiliate links, I receive a small commission of the sale. The cost to you is the same, and I only link to items that I think would benefit my readers. Your support of this blog is greatly appreciated!


Your deck table looks great! I love that you all put it together with no plans except imagination, and the tile top just sets it off. I’m sure it will be enjoyed for a long, long time. Thanks for sharing.
Thanks Karen! I just read your post about your lamp shade this morning. Don’t you just love thrift stores? I’m itching to go to one today…
This is by far the coolest pallet island I've found so far on pinterest!
Thanks, Jillian! 🙂
I'm a huge fan of pallet projects. Your island turned out fabulous. Hey, I recently started a new linky party on Scrapality. I would love for you to visit and link up. Have a wonderful weekend.
Thanks, Andrea, I’ll check it out.
Thank you for linking up this week for Scraptastic Saturdays. Your awesome pallet island was chosen as a feature for this week's Scraptastic Saturdays. Thanks for linking up!
Andrea, thanks for the invite! I’ll definitely make it a habit to link up.
I made one similar to this but didn't have the shelf. What a briliant idea! I'm pinning this one, because what could be better than one pallet bar – why two of course! Thanks for sharing!
Jeanette, I’d love to see a picture of yours!
This is one of the best Pallet upcycles I have seen. I love it and want to make one for my backyard! Thank you so much for linking up at The Handmade Hangout. Featuring tonight at Redouxinteriors.com. 🙂
Thanks, Karen! I’m coming for a visit to your site – don’t you just love upcycling?
This is gorgeous! I am just finishing a pallet bar similar to this. I can't wait to set it up! Thanks for sharing!
Thanks – my DD and SIL just moved here so now it’s in MY deck! It will get a lot of use this summer. 🙂
Nice job. I could sure use this on my back deck. The only thing I might do differently is make the shelves accessible from one of the long sides. Unless I had something specific that was long, which would store there. Maybe a table umbrella on the bottom and long BBQ utencils on the middleshelf.
We were planning on adding some hooks on the sides to hang tools on. It works so well for outside events and grilling. Thanks for visiting, Roberta.
Love the idea and hope to have my husband build us one soon!