This is my favorite DIY thus far, an upcycled antique door turned into a trendy piece of home decor for just pennies.
My DH and I found some old doors at an auction – about two years ago.
They’ve been sitting out under our lean-to since, just calling to me,
“Paint me, Paint me…”
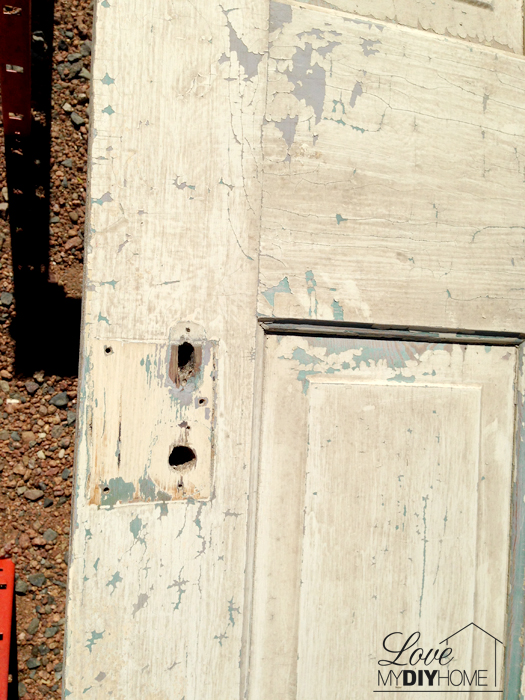
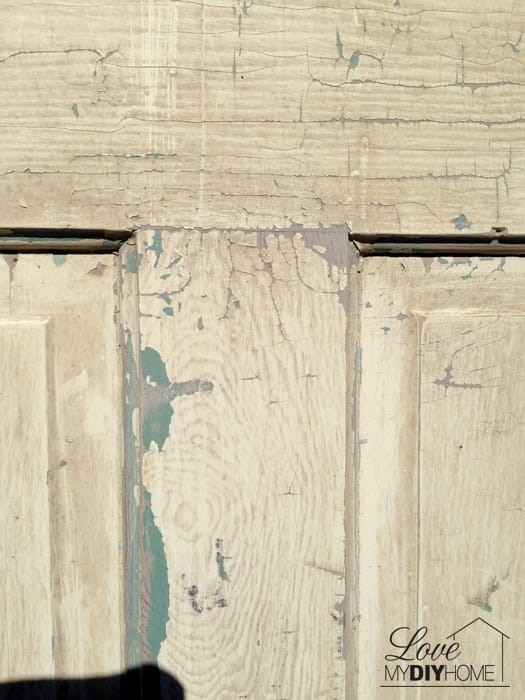
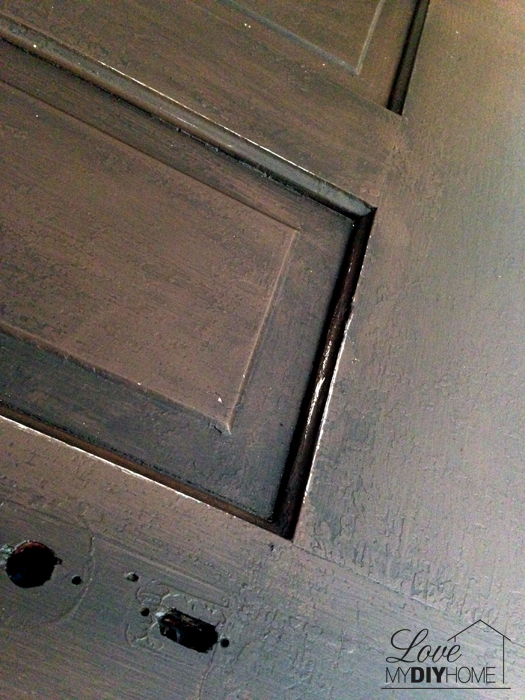
Here are the before pictures – side one.
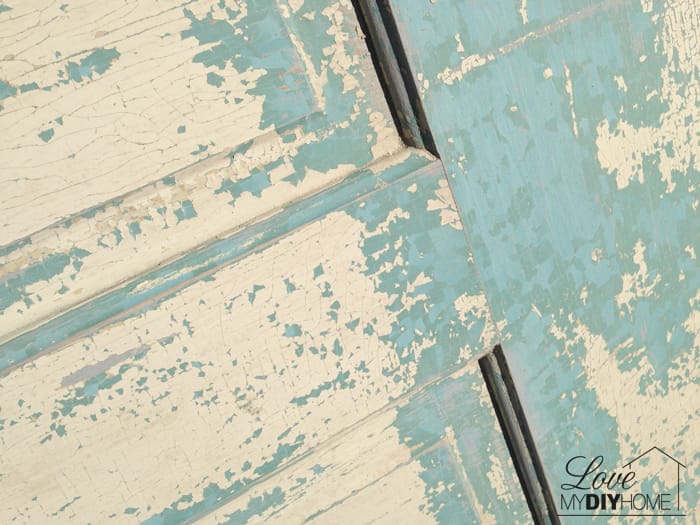
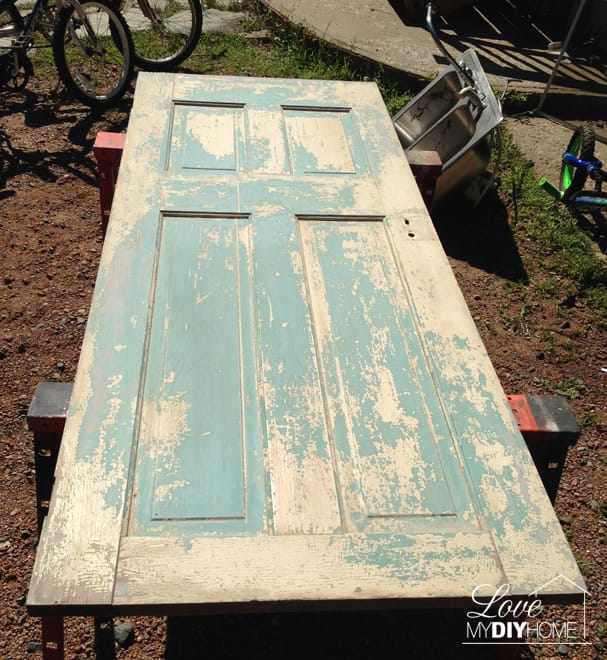
Here are the before pictures – side two.
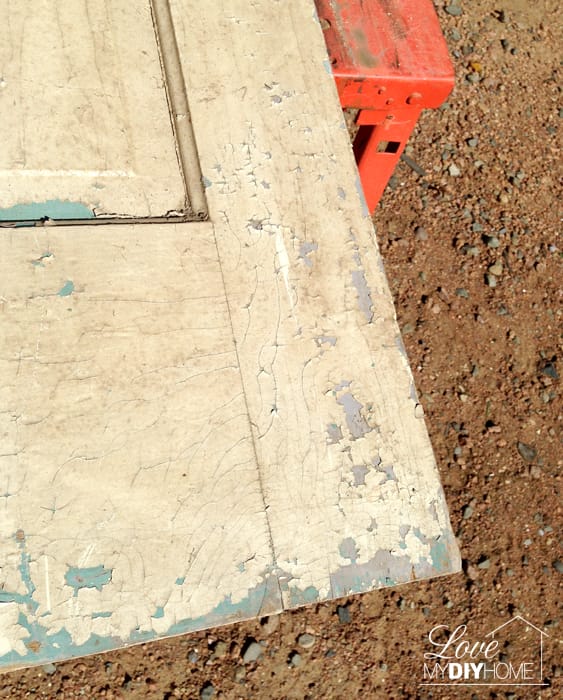
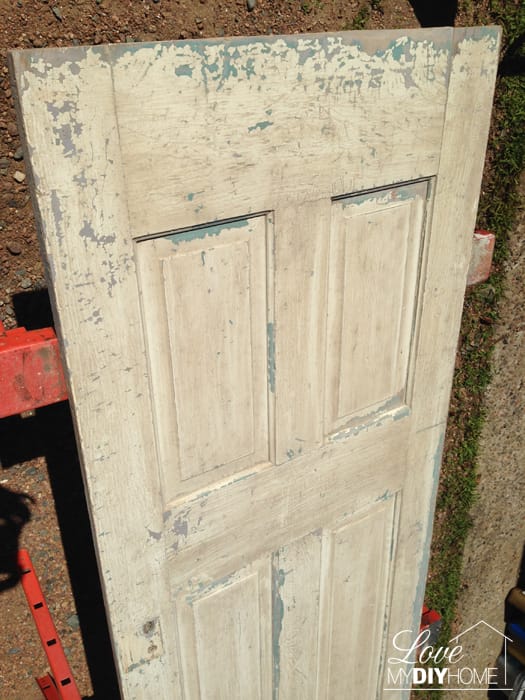

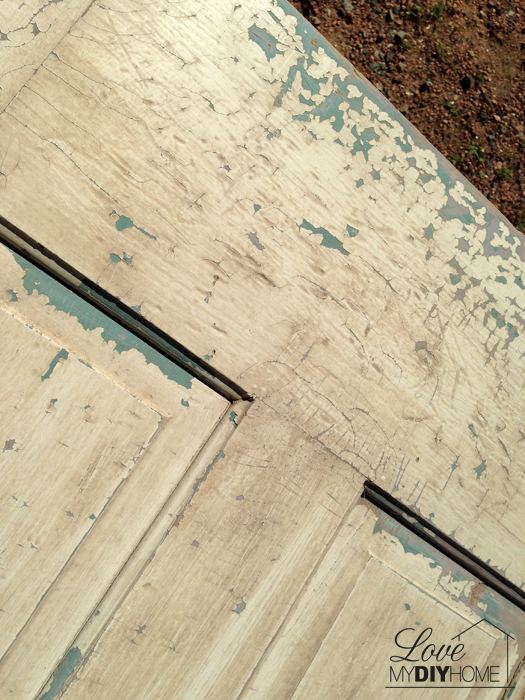
They’re pretty cool in the raw, but I had other plans. This will turn into a series because there were many steps to the project.
Step One:
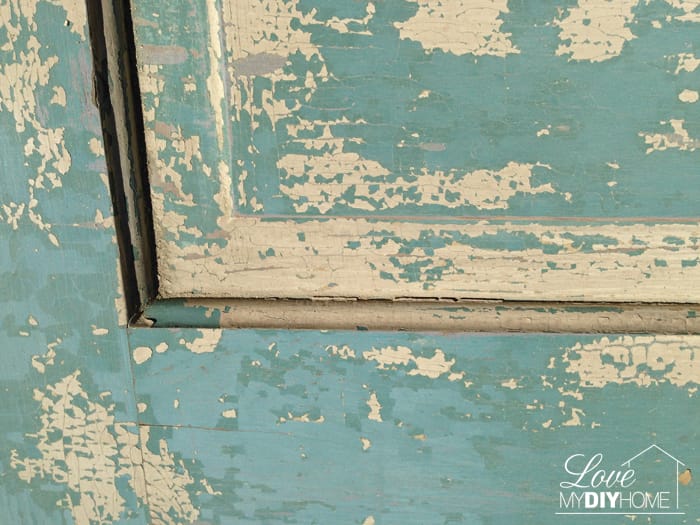
- Clean and sand both sides, but not so much that you lose the textured layers of old paint.
I used a Sanding Sponge, Fine/Medium.
These sanding sponges are easy to use and if you don’t use too much pressure, you can preserve the alligator chippy look of the many layers of paint, yet still get off the loose stuff.
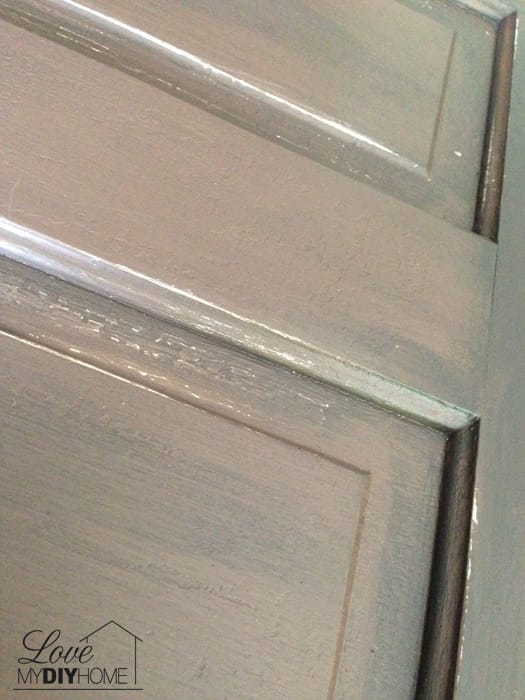
Step Two – Side One:
- Paint one side of the door.
 \
\
Step Three – Side One:
- Bring back the antique look.
To antique the color a bit (I didn’t have any dark wax or antiquing stain at the time or I might have used that), paint on darker brown paint over the medium brown, rubbing it off in spots with a rag to create the old world-ish look. Not everything has to be done exactly how everyone else does it! Unique is better – don’t you think?
Sometimes “unique” means cheaper too. I like cheap, easy AND unique, especially if they are all in the same project.
If you use darker paint to antique your first color, you have to wipe it off fairly quickly before it sets. It wasn’t difficult, just a little tricky. It was kinda like a trial and error with no re-do.
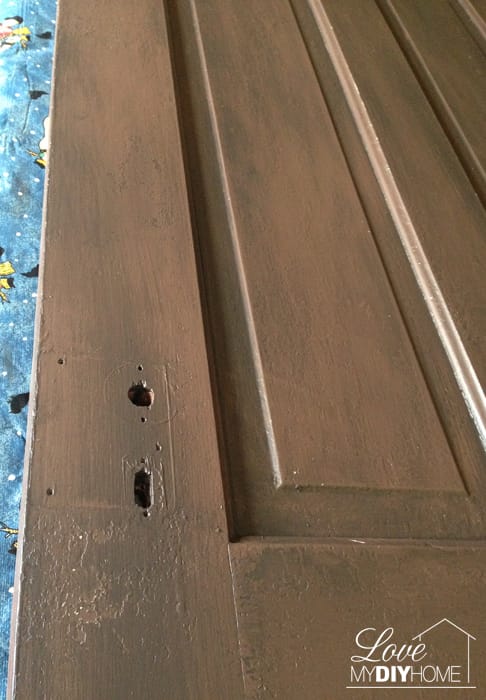
Step Four – Side One:
- Rough it up.
After it’s dried completely, finish the antiquing process by roughing it up a bit to give it some dimension.
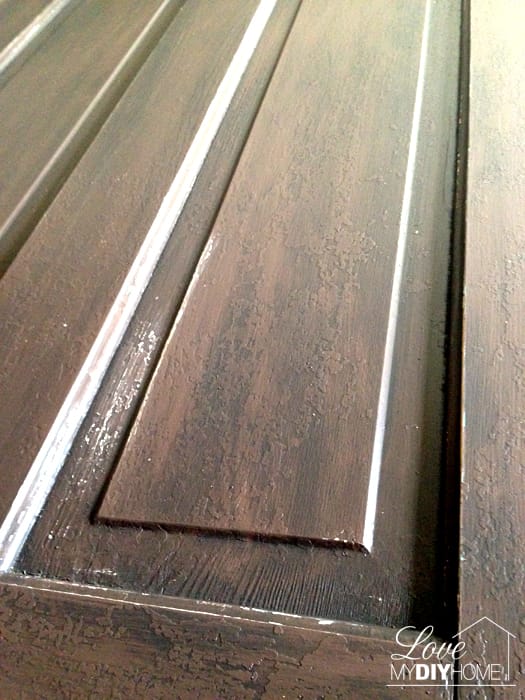
Step Five – Side One:
- Apply wax.
I just painted it on with a regular brush. I’ve used American DECOR creme wax before and like how it applies and dries.

Side one is done. Next time, I’ll show you what I did with side two.

Join our community if you’d like to receive FREE stuff like word art, ebooks, tool lists for special projects, etc. along with tips and such. You like free? How about a FREE PDF of 5 Homemade Chalky Paint Recipes? Click the picture below:


* Disclosure: This post contains affiliate links. If you buy anything after clicking on one of the affiliate links, I receive a small commission of the sale. The cost to you is the same, and I only link to items that I think would benefit my readers. Your support of this blog is greatly appreciated!
Looking forward to seeing what you do with the other side! Thanks for sharing it at the Vintage Inspiration Party!
I just picked up a fantastic old door a few weeks ago that's still in my garage waiting for some love. Can't wait to see yours finished!
Amy, I’d love to see your door when you are done with it, and pin it on my Pinterest doors and windows board.
Can't wait to see the end product! Thank you for sharing on Show Me Saturday!
Absolutely lovely what a job well done. I love doors with character.
Thanks for sharing (and for linking up to the #SHINEbloghop).
Wishing you a lovely evening.
xoxo
Iove the doors…can't wait to see what you have in mind! ox Thanks for linking to Shabbilicious Friday!
Congrats! You were featured on Friday’s Five Features over on DIY Vintage Chic. Stop by and grab yourself a button! http://diy-vintage-chic.blogspot.com/2015/03/fridays-five-features-no-80.html
Thanks for the feature!
Beautiful work! Love your results.
Side 1 looks great, looking forward to side 2! Thanks for sharing at What'd You Do This Weekend? I hope you will join us again tomorrow morning 🙂
I plan to be there!
I can't wait to see how it turns out! So glad I found you on DIY Dreamer link party:-)
Katie
Katie, come back… Part 2 is here!