A Simple Solution for a Damaged Side Table
What do you do with a side table that has a damaged surface?
Years ago I bought this blonde side table at a garage sale for a few dollars and put it beside our bed when we moved to Wausau, on my husband's side.
It was in a hallway for years, but I thought it would be nice from my DH to have it since I gave away his Aunt Emily's table to my daughter to refinish. See her project here.
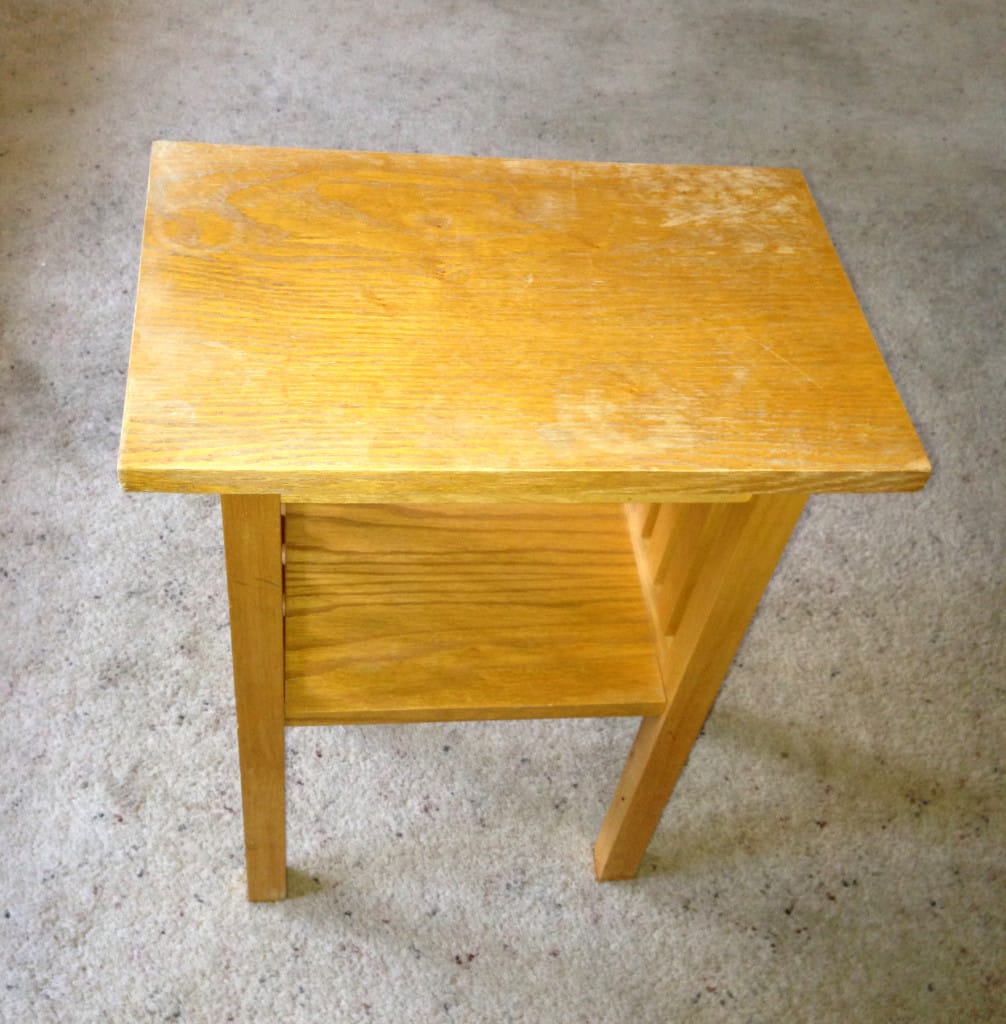
Guess what? The top of the table developed some mysterious white rings and most of the top was water damaged.
Don't worry my DH, I won't tell anyone it was you. Besides, you did me a favor! Read on...
I had thought for a year that I would have to sand it down and restain it, but really didn't like the blonde look, so I put it off since I wouldn't have anything I really liked anyway.
I liked the style of the piece, just not the finish.
Have you ever looked at a damaged piece of furniture and get that sinking feeling, "It was such a nice piece, now it's just junk!"
So I had an idea...it all starts with an idea!
I taped off the bottom part of the table so just the top piece was exposed.
I sanded the top by hand with my 3M Sanding Sponge, Medium Grit.
And then just spray painted it! This is another EASY DIY Project.
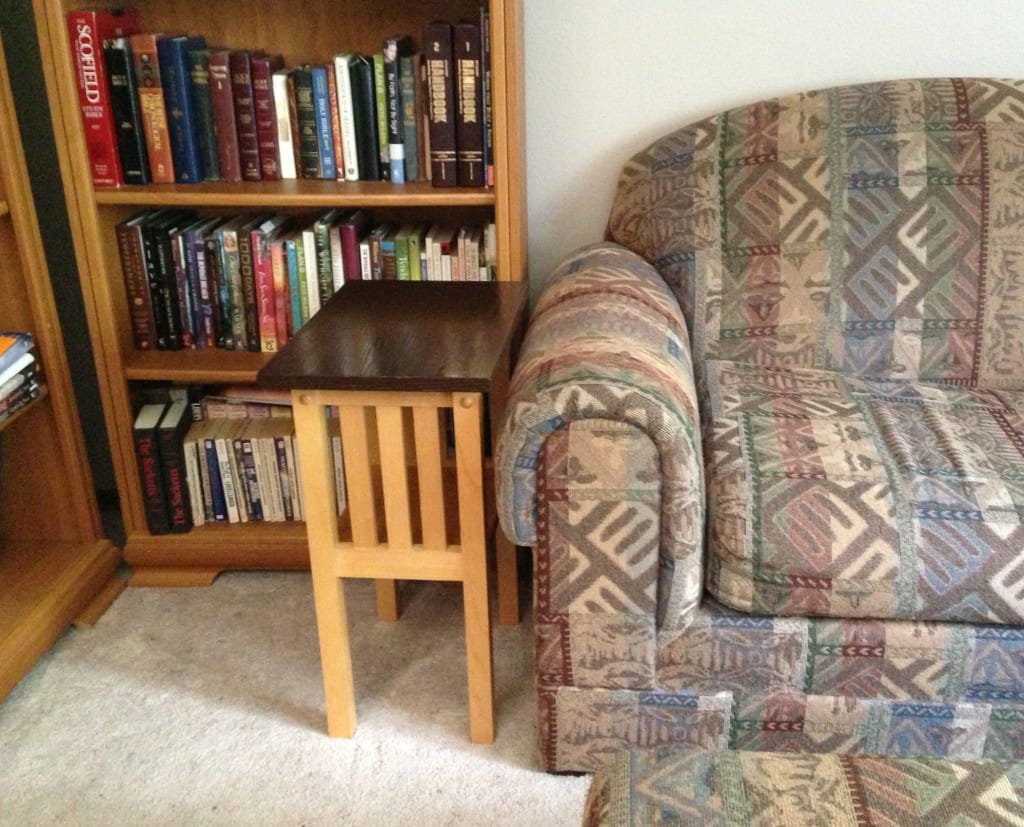
I actually like it better than before it was damaged. So, good job, my mystery table damager!
Because of you, my table is gorgeous!
Now all I have to do is figure out a way to make my dating chair as beautiful as the table!
I'd love to hear what you think. Please leave a comment!
Check out some other spray painted projects:
Spray Painted Deacon's Bench and Corner Shelf
Baby Dresser Turned Master Lingerie Chest
*Disclosure: This post contains affiliate links. If you buy anything after clicking on one of the affiliate links, I receive a small commission of the sale. The cost to you is the same, and I only link to items that I think would benefit my readers. Your support of this blog is greatly appreciated!


I LOVE the table! It's great when you can pick something up for a couple bucks, put in a little work, and have a fantastic and unique item for your home!
Rhonda, in these days and times we have to re-do, re-purpose and re-think!
This table is great! I love updating something you already have.
Thanks, Beth. Tell Zach happy birthday!
I agree with you. I like the finished product better than the original! So easy and it looks so professional! Good job!
Thanks, Jill. It’s pretty amazing what a little bit of paint will do.
That turned out great. I am actually working on a cheap table I picked up at the Goodwill for a few dollars (an end table for our living room). The bottom was metal and I spray painted it. The wooden top I loved, but it had some deep scratches and faded areas as well. So I sanded it, put gel stain on it and am still applying poly. to it.
Emily, I would like to see your table when you are done with it.
It looks so much better with the painted top! We never find anything good at thrift stores or yard sales around here, I think we need to start "shopping" in nice neighborhoods.
Thanks for stopping by my blog today and checking out my kids' costumes 🙂
Jenn, I look far and wide for my projects and sometimes hold onto something for years before I decide what to do with it. It is hard to find good stuff that is cheap at consignment stores – sometimes I think they look at themselves as retail shops. But there is that occasional good deal that makes all the looking worth it! Gotta kiss a lot of frogs to find your prince!
The table looks fabulous! I love the two tones together. Your mystery ring maker did indeed do you a favor.
I love DIY projects and this is another great example! I love the table and combination of wood colors. Great job!