We’re on a roll! The wood floors finally dried and got a second coat – oh boy, just wait until you see ’em in the final reveal!
Kitchen DIY Flooring
The kitchen floor had two layers of linoleum. Here is a peek at the lovely green and yellow kitchen floor before. OK, not so lovely…
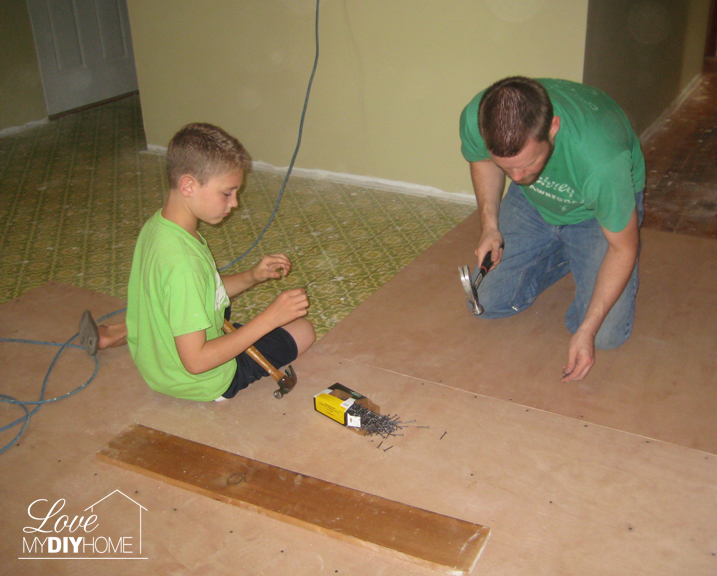
They took off the top linoleum, but left this second layer (the green yellow) and laid down a luan sub floor over it ($10/sheet). The sub floor insures a level flat surface for the new floor. Those who are looking for aesthetically-pleasing floors may consider applying Bespoke Resin Floor Finishes. Get in touch with a concrete polishing Adelaide company to explore the concrete flooring options that will match your home’s interior design.
Once that was in place, Adam marked the middle of the floor and made sure it was plumb for the first square.
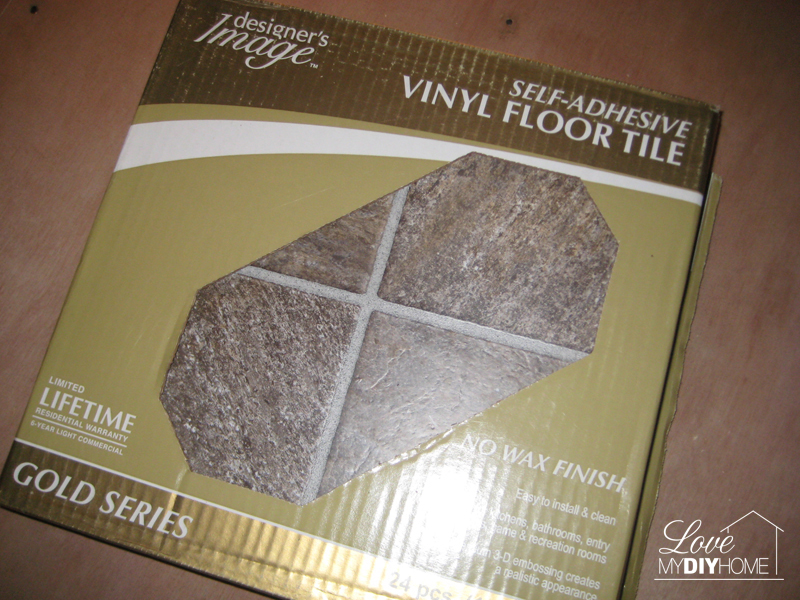
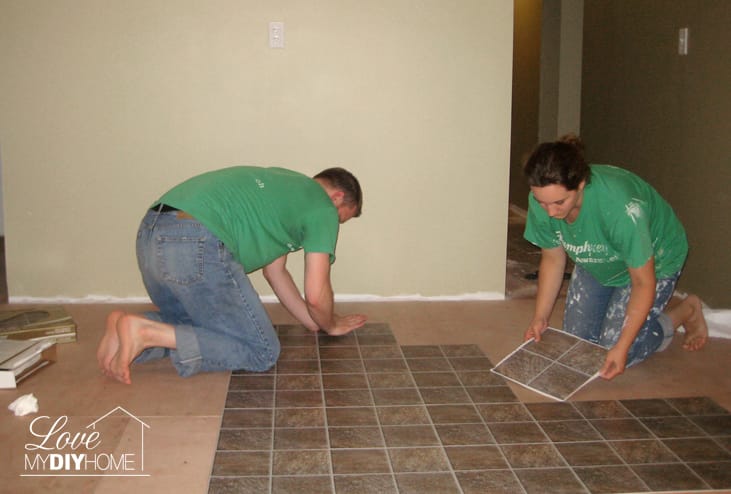
They used self-adhesive vinyl floor tile – AKA place and press squares ($21.36/box, 8 boxes from Menards). Easy on the eyes, easy on the budget, easy to lay.
Once you get the first one laid, the rest is easy. Just peel and stick!
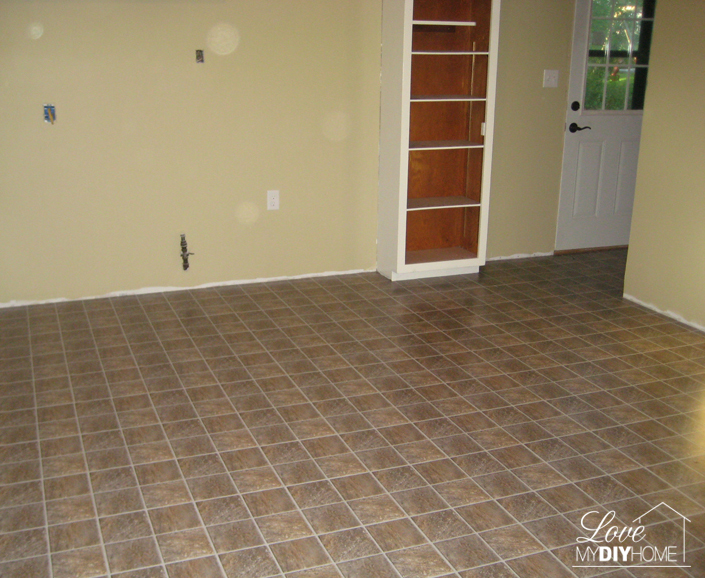
The change is amazing.
Bathroom DIY Flooring
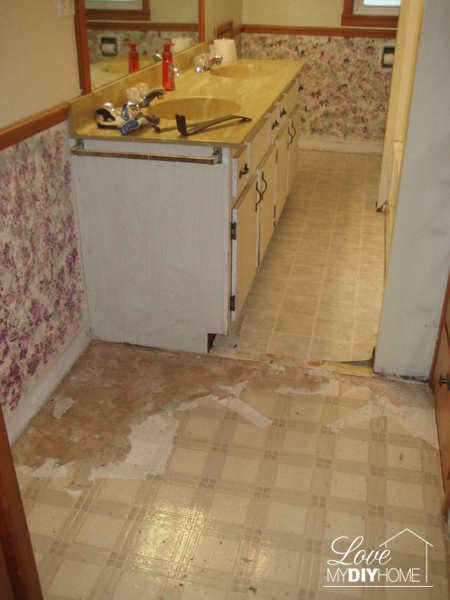
The bathroom also had two layers of linoleum.
Can you say, BLECH?
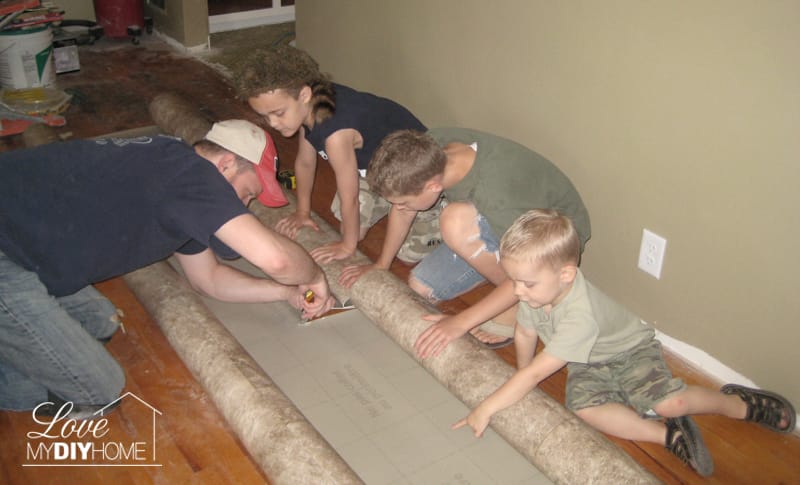
The Joneses chose to use a one piece flexible linoleum from Menards that was very soft and pliable. Once again there must be a sub floor before the new floor can be laid.
They had to get a 12 x 14 ft. piece because of the odd dimensions of the bathroom ($166/$.99 per sq.ft.). They had a bunch left over – Hello, Craig’s List.
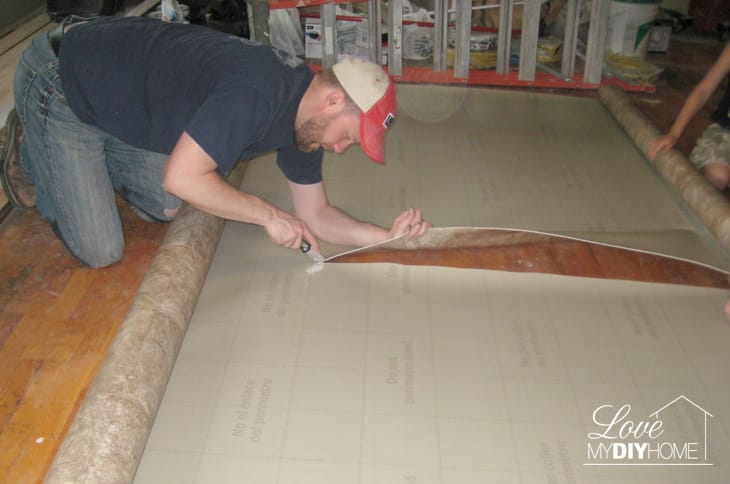
See how it molds around the wall, making it easy to cut to size?
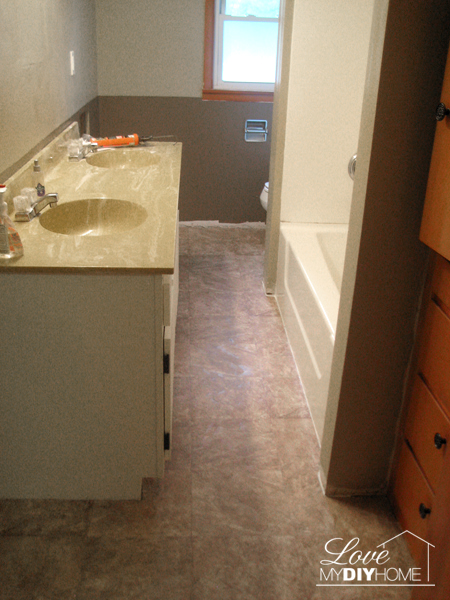
Huge change. H.U.G.E.
The kitchen cabinets are almost done along with the bead board back splash; I’ll show you those next.
They are expecting to move in next week!
Of course, Meemaw and I told them go ahead and move…
But they have to leave the grandkids!
More in the series:
Keeping Up With the Joneses – The Kitchen Before Keeping Up With the Joneses – Kitchen Demolition Keeping Up With the Joneses – Preparing the Walls Keeping Up With the Joneses – From Polluted to Pleasing Keeping Up With the Joneses – Three Dozen Mice and MOLD! Keeping Up With The Joneses – Making Progress! Keeping Up With the Joneses – Just a Little Tweek









I’m going to bookmark this page. I would love to buy a fixer-upper one day. They make it look so easy and fun!
That’s the thing – DIYing can be easy and fun – most of the time. People don’t realize all the benefits that come with DIYing – not just financial, but to step back and look at something you did yourself, something that most people won’t do, well, it’s totally gratifying.
What a stunning difference! The kitchen looks so much better and I love that bathroom flooring that is so flexible. That has got to make the job much easier.
I’m sure it is getting exciting! It looks like they have put a ton of work into this house, and I’m sure they are getting eager to reap the fruits of much hard labor. What an exciting time!
Thanks for coming by, Karen. We’ve done a little work around the house (referring to your posts about “Knowing What’s Growing”), but plan to do much more come spring. I’ll be sending your blog posts to my DD to give her ideas for the outside of the house. I’m definitely going to try to find the Love Plant for my yard!