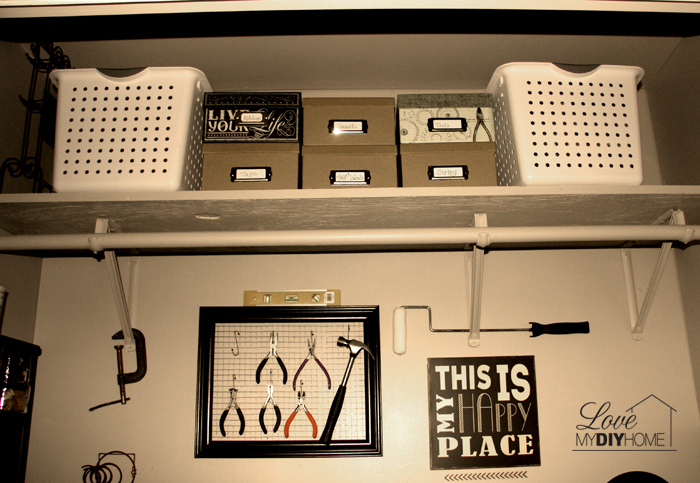
Keeping Up With the Joneses – Living Room Reveal
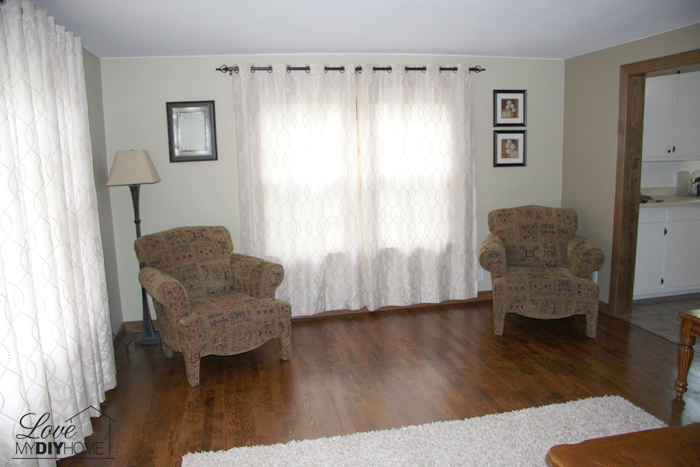
The day is finally here. The Joneses living room reveal has been a long time in coming. If you remember, they bought a foreclosure and rehabilitated the poor thing. It was a mess and they brought it from an unlivable beast to a beautiful charming home for a family of 5 – oh wait. Home for a family of 6! We are so long in bringing this reveal to you because a little baby doll, Maddie Moo made her appearance (April found out she was expecting) and everything changed. She sort of took over their world and slowed down their progress on the house. They moved in without having finished, hence no “reveal.” It’s OK. A home is a home because of who we share it with, not because the trim is finished or the drywall is up in the basement, right? Let me take you back through time for … Read more