This is the second in my How-to Series on Re-purposing Old Picture Frames
Here’s my first post with a list of 10 DIY projects to upcycle old picture frames.
The plan was to do this last week, but we had a special delivery just after Thanksgiving.
We welcomed in a new grandson. All my plans for the rest of the week went out the window!
But, I’m back now with a nifty little project for you.
It’s easy.
It’s cheap.
It’s useful.
It’s a great decor item.
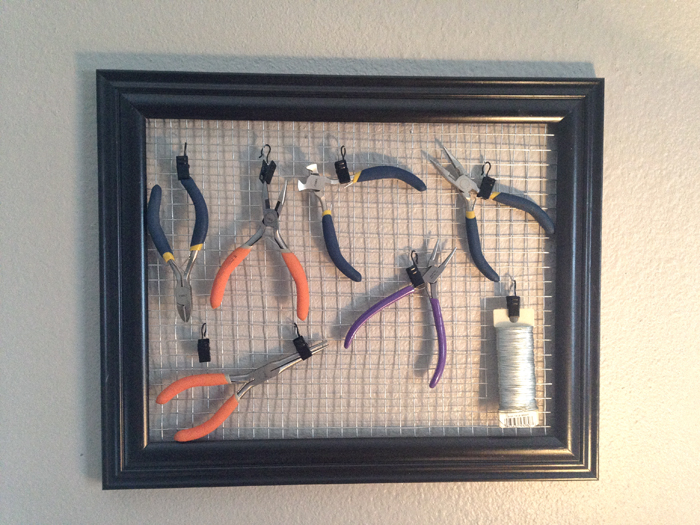
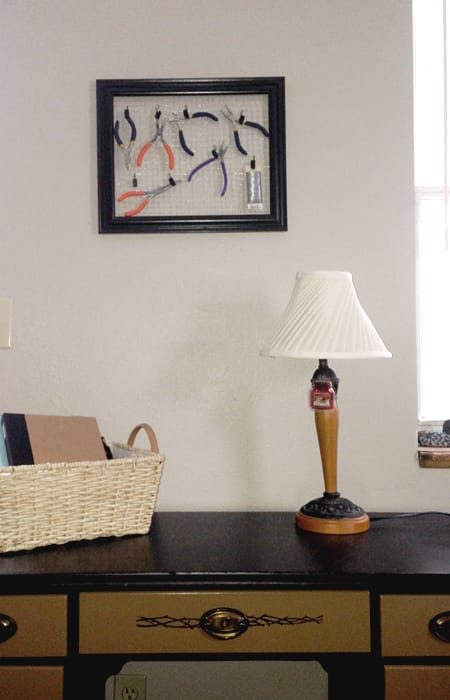
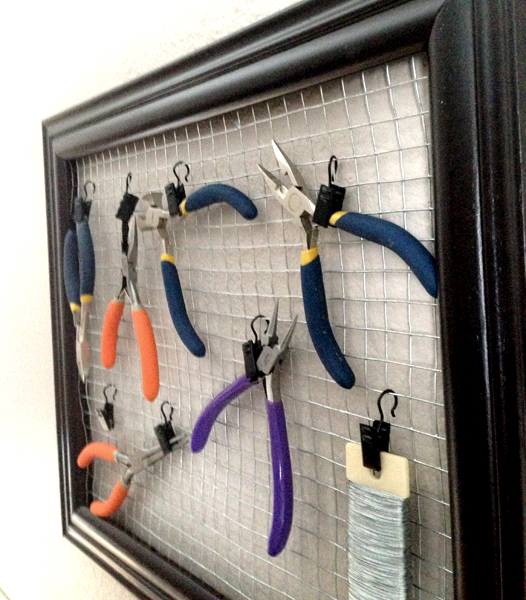
I’m using it as a tool hanger in my craft room. but really, it could be used for just about anything.
Use it to hang photos, craft supplies, kitchen tools, office supplies…anything goes.
1. I started with an old frame that I had used to display my kids’ sports pictures.
2. To remove the glossy finish, I sanded the frame with a Sanding Sponge, Fine grit.
3. Rust-Oleum Painters Touch 2X Spray covers well – so I used the satin dark walnut to paint it.
You could rough it up with the same sanding sponge after painting it to give it an old world look, but I decided to keep it dark brown to match one of my other projects.
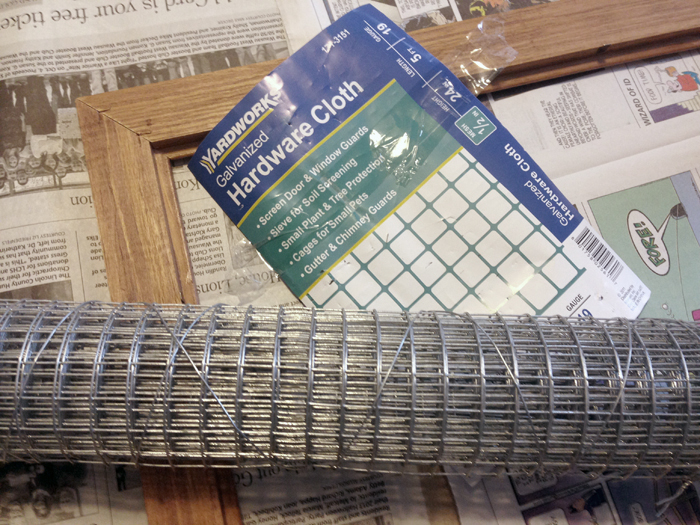
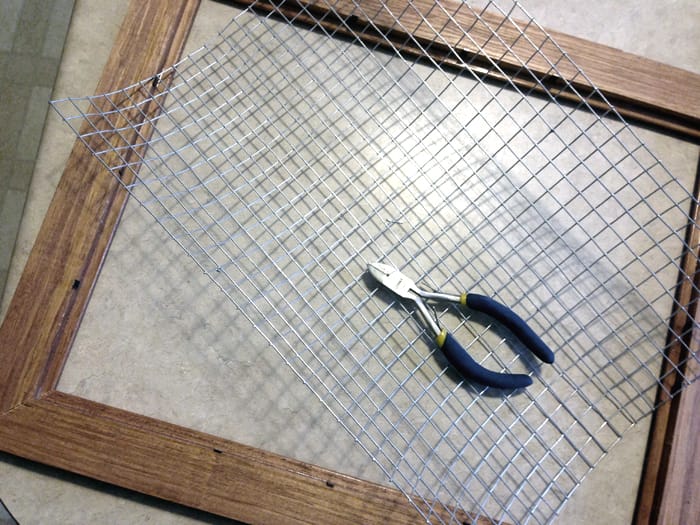
4. After painting the frame, I cut the wire fencing to fit the back of the frame with the same wire cutters I use to make jewelry.
I bought the wire fencing (hardware cloth, 19 gauge, 2x5ft. 1/2″ mesh) at Menards for $4.49.
Be careful not to jab your hand when working with this wire mesh – it’s very unforgiving!
5. I bent the metal clips down over the edge of the wire mesh to hold it in place that were formerly used to hold the glass.
My daughter cuts a thin piece of wood to cover the mesh on the edges when she makes a similar project for a jewelry holder.
I may eventually do that too, but I’m going for “easy” for now.
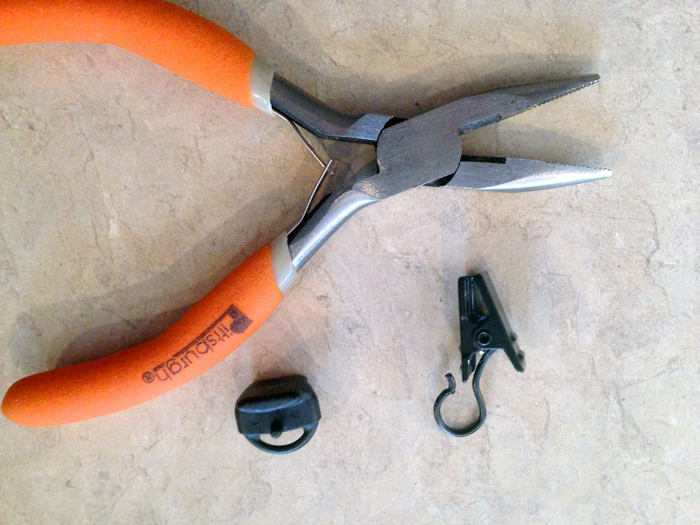
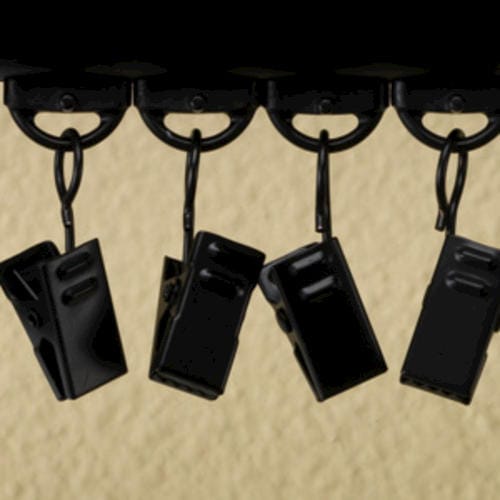
6. After assembly, I took apart the traverse clips with another one of my jewelry tools so I could use just the hooks and clips.
I bought the traverse clips from Menards for $4.97.
After using my tools to put this framed tool holder together, I just hung them up!
It’s kinda like when you go to the store to buy a waste basket, bring it home in a bag, then take it out of the bag and throw the bag away in the waste basket.
Do you have any old picture frames you don’t know what to do with?
I’d love to hear about your DIY projects.
While you’re here, please sign-up to receive my posts via email or RSS.
Happy crafting!
Here are the first three in this series:
DIY Projects to Upcycle Old Picture Frames Part 1
DIY Framed Wire Tool Hanger – Re-purpose Old PIcture Frames Part 2 (You are here)
DIY Chunky Photo Frame – Re-purpose Old Picture Frames Part 3
DIY French Photo Frame Tutorial – Re-purpose Old Picture Frames Part 4
* Disclosure: This post contains affiliate links. If you buy anything after clicking on one of the affiliate links, I receive a small commission of the sale. The cost to you is the same, and I only link to items that I think would benefit my readers. Your support of this blog is greatly appreciated! Like this post? Sign-up on the right to have them delivered right to you!

 1.
1. 



Very good idea and a great tutorial. Happy to discover your site through Handy Man Crafty Woman. Keep up the good work.
Barbara, I just found Handy Man Crafty Woman – looks like an interesting site. Thanks for visiting…I’ll check yours out too.
What a great idea. I love EASY and inexpensive! I've been trying to find my inner crafter (been full of fun an hysterical mishaps!) and this would be a great way to helpI me organize some of my new goodies. I'm a hoarder by nature, I'm certain I have most of the supplies needed already except hooks. I think this will go on my to do list for after the holidays. I'll be sure to post a pic and let you know 'my version' of how it comes out 🙂
I absolutely love this idea!! I upcycle often (and blog about it) and I am adding this one to my list. Think of all of the things I could hang on that frame! Thanks for sharing!
Thanks, Beth. Yes, I’ve checked out your blog – Upcycling is a way of life for me! I’m always trying to think up new ways to use something someone else threw away.