
Any time you get into a remodel, you’ll hear from any experienced friends,
“Expect it to take twice the amount of time and cost twice the amount of money that you planned.”
No man is immune. No one. Even homeowners who are renovating their home to accommodate their family’s needs. For instance, if they need to install a stairlift for an aging relative, they should consider hiring Stairlift Installation Experts instead of going the DIY route.
The Joneses hit a glitch in their remodel – the wood floors.
Remember here the “before” pictures of the worn out icky wood floors…
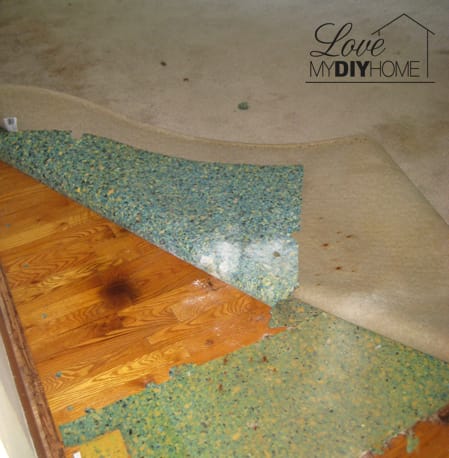

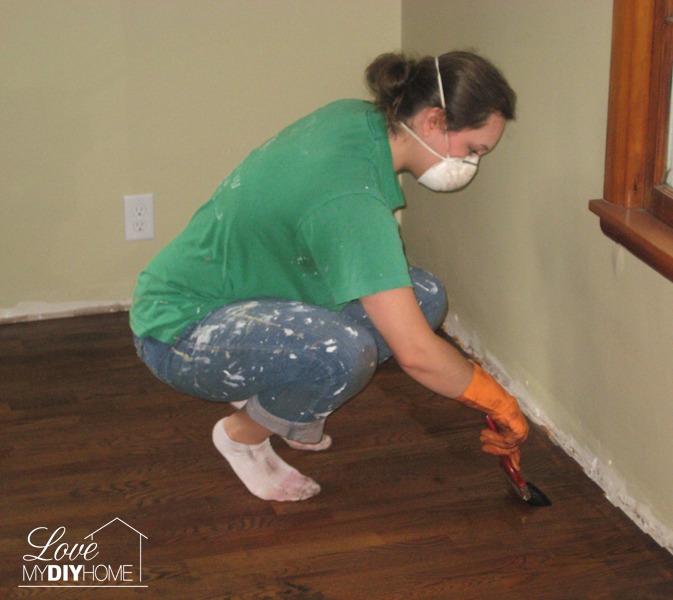
1) Repair whatever damage you can.
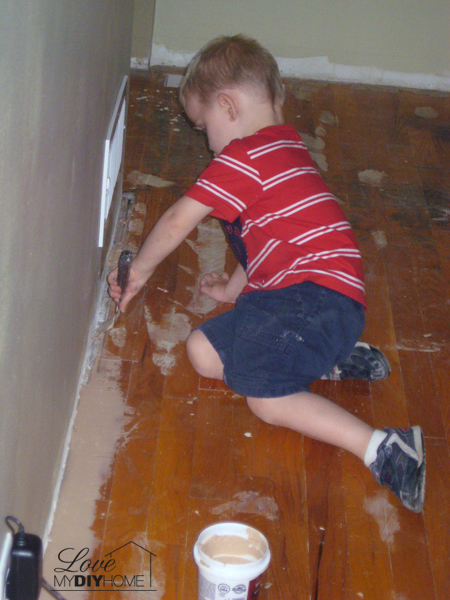
The Joneses pulled up staples from the carpet install and filled in holes.
Even the littles can help.


Minwax 42853 Stainable Wood Filler, 16-Ounce
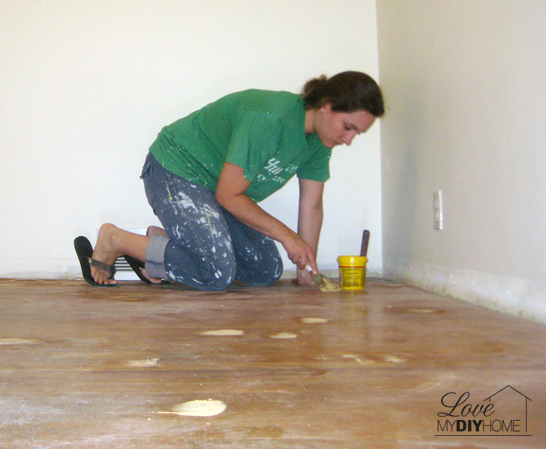
April says, “I wouldn’t have filled in as much as we did had I known the sanding would have gotten rid of half of the gouges and scratches. Plus, the stain didn’t take as well on the wood filler, so the look would have been better if I’d left most of the minor imperfections.”
Live and learn through experience.
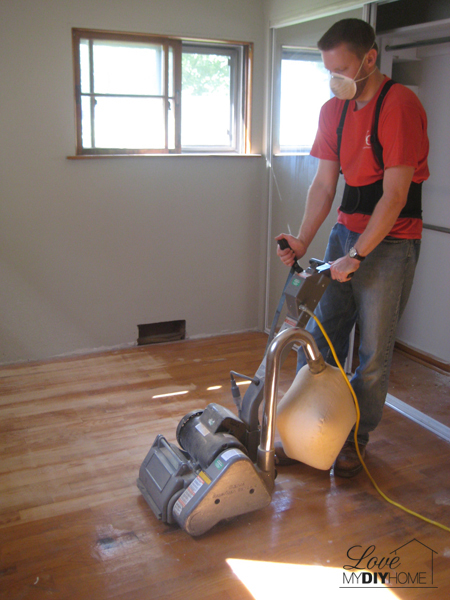
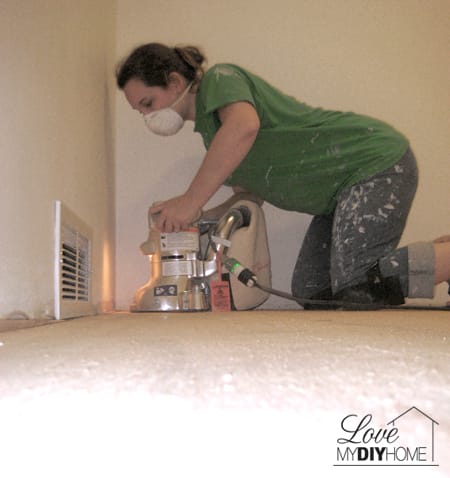
2) Rent sanders – remember to get one for the edges.
Clarke Drum Sander Ez-8 Expandable Drum
 Clarke American Sanders – Super 7R Edger

8 x 19″ Floor Sander EZ-8 80grit Sandbelt
8 x 19″ Floor Sander EZ-8 60grit Sandbelt
8 X 19″ Floor Sander Ez-8 36grit Sandbelt
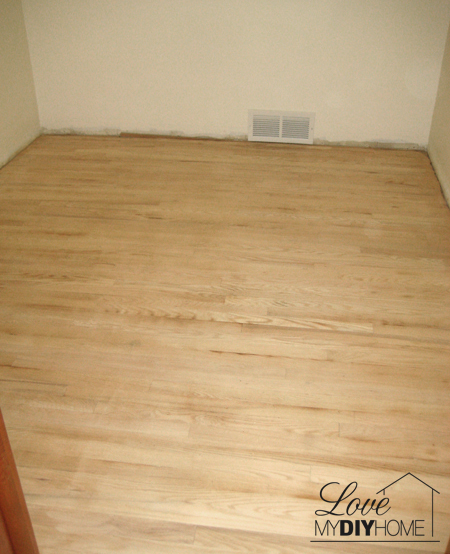
This is Myles’ floor after sanding.
To rent the large sander, they paid $34/1st hour, $2.50/hour thereafter.
For the edge sander, they paid $17/1st hour, and $1/hour thereafter.
They paid $8/each for the sanding belts and 3/$5 for the sanding disks. They rented and bought the supplies at Menards.

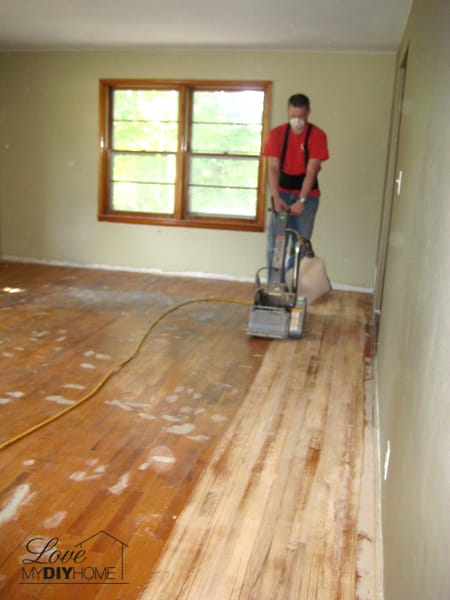
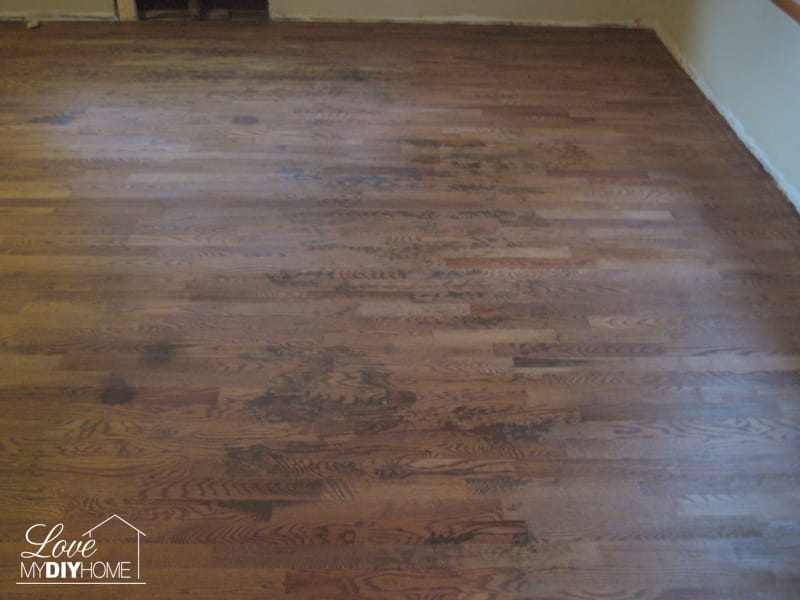
Here is the living room floor showing the damaged floor after sanding (we were really hoping the stain would help minimize it).
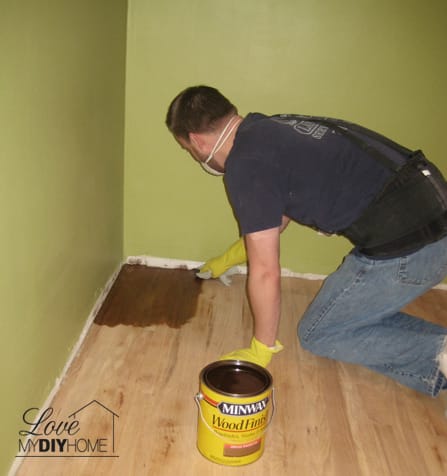
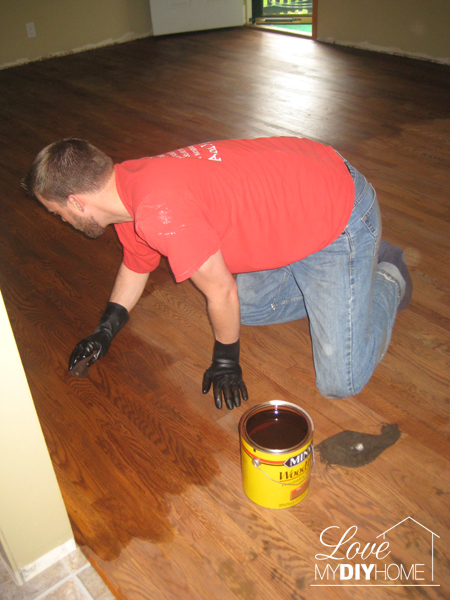
3) Clean the floors and stain.
The Joneses elected to use a dark stain. A darker stain will help hide some of the damage from prior owners. Oh, why do people destroy their homes?
Can I just say something – people, if you spill something, just clean it up. It’s not that hard! If you decide to fully replace the flooring, you may need to hire Expert Floor Screeding Contractors.

Minwax 22240 Wood Finish Interior Wood Stain, Special Walnut, 1/2-Pint

The second coat was quite a dramatic change.
The stain didn’t cover up the dark spots, but it did lessen the contrast.
Next up…
4) Apply Polyurethane – two coats (this is where it gets sticky, pun intended)

13022 Gal Floor Super Fast Drying Clear Satin Polyurethane
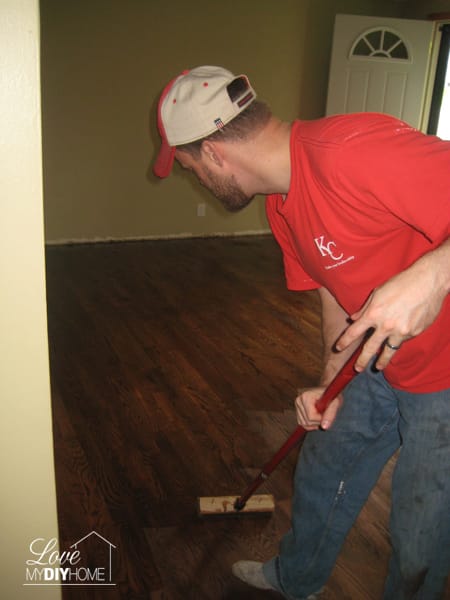
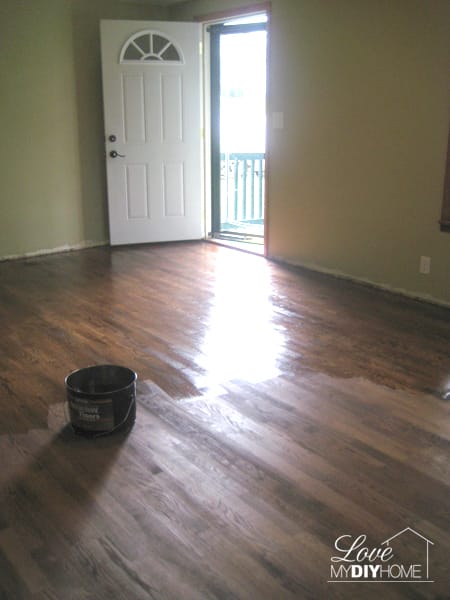

This picture is after one coat of polyurethane. Such a dramatic change! But here’s where it gets sticky… (pun intended) With all the rain we’ve gotten this past couple of weeks, no poly will dry with humidity above 75%.
We’ve been hitting 95% with rain off and on for weeks – so much this past couple of weeks that we are glad God promised to never flood the whole earth again…because we’d really be wondering otherwise.
Guess what happened to the polyurethane on the wood floor. Or should I say, “What didn’t happen.”
One coat of stain and one coat of poly has sat on their floors NOT DRYING for almost two days weeks.
They are stuck (especially if they try to walk on it!).
They sanded it August 26 and stained it on the 28th. The poly went on August 30th.
Today is September 10.
This is quick drying polyurethane.
Uh huh.
When your wood floors encompass every room but the kitchen and bathroom, there isn’t much you can do to move forward.
You have to wait.
And you realize you still have to put another coat on. But then the rain continues.
Patience is a virtue.
![]()
Meanwhile…the kitchen and bathroom floors are in and lookin’ good! I’ll show you pictures later this week.
The kitchen cupboards are almost all painted and the backsplash bead board is up and painted and light fixtures are up too. Adam’s office is framed in.
They are so close!
Please leave them a comment and tell them….

The reveal is just around the corner!


* Disclosure: This post contains affiliate links.
Even wet, the floor looks so much better! I have never re-done wood floors, but you make it seem simple (maybe not so easy).
Oh, if only the humidity would drop a bit…
I’m looking forward to the reveal! I’m sure everyone is getting so excited and eager. Thanks for sharing.
Thanks for stopping by Karen. I saw your fall wreath post today and you have inspired me to get on the fall bandwagon – I suppose it’s coming whether I acknowledge it or not. Hopefully the Joneses will be able to decorate their new house soon too!
Stopping by from blogelina’s blog hop. I love your floors. I wanted to do my own floors in our tiny home, and I ran out of time and ended up hiring it out rather than trying to diy. I would crank up the heat. When we had our floors done the floor guy had us turn on the heater, quite high to counter act with the humidity. I blogged about my floor before and after here: http://talesofdomestica.blogspot.com/2013/04/tiny-home-is-re-freshed.html
Thanks, Amber. I’ll check it out. They are over there right now, checking out the floors to see if they can put the second coat on.
Nice post
Oh my word, we have had a ton of rain too, sorry about the humidity and so hope the floors dry soo. They look amazing.
Thanks, Marty. It went from raining to cold. I think summer forgot to come this year! BTW, they did dry and the second coat dried in a couple of days – hallelujah!
Oh my, it would be hard to be patient. But the floors look great! Thanks for linking up to Gingerly Made!
Thanks Ginger – I visited your carrot soup recipe – looks yummy! I’ll have to spend some time on your site and check it out, thanks for visiting.
So glad they finally dried! I was going to suggest borrowing someone’s dehumidifier. That’s what we used when we did ours. I’m not sure if it helped, but we already had one in the basement, so it was just moving it around a bit. We did the exact same thing to our floors, and we love them. I can easily say that is the prettiest part of the house. We went with a lighter stain because our floors were in decent shape and a satin finish polyurethane. I think the higher gloss is nice, but if you have kids, dogs, and dirt, the satin finish does not show it as much.
Beth, I’d love to see a picture of your before and after. It’s amazing to see the transformation. The second coat went on and dried in a couple of days and the outcome is great. So glad that part is over! Thanks for visiting.
I love those little Joneses helping! So nice to teach them new skills instead of doing everything for them, good job!
@Lily, you’d be surprised at how much these littles learn! This morning while I was working my grandson told me about wiring – what all the colors of wires meant. He’s only 8!