Free Word Art – You’re My Favorite

Happy Monday, my people! I have created a free word art for you today. Feel free to download it by clicking on the photo below or on its title just below the word art. It is formatted as an 8×10 JPG so you can go get it printed as a photo suitable for framing. If you click the banner above, you will be able to download another free word art in April that I have made exclusively for those on my newsletter list. LMDH newsletters have a link giving you access to my free word art downloadables page. Free is good. You’re My Favorite (8×10 JPG) Enjoy.

How to Upcycle an Antique Door – Part 2

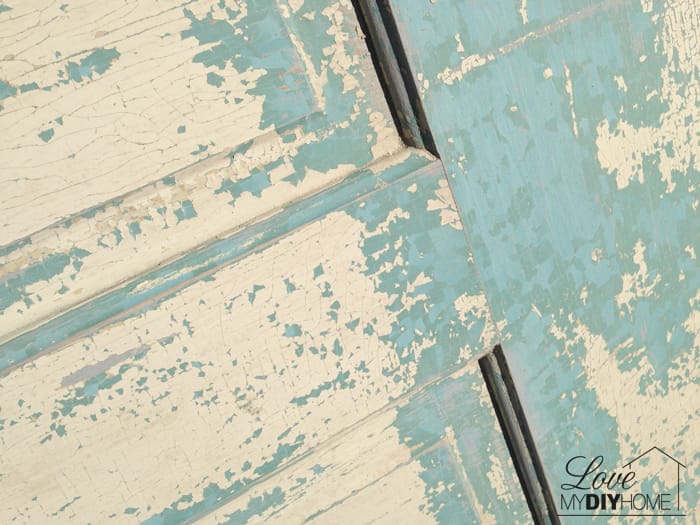
In How to Upcycle an Antique Door Part 1, I showed you how I had painted brown on one side. Now I will show you what I did to the other side. I kid you not – this is by far the coolest project I’ve done and you could for sure do this yourself. Now you’ll see what I did to the other side and the end product. Here are the two sides… IN THE RAW This is the one side that I painted brown that you read about last week. Now let’s look at side two. MATERIALS (Affiliate Links) Sanding Sponge Rust-Oleum 2x Painters Touch Spray Paint American Decor Creme Wax Hobby Lobby Hardware 1 ” Corner Brackets Step One – Side Two: Clean and sand, but not so much that you lose the textured layers of old paint. I used a (afflink) Sanding Sponge, Fine/Medium. These sanding sponges … Read more

Antique Door Upcycle {Love My DIY Home}

How to Upcycle an Antique Door – Part 1

This is my favorite DIY thus far, an upcycled antique door turned into a trendy piece of home decor for just pennies. My DH and I found some old doors at an auction – about two years ago. They’ve been sitting out under our lean-to since, just calling to me, “Paint me, Paint me…” Here are the before pictures – side one. Here are the before pictures – side two. They’re pretty cool in the raw, but I had other plans. This will turn into a series because there were many steps to the project. Step One: Clean and sand both sides, but not so much that you lose the textured layers of old paint. I used a Sanding Sponge, Fine/Medium. These sanding sponges are easy to use and if you don’t use too much pressure, you can preserve the alligator chippy look of the many layers of paint, yet … Read more

Ningxia Red Bottle Upcycle 2

I have a second upcycle project using a Ningxia Red glass bottle for you today.   Materials: (Affiliate links) Chalkboard Spray Paint Decorative Rope or Sisal Twine Tag or Sign Bottle Candle Holder And, of course, a bottle… Spray with chalkboard paint and decorate – do a couple of light coats so you don’t get drips. I randomly wrapped twine around the upper part of the bottle and tied in a knot and then a bow, adding a color to accent the bow. The twine is very easy to work with. I wasn’t careful, I just wrapped it around until I ran out of twine. Use this project to experiment – you can’t really mess this up. Just decorate it in a way that you like, in a way that will go with your decor. I added a curtain clip on the twine at the knot on the bottle neck … Read more

Ningxia Red Bottle Upcycle

Greetings my Young Living peeps and other glass bottle throw-awayers… What do we do with all the glass bottles we use every day? Do you throw them away or recycle? The Ningxia Red bottles from Young Living are such nice bottles – heavy and nicely shaped. There are so many products that come in pretty bottles. Here is an upcycle glass jar/bottle project for you. Materials: Chalkboard spray paint (my preferred brand) Decorative rope or twine Beads or any sort of decorative bauble Just spray and decorate – do a couple of light coats so you don’t get drips.   I sprayed the bottle with chalkboard spray paint. And then wrapped around the neck with decorative baker’s string. I wrapped it around the bottle neck and threaded beads and a leaf from my jewelry making supplies. The options are unlimited – just play with your design until you are satisfied. … Read more

Do You DWO or DIY? {Love My DIY Home}

Do You DWO or DIY?

Do You DWO or DIY? We are now through the Christmas season and it’s time to think about perspective and balance with the new year just around the corner. I heard complaining – a LOT of complaining about the “cost” of Christmas and how it has become a boring/stressful/unremarkable/frustrating time of year. This set me to thinking. Why do some people dread this holiday season? They forget (or don’t care) about the reason for the season. They wait until the last minute to buy gifts and end up spending too much money. They take no delight in the music or decorations, seeing them as commercial and garish – reminders of the stress of the Christmas season. They see their family and friends as sponges, trying to suck the life out of them – they are hard to buy for or appear unthankful and selfish. Their gift giving becomes an expected … Read more

MIL Apartment Reveal {Love My DIY Home}

Mother-in-law Apartment Reveal

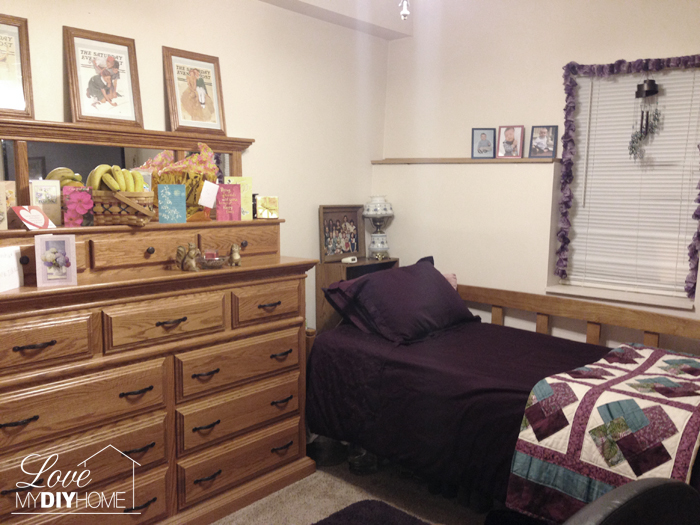
Today was graduation day for my mom. She stepped through the gates of heaven at 12:23 this morning. God is good. Can I say that again? God is good. His grace is sufficient. I thought it fitting that on this day, on this my DIY blog, that I share with you the before and after pictures of her apartment. This one is for you mom… We bought our quad level home two years ago after nearly 2 years of searching for a home in the country with a yard for our grandkids and a MIL apartment for my mom. It was in rough shape, but we knew we could make it ours (and hers). Here are the before pictures. What do you think of that black flowery wallpaper? B.L.E.C.K. The carpet had been…uh…let’s just say, the animals graced the carpet with their presence. When we first walked into the house, … Read more

Dresser Turned TV Stand

 It is a new day. I woke at 4:45 this morning and couldn’t turn my brain off. As always my mom pops in my mind and since the stress of her dire condition is ever present, I couldn’t get back to sleep. At least it wasn’t like yesterday. I woke at 2am and didn’t go back to sleep until 6:30 and then it was only for 45 minutes. I had to go to work that morning and by the time I got to the hospital at 2:15 that afternoon, I was dragging. Fortunately they have a nice family lounge and I took a few zzz’s listening to music while Jillian and Taylor continued their vigil. Thank the Lord for power naps and music apps.  So, I am delivering my Dresser Turned TV Stand I told you about. It seems so nostalgic to me to tell you about this project. Making … Read more

Free Word Art {Love My DIY Home}

Free Word Art!

Happy Sunday! Things have been crazy around here. My mom had open heart surgery a month ago – oh boy, I’m not going to give you all the details, but suffice it to say it’s been tough. Can you see the stress in my face on the day of surgery? We bought a truck – a life long want of my DH. Yep. It won’t start. Oh, and I got sick the day my mom came home a week ago, just on the heels of my 63 hour work week. (I’m not going to show you a picture of me blowing my nose.) And I’m behind on my blog, our holster business, church work, and house work. I’ve only been to church once in a month. (totally unheard of) Family stress. Health stress. Vehicle stress. House stress. Business stress. I’m not going to give you the line, “When life gives … Read more

Pallet Project – DIY Deck Island

While in Virginia visiting our DD and SIL, we worked on a couple of projects – an island made out of pallets and a rocking chair painted with homemade chalk paint. This is a tutorial on the DIY Deck Island. Project List (affiliate links): Hammer 3″ Deck Screws Cordless Drill Pry Bar Spray Paint Glue 2x4s Ceramic Tile DIY Deck Island Since pallets come in all different sizes, we won’t give you exact measurements, since it would do you no good anyway. BUT, I am giving you detailed pictures and will try to answer any questions you may have – just leave them in a comment. Find two pallets that are the same size. Pry off pieces that you won’t use, carefully. Build a Frame with 2×4’s. Keep in mind what size you will need the frame to be in order to accommodate the size of tile you plan to … Read more

Love My DIY Home