
It only took 3 1/2 years, but we finally did it.

And we did it within our budget, in our own time, in our own way.
You can too. What room do you want to flip?
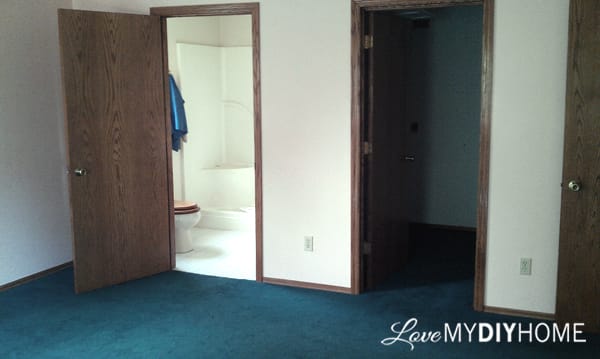
Our green carpeted gold sponge painted master bedroom is finally a hotel quality guest room.
This was the original master bedroom, but we decided to keep it for guests. We took the other side of the top level and plan to renovate it into a master suite – some day.
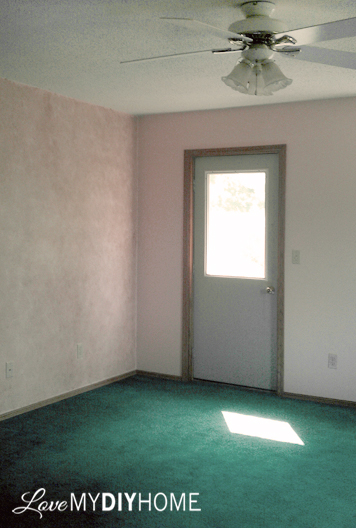
We kept the green carpet for quite a while because of the expense of new, but we did at least paint the walls before we moved in. Just before the Joneses moved in for that 5 months during their house flip, we bought new carpet – there’s nothing like plush new carpet!
It was a huge expense – it set us back $900 for the carpet, pad and installation. We so often DIY…OK we ALWAYS DIY… that this was a real treat to have someone else to do the work. (But everything else in the room fits our typical DIY penny pinching lifestyle). If you’re low on budget, those vintage rugs, are a great alternative.

You can’t really tell, but the walls are a light yellow with gold-ish paint sponge painted over it. Needless to say it wasn’t my style.

We got creative, used what we had and DIY’d our hearts out.
We moved in my antique dresser (to the right of the glider) I bought many years ago from a friend for $50.
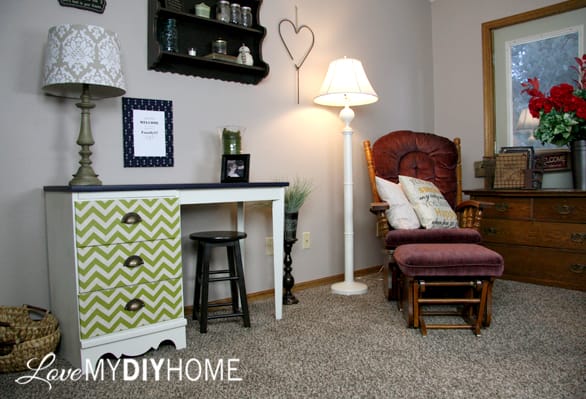
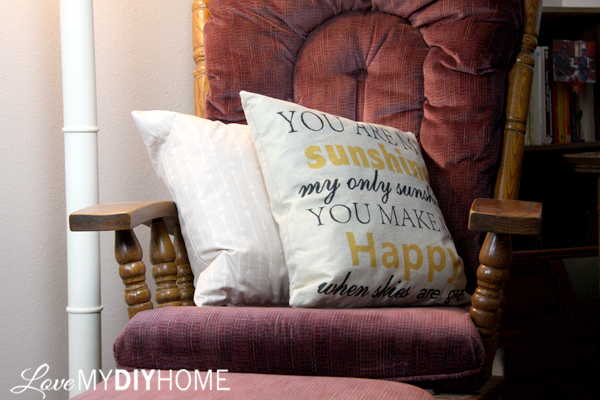
The glider rocker with Sunshine pillow cover ($2.50 Amazon) came from a garage sale ($30). The pillow is stuffed with plastic store bags ($0).
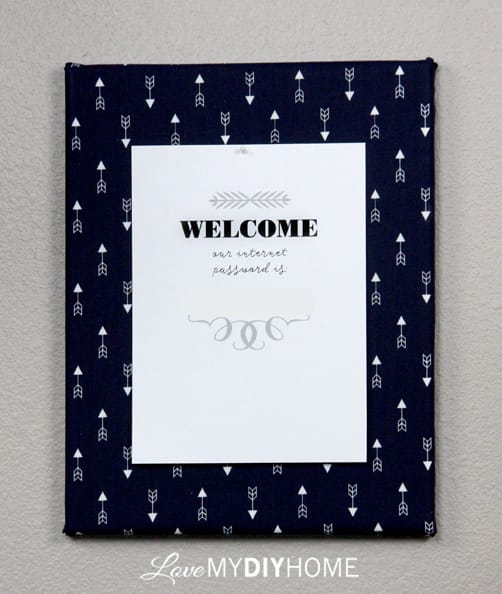
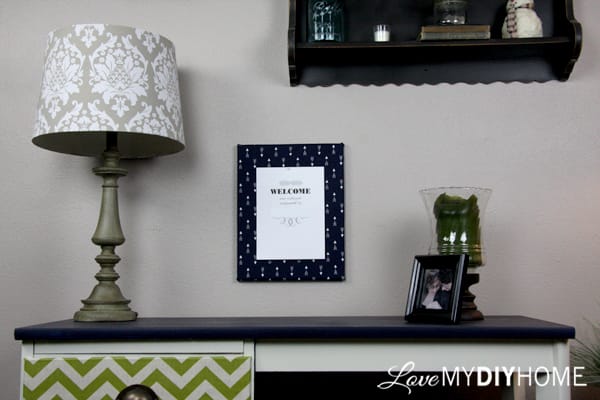
I made the Internet password canvas above the desk yesterday ($0) a side project from April’s recent DIY for my grandsons’ bedroom.
The Mason Jar Shelf is another DIY ($4) painted auction find and the new lamp on the desk was a $5.00 clearance, and the lampshade was clearanced for $2.50 at Shopko. I spray painted the stool that used to be in our kitchen ($3) after DH cut a few inches off the legs.

The desk is a side of the road rescue ($10 for the fabric and hardware, $6 for spray paint) that I entered into the September Fab Furniture Flippin contest.
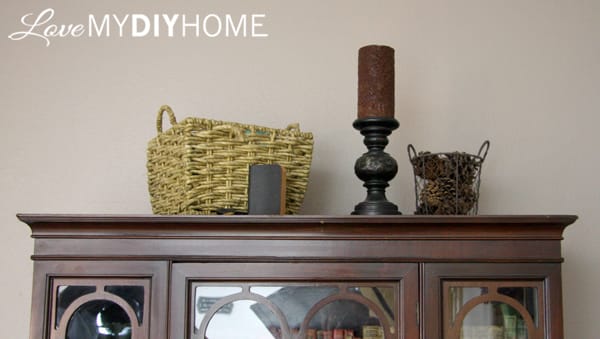
The baskets to the left were from Aldis ($3 each).

I used a bunch of decor that I grabbed from around the house.
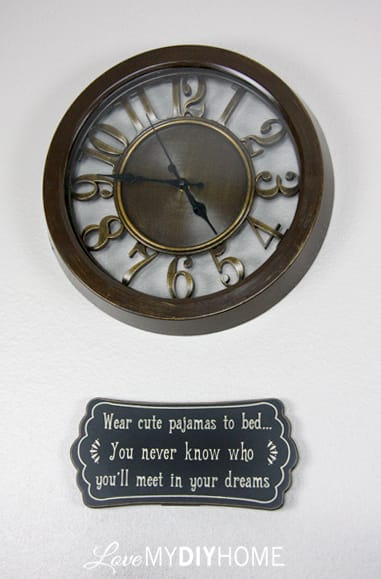
Both the pajama sign ($2.50) and clock ($12.50) came from Hobby Lobby during their 50% off sale.
I found curtains from No More Rack ($30). We moved over our old king size bed and covered it with a comforter I found online from the Stuff for Sale in Weston Facebook group ($25). A new ceiling fan replaced the one that broke last summer ($40).
The nightstand, given to me from a friend ($0) holds my diffuser and lamp ($3 HL clearance sale).
The last piece of furniture, the antique china cabinet, is a future Annie Sloan Chalk Paint DIY project waiting to happen. We bought it in Door County ($75) at a consignment shop. I added my antique books that I’ve been collecting for many years.

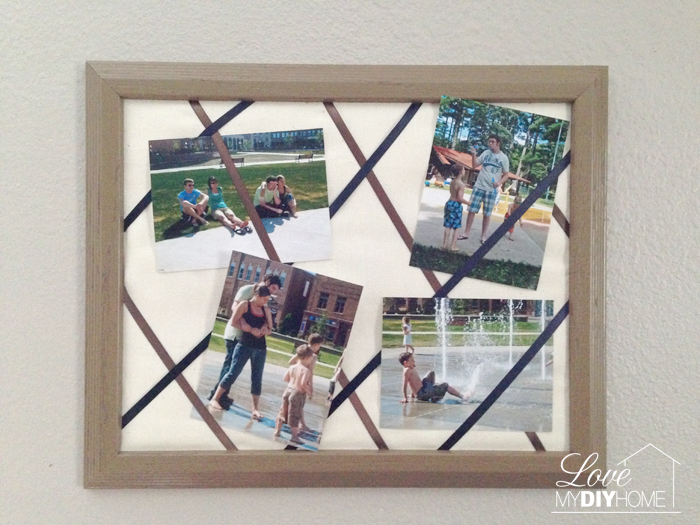
We added the antique chair, photo bulletin board, pillows and footstool ($0) from my November Fab Furniture Flippin Contest ($5 for spray paint).


The French Photo Board is a past DIY project. The lamp was another side of the road rescue ($0).

The project took YEARS, but I am very pleased with my master guest room. It was well worth the wait. Too often we don’t start a project because of the expense, but if we take our time, get creative and look for opportunities, we will end up with a quality, one-of-a-kind home.
Be encouraged – you can take any room and turn it into your dream abode. Take your time, watch for deals, DIY, plan…scheme!
It’s worth the wait. It’s worth the effort.
What room are you planning to redo?
If you’re interested download my Home Made Chalk Paint Recipes PDF – Click and then I’ll send it to you via email.

Be amazing…

 I LINK TO THESE GREAT PARTIES
Oh my goodness, Val! So much lovely eye candy to start my day off with! I love the mix of old and new! Your guests are going to feel like kings and queens when they come to stay!
Thanks, CD. It is gratifying to provide a fun experience. They believe me when I say they are welcome.