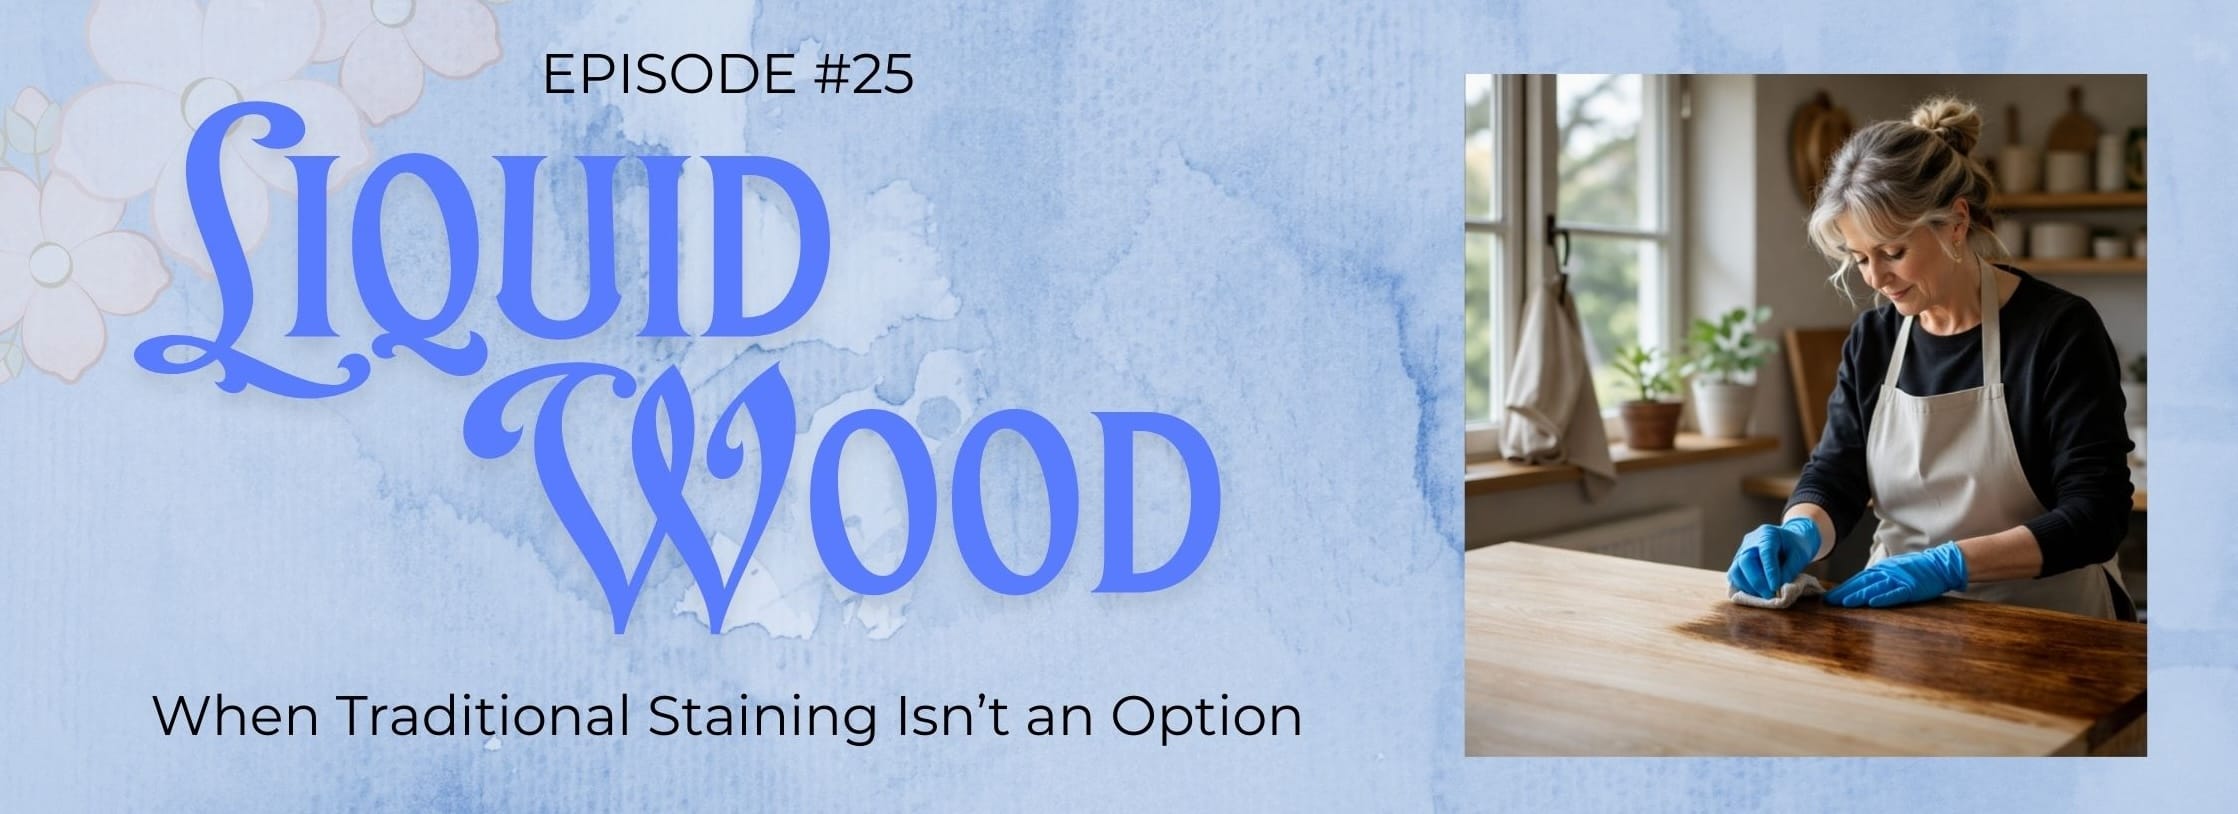
Unique Sixteen Drawer Cabinet Redesign (PART 3)

Today I’m showing you how I designed four more drawer fronts. I’m enjoying using it for my random tools and furniture parts that were scattered all over my workshop and it doesn’t hurt that the cabinet is super cute either. I like having prettying things around me, especially in my workshop because it inspires me. Each drawer is designed differently to not only show my own personality, but to also showcase some different furniture redesign techniques on a teeny tiny scale. Here are the other posts in case you’ve not seen them: Unique Sixteen Drawer Cabinet Redesign (PART 1), and Unique Sixteen Drawer Cabinet Redesign (PART 2).   The BEFORE: To prepare a piece for paint, DH and I first needed to clean, sand and prime: Remove the Colonial looking top part. Cleaned with Krud Kutter and scuff sand. Shore up the drawers so they fit well. Spray prime it … Read more

Unique Sixteen Drawer Cabinet Redesign (PART 2)

My last post here on LMDH showed you my latest project for my workshop, and the designs of the first four drawer fronts. Today I’m showing you four more. I’m using it for my random tools and furniture parts that were scattered all over my workshop. Each drawer is designed differently to not only show my own personality, but to also showcase some different furniture redesign techniques on a teeny tiny scale. Here is the first post in case you’ve not seen it: Unique Sixteen Drawer Cabinet Redesign PART 1.   The BEFORE: To prepare a piece for paint, DH and I first needed to clean, sand and prime: Remove the Colonial looking top part. Cleaned with Krud Kutter and scuff sand. Shore up the drawers so they fit well. Spray prime it with oil-based primer. The piece is rustic, so I didn’t feel like I had to make it … Read more

Unique Sixteen Drawer Cabinet Redesign

A few years ago, my friend’s mom passed away and I was given her little 16 drawer cabinet by her daughter. She had used it for her sauce packets and tea bags. It took me along time to figure out what I wanted to do with it, how to redesign it and for what purpose. The it hit me. I could use it for my random tools and furniture parts that were scattered all over my workshop. Ah ha! So I got busy and designed each drawer differently to not only show my own personality, but to also showcase some different furniture redesign techniques on a teeny tiny scale.   The BEFORE: To prepare a piece for paint, DH and I first needed to clean, sand and prime: Remove the Colonial looking top part. Cleaned with Krud Kutter and scuff sand. Shore up the drawers so they fit well. Spray … Read more

[VIDEO] Maximize Sales With A DIY Retique It Liquid Wood Sample Board

 Are you a furniture flipper and/or a Retique It retailer? Now you can create a sample board for your customers that is portable enough to be taken with you anywhere. Show your future customers the beauty and versatility of Retique It’s Liquid Wood and let them see and feel for themselves the uniqueness and versatility of our most favorite furniture flipping tool. You too can create your own professional sample board just like mine!  While you are visiting my Youtube channel, please subscribe.   CLICK THE PIC BELOW TO WATCH THE TUTORIAL! ↓↓↓↓↓↓↓↓↓↓↓↓↓↓↓↓↓↓↓↓↓↓↓↓↓↓↓↓ Want more ideas, resources, tips and furniture flipping tutorials? My membership for furniture flippers opens a few times a year. Subscribe to THE DROPCLOTH to be notified when it opens: Https://ValFrania.com/theDROPCLOTH. You’ll also get a Free PDF Paint Reference Guide along with tips, tutorials and lots of other furniture flipping helps! See links below: ✅ To learn … Read more

From Gun Cabinet to Display Cabinet – Upcycle, Don’t Toss!

We go to garage and estate sales looking for deals or just something fun for our house, our kids or to flip. I guess you could call us “PICKERS.” I don’t usually have anything in mind. I can look at something and envision something else. DH can’t do it at all. I’ll say, Oooh, wouldn’t that look good in blue with a dark glaze and he’ll say, “Ok, if you say so.” He’s learned to rely on my vision. I rely on his ability to size something up that needs repairs and know whether it’s a good buy. After all, he’s the one who will be fixing it. I’m fortunate. He’s pretty good at fixing things. We saw this gun cabinet turned shelving unit at a garage sale. I’ve always looked for narrow cabinets. Too often they are very wide and take up too much space. This one was narrow … Read more

[VIDEO] A Cat Condo for 2 – Part 2

This is the second video in my Cat Condo for 2 series. Click the link to see the first video, Cat Condo for 2 Part 1 where I show you the beginning stages of this redesign. I didn’t my first attempt, so I started over – I’m inviting you to come along as this dresser turns into my Mia and Max’s beautiful Cat Condo for 2. In this video, I show you how I changed course from my original plan of using a green distressed look to a much better design using completely different paint colors and techniques: raised stenciling, stenciling, and color blending. If in doubt…don’t. Sometimes we don’t like the course we are on and need to change it. Just do it. You’ll be happier in the end. Some of the Products Used in this Project: Retique It Gothic Grey, Spiced Cider, Willow, Camelot & Midnight Black Ultratique All-in-One Paint Retique It Royal … Read more

[VIDEO] Product Review – Phone Camera Lens Kit by Isaac Jones

Isaac has been working with me creating videos for 5 years now. Believe it or not, his first set of videos were when he was 12. He helped me put together a course for kids, demonstrating how to redesign furniture – CREATIVE KIDS FURNITURE ART. He was pretty amazing back then – but now? WOW. He’s a pro at age 17. This video is his review of tiny little lenses you can add to your phone to enhance your photos. In my case, I use them when I stage my redesigned furniture. I’ve bought and or downloaded several products, apps and programs he’s recommended because he takes the time to learn them and finds the ones that are the best price for the quality. Take a look. If you love photography and would like to take some cool shots or need to extend the usability of your phone, this kit might … Read more

Apply [Retique It] Polyacrylic Without Drag

When I first started redesigning furniture, applying the topcoat was very frustrating for me. It dried too quickly, giving me drag. Drag happens when you swipe another strip of poly overtop poly that has already started to dry. It’s tricky to get a good application when the poly dries too fast. This could happen if the room you are working in is very dry or too warm. So make sure there’s enough humidity in the room and/or the proper temperature to give you time to work. No matter what I did back then, I couldn’t get a smooth, consistent finish. After lots of sleepless nights, then plenty of practice and research, I discovered a method that works AND a product that makes it so very easy. In this video, I demonstrate applying Retique It Polyacrylic with a detailer sponge. Easy peasy! The Polyacrylic (interior water-based polyurethane) and Polytique It (exterior … Read more

[VIDEO] Painting Without Tape – Tip Wiggle Push!

Years ago a friend told me while we were painting walls in our new house to “Get a good brush and stop using tape.” I took her advice and have translated that into using the same method on my furniture to save time and frustration. As you probably know, it’s always a concern that paint will seep under the tape when painting. Sure there are ways to prevent that, but it adds steps and I’m all about “quick and easy.” In this super short video, I show you several simple methods on how to use a brush to paint without tape. Yes, it does matter what brush and paint you use. Always use good quality products. One of my favorite detail brushes that delivers a nice finish is the Wonder Brush from Retique It. Go visit my store, Furniture Flipping Market – it’s full of great products for furniture flippers. … Read more

Cleaning Paint Brushes

If you want your painting supplies to last, take good care of them. I’m super picky about cleaning my tools, especially my brushes. I try to get my paint brushes to as close to new looking as possible by cleaning them until I’m satisfied all of the paint is out. Here’s an extra tip: If you find it has dried before you were able to wash the paint out, soak the brush in hair conditioner or fabric softener for a day or two and you’ll be surprised at the results! In less than 1 minute, I show you in this video the simple process I use to wash out my brushes. These little tips by experienced furniture flippers can save you $ and much disappointment – go the extra mile to keep your tools in good shape. How’s that for a quick tip. You can find more on my Youtube … Read more

Love My DIY Home