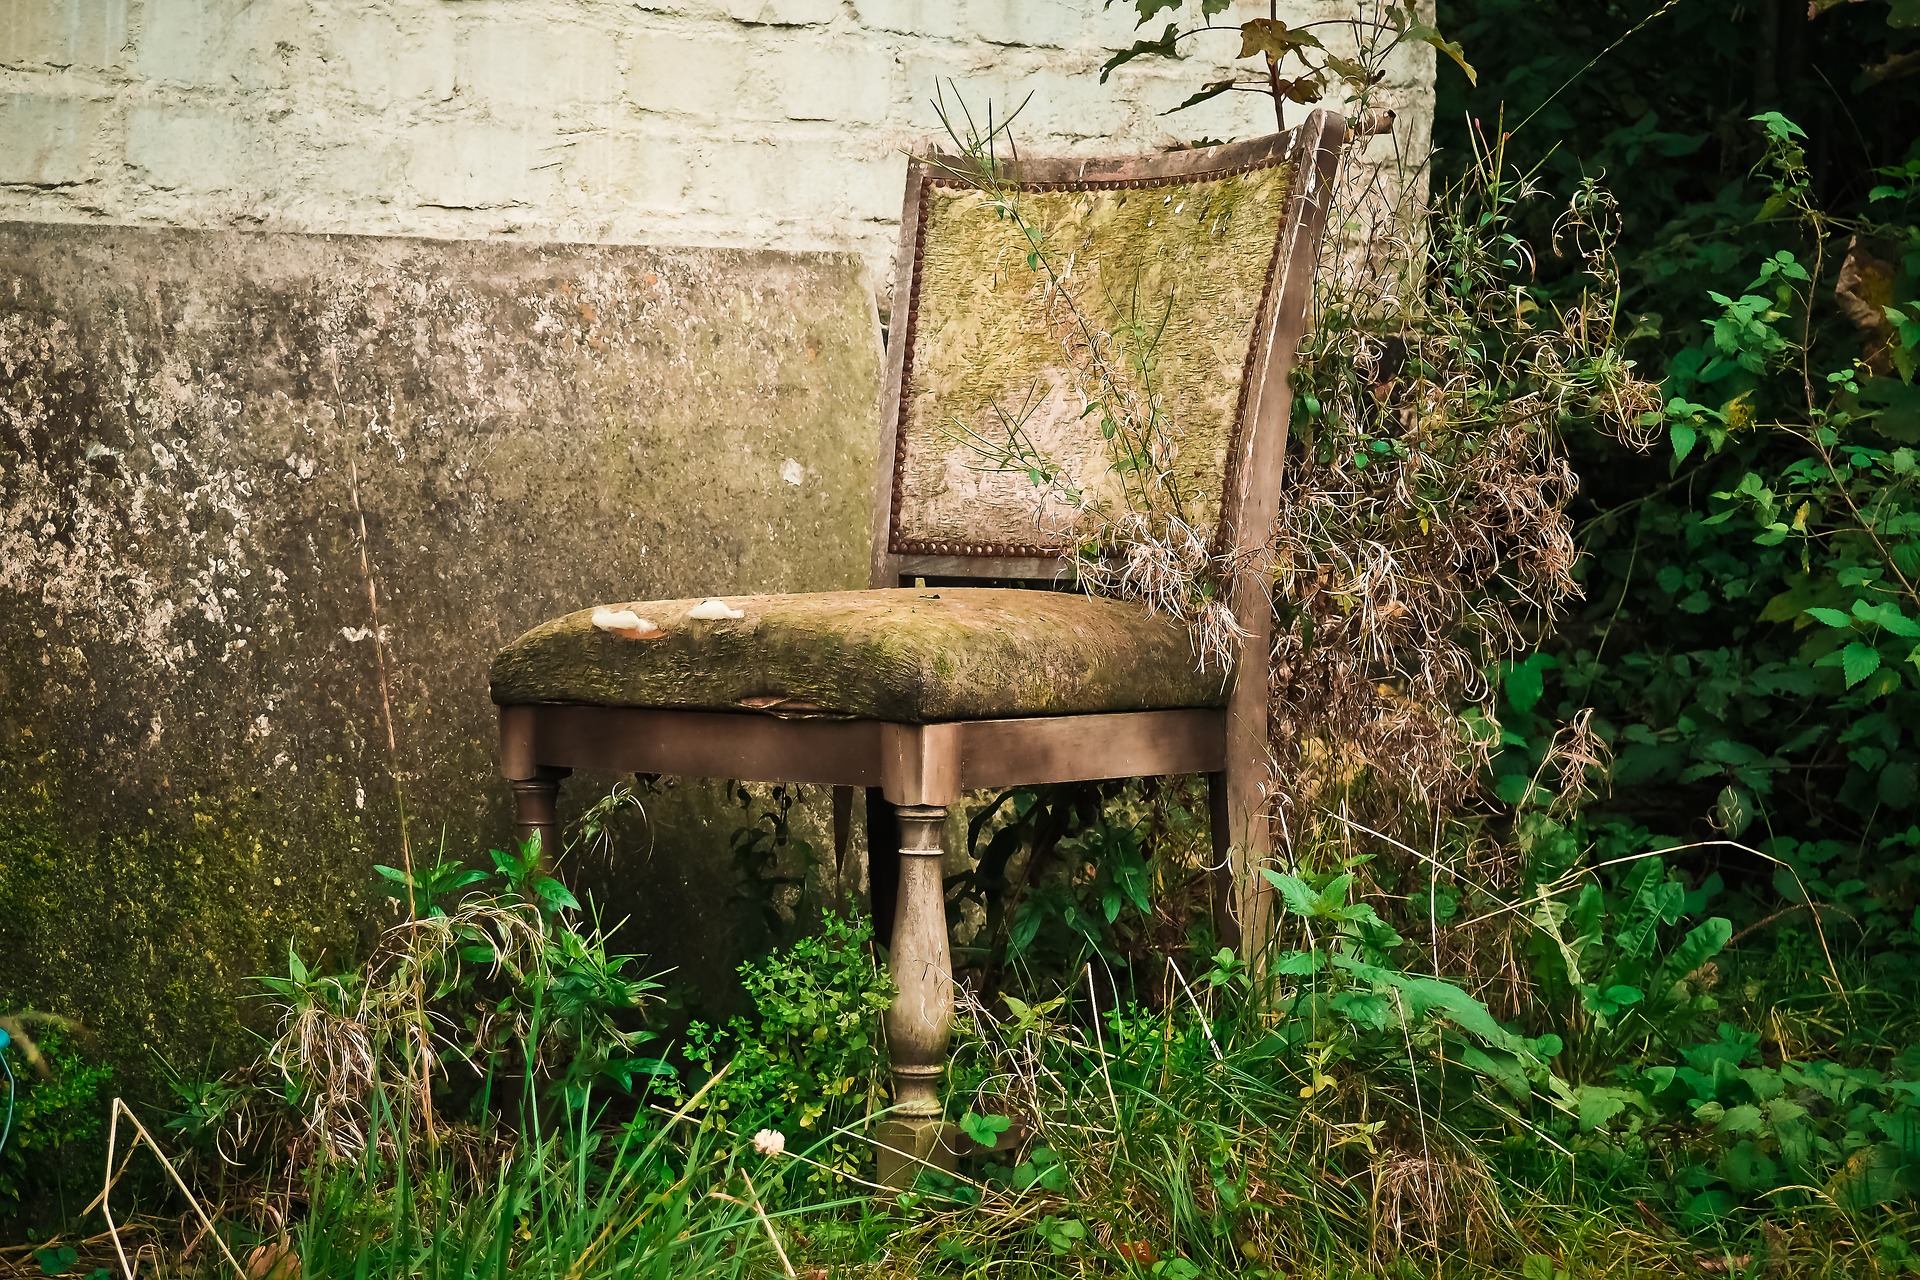
A Bit of Couch Table Glitz

Every time I flip a piece of furniture, I wish I could find a permanent spot for it in my own home. I think this is common for anyone who turns an old out-dated piece into art. We put our heart and soul into it throughout the creative process. It’s something that you must experience before you understand. It’s even hard to see it go out the door when it sells. You feel like a piece of yourself is leaving. Of course the cash in hand is great as is the thought that someone else will enjoy your creation. But still. It’s an emotional moment. I find it quite funny that we would get so attached to a “thing”. But it’s true. A piece of ourselves goes out the door each time. Here is the before. We got it from our favorite shop in Door County here in Wisconsin. We … Read more

Damaged But Not Destroyed

We tend to toss rather than fix, don’t we? Let’s reconsider. Let’s look through a better lense when considering what to do with an item. It’s so amazing to see an upcycle, redesigned and/or repurposed piece of furniture, decor, or whatever. I’ve seen it. I’ve done it. And I want to see you see it a do it too. This former book table shelf plywood and 2x4s homemade thingy was on Craig’s List. It was terribly scratched up by the owner’s dog. The lady was super apologetic about it when I went to go take a look. I even considered saying, “No thanks” to her when I saw how beat up it was. But I took it anyway and stored it for over a year waiting for time and inspiration to tackle it. Whenever I have a new product, method or technique I want to try out, in my mind’s … Read more

Outdated Cabinet Upcycled into a Cat Bed

It’s the same with babies and cats. They tend to take over your house. Cat bed, toys, littler box, tunnel…my kids think I’m nuts. They come over to my house and you have to step over all of Mia’s stuff. Let’s face it. Mia is my baby, so I enjoy seeing her lounge and play. Catadorn is my go-to shop for cat toys and accessories. So I had this idea that maybe others might like to have some furniture that has a duo-function. How about an end table that hides a cat bed when company comes over? Here is the before. I got it at a garage sale for just a few bucks. The picture looks kinda nice, doesn’t it? This is a case where the photo fools the eye. It’s was in pretty bad shape and needed help. I think it was supposed to look high end, but somehow … Read more

Table Stays Rustic – But Way Prettier!

It’s kinda fun to post this BEFORE my daughter sees it. It’s for her birthday but she’s just a little busy right now thinking about having a baby some day soon. 🙂 So as we wait, this little gem is going up! I started out with a base of off white and then painted a light brown wash over that, to create a worn, Old-world look. You can see the before and base color in the video above. I chose not to fix the imperfections because I went for more of a rustic look, leaving in the dents and cracks. Nor did I repaint the hardware. It had been painted by the prior owner and is flaking off – perfect for the look I wanted! Once I got the background I wanted, I stenciled a clock and part of a compass, distressing the stencil just a bit to give a … Read more

Retique It & UNiCORN SPiT

I like to experiment and try out different products and brands for my members on my Facebook groups. Today I did a short video showing you how I used (afflinks) UNiCORN SPiT over Retique It Liquid Wood. The possibilities are endless! Have you ever used UNiCORN SPiT? It’s a water based translucent non-toxic paint that can be used as a glaze, stain or paint – super easy to use, and fun! Retique It Liquid Wood is a paint on liquid wood (just like it sounds). You can do all sorts of fancy things with it! You’ll see: Metallic SPiT over Retique It Liquid Wood Background and layered stenciling Stencil distressing It’s just a fun little video to give you some ideas. Let me know if you have any ideas on other ways to use these products! XOXO

A Lego Table Upcycle

#sponsored I’ve seen many upcycles, but this type takes the cake. It’s just amazing to me to see what paint and a little ingenuity will do. So many pieces are tossed in the dump because they are outdated and/or in bad shape. But…I had a vision for this one. Here is the before. We got it at a ReStore in Michigan for $5. It was obviously very old. The casters were caked with years of crud & were very tarnished. The leather on top was in decent shape, as was the rest of the body. It just needed sprucing up. I decided to make it into a Lego table for my grandkids for Christmas. I didn’t want to go with the traditional primary colors, so I chose period appropriate colors with a few extras to make it special. Using (afflinks) vinyl spackling in a cake decorating mold, I make “stone” … Read more

Want to learn how to paint furniture?

DISCOVER YOUR INNER ARTIST If you’d like to be a part of an amazing community of furniture artisans and have a great resource to go to when you need information, join us on FFB. You will access accurate and timely information on all things furniture redesign on FFB (painting, staining, etc.) and as a bonus, all members receive 4 marketing lessons and will be invited to a small, intimate Facebook group – are looking for your tribe? Furniture Flipping Blueprint is open until midnight, Monday, Feb. 25. Come join us! TELL ME MORE >>>

Nobody Wanted Constance…Except Me

Nobody Wanted Constance…Except Me This Was One of Those I walk through estate sales and grab tickets before anyone else grabs up the good stuff. This one didn’t look like the good stuff, per se. Old, damaged and out of date, this one was a challenge. Not were the innerds a mess, but it just didn’t speak to me. I named her Constance, because of her colonial feel, and she talks to me now that she’s beautiful again. Here is her old self: The drawer glides were damaged and someone had tried using some sort of goop to try to glue them up. And of course I didn’t see this until I got it home and started prepping it. Fortunately, after a few attempts DH got it fixed up by making new glides. It is a very strange set up – the drawer glides are up under the top, slanted … Read more

DIY Pumpkin Floral Centerpiece

They say the third time is the charm. So, here is my third flower arrangement I’ve shared with you – a DIY floral centerpiece. By showing you my first three attempts at flower arranging I’m hoping you’ll get the idea that you can do this too. HONESTLY…it really is quite easy. My little ceramic pumpkin turned floral centerpiece is the best yet. Here’s how I did it…     I started with leaves around the bottom and then added a candle.     It only took a few more flowers to make it fuller. I just kept moving them around until I was happy with it. The leaves were too big. I just didn’t like it and it didn’t really match the picture I had in my head. It was OK, but “OK” wasn’t good enough.     So I took the leaves out and I knew it was done … Read more

Fall Floral Arrangement DIY Tutorial

I found this pot out in my mom’s a storage shed covered in dirt. It had sat in there many years and traveled here to Wisconsin from Michigan a few years ago unprotected in that little plastic shed. Here’s that little pot – it’s amazing the treasures you find sitting in a little plastic shed covered in dirt. Since Michaels had fall silk flowers at 80% off yesterday, I bought a bunch for that little pot along with a little ceramic pumpkin I bought from a consignment shop for $2.00. I started with flowers, two pots, some foam and a few picks. The only tool I used was a pair of tin snips that I used to cut the stems. I stuck one of the smaller flower bushes in the center of the foam and spread them out. Normally you would just cut them apart and arrange them, but I thought … Read more

Love My DIY Home