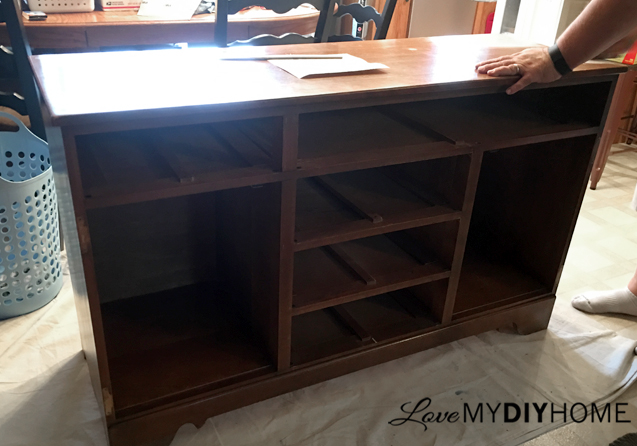
We picked up this china cabinet at an estate sale in town.
Everyone wondered why I would buy ANOTHER china cabinet. I already have three. I had plans for this one – but not for china. Nor am I keeping it.
As I said last week, nobody collects or wants china anymore.
But they do want buffets AND book shelves. Yep, a buffet and book shelf out of one china cabinet. One unwanted, outdated china cabinet into two highly desirable pieces.
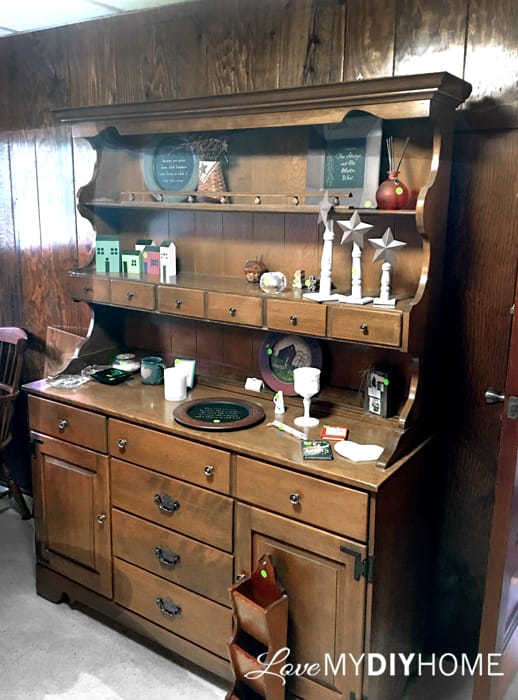

Because the china cabinet was all wood with dovetailed drawers plus a top of the line name brand piece from the 60’s made by ETHAN ALLEN by BAUMRITTER (a VERY big name back in my mom’s day), I knew right away I wanted it and what I would do with it.
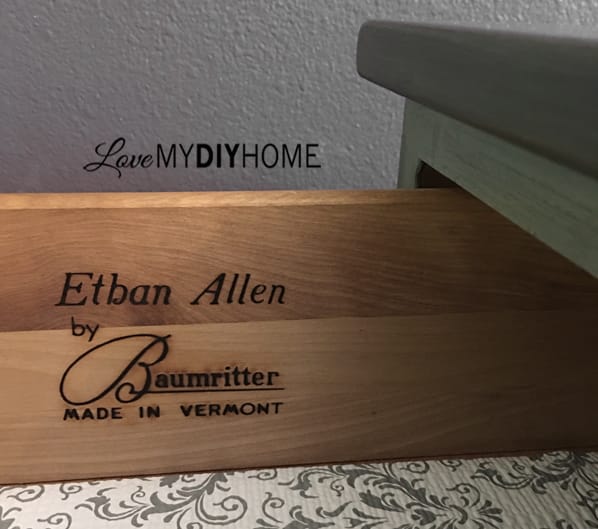
Ethan Allen by Baumritter

People may not have china, but most could use additional storage for kitchen ware and a unique stylish bookshelf would fit in any home – so I knew it was a win/win situation to buy the cabinet. When I finish the bookshelf, I’ll tell you about it, but for now I’ll give you the whole tour of my buffet makeover.
Let’s start at the very begininning (a very nice place to start) with a tutorial on how this piece was refinished and developed a beautiful split personality.
1. Take apart the cabinet and clean it.
Bag and label the hardware. I cleaned it with vinegar and water.
2. Repair any damage.
One drawer had felt glued in the bottom, I’m assuming for a silverware drawer because it has slots for dividers. So a handy little metal putty knife took care of the glue, giving me a smooth drawer bottom surface once again.
Sand areas that have scratches and fill in any holes with wood filler and let set for a bit. Sand down the wood filler until you get a nice smooth, level paintable surface.
3. Sand.
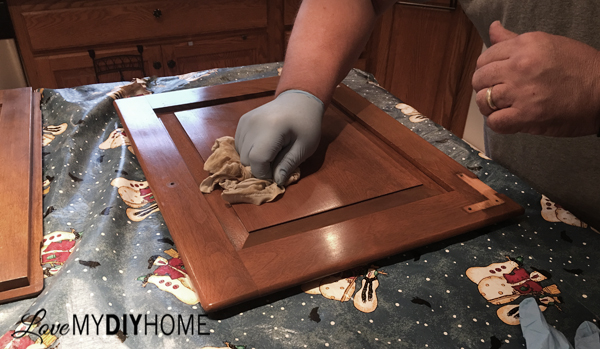
The wood had a light stain, so I wasn’t concerned it would bleed through. I just sanded it a bit rather than priming to give it tooth (a good surface for the paint to stick to) because of its shiny topcoat. I used liquid sand paper this time out of conventience (and I wanted to try it). Be sure to open windows and wear non-latex nitrile gloves. It’s very stinky chemical.
No, those aren’t my hands. My DH is my hand model today…
 \
\
 \
\
 \
\
 \
\
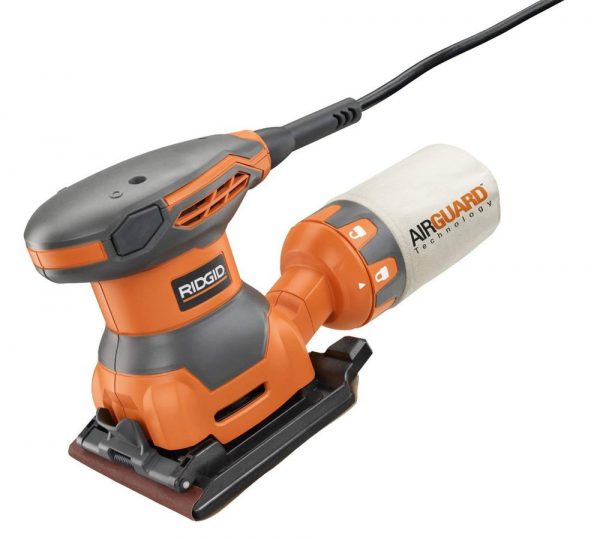
The top got a good sanding with my new electric RIGID hand sander because of some scratches that needed smoothing. The sander has a bag and catches a good share of the dust – so I can sand in my kitchen! It was so hot and humid outside that this project was completed in my kitchen.
 \
\
 \
\
4. Paint two coats of chalk type paint.\
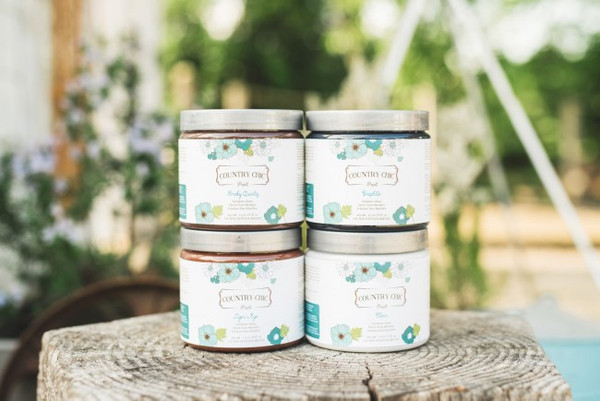
Country Chic Paint sent me some of their product to try out and review, so I used a light gray (Pebble Beach) for the body of the cabinet and a dark gray (Cobblestone) for the top.
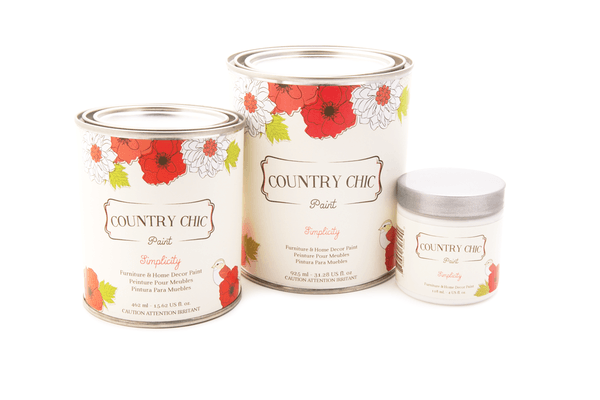
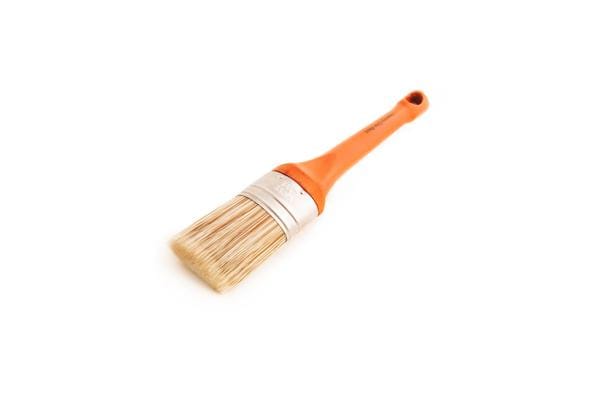

They also sent me a really nice paint brush, so rather than fighting with a brush that loses bristles right and left, I had a nice, smooth application of paint without the hassle of left behind hairs.

I did two coats all around and the coverage was great. \
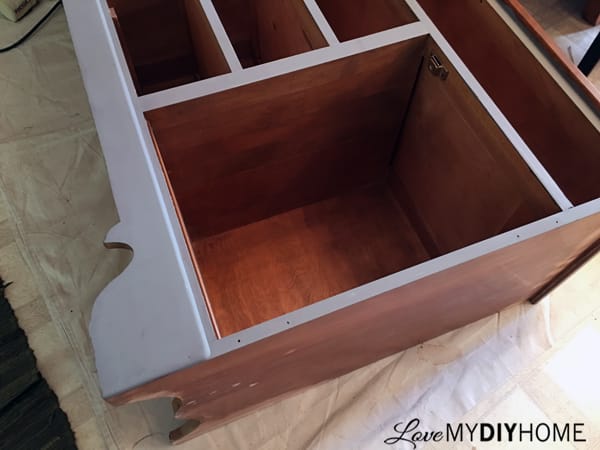

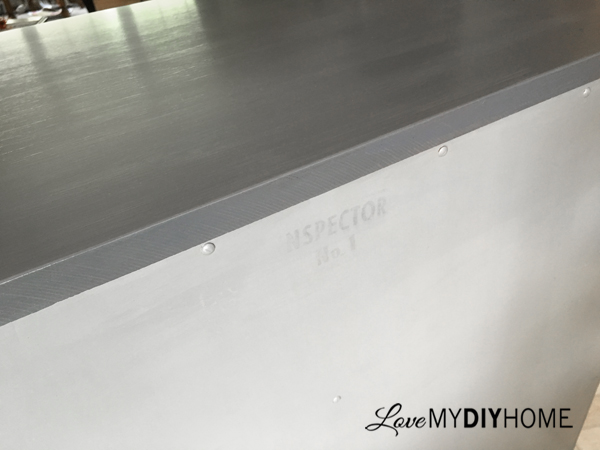
After each coat, I lightly sanded with a sanding sponge, fine/medium grit to smooth brush strokes and any clumps. I painted two VERY light coats on the back so you could still see the stamped words – I love authenticity and it just seemed to need to be seen. I can’t explain it. It just did.

4. Add a topcoat BEFORE glazing.
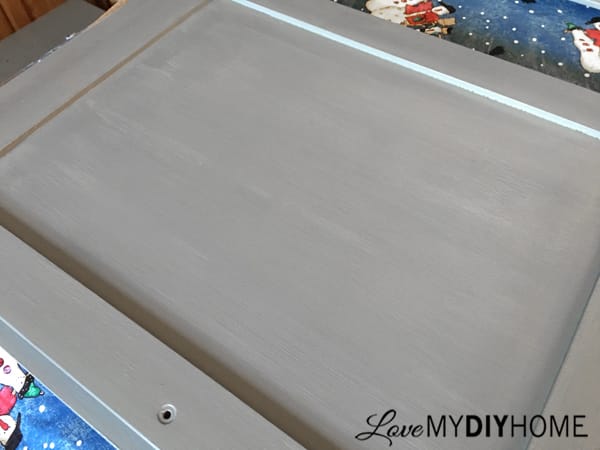
I tried glazing with the Country Chic glaze but it soaked in and dried way too fast for me to be able to work it the way I wanted. I prefer a nice thin, even glaze with subtle streaks but it wasn’t cooperating. So I decided to use the Country Chic Tough Coat over the paint to give me a smoother less flat, glaze sucking surface to give me more control.
But I still had some trouble with the topcoat drying too fast and leaving streaks where I overlapped it on the next pass. Instructions tell you to paint on the topcoat top to bottom with the grain and come back with the next pass just slightly overlapping the first pass to smooth down the possible ridge from the brush. BUT, this didn’t work for me because it dried by the time I came back for a second pass and the brush dragged, leaving a rough mess where it overlapped. I was so frustrated!

PROBLEM SOLVED!
I read a dozen online postings about topcoat doing this and couldn’t find a solution for several days. Then I discovered General Finishes Extender – it lengthens the dry time. Floetrol, from what I understand does the same thing but I can’t recommend it since I’ve not used it. So I bought some of the GF Extender and added it to both the glaze and topcoat. That helped the open time (amount of time it takes to dry) but I was still having a bit of trouble getting a good coat on in just one pass because of the length of the top. I was still getting a big of drag where the strokes met.
ANOTHER PROBLEM SOLVED !
After reading another dozen articles and watching a dozen YouTube videos, I ran across a idea that I thought might solve my problem. A couple of YouTubers were using a car sponge that ran $16 on Amazon. I considered buying that, but it was a bit pricey. I would have if I hadn’t already had on hand some staining pads that I was going to use when I had a project calling for Java Gel. I decided to try them for applying the topcoat and glazing. I had 4 pack of HDX brand terry cloth covered staining sponge from Menards. A dollar each is much better than $16 for one.
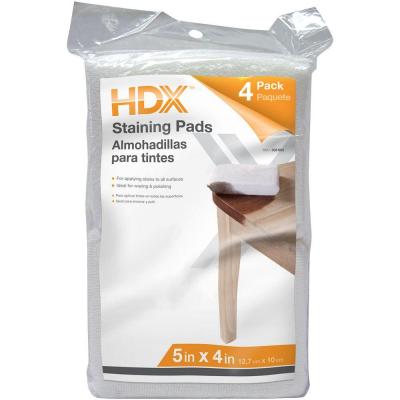

I laid my staining pad in the topcoat to soak it up and then swiped it all the way across the top of the buffet in one motion, quickly coming back for the second pass. It worked like a dream and I knew my sleepless nights stressing over a solution were over. It was a total breeze to use and my stress level dropped 100 points. Problem solved.
5. Glaze
With my application technique down, I was able to easily add the Country Chic Graphite Glaze for a more antique look.

The topcoat beneath the glaze gave me more control, though glazing still wasn’t easy on the doors with all the nooks and crannies. I discovered that if I had too much glaze in any area, I could just lightly sand it off with my sanding sponge. It was important to get the doors to look uniform, though not exactly the same. With the topcoat beneath the glaze, lightly sanding was an easy fix.
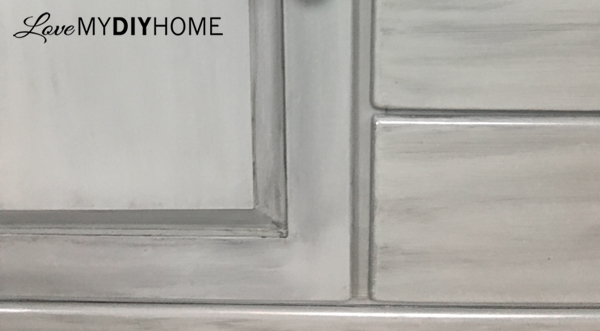

A heavy glaze on one door and not the other would draw the eye and you don’t want that. But you don’t want perfection or an exact duplicate either. BALANCE is key.
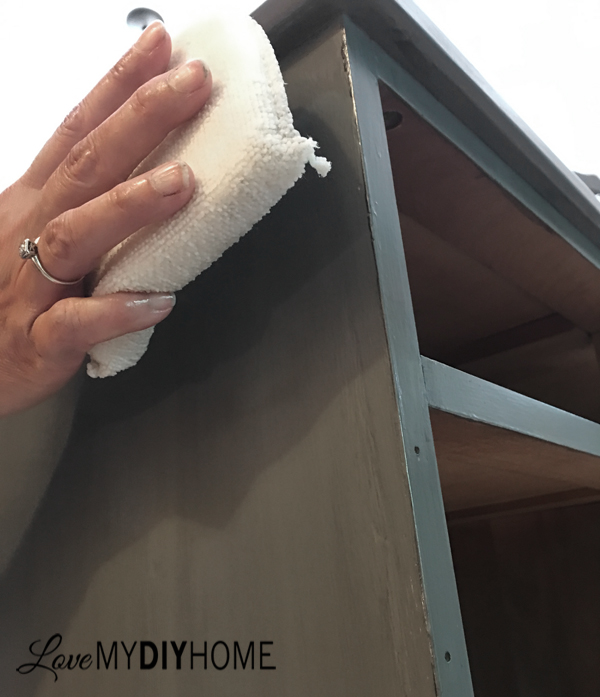
6. Topcoat
The topcoat went on like a breeze, quick and smooth. I sanded lightly with my fine sanding sponge in between the two coats to keep it smooth. When you finish a piece, little dust particles can collect on the surface as it dries, so the light sanding helps keep it smooth. It also helps smooth out any brush strokes, though there wasn’t any with the sponge application! But this wasn’t my final topcoat because I wanted to…

7. Stencil
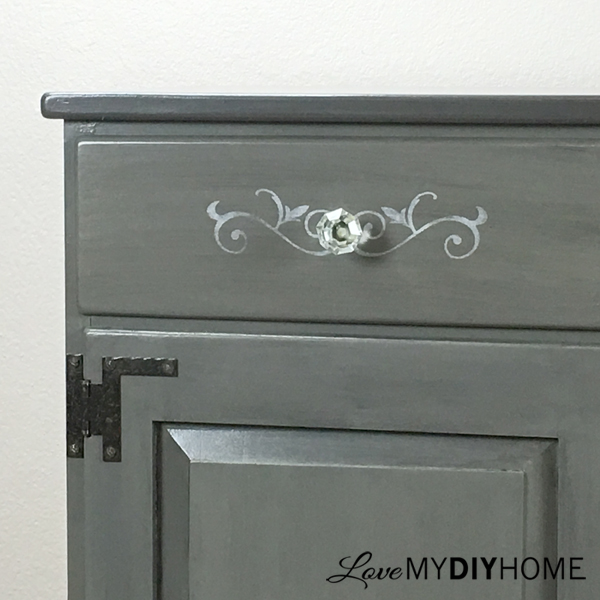
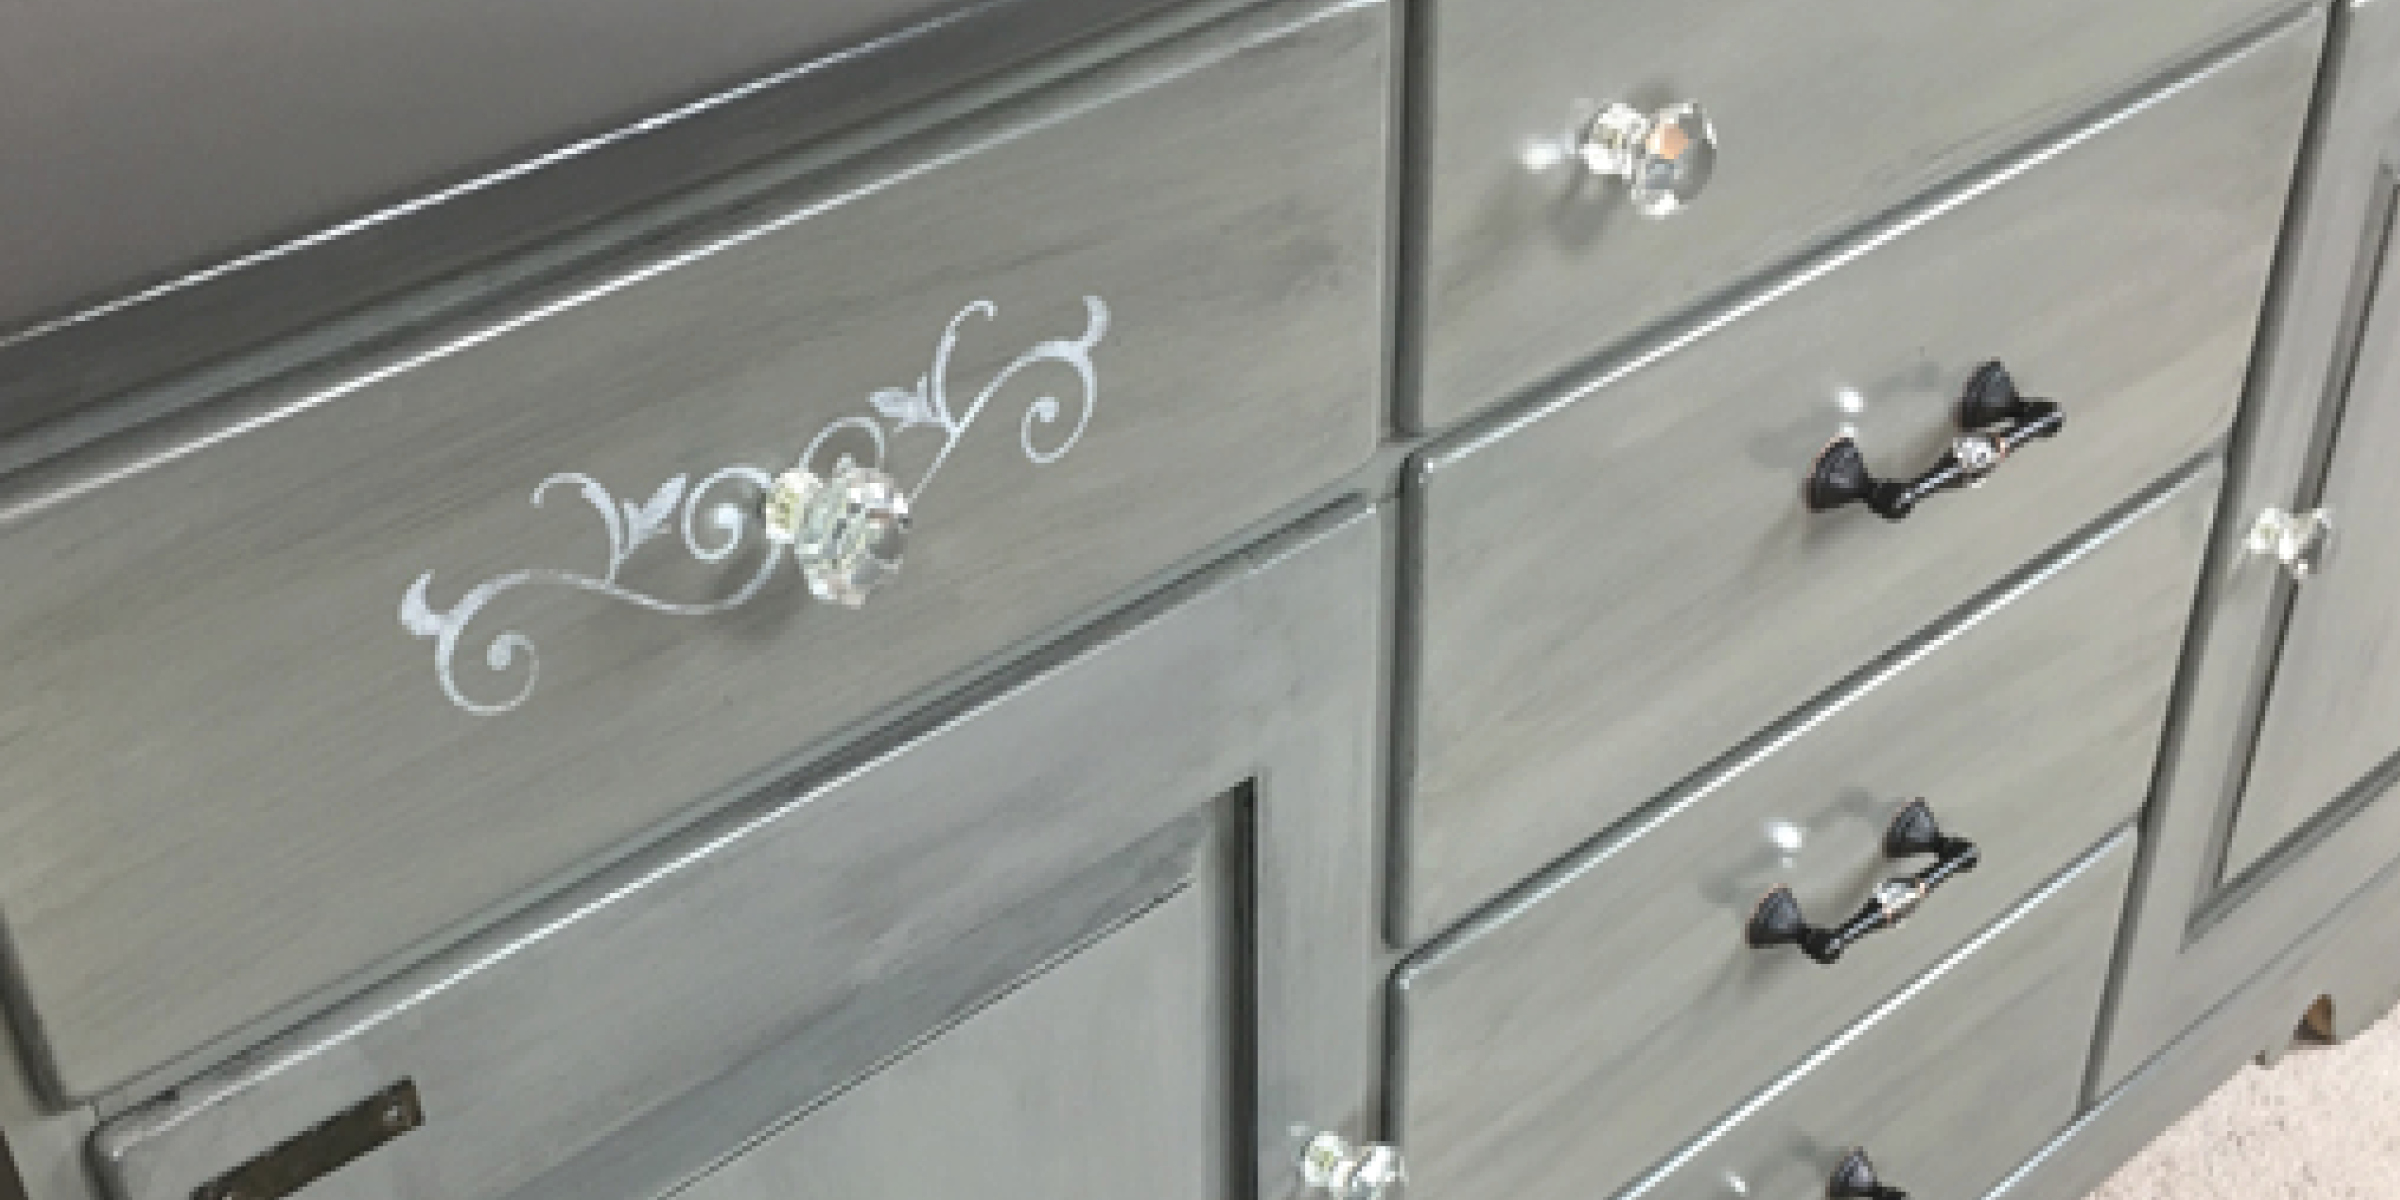
Finishing touches can make your piece stand out in a crowd. For this buffet I chose a swash stencil that would make a statement. Though I tend to be conservative, I don’t like plain or boring, or furniture that is just like what everyone else owns.
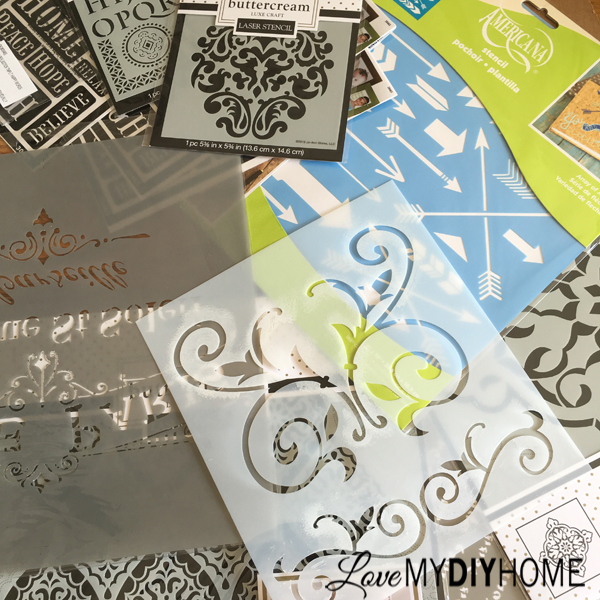

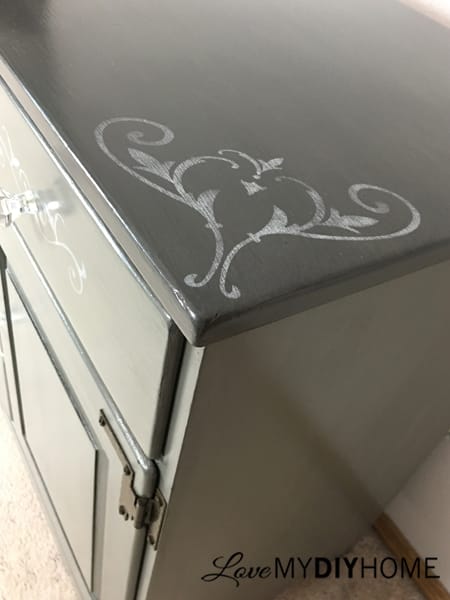
I did a little practicing on a piece of wood before the glazing/topcoating/stenciling steps. For the top of the buffet I combined two stencils to create a corner motif to coordinate with the drawers.
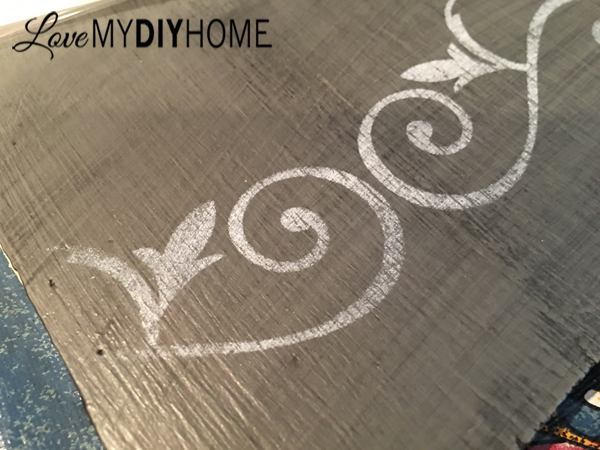

I used a stipple brush I’ve had for over 20 years and Buttercream Luxe Craft Decor acrylic paint I got at JoAnns that was on clearance.
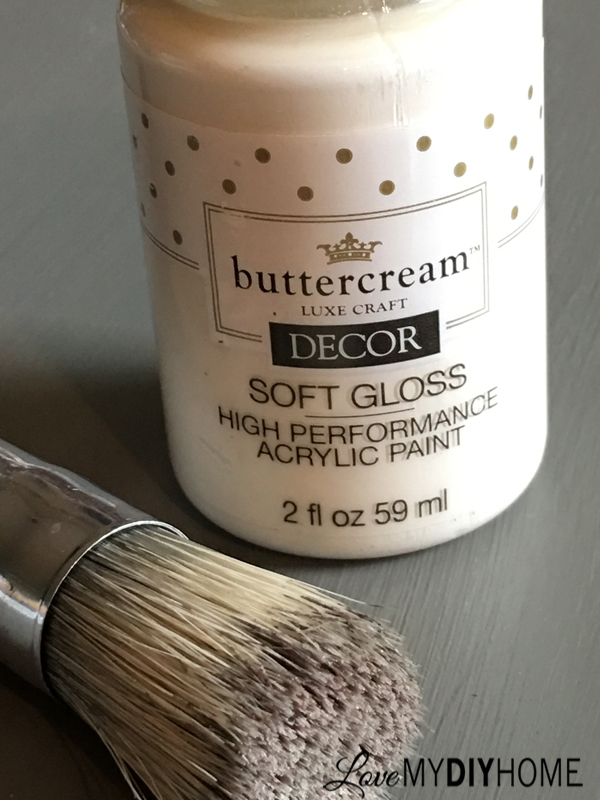

After I stenciled the drawers and top, I used a sanding sponge to distress the paint before putting on the final topcoat to give it a worn look.
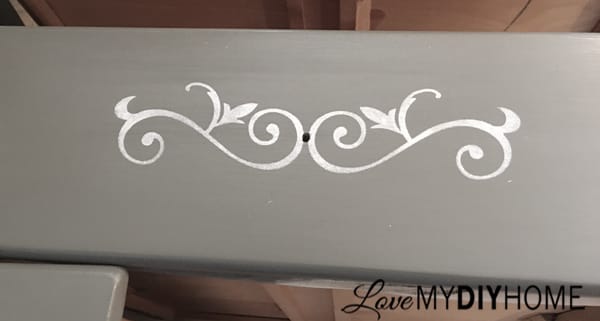
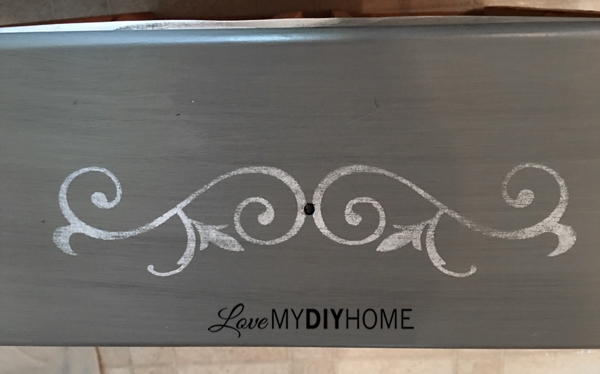
Stenciled before Distressing

Stenciled and Distressed


7. Apply final topcoats.
Once again using the sponge applicator, I applied three coats of Country Chic Tough Coat with Extender added, sanding after the first and second coats, but not the third. I used a my fine grit sanding sponge. This buffet was VERY protected!
8. Add hardware
A total explanation of who and what hardware I used is in last week’s post: A Great Hardware Option of DIY’ers. Be super picky about what you use for your hardware. You don’t want to spend hours and hours making your piece just right and then put back on the old outdated hardware or use something that doesn’t fit the piece.
9. Line the drawers
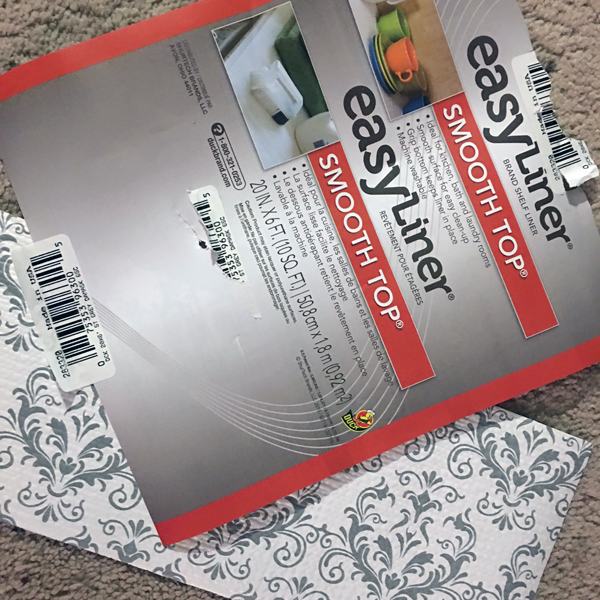
The Devil is in the details, they say. But I’ll let you be the judge. The drawer liner is from Fleet Farm.
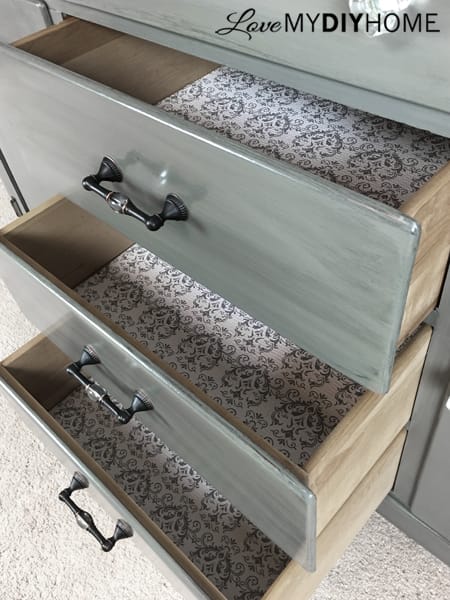


Let’s do a before and after for contrast:
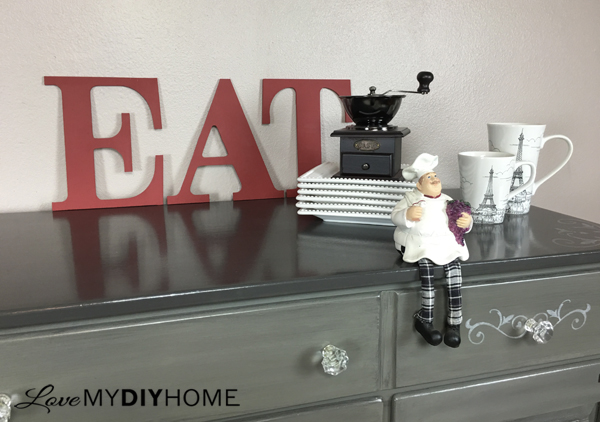
BEFORE

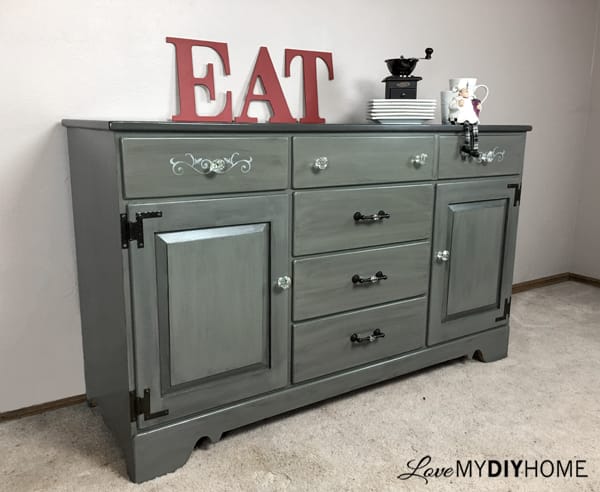
“Isabella” AFTER
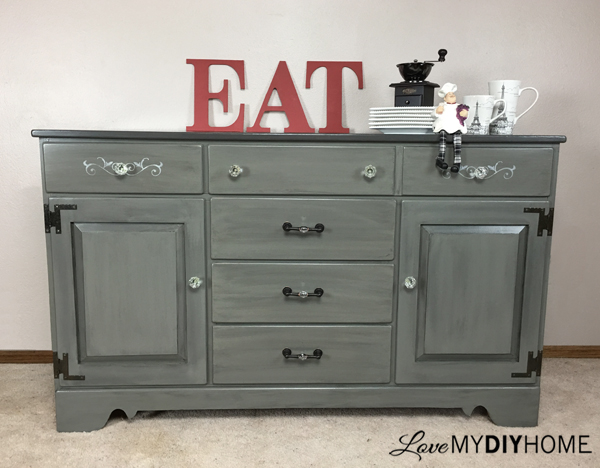
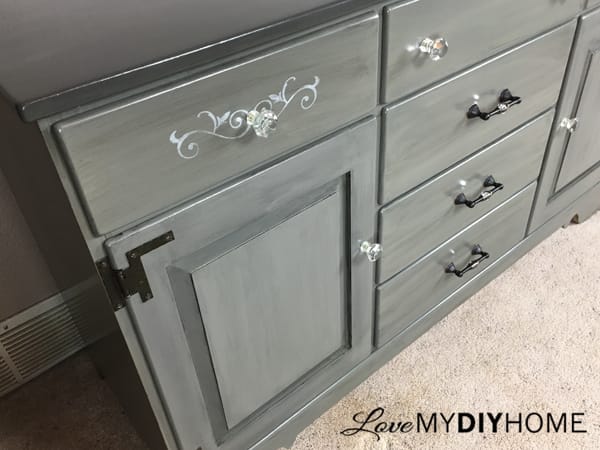
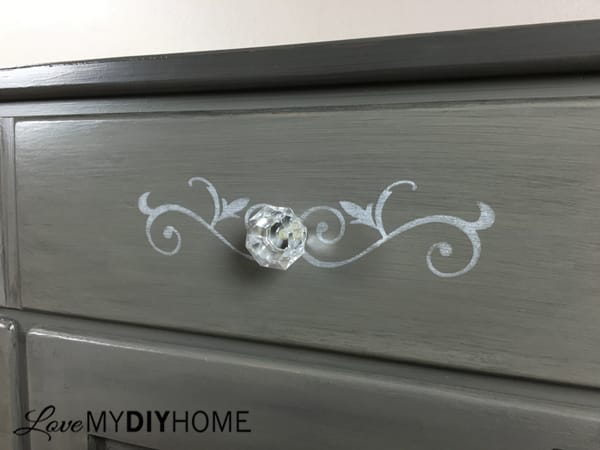
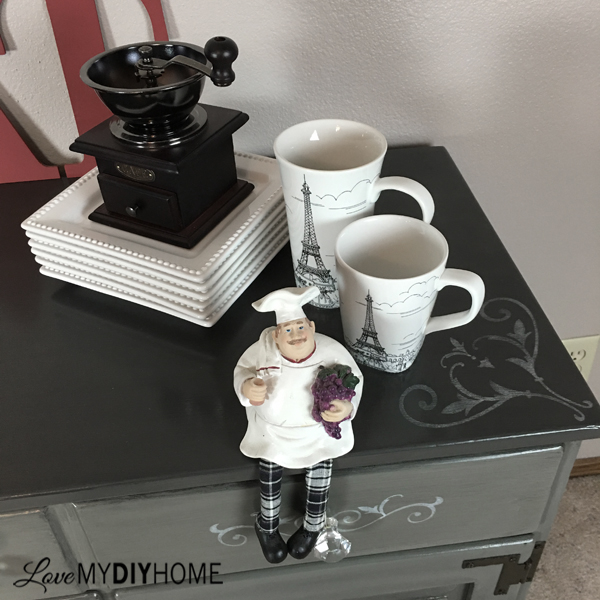
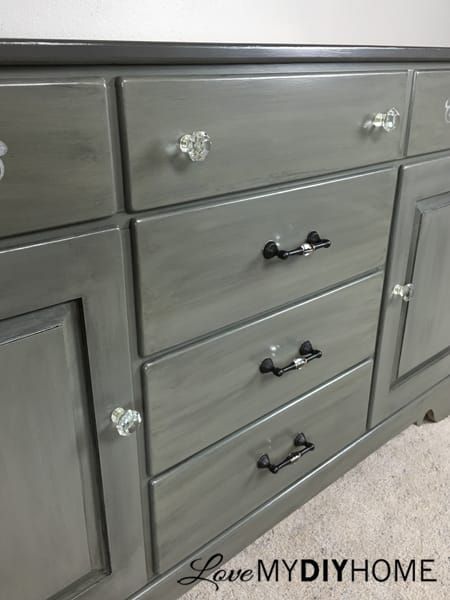
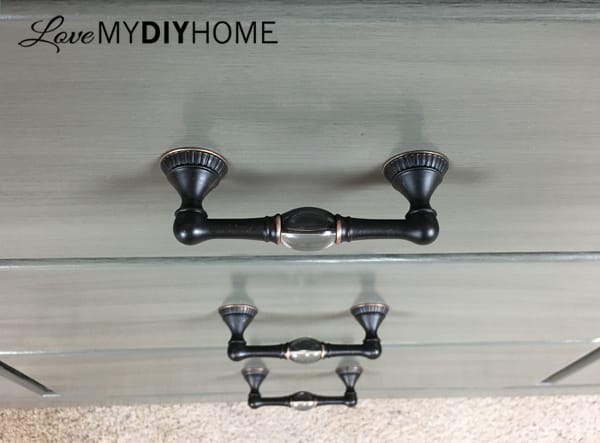
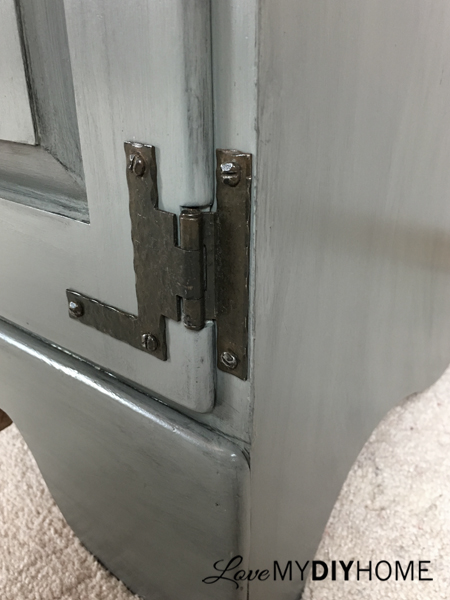
The new hardware was coordinated with the original hinge below. The pulls are from D. Lawless Hardware, the glass knobs are from Hobby Lobby.

Many thanks to Country Chic
They graciously supplied the paint, glaze, Tough Coat and a brush for this project. I will use these products again and am happy with how this project turned out.
Soon I will have the bookshelf made from the same china cabinet tutorial up on LMDH and will also be available for purchase. Keep your eyes peeled!
Have you done a multi step process to flip a piece of furniture?
Comment below and tell me what was your most challenging step. We can learn from each other and become better flippers – I know I value the furniture flipping groups I visit.

Thanks for sticking with me through this long tutorial.
There was much learned and a lot to share. If you’d like a FREE PDF of this tutorial without pictures, I can send you one via email. Just click the big button above. It will also put you on my email list, but feel free to unsubscribe at any time. I put out a newsletter about once a month with links to my posts and tips. I also include free stuff now and then.
Have a great rest of the week and don’t forget to leave a comment.
Blessings!


* Disclosure: This post contains affiliate links. If you buy anything after clicking on one of the affiliate links, I receive a small commission of the sale. The cost to you is the same, and I only link to items that I think would benefit my readers. Your support of this blog is greatly appreciated! The products used were a gift from Country Chic for review but my opinions are my own.
wow what a great job. Could you post a picture of one of your finished bookshelves from a china cabinet? I have my mom's and want to do something with it–like turn it into a potting bench, but the top? When I decide to get started on this and I know it won't be till next year I may look ou up again for advice on products.
Thanks,
jan
I will post my bookshelf from the China cabinet soon – stay tuned! If you subscribe, you’ll get notice when it’s up. I send links once a month to my subscribers so they can keep up on what I’m doing and get tips along the way. Thanks for visiting!
'Love the idea !! I have a cabinet similar to the one you refinished.
have you completed the top part yet? i don't want to start on mine until i have an idea what to do with the top as it will not sit on the floor by itself.
thank you!
We have it ready to paint, I just have a couple of projects ahead of it.
Beautiful buffet Val. Thank you for sharing.
Thank you!
You really did some beautiful work. I happened across your site from Hometalk.
Thank you, Renee!