Outdated Cabinet Upcycled into a Cat Bed

It’s the same with babies and cats. They tend to take over your house. Cat bed, toys, littler box, tunnel…my kids think I’m nuts. They come over to my house and you have to step over all of Mia’s stuff. Let’s face it. Mia is my baby, so I enjoy seeing her lounge and play. Catadorn is my go-to shop for cat toys and accessories. So I had this idea that maybe others might like to have some furniture that has a duo-function. How about an end table that hides a cat bed when company comes over? Here is the before. I got it at a garage sale for just a few bucks. The picture looks kinda nice, doesn’t it? This is a case where the photo fools the eye. It’s was in pretty bad shape and needed help. I think it was supposed to look high end, but somehow … Read more

Table Stays Rustic – But Way Prettier!

It’s kinda fun to post this BEFORE my daughter sees it. It’s for her birthday but she’s just a little busy right now thinking about having a baby some day soon. 🙂 So as we wait, this little gem is going up! I started out with a base of off white and then painted a light brown wash over that, to create a worn, Old-world look. You can see the before and base color in the video above. I chose not to fix the imperfections because I went for more of a rustic look, leaving in the dents and cracks. Nor did I repaint the hardware. It had been painted by the prior owner and is flaking off – perfect for the look I wanted! Once I got the background I wanted, I stenciled a clock and part of a compass, distressing the stencil just a bit to give a … Read more

Redesigning Ruby Challenge Featured Project

Everyone who took my Redesigning Ruby Facebook challenge in May did an outstanding job on their pieces – we saw such great transformations. One out of all won the final giveaway which included a feature on LMDH along with a couple of other prizes! Not only did Jane Poates do a great job on her piece, she managed to capture the essence of Ruby herself. Her “BEFORE” is on the left and first and second steps on the right: The challenge was to find a piece, prep, layer and distress two or more paint colors. Then antique, layer stencil and accent with gold wax. The option of Retique It was suggested where needed for a stained top. Here is Jane’s description of her project: “After – My version of “Ruby”is finished! Painted in Maui Sand and Gulf Coast with dry sand distressing. Added two tone stenciling in black and metallic … Read more

Retique It & UNiCORN SPiT

I like to experiment and try out different products and brands for my members on my Facebook groups. Today I did a short video showing you how I used (afflinks) UNiCORN SPiT over Retique It Liquid Wood. The possibilities are endless! Have you ever used UNiCORN SPiT? It’s a water based translucent non-toxic paint that can be used as a glaze, stain or paint – super easy to use, and fun! Retique It Liquid Wood is a paint on liquid wood (just like it sounds). You can do all sorts of fancy things with it! You’ll see: Metallic SPiT over Retique It Liquid Wood Background and layered stenciling Stencil distressing It’s just a fun little video to give you some ideas. Let me know if you have any ideas on other ways to use these products! XOXO

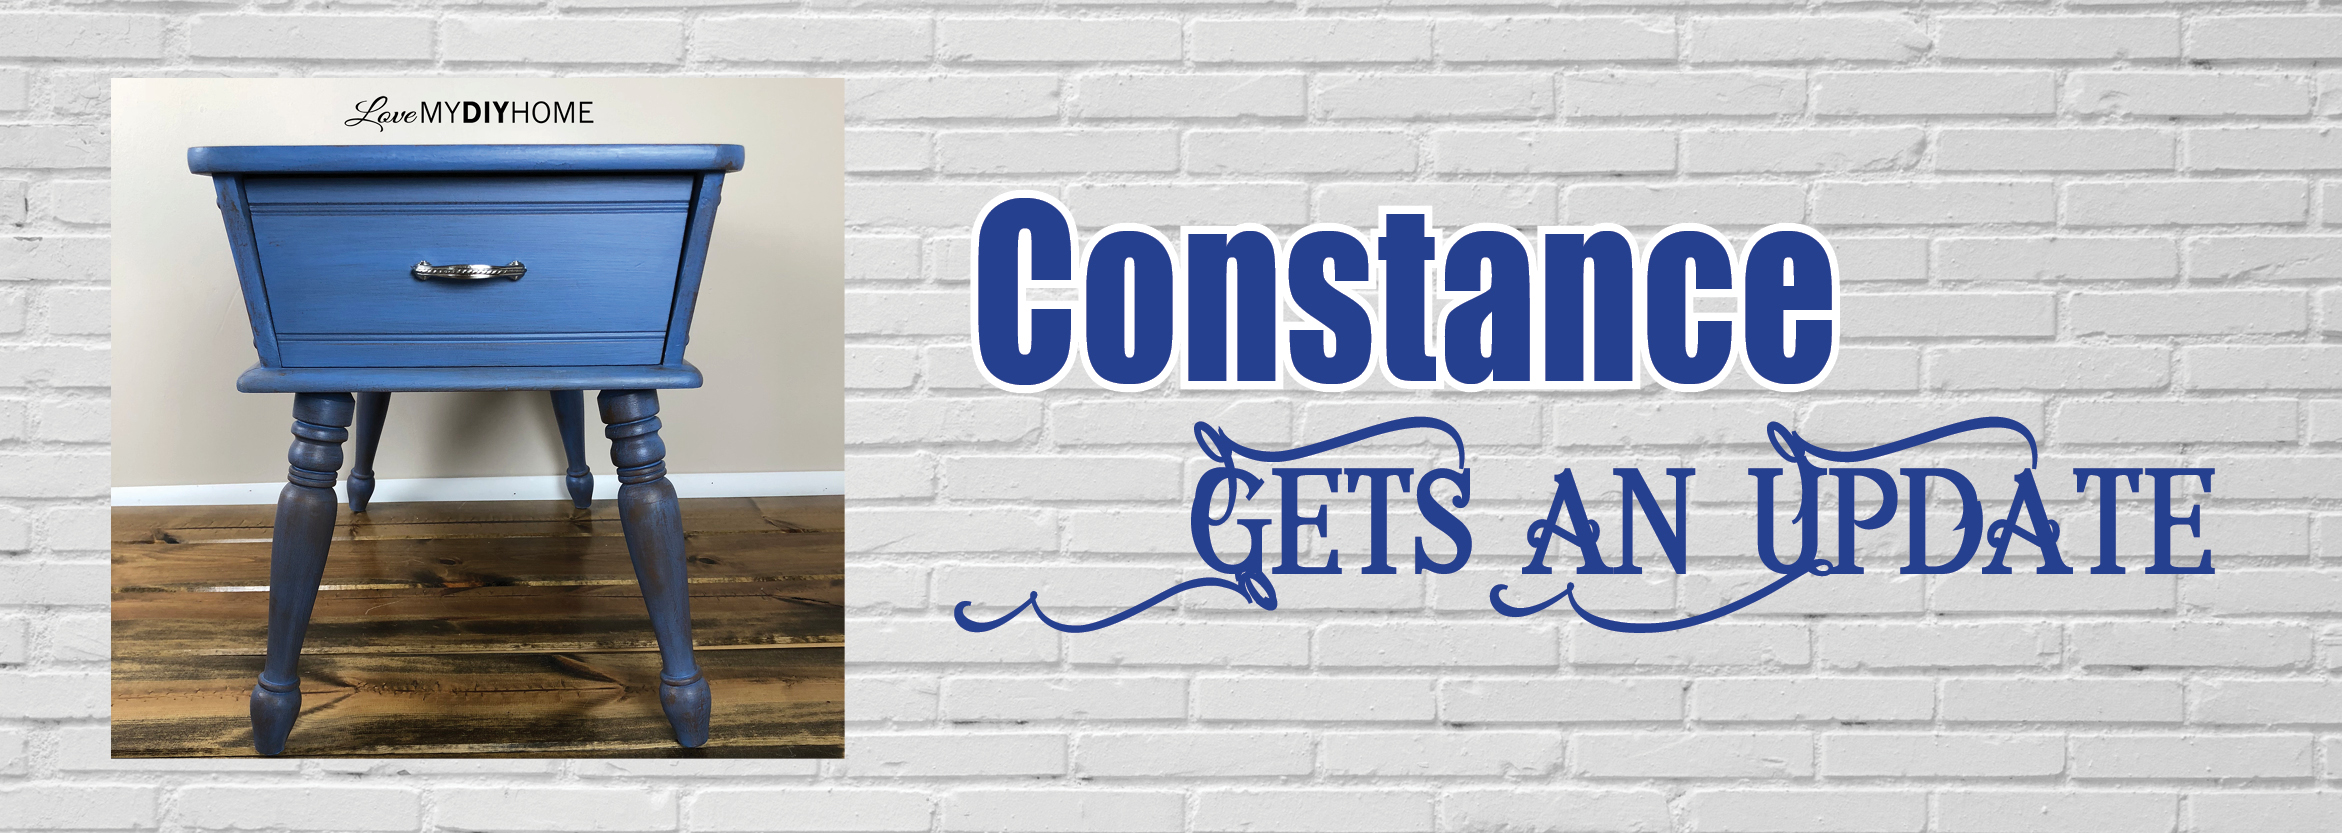
Nobody Wanted Constance…Except Me

Nobody Wanted Constance…Except Me This Was One of Those I walk through estate sales and grab tickets before anyone else grabs up the good stuff. This one didn’t look like the good stuff, per se. Old, damaged and out of date, this one was a challenge. Not were the innerds a mess, but it just didn’t speak to me. I named her Constance, because of her colonial feel, and she talks to me now that she’s beautiful again. Here is her old self: The drawer glides were damaged and someone had tried using some sort of goop to try to glue them up. And of course I didn’t see this until I got it home and started prepping it. Fortunately, after a few attempts DH got it fixed up by making new glides. It is a very strange set up – the drawer glides are up under the top, slanted … Read more

Studio Art Rack {Love My DIY Home}

Bakers Rack Repurposed as Paint Studio Storage

Sometimes You Don’t Want to Paint Did I just say that out loud? Most of the time we look for projects to paint but occasionally we decide to keep it as is, just spiff it up a bit by adding detail or simply cleaning it up. We found this bakers rack on a weekend getaway to Door County at a sweet little consignment shop for just $35. It may have been an impulse buy, but it was one of the best so far. I Dragged it Out of Our Barn to Paint it for My New Studio I decided I liked it as is and cleaned it with water, a scrubbie and (afflinks) Krud Kutter. Sometimes Krud Kutter works better than you want and it took off a bit of the grunge that I thought was part of its charm, mainly, the water ring. BUT, sometimes a snafu can lead … Read more

Coffee Table Update OFMP {Love My DIY Home}

Coffee Table Comes Alive – An OFMP Update

Since I wanted to try out the two OFMP greens, Lexington and Tavern, layering seemed the best way to go. The first layer was Lexington. I added Extra Bond after a bit of research, since stain came off onto my sponge when I was cleaning in preparation for painting and I didn’t want to use shellac. The supposition is that the Extra Bond would seal in the stain if I mixed it into my first layer of OFMP. It covered well with not a hint on the dark stain bleeding through. So far so good.

80s Bookshelf Redesigned {Love My DIY Home}

1980s Style Bookshelf Redesigned

I’ve been tooting the “flip it don’t toss it” horn for quite a while now – have you heard it? Look around your house. Do you own any furniture that is the same ol’ same ol’ from the 80s? Are you tired of hum drum? Let’s look at a bookshelf re-designed out of the 80s and into the present. This old thing has been sitting in my hallways for a dozen years. It was time for a change and I’m not willing to go out and spend $100, but I will pick up a brush. Since (aff link) The Old Fashioned Milk Paint Company provided products for this project, I was able to experiment a bit and come up with an original piece of art. Yep. I said “art.” Art isn’t always a framed picture on a wall. Art can be anything that an artist creates. What makes an artist? They … Read more

It’s About TIME – The Skinny on a Little Side Table

Last week when I tried out the (aff link) HomeRight Finish Max on a rolling storage cabinet, I threw in a little skinny side table. Two for the price of one, so to speak. It was green, then dark brown, and now it’s a light tan, with decorative stenciling. It’s a bore no more. Super easy, 1,2,3,4 1. Spray one coat with Benjamin Moore Advance using a (aff link) HomeRight Finish Max. I only did one coat for easy distressing. 2. Distress, lightly. 3. (aff link) Stencil clocks and some French script. Get some paint in your brush and wipe most of it away on a paper towel or paper plate. I use acrylic paint. This is a dry brushing technique. Tape your stencil in place and do a quick up and down movement with the brush to get the paint onto your surface without it bleeding under. It’s easier … Read more

Love My DIY Home