Go bold or go home {Love My DIY Home}

Color Choices – Go Bold or Go Home

Do you ever feel it’s time to color outside the lines? Do you go to the store to buy paint or curtains or your next set of couch pillows and end up bringing home pretty much the same thing you bought last time and then wonder why you’re not excited about it? Or, have you taken that step into Willy Wonka’s world and gone crazy with color? Or style. Or texture? I always wondered why people were so in love with animal prints. I SMH over hot pink painted bookshelves and pillows that look like exploded rosettes. But… change is in the wind. The time to plunge into adventure and throw caution to that wind is here. Color Choices It’s time to crawl out of the brown/white/beige cave and look for something different. A new lease on decorating life started with a new bed set. Yep. A bed set. That … Read more

How to Upcycle an Antique Door – Part 2

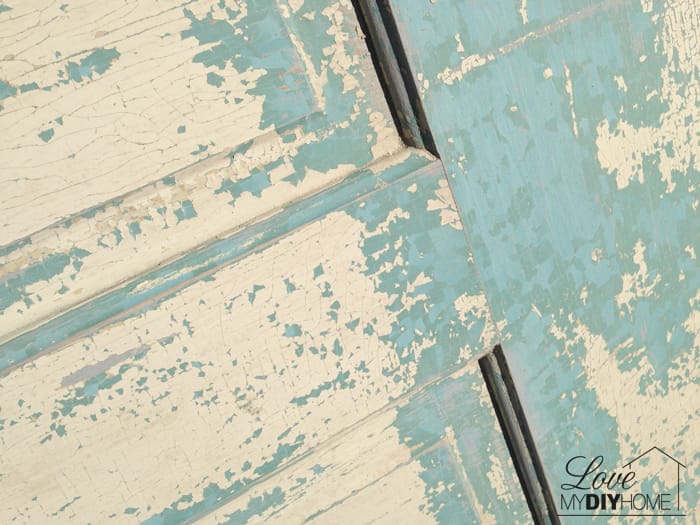
In How to Upcycle an Antique Door Part 1, I showed you how I had painted brown on one side. Now I will show you what I did to the other side. I kid you not – this is by far the coolest project I’ve done and you could for sure do this yourself. Now you’ll see what I did to the other side and the end product. Here are the two sides… IN THE RAW This is the one side that I painted brown that you read about last week. Now let’s look at side two. MATERIALS (Affiliate Links) Sanding Sponge Rust-Oleum 2x Painters Touch Spray Paint American Decor Creme Wax Hobby Lobby Hardware 1 ” Corner Brackets Step One – Side Two: Clean and sand, but not so much that you lose the textured layers of old paint. I used a (afflink) Sanding Sponge, Fine/Medium. These sanding sponges … Read more

Antique Door Upcycle {Love My DIY Home}

How to Upcycle an Antique Door – Part 1

This is my favorite DIY thus far, an upcycled antique door turned into a trendy piece of home decor for just pennies. My DH and I found some old doors at an auction – about two years ago. They’ve been sitting out under our lean-to since, just calling to me, “Paint me, Paint me…” Here are the before pictures – side one. Here are the before pictures – side two. They’re pretty cool in the raw, but I had other plans. This will turn into a series because there were many steps to the project. Step One: Clean and sand both sides, but not so much that you lose the textured layers of old paint. I used a Sanding Sponge, Fine/Medium. These sanding sponges are easy to use and if you don’t use too much pressure, you can preserve the alligator chippy look of the many layers of paint, yet … Read more

A Real Life Home Before and After {Love My DIY Home}

Sometimes ya just gotta make a mess…

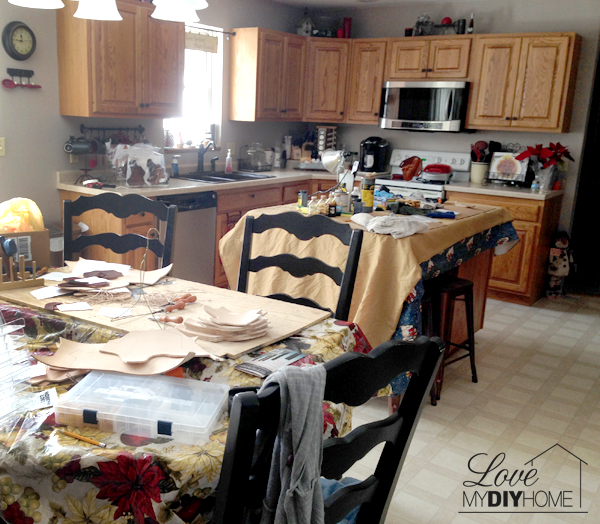
Better Homes and Gardens? Have you ever looked through the Better Homes and Gardens magazine or read a blog post about a new living room update and thought, “Wow, she sure has it together.” or, “My house never looks like that.” Well, I’m here to tell you that you shouldn’t draw wrong conclusions about the people behind the “perfect homes.” We usually only show you the one perfect moment that we’ve staged just for the story. It only lasts until the photo shoot is over. I thought I’d show you a real life “before and after.” To encourage you To let you know you are “normal,” or at least a normal as the rest of us, whatever that is. Real life is so much better than the pictures you see online or in magazines. These before and after pictures are in reverse order typical to what you expect to show … Read more

Stand Alone Cabinet – A Side of the Road Rescue

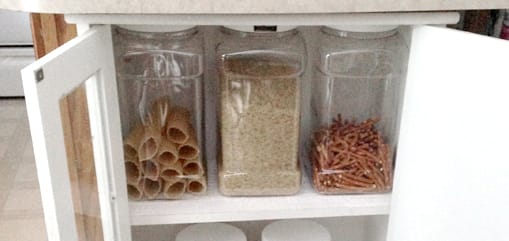
My friend, Lisa, picked up a little free standing jelly cabinet alongside the road and brought it to church, asking me if I wanted it. It was pretty icky… …bruised and battered with stains and a couple of bandaids stuck to the shelf. Gross! But I saw its potential. Wayfair.com has a similar cabinet for $138.99. Amazon has one for $137.99. Well, when I say similar” I mean if it were new. And clean. And never before touched by human hands. The “saving” process… My DH cut off part of the legs so it would fit under my kitchen cabinet island. After cleaning it up a bit, I cut paintable textured wallpaper to fit the shelves. At first the plan was to just paint them, but there was no white spray paint to be found. So when trying to figure out what else would suffice (I’m not one to wait … Read more

Ningxia Red Bottle Upcycle

Greetings my Young Living peeps and other glass bottle throw-awayers… What do we do with all the glass bottles we use every day? Do you throw them away or recycle? The Ningxia Red bottles from Young Living are such nice bottles – heavy and nicely shaped. There are so many products that come in pretty bottles. Here is an upcycle glass jar/bottle project for you. Materials: Chalkboard spray paint (my preferred brand) Decorative rope or twine Beads or any sort of decorative bauble Just spray and decorate – do a couple of light coats so you don’t get drips.   I sprayed the bottle with chalkboard spray paint. And then wrapped around the neck with decorative baker’s string. I wrapped it around the bottle neck and threaded beads and a leaf from my jewelry making supplies. The options are unlimited – just play with your design until you are satisfied. … Read more

MIL Apartment Reveal {Love My DIY Home}

Mother-in-law Apartment Reveal

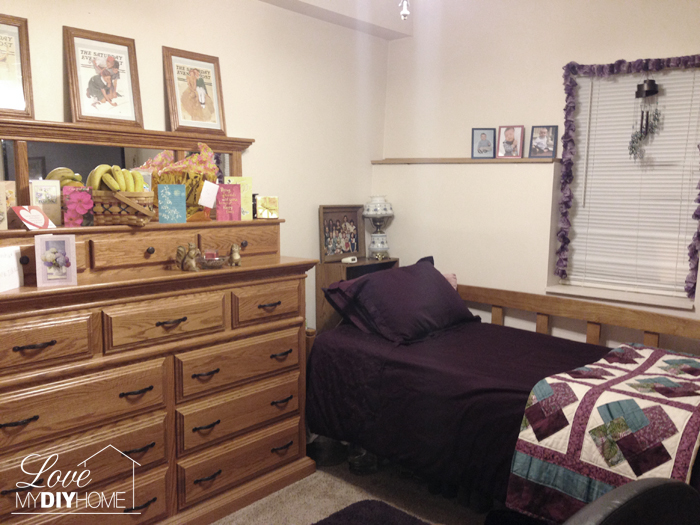
Today was graduation day for my mom. She stepped through the gates of heaven at 12:23 this morning. God is good. Can I say that again? God is good. His grace is sufficient. I thought it fitting that on this day, on this my DIY blog, that I share with you the before and after pictures of her apartment. This one is for you mom… We bought our quad level home two years ago after nearly 2 years of searching for a home in the country with a yard for our grandkids and a MIL apartment for my mom. It was in rough shape, but we knew we could make it ours (and hers). Here are the before pictures. What do you think of that black flowery wallpaper? B.L.E.C.K. The carpet had been…uh…let’s just say, the animals graced the carpet with their presence. When we first walked into the house, … Read more

Dresser Turned TV Stand

 It is a new day. I woke at 4:45 this morning and couldn’t turn my brain off. As always my mom pops in my mind and since the stress of her dire condition is ever present, I couldn’t get back to sleep. At least it wasn’t like yesterday. I woke at 2am and didn’t go back to sleep until 6:30 and then it was only for 45 minutes. I had to go to work that morning and by the time I got to the hospital at 2:15 that afternoon, I was dragging. Fortunately they have a nice family lounge and I took a few zzz’s listening to music while Jillian and Taylor continued their vigil. Thank the Lord for power naps and music apps.  So, I am delivering my Dresser Turned TV Stand I told you about. It seems so nostalgic to me to tell you about this project. Making … Read more

Pallet Project – DIY Deck Island

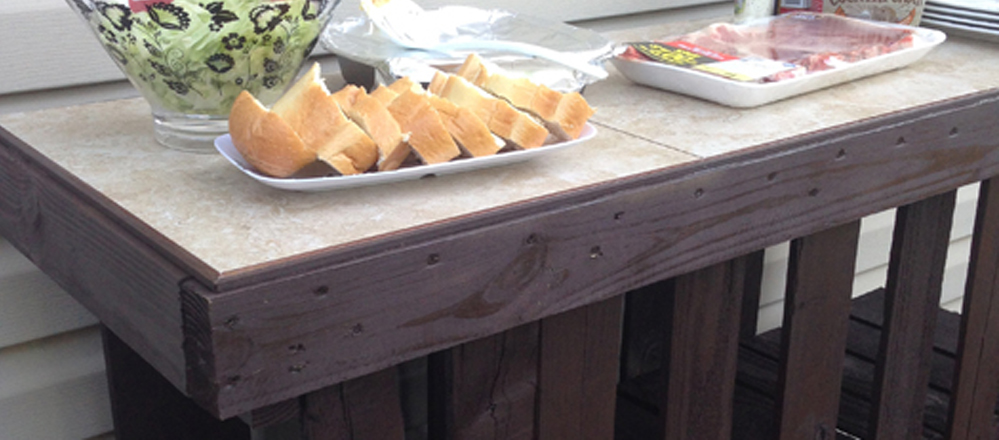
While in Virginia visiting our DD and SIL, we worked on a couple of projects – an island made out of pallets and a rocking chair painted with homemade chalk paint. This is a tutorial on the DIY Deck Island. Project List (affiliate links): Hammer 3″ Deck Screws Cordless Drill Pry Bar Spray Paint Glue 2x4s Ceramic Tile DIY Deck Island Since pallets come in all different sizes, we won’t give you exact measurements, since it would do you no good anyway. BUT, I am giving you detailed pictures and will try to answer any questions you may have – just leave them in a comment. Find two pallets that are the same size. Pry off pieces that you won’t use, carefully. Build a Frame with 2×4’s. Keep in mind what size you will need the frame to be in order to accommodate the size of tile you plan to … Read more

DIY Reno of Foreclosed Home - LMDH

Keeping Up With the Joneses – Making Progress!

We have progress to share today. HA.LE.LOO.YAH. The Bathroom before: The bathroom had three different layers of linoleum with subfloors under each one. Walls patched and painted, wiring done, cabinet painted, subfloor almost in! The wiring was all goofed up, pigtailed all over the place with obvious additions here and there – mish mash! Next up… The Bedrooms before: The Master from Dotville Walls and closets patched and painted Boys’ Room – Sunglasses please! Lime green, per their request – cool decorating to come… Blue and Purple Clown Room? No thank you. Antique white is just what the room doctor ordered… The Hallway Even an insignificant space can change the whole look – check out the before of the hallway. So long paneling and hello drywall and paint! The Livingroom Pulling up the carpet and painting the walls in the living room gave the feeling (and smell) of “new and … Read more

Love My DIY Home