Keeping Up With the Joneses | Love My DIY Home

Keeping Up With the Joneses – Kitchen Demolition

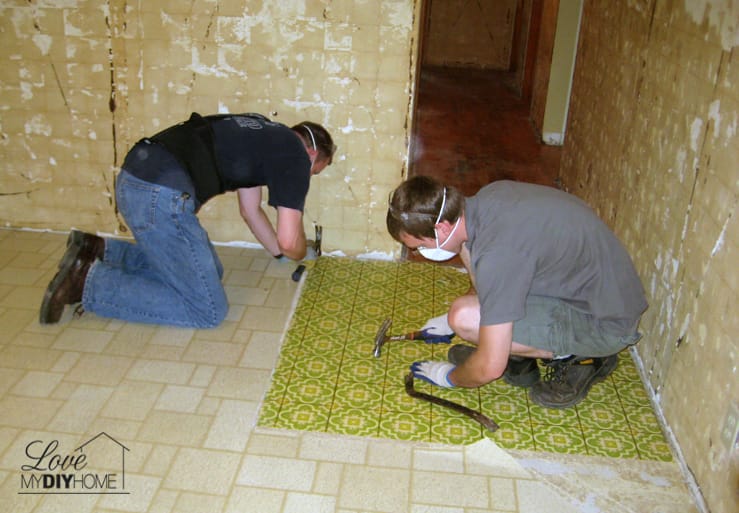
To start, the Joneses, and other family members including moi, started ripping down and tearing up. Oh, how I enjoy kitchen demolition! Even the kids got their share of demo, which BTW, shows you and I that if a 6 and 8 year old can do it… You can do it too. But for large-scale demolition projects, it is advised to hire professional Heavy Equipment Demolition services. I’m gonna preach it till the cows come home. Too often we say, “I could never do that.” How about, “I could totally do that!” April took off the scalloped hoop-de-do above the kitchen sink. Now, hoop-de-doos aren’t necessarily bad, I recently painted a shelf with a couple of them for my mason jars and it turned out very nicely. It turned from boring to fab, but here it would only look old and outdated. So off it came and amazingly enough, made … Read more

Keeping up with the Joneses | Love My DIY Home

Keeping Up With the Joneses – The Kitchen Before

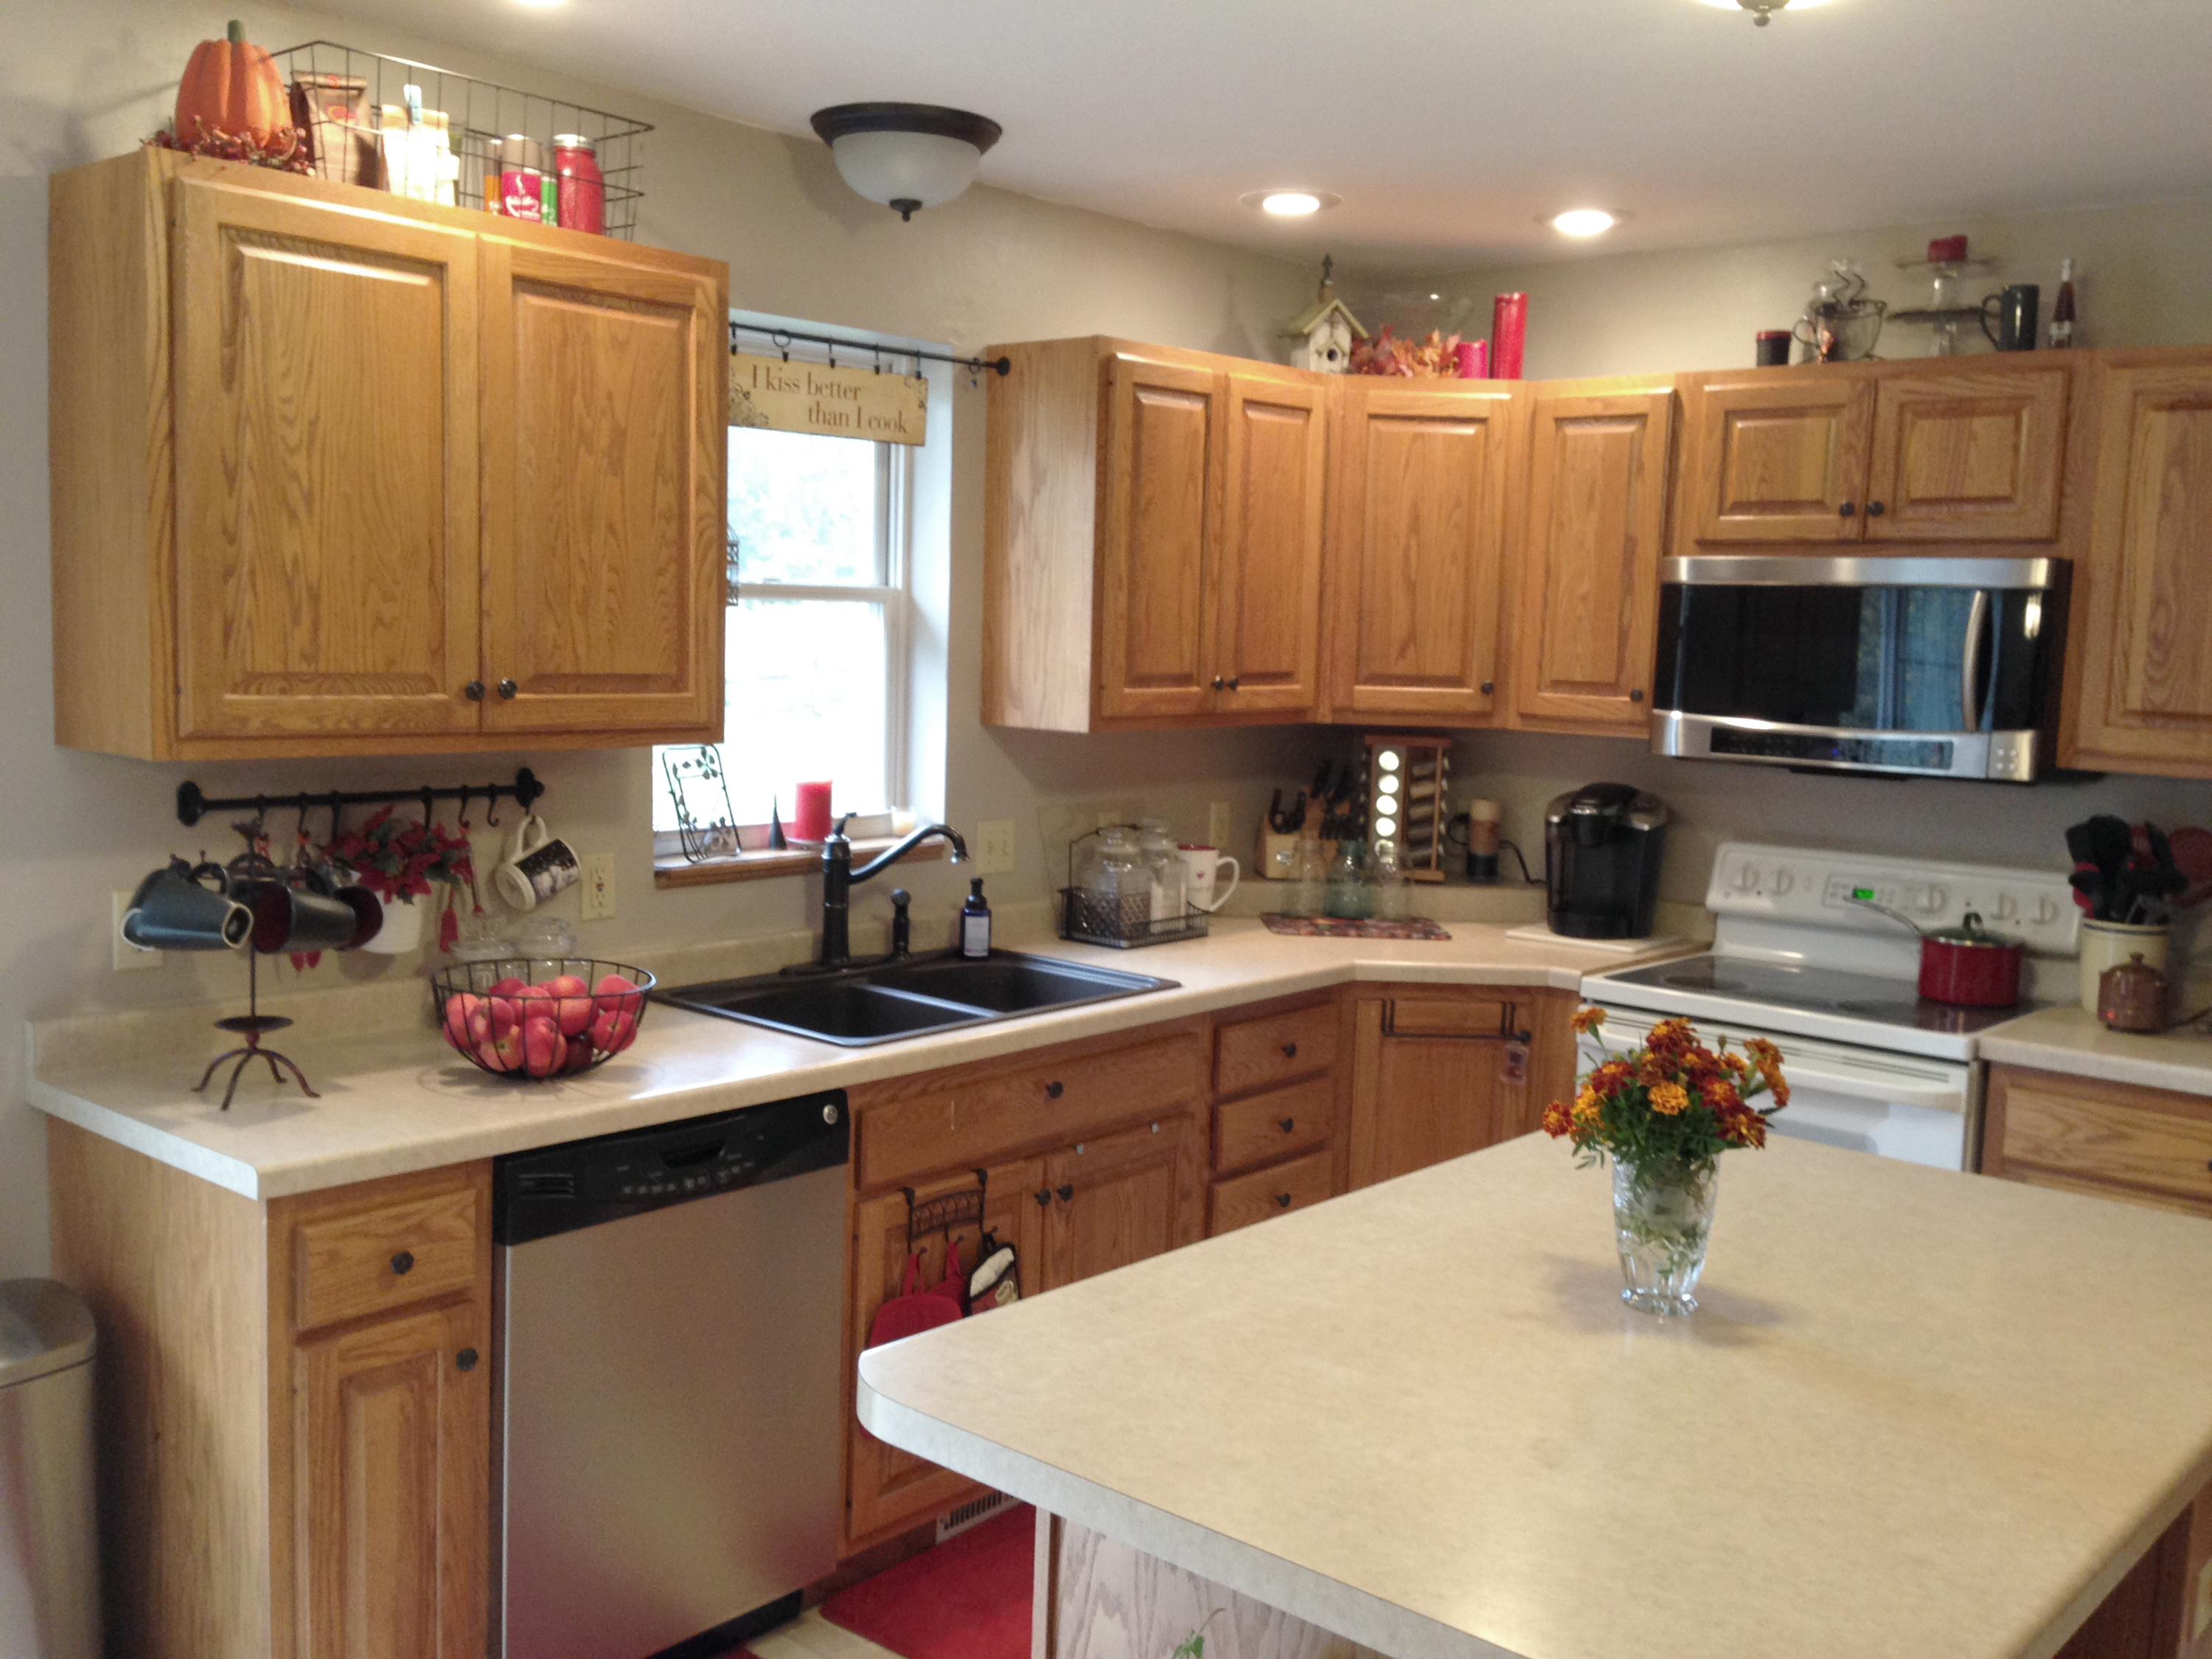
Welcome to a new series: Keeping Up With the Joneses Join us as we follow the first time homebuyers Jones family as they take a foreclosed house and turn it into a warm and inviting home in just 30 days! Their goal is to have it not only livable for their family of five in just 30 days, but have a 5 year plan to bring it to perfection – to flip it and move on. Not only is this a huge job, but they have a very tight budget as well. The Kitchen Before I’ll let the pictures do the talking here – it’s pretty obvious they have their work cut out for them! Occasionally I’ll photo bomb since I’ll be out there helping from time to time. You can play the Where’s Val game (Where’s Waldo?) with me. We will show you step by step, and occasionally insert … Read more

Messy porch after a long winter

Antique Chair – Better than a Hobby Lobby Hack

The front porch needed some serious help after our long winter, so the first step was to fix my antique chair, one of my first projects from last year. Welcome to my life… (no pretending to be perfect here) See it tucked in the corner behind all the big pots next to my grandson’s worm collection? We got this and two other chairs as part of an auction bundle, spray painted it and have had it on my front porch for a year. I wondered if it would survive the winter – yep, I was too lazy to take it in and just kept brushing the snow off as I passed by. The seat only had a few scratches on it, so that is easy enough to fix.  It’s hiding a couple of ugly electrical boxes. I thought to just go ahead and paint the chair again before putting together … Read more

Got Work to Do - Bulletin Board upcycle

Got Work To Do, Got Work To Do…

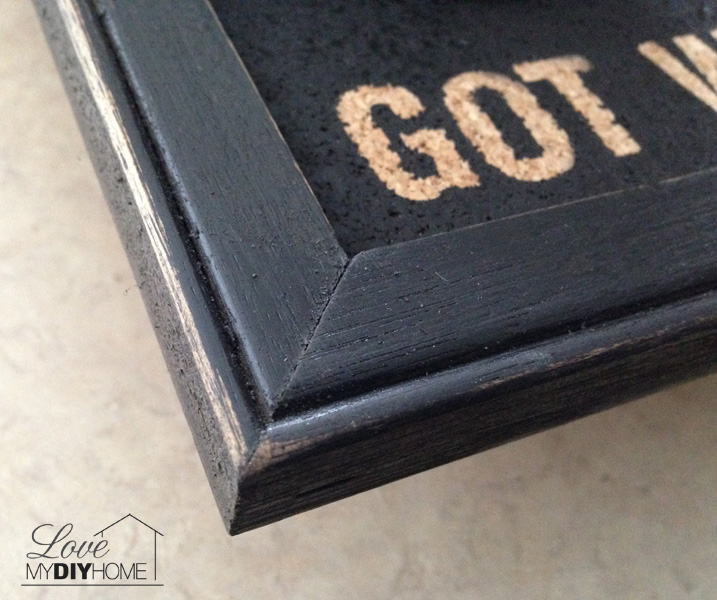
Years ago my DH and I watched a sit com about two writers. I have no idea who they were or what the show was called, but there was one funny scene that we never forgot. The guys (I think they were brothers) were trying to work and had writer’s block. One of the men tapped his head with his notebook and said, “Got work to do, got work to do.” From that moment on whenever we had a long list of stuff to accomplish, we’d say, “Got work to do, got work to do.” I know. Cheesy. But it’s our “inside” mantra…kinda like an inside joke, but not. So, when I wanted to redo our office and put up a bulletin board in front of his desk, I decided to “decorate” it. Not  girly decorating-ish, but MANLY! I rifled through my scrapbook stickers and found some stick on letters … Read more

My Master Bath Before and After DIY Project

My daughter sent me some pictures of a candle stand she bought at Goodwill and had spray painted with Rust-Oleum Multi-Color Textured Spray, Autumn Brown. When she arrived for Christmas she asked me if I’d done a post on her project. I hadn’t, because she never sent me a picture of the candle stand in her living room, finished. The subject was dropped until she brought it in to me and said, “Merry Christmas.” It was so unique – I L.O.V.E. unique! It was the perfect piece to finish my master bath re-do. Here is the before picture of our master bath. Wait, it gets worse… The former owners of our house took the adventurous avenue and used the master bath as an experimental canvas. Not my style… We called it the Under-the-Sea bathroom. It was a fairly easy DIY project, but the wallpaper WAS a bugger to get off. … Read more

DIY poinsettia flower arrangement | Love My DIY Home

Super Simple DIY Poinsettia Flower Arrangement

I'm almost embarassed to show you this DIY project. Not because I don't like it. On the contrary. I like it A LOT. But…since it was so easy, I'm not sure I can even call it a DIY "project." Last week I showed you how to paint a silver painted decorative vase. Today I'll show you how to arrange silk pointettia flowers in that same vase. Why do people pay $30.00 for a seasonal flower arrangement? Let me encourage you – Do it yourself! This is what I started with – a typical fake poinsettia plant. It cost me "nada." I like "nada." "Nada" makes me happy. Can anyone say, "Gag me?" I'm sure at one time it was considered lovely. OK, I'm not sure. But somebody had to have thought it was something of value. Sorry if you're the one who bought this for church. I got it about … Read more

Easy DIY Rescue of a Damaged Side Table

A Simple Solution for a Damaged Side Table What do you do with a side table that has a damaged surface? Years ago I bought this blonde side table at a garage sale for a few dollars and put it beside our bed when we moved to Wausau, on my husband’s side. It was in a hallway for years, but I thought it would be nice from my DH to have it since I gave away his Aunt Emily’s table to my daughter to refinish. See her project here. Guess what? The top of the table developed some mysterious white rings and most of the top was water damaged. Don’t worry my DH, I won’t tell anyone it was you. Besides, you did me a favor! Read on… I had thought for a year that I would have to sand it down and restain it, but really didn’t like the … Read more

Before and After Kitchen

Our Kitchen Before and After

We vacated our tiny rental house in old people’s land, downtown Wausau, and began our much sought after fairy tale a year ago. Our new Hobbit House was a foreclosure that had been vacated for a year – Hobbitless, you might say. There is something to be said for the hominess of a Hobbit Hole. I wanted my home to be cozy and homey like Bilbo’s. source Fortunately the structure the house was decent – it just needed a little TLC and I had to get my vision. (No, the picture above isn’t my house – it’s a Hobbit-Hole.) Here are before pictures. Not bad, but not what I call home. And certainly not fit for a Hobbit. NOTHING short of fairy tale is good enough. My home is where my grandkids and I were going to snuggle and read stories and have adventures. This is where my family and … Read more

Simple DIY – Repurposed Deco

Simple DIY – Repurposed Decor   DO YOU REPURPOSE OR DO YOU JUST TOSS?   A little bit of money, a little bit of time and a little bit of ingenuity… I’ve added a few little things to welcome fall into my home. I bought on clearance a bulletin board that a graduate would use at an open house and changed it into a jewelry holder. Simple changes can easily repurpose items. Ever heard the expression, “One man’s junk is another man’s treasure”? It’s true! The graduate bulletin board was originally $35.00 at Kohls and I got it for $3.50 on clearance. Don’t ya just love Kohls? At the time I wasn’t sure what I would use them for; I thought I could give one or two to someone for Christmas, and maybe use one in the church office. But now that I’ve discovered another use for them (I bought … Read more

Fix Up That Old Piece of Furniture in the Basement – DIY Painted Bookshelf

FIX UP THAT OLD PIECE OF FURNITURE DOWN IN THE BASEMENT   My oldest daughter, April, had an old bookshelf down in her basement that she wanted to use for her homeschooling books. It looked like it had been in a circus wagon! She bought white primer and a gallon of dark brown paint from Menards and used a hand sander on the bookshelf to ready it for the primer. I was supposed to help her, but had guests on the week she wanted it done so she forged on alone. Where there’s a will, there’s a way. Here is the “before” bookshelf. She sanded it, primed it, and then painted it dark brown. After April painted the bookshelf, she took a sanding sponge to it to rough it up a bit to give it the old and worn look. The Shabby Chic look is in these days. Here it … Read more

Love My DIY Home