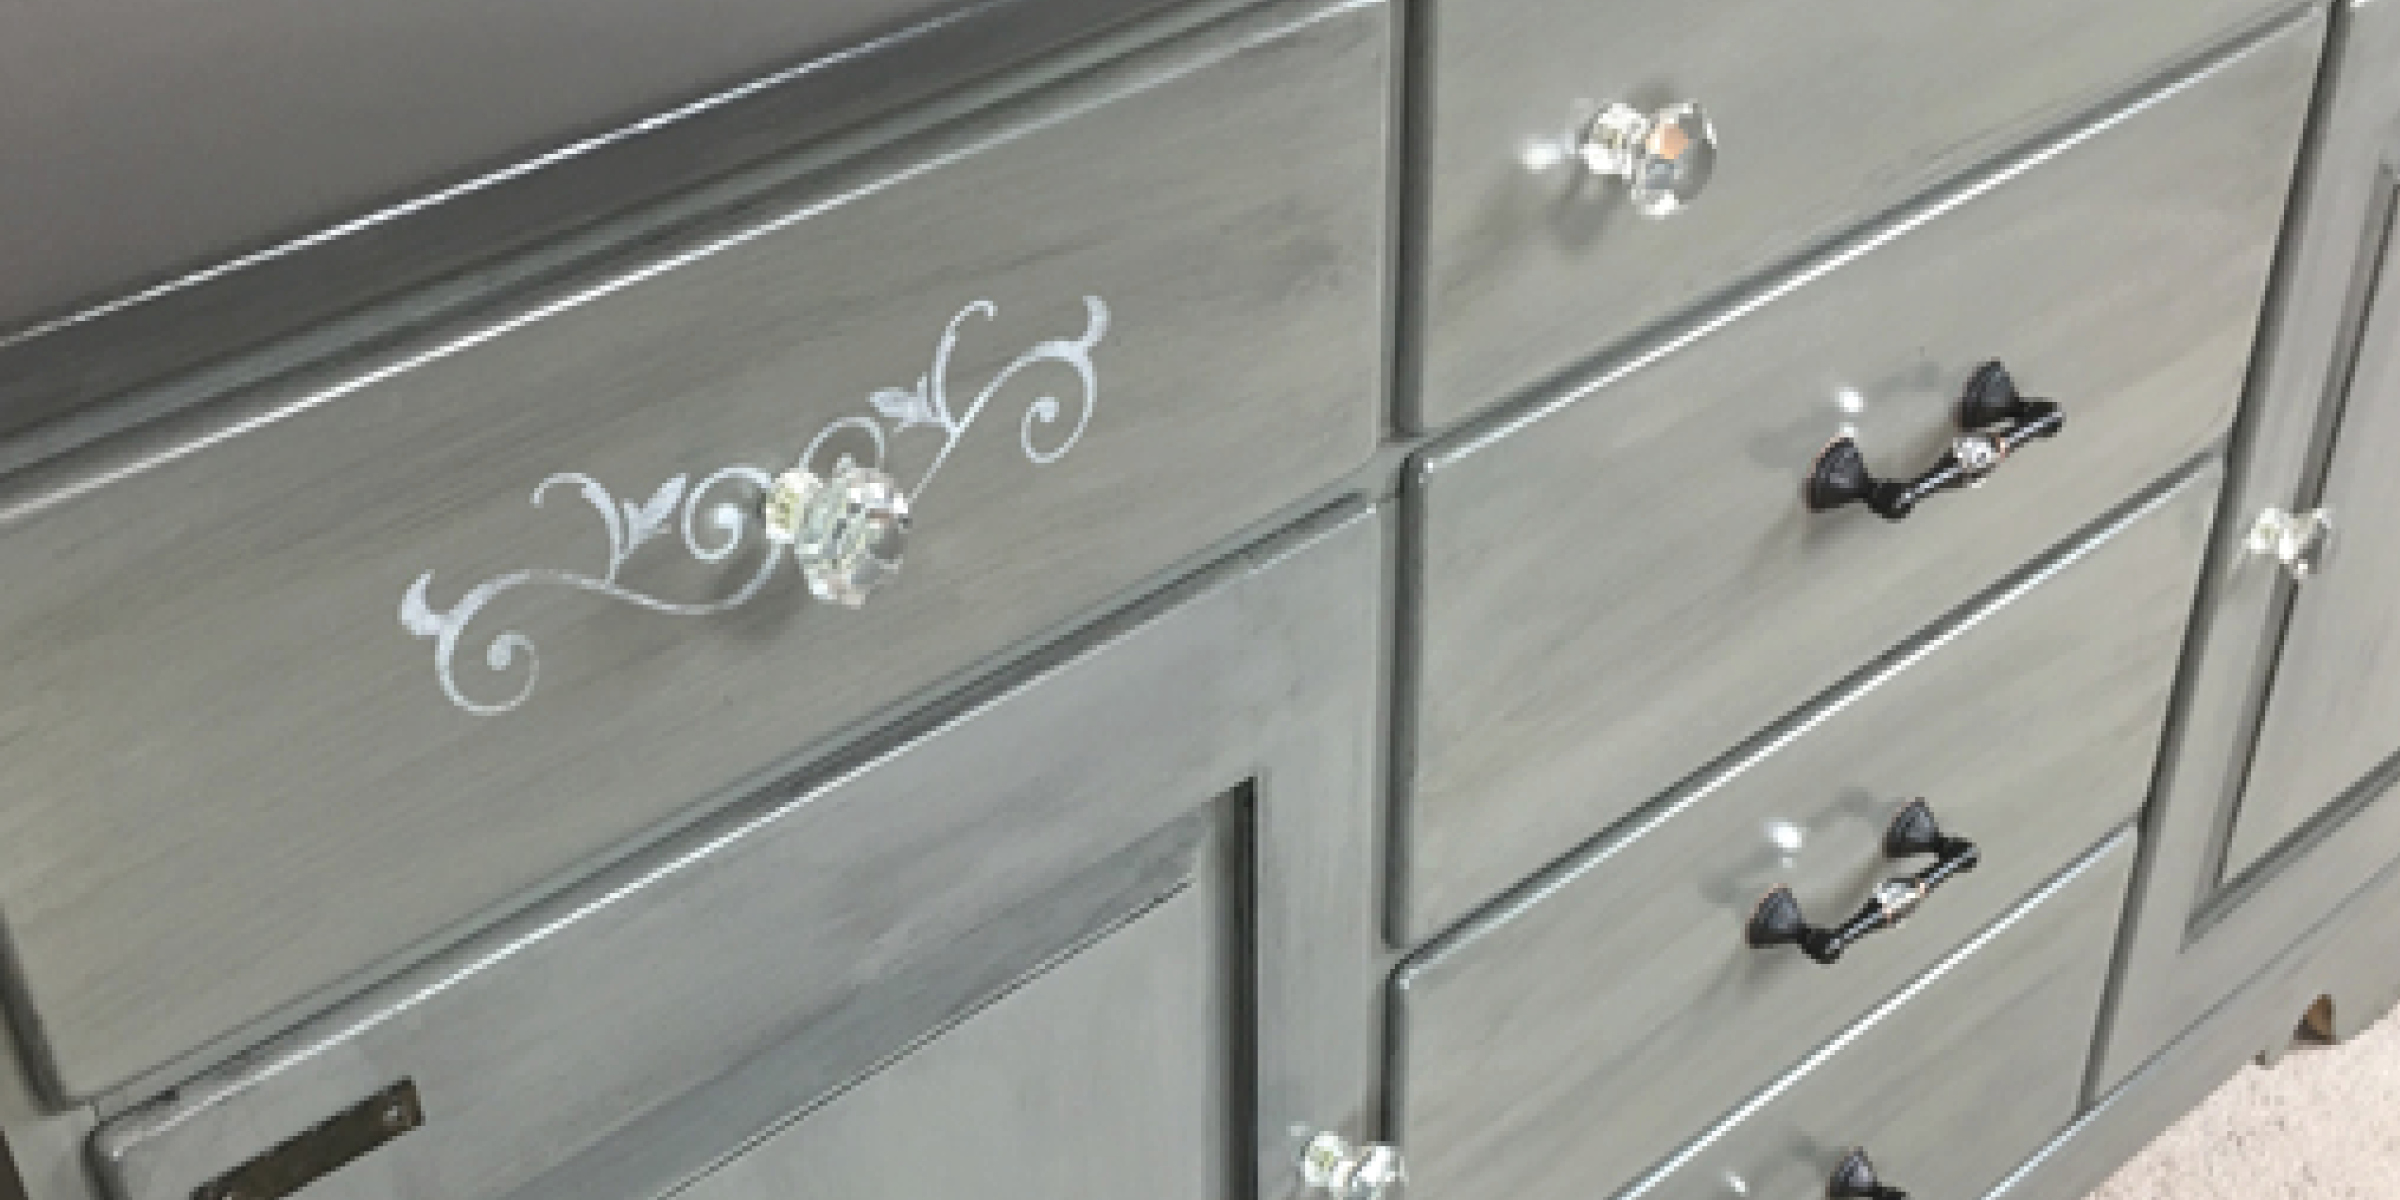
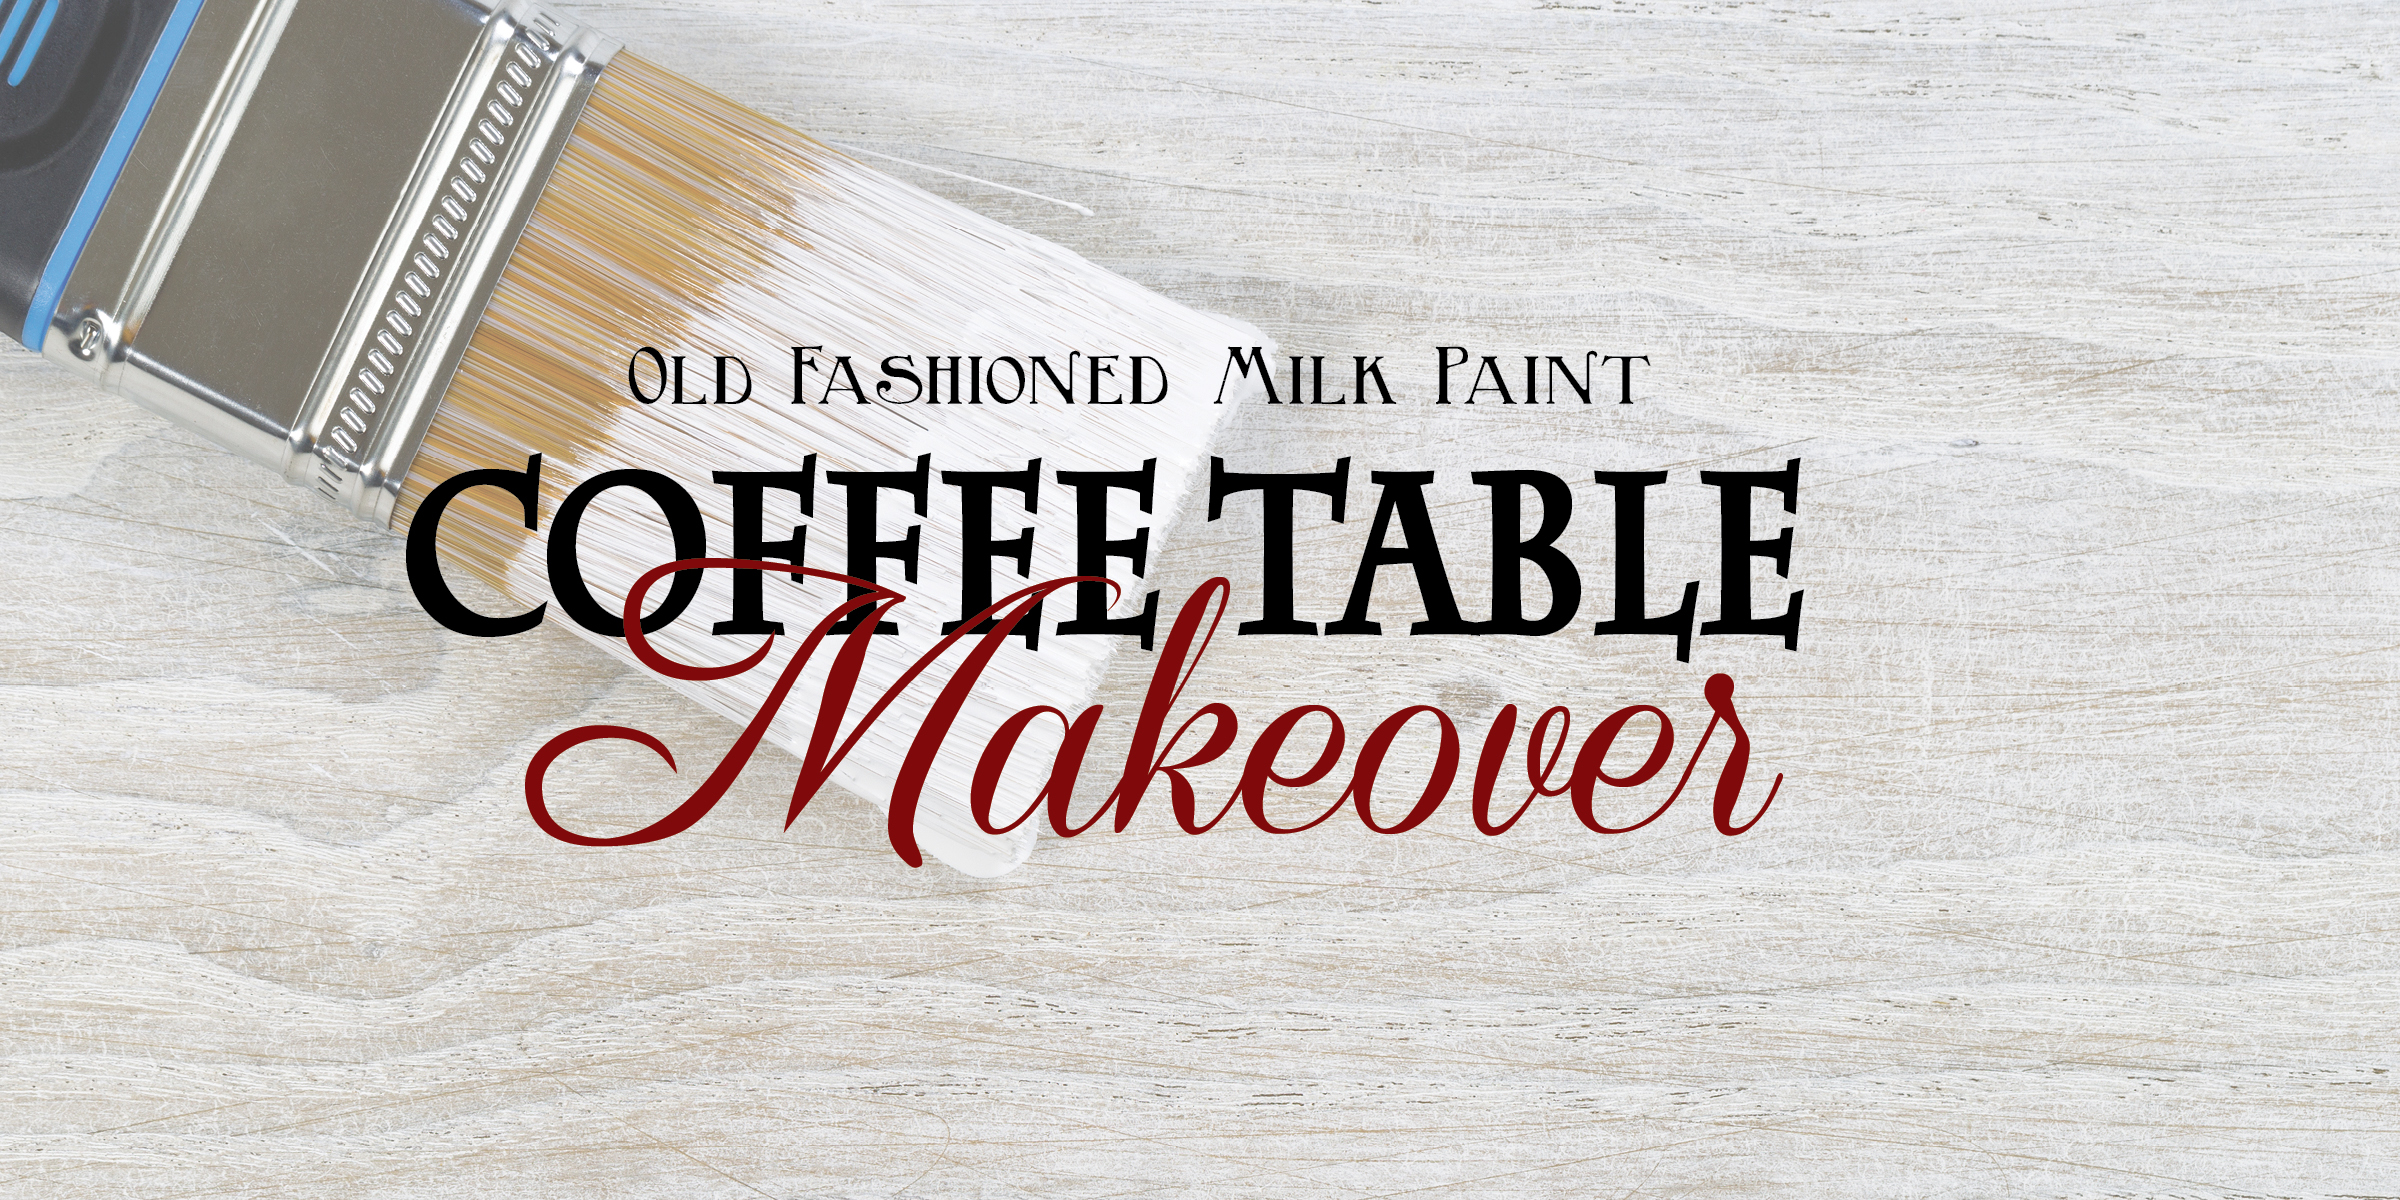
An Apothecary Cabinet Flip – A Fresh Start

January’s Fab Furniture Flippin Contest – A Fresh Start On a trip with my DH to Door County we found this great little shop with several interesting pieces just screaming to be loved on. The prices were decent but we only had room in our van to take home two pieces. The first was a one piece china cabinet and the other a little dresser that had never been cared for – raw wood with dinky sad little knobs. It reminded me of an apothecary cabinet. I went back and forth trying to decide what color to choose – because I just had to paint it! Since General Finishes sponsored the Fab Furniture Flippin Contest again this month and donated a quart of their new chalk style paint to finish the piece, all I had to do was decide on a color. Some may shudder at the thought of painting … Read more

Antique Night Stand Re-do

What’s hiding in your basement? A couple of years ago I gave our daughter, Jillian, a night stand that had been a family heirloom from my husband Mark’s aunt, Aunt Emily. She had painted it white, but wasn’t happy with the results. I had a 2 1/2 week stay in Virginia with Jillian where we spent a week decorating her living room/dining room at her new place. This is one of the pieces we hauled out of her basement to try to salvage.   Newly married, in school, and on a tight budget, this had to be another “use what you have to save money but it’s gotta look good” project – right up my alley! Spray paint is an easy and cheap fix. The dark stain shows right through and the paint peeled right off where it had bubbled. We honestly didn’t know if we could fix it, but … Read more

From Trash to Treasure – Update old brass decor, don’t toss it!

I told you about the cast off treasures I got from a friend in my first From Trash to Treasure post here. Here are brass pieces that NO ONE wants.   After painting the brass finishes with my dark walnut satin Rust-Oleum spraypaint, I decided to mix and match the parts to make new pieces.  Brass decor isn’t very popular these days, but there is no reason we can’t update. When I painted this one, (pic above) the paint didn’t settle in the grooves, giving it dimension. (It’s OK to go ahead and think I planned this.)      I put the painted brass on my kitchen island to dry in the warm kitchen (negative 10 degrees in my garage where I painted it).  Each time I passed by them, I thought about how they would look once I put them together.  I don’t wait very patiently for my projects to … Read more

DIY Chunky Photo Frame – Re-purpose Old Picture Frames Part 3

I have picture frames up the wazoo! Seriously, I must have more than three or four dozen wood frames packed in boxes… In the garage, In the basement, In my craft closet, In my blanket chest… Nope. There aren’t any blankets in it. Just picture frames. Some day I will paint that blanket chest with chalk paint and actually use it for blankets. When you raise 15 kids like we did and tote a camera around with you 24/7, your house easily turns into a virtual scrapbook. Now we are empty nesters (yay for us!) and have downsized. So I have to justify keeping all my frames and not just “Give them all away to Goodwill to be rid of them.” (That solution was courtesy of my DH.) I’ve been on a mission to justify my frame hoarding and have come up with some re-purposing DIY projects. I’m in process … Read more

Holiday Crate x10 Challenge {Love My DIY Home}

Christmas DIY Wood Crate Challenge

We were challenged to take a plain wood crate and make it Christmas festive. I bought three and plan to use them under my Christmas tree. BEFORE Box and Snowflakes First I spray painted the inside with Rustoleum’s Painter’s Touch 2x Ivory Bisque. Large wood snow flakes at Hobby Lobby were perfect for an accent. I spray painted them the same ivory bisque as the box interior and then sprinkled silver glitter on it to give it some pinache and then hung it on a nail on the box. It took a bit because it was 10 degrees outside and since I paint out on my front lawn, it was interesting to say the least. I painted a bit, brought it in to dry and took it out for more paint an hour later. After a dozen ins and outs, I finally got it painted. Anyone free to come clean out … Read more

Before and After Outdoor Pots Revived! {Love My DIY Home}

I Sent Myself Flowers – for My Mom on Mother’s Day

You’ve all heard the overused quote, “If life gives you lemons, make lemonade.” I’m here to tell you that if you don’t have a mom to send flowers to this Mother’s Day, send them to yourself! The ads for Mother’s Day gifts are everywhere, and since I’ve recently suffered loss, they make me feel lower than a snake’s belly in a wagon rut. I decided to overcompensate. Instead of bemoaning the fact my mom isn’t here to receive flowers from me, I’m sending them to myself. I’m going to plant them everywhere and enjoy them all summer long. Enter – old crummy pots… While at a church rummage sale, I found these 5 huge outdoor planters. They were all stacked on one another, dirty and a bit ragged. Ah, but there was potential. At first I thought they were that heavy terra cotta material but found out when I picket … Read more

Brush Paint Vs. Spray Paint – Before and After Nightstand

I have a before and after antique nightstand redo for you today. And it only cost $1.25. BUT, let it be known…next time I tell you I’m going to brush paint a piece of furniture using traditional paint, please stop me. Seriously. Stop me. I thought I’d give it a whirl but the whirl turned into a relentless week of painting because the tanins bled through. It was on my kitchen island. For a week. I like to use spray paint when I want a smooth finish. You can also contact Stubbins Painting San Diego – and take the help of professional painting contractors to give a professional and classic look to your house or a piece of furniture. I didn’t prime first when using traditional paint, which was a major mistake and consulted the painting companies phoenix. Then I found some great spray primer that I use now when … Read more

Painted Pegboard for DIY Craft Room {Love My DIY Home}

Decorative Peg Board – Craft Room Decor

“Find out who you are and do it on purpose,” ~ Dolly Parton. Imagine a place where your most inner self can feel at peace. For some it’s in their garage restoring an automobile. Others it’s behind a pulpit, sitting in front of a MAC or Pfaff sewing machine. Do you have a place like that? Possibly, if you are reading this you may be “one of us.”  THOSE people that are happiest with a can of spray paint in their hand leaning over an old beat up piece of furniture…or shutter…or door/window/pallet? You name it. For those who find joy in enhancing not just the interior but also the exterior of their spaces, explore seamless gutter services to ensure that your home maintains its charm while being well-maintained. That’s me, btw. That’s me with the can of spray paint in an old pair of sweats out in 44 degree … Read more

How to Upcycle an Antique Door – Part 2

In How to Upcycle an Antique Door Part 1, I showed you how I had painted brown on one side. Now I will show you what I did to the other side. I kid you not – this is by far the coolest project I’ve done and you could for sure do this yourself. Now you’ll see what I did to the other side and the end product. Here are the two sides… IN THE RAW This is the one side that I painted brown that you read about last week. Now let’s look at side two. MATERIALS (Affiliate Links) Sanding Sponge Rust-Oleum 2x Painters Touch Spray Paint American Decor Creme Wax Hobby Lobby Hardware 1 ” Corner Brackets Step One – Side Two: Clean and sand, but not so much that you lose the textured layers of old paint. I used a (afflink) Sanding Sponge, Fine/Medium. These sanding sponges … Read more

Antique Door Upcycle {Love My DIY Home}

How to Upcycle an Antique Door – Part 1

This is my favorite DIY thus far, an upcycled antique door turned into a trendy piece of home decor for just pennies. My DH and I found some old doors at an auction – about two years ago. They’ve been sitting out under our lean-to since, just calling to me, “Paint me, Paint me…” Here are the before pictures – side one. Here are the before pictures – side two. They’re pretty cool in the raw, but I had other plans. This will turn into a series because there were many steps to the project. Step One: Clean and sand both sides, but not so much that you lose the textured layers of old paint. I used a Sanding Sponge, Fine/Medium. These sanding sponges are easy to use and if you don’t use too much pressure, you can preserve the alligator chippy look of the many layers of paint, yet … Read more

Love My DIY Home