Twin End Tables & Wise Owl Chalk Synthesis Paint
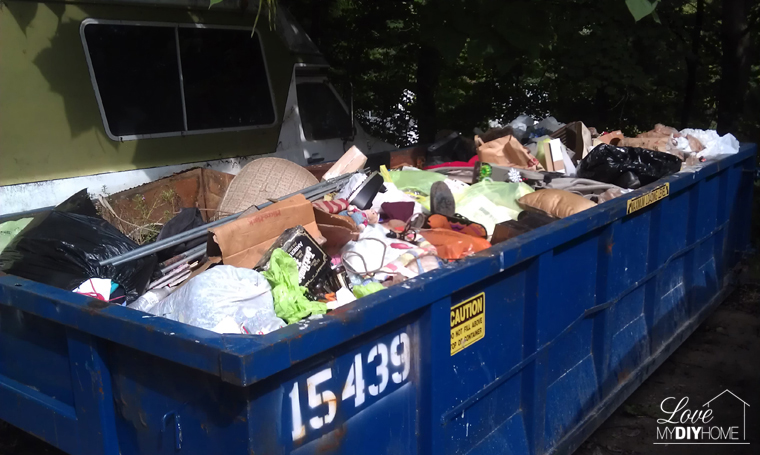
Sponsored Post: I found a pair of end tables at a garage sale – outdated and in need of repair. You see it everywhere. Furniture that is chipped, stained, damaged with water rings, cracks, or maybe they are just plain outdated. Too often folks just go out and buy new when there is a better, cheaper, and easier fix. We can save money and save the the landfill by taking them home and flipping them… BEFORE In this case all they needed was a bit of glue (the center piece had come apart), a bit of patching, and a new finish. Karen at Wise Owl Paint offered to give me paint and glaze for a project to try out and review. The paint is free of harsh chemicals and solvents and is zero VOC – a great way to paint without compromising health or the environment. She also carries other … Read more